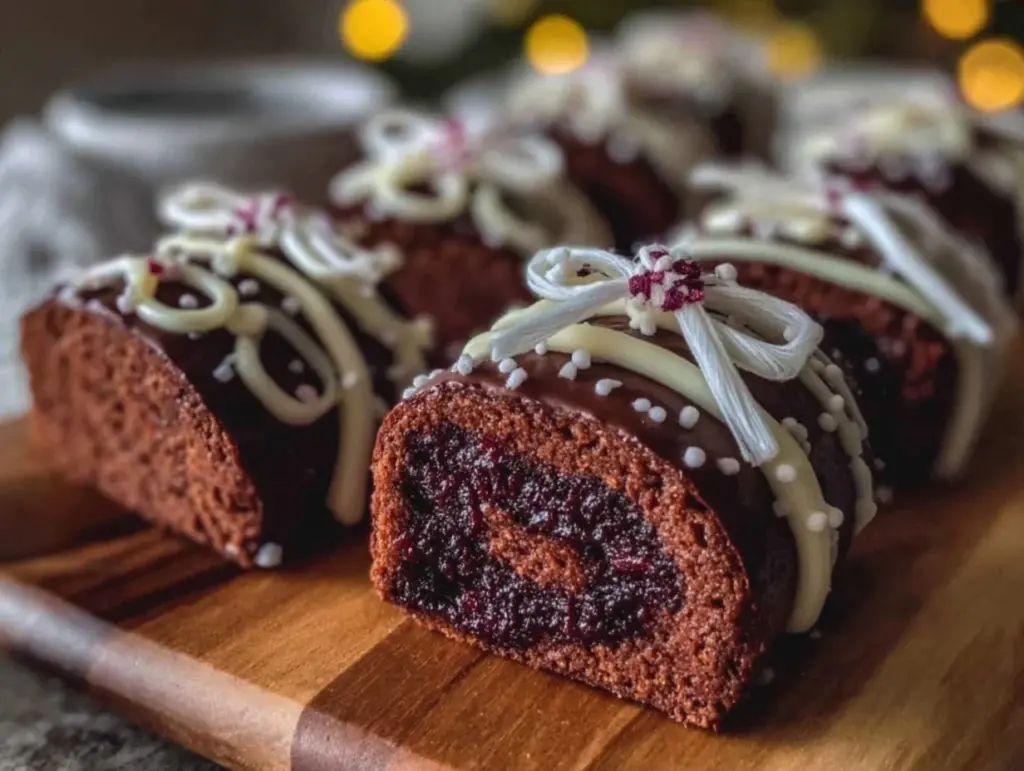
“You won’t believe these look handmade,” my friend whispered as she unwrapped the last of my chocolate diploma cookies. Honestly, I was caught off guard too—these cookies came from a late-night rush before a graduation party, when I barely had time for anything fancy. I had this bag of cocoa powder and a leftover egg white sitting in the fridge, and thought, “Why not try making some chocolate cookies shaped like little diplomas?” What started as a last-minute idea turned into a recipe I couldn’t stop baking all week long.
There’s something about the contrast of rich, fudgy chocolate cookie and the crisp, elegant royal icing that feels just right for celebrating milestones—without fuss, but with style. I was skeptical at first about piping royal icing so late at night, but it turned out easier than I expected. Each cookie carried a little bit of that celebratory vibe, and I found myself smiling every time I decorated another one, thinking about who would get them next.
These Perfect Chocolate Diploma Cookies with Elegant Royal Icing stuck with me not just because they taste great, but because they carry a story—of hurried creativity, sweet success, and the joy of sharing. If you’re looking for a fun, impressive treat for graduations or any special occasion, these cookies might just become your new go-to, just like they did for me.
Why You’ll Love This Recipe
After a few rounds of trial and error, I nailed this recipe that balances ease with elegance perfectly. Here’s why it stands out:
- Quick & Easy: You can whip up the cookie dough and royal icing in under an hour. Ideal for those last-minute celebrations.
- Simple Ingredients: No fancy, hard-to-find items here. Most are pantry staples like cocoa powder, powdered sugar, and egg whites.
- Perfect for Graduation Parties: The diploma shape and neat icing make these cookies an instant hit at any ceremony or congratulatory event.
- Crowd-Pleaser: Kids and adults alike keep asking for more. The chocolate base is rich but not overwhelming, complemented by the sweet, smooth icing.
- Unbelievably Delicious: The cookies have a tender, fudgy crumb that holds up beautifully to the delicate royal icing—trust me, the texture combo is spot on.
This recipe isn’t just another chocolate cookie. The royal icing here is made with a simple but precise technique that gives you that perfectly glossy finish and crisp detail. I tested several methods and found that beating the egg whites just right and adding the powdered sugar slowly is the secret for that elegant look.
Honestly, these cookies have a little magic — they make you pause and savor that moment of celebration, even if it’s just a quiet night with family. If you’ve enjoyed making treats like the Million Dollar Pound Cake or the Funfetti Cake Batter Cookies, you’ll appreciate the way these chocolate diploma cookies blend fun shapes with professional-looking icing.
What Ingredients You Will Need
This recipe uses simple, wholesome ingredients that come together to create bold chocolate flavor with a smooth, elegant icing finish. Most are pantry staples, which makes this recipe easy to pull off anytime.
- For the Chocolate Diploma Cookies:
- All-purpose flour – 2 ½ cups (310g), sifted for a tender crumb
- Unsweetened cocoa powder – ¾ cup (75g), I prefer Valrhona for rich flavor
- Baking powder – 1 teaspoon, to give a slight lift
- Salt – ¼ teaspoon
- Unsalted butter – 1 cup (227g), softened (room temperature for easy creaming)
- Granulated sugar – 1 cup (200g), for balanced sweetness
- Large egg – 1, room temperature to blend smoothly
- Vanilla extract – 1 teaspoon, pure is best
- For the Elegant Royal Icing:
- Powdered sugar – 4 cups (480g), sifted to avoid lumps
- Egg whites – 2 large, or 4 tablespoons of pasteurized egg whites for safety
- Lemon juice – 1 tablespoon, adds brightness and helps stiffen icing
- Vanilla extract – ½ teaspoon, optional for subtle flavor
- Food coloring – optional, if you want to tint the icing
Feel free to swap all-purpose flour with a gluten-free blend if needed. For the cocoa powder, a good-quality Dutch-processed one will give deeper flavor and darker color. When choosing butter, unsalted is best so you can control salt content precisely.
Equipment Needed
- Mixing bowls – preferably medium and large size for dough and icing
- Electric mixer – stand or hand mixer, essential for creaming butter and beating egg whites
- Sifter or fine mesh sieve – for flour and powdered sugar
- Rolling pin – to roll out cookie dough evenly
- Diploma-shaped cookie cutter – or a rectangular cutter with a small circle cutter for the seal
- Piping bags – disposable or reusable, for detailed royal icing work
- Small round piping tips (size #1 or #2) – for fine lines and details
- Baking sheets – lined with parchment paper
- Cooling racks – to cool cookies completely before icing
If you don’t have a diploma-shaped cutter, a simple rectangular cutter works fine. You can add a circle or small seal shape using a smaller round cutter or freehand with the piping bag. For budget-friendly options, plastic piping bags and metal tips from a basic set work well, and you can reuse parchment paper after careful baking.
After use, clean your piping tips by soaking them in warm water and using a tiny brush to clear any dried icing—it keeps them working smoothly for your next batch.
Preparation Method
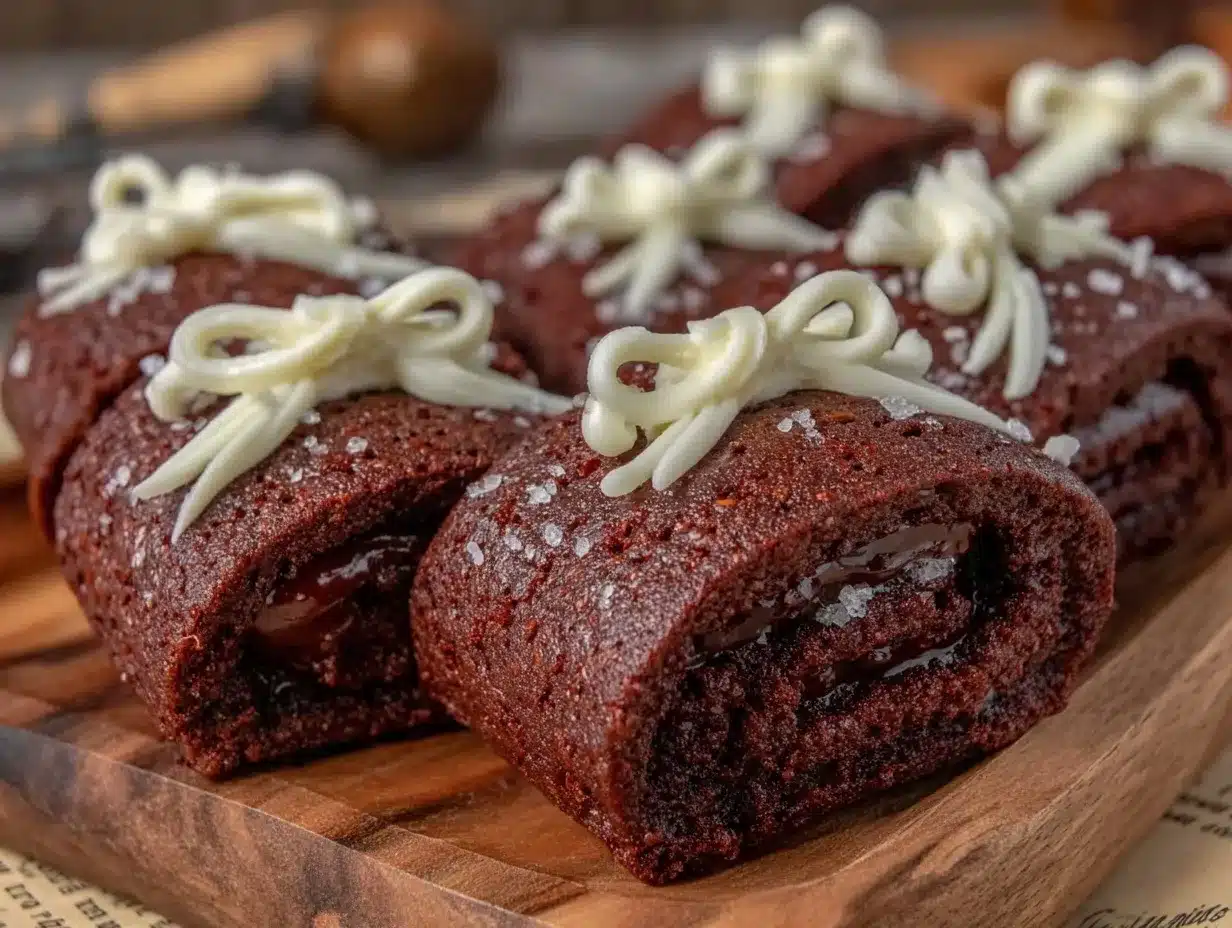
- Prep the dough: In a medium bowl, sift together the flour, cocoa powder, baking powder, and salt. Set aside. (About 5 minutes.)
- Cream butter and sugar: In a large bowl, beat the softened butter and granulated sugar on medium speed with an electric mixer until light and fluffy—about 3-4 minutes. You’ll notice the mixture turns pale and soft, which is a good sign. (Tip: Don’t rush this step; it creates the tender texture.)
- Add egg and vanilla: Beat in the egg and vanilla extract until fully incorporated, scraping down the sides as needed. The batter will look smooth and creamy. (1-2 minutes.)
- Combine wet and dry: Gradually add the dry ingredients to the wet mixture, mixing on low speed just until combined. Avoid overmixing to keep cookies tender. The dough will be thick and slightly sticky. (2 minutes.)
- Chill the dough: Flatten the dough into a disk, wrap tightly with plastic wrap, and refrigerate for at least 1 hour. Chilling helps the dough firm up for easier rolling and cleaner cookie shapes.
- Roll and cut: Preheat oven to 350°F (175°C). On a lightly floured surface, roll the dough to about ¼ inch (6mm) thickness. Use your diploma-shaped cookie cutter to cut out shapes, transferring them carefully to parchment-lined baking sheets. (Tip: Chill the cut cookies for 10 minutes before baking to prevent spreading.)
- Bake: Bake cookies for 10-12 minutes, rotating the pan halfway through. You want them set but still soft in the center. They’ll firm up as they cool. Transfer to cooling racks immediately after removing from the oven.
- Prepare royal icing: While cookies cool, beat egg whites on medium speed until foamy. Gradually add powdered sugar, beating on low until combined, then increase to high speed until stiff peaks form (about 5-7 minutes). Add lemon juice and vanilla, beating briefly to combine. The icing should be thick but pipeable—test by lifting the beater; the icing should hold a peak without breaking.
- Decorate: Transfer royal icing to piping bags fitted with small round tips. Pipe the outline of the diploma first and let it set for 10 minutes. Then flood the inside area with thinner icing (add a few drops of water to reach flooding consistency), letting it dry completely before adding details like the “ribbon” or “seal.” (Patience pays off here for sharp lines!)
- Dry and serve: Allow decorated cookies to dry at room temperature for at least 4 hours or overnight before stacking or storing.
Cooking Tips & Techniques
Working with royal icing can feel intimidating at first, but here are some tips I picked up after a few tries:
- Egg whites matter: Use fresh or pasteurized egg whites for safety and best texture. Avoid dried meringue powder if you want that classic glossy finish.
- Beat at the right speed: Start beating egg whites on medium until foamy, then gradually add sugar while lowering speed. Ramp it back up to high at the end for stiff peaks.
- Consistency is key: For outlining, the icing should be thicker, holding its shape. For flooding, add tiny amounts of water to thin it to a honey-like flow.
- Practice piping pressure: Hold the piping bag steady and apply even pressure for smooth lines. If your hand shakes, take a break and breathe—it helps!
- Don’t rush drying: Patience really matters here. If you add details too soon, colors can bleed or lines can smudge.
- Prevent cookie spread: Chilling the dough and the cut shapes before baking helps keep edges sharp and diplomas looking crisp.
One lesson I learned the hard way: avoid using too much butter at room temperature—it can cause cookies to spread too thin. Also, when rolling dough, lightly flour your surface and rolling pin to keep things from sticking without adding excess flour that toughens cookies.
Variations & Adaptations
These chocolate diploma cookies are surprisingly versatile. Here are some variations I’ve tried or recommend:
- Dietary: Swap all-purpose flour for a gluten-free blend to make these gluten-free, or use coconut sugar in place of granulated sugar for a lower glycemic index.
- Flavor twists: Add a teaspoon of instant espresso powder to the dough for a mocha flavor that pairs beautifully with chocolate and royal icing.
- Colorful icing: Use natural food colorings like beet juice powder or spirulina powder to tint the royal icing for a more vibrant, yet elegant look.
- Seasonal: For spring graduations, add edible gold dust on the icing seal for a fancy touch. In winter, a dusting of powdered sugar looks like snow on the diplomas.
- Different shapes: If you don’t have a diploma cutter, try using a simple rectangle or use a graduation cap cookie cutter for a complementary theme.
Personally, I once swapped the royal icing with a cream cheese glaze for a softer finish, which was a hit at a friend’s party who found royal icing too hard. It’s a great way to customize the experience to your guests’ preferences.
Serving & Storage Suggestions
These cookies are best served at room temperature to fully enjoy the fudgy chocolate and crisp icing texture. They pair wonderfully with a cup of coffee or a glass of cold milk — perfect for celebrations or casual gatherings.
You can present them elegantly on a tiered tray or wrap individually in cellophane with a ribbon for gifting. If you want to serve them at a party, arranging them alongside a batch of Key Lime Pie Bars adds a fresh citrus contrast.
To store, place cookies in an airtight container layered with parchment paper at room temperature for up to 5 days. For longer storage, freeze them un-iced or fully decorated in a sealed container for up to 3 months. When reheating, let frozen cookies thaw completely at room temperature to avoid condensation on the icing.
Flavors tend to deepen after resting a day, so if you can wait, decorate a day ahead. The chocolate becomes more intense and the icing sets perfectly.
Nutritional Information & Benefits
Each cookie (assuming 24 cookies per batch) contains approximately:
| Calories | 120 |
|---|---|
| Fat | 6g (3.5g saturated) |
| Carbohydrates | 16g |
| Sugar | 10g |
| Protein | 1.5g |
While these are indulgent treats, the recipe uses simple, minimally processed ingredients. Cocoa powder is rich in antioxidants and may boost mood, which feels appropriate for these celebratory cookies! Using real egg whites for icing adds some protein without heaviness.
For those avoiding gluten, this recipe adapts well with gluten-free flour blends. Just be mindful of cross-contamination if allergies are a concern.
Conclusion
Perfect Chocolate Diploma Cookies with Elegant Royal Icing are a sweet way to mark big moments. Whether you’re crafting these as a thoughtful gift or a festive dessert, they bring a bit of homemade charm that store-bought just can’t match. I love how this recipe balances simplicity with style, making it accessible but still special.
Feel free to tweak the icing colors or add a personal message on your diplomas—they’re a blank canvas for creativity and celebration. If you try these cookies, I’d love to hear how you made them your own!
Happy baking and congrats to all the graduates out there!
FAQs About Chocolate Diploma Cookies
Can I make the cookie dough ahead of time?
Yes! Dough can be refrigerated for up to 3 days or frozen for a month. Just thaw before rolling and cutting.
Is royal icing safe to eat with raw egg whites?
Use pasteurized egg whites or meringue powder for safety. You can also find pasteurized liquid egg whites in most grocery stores.
How do I fix royal icing that’s too thick or too thin?
Add a few drops of water to thin it or powdered sugar to thicken it, mixing slowly to reach the right consistency.
Can I use a different shape cutter?
Absolutely! Rectangles, squares, or graduation caps all work well if you don’t have a diploma-shaped cutter.
How long do these cookies stay fresh?
Stored properly in an airtight container, they last about 5 days at room temperature and up to 3 months frozen.
Pin This Recipe!
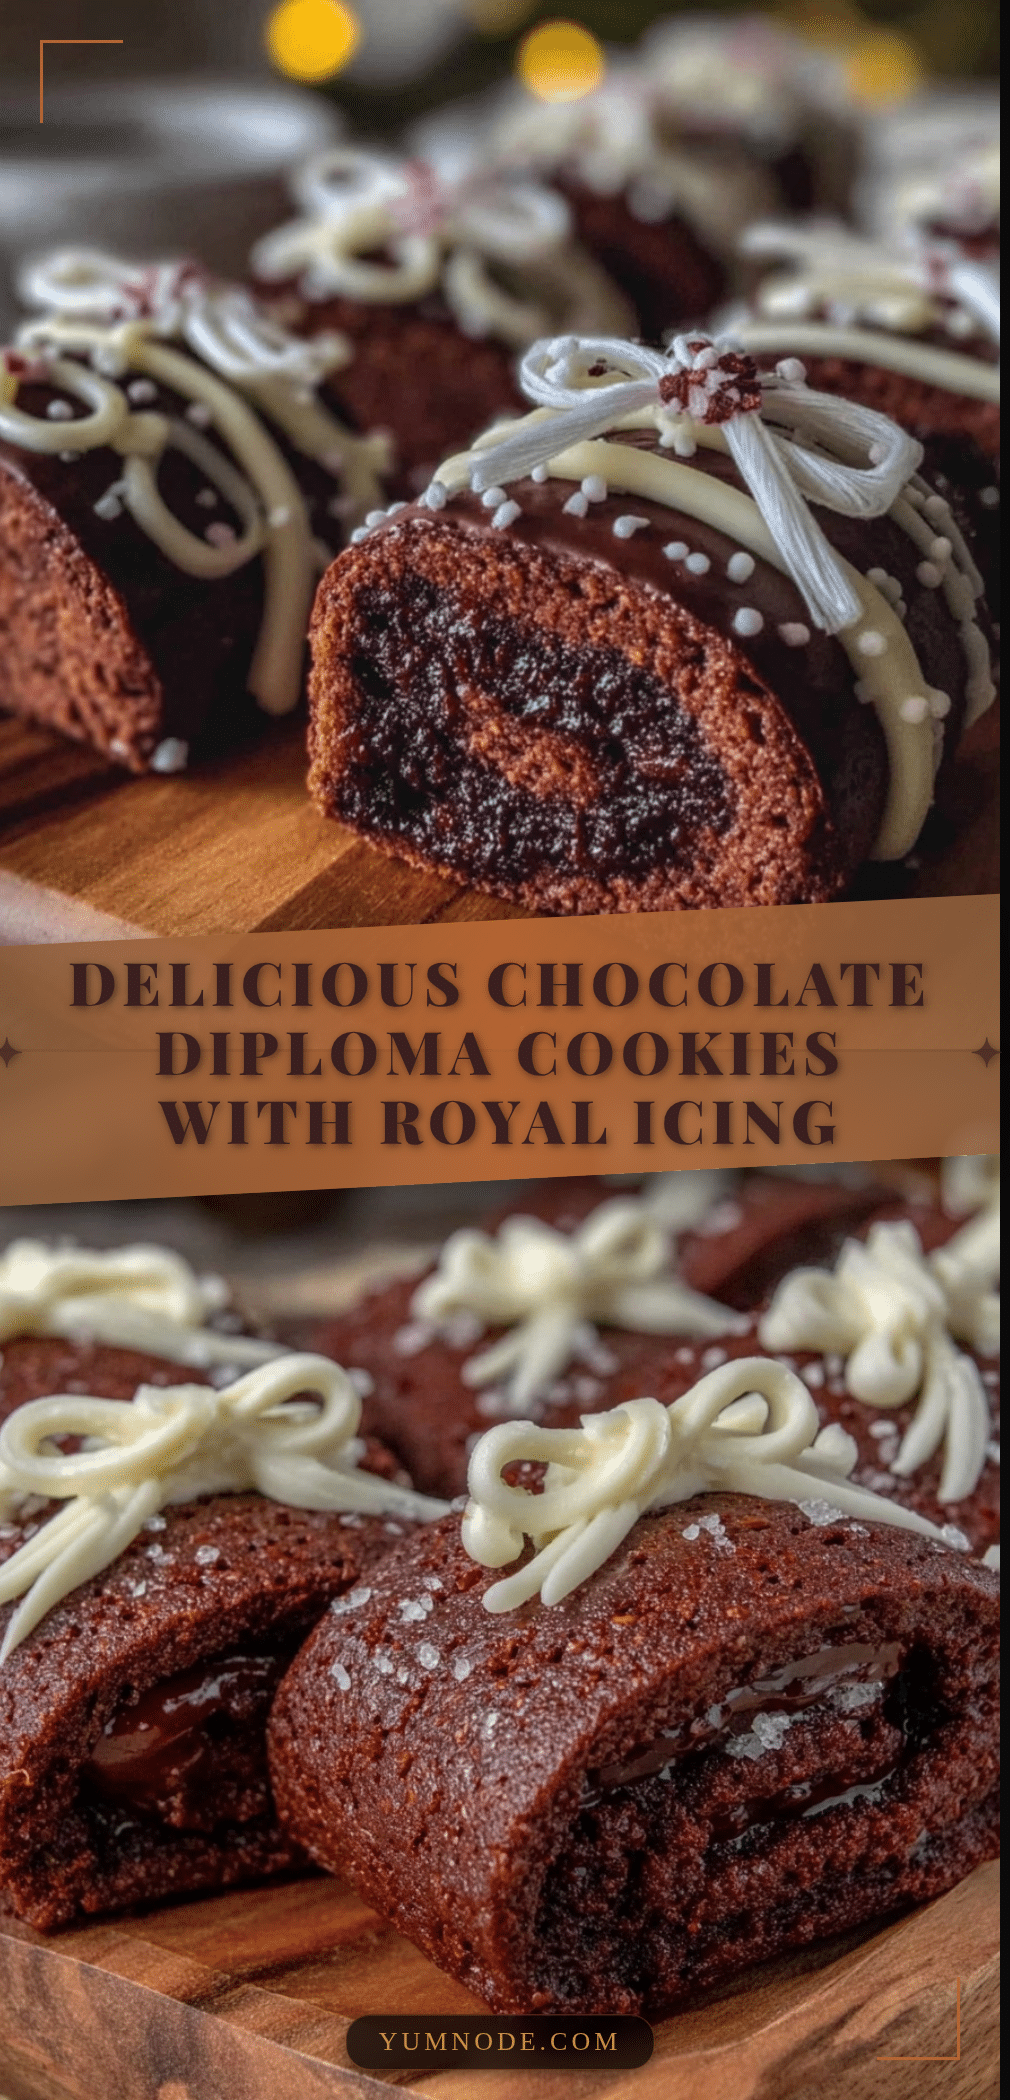
Perfect Chocolate Diploma Cookies with Elegant Royal Icing

These rich, fudgy chocolate cookies shaped like diplomas are topped with a crisp, glossy royal icing, perfect for graduation parties or special celebrations. The recipe balances ease with elegance and uses simple pantry staples.
- Prep Time: 15 minutes
- Cook Time: 12 minutes
- Total Time: 1 hour 30 minutes
- Yield: 24 cookies 1x
- Category: Dessert
- Cuisine: American
Ingredients
- 2 ½ cups (310g) all-purpose flour, sifted
- ¾ cup (75g) unsweetened cocoa powder (preferably Valrhona or Dutch-processed)
- 1 teaspoon baking powder
- ¼ teaspoon salt
- 1 cup (227g) unsalted butter, softened (room temperature)
- 1 cup (200g) granulated sugar
- 1 large egg, room temperature
- 1 teaspoon vanilla extract
- 4 cups (480g) powdered sugar, sifted
- 2 large egg whites or 4 tablespoons pasteurized egg whites
- 1 tablespoon lemon juice
- ½ teaspoon vanilla extract (optional)
- Food coloring (optional)
Instructions
- In a medium bowl, sift together the flour, cocoa powder, baking powder, and salt. Set aside.
- In a large bowl, beat the softened butter and granulated sugar on medium speed with an electric mixer until light and fluffy, about 3-4 minutes.
- Beat in the egg and vanilla extract until fully incorporated, scraping down the sides as needed.
- Gradually add the dry ingredients to the wet mixture, mixing on low speed just until combined. Avoid overmixing.
- Flatten the dough into a disk, wrap tightly with plastic wrap, and refrigerate for at least 1 hour.
- Preheat oven to 350°F (175°C). On a lightly floured surface, roll the dough to about ¼ inch (6mm) thickness.
- Use a diploma-shaped cookie cutter to cut out shapes and transfer them to parchment-lined baking sheets. Chill cut cookies for 10 minutes before baking.
- Bake cookies for 10-12 minutes, rotating the pan halfway through. They should be set but still soft in the center. Transfer to cooling racks immediately.
- While cookies cool, beat egg whites on medium speed until foamy. Gradually add powdered sugar on low speed until combined, then increase to high speed until stiff peaks form (about 5-7 minutes).
- Add lemon juice and vanilla extract, beating briefly to combine. The icing should be thick but pipeable.
- Transfer royal icing to piping bags fitted with small round tips. Pipe the outline of the diploma first and let it set for 10 minutes.
- Flood the inside area with thinner icing (add a few drops of water to reach flooding consistency), letting it dry completely before adding details like the ribbon or seal.
- Allow decorated cookies to dry at room temperature for at least 4 hours or overnight before stacking or storing.
Notes
[‘Use pasteurized egg whites for safety in royal icing.’, ‘Chill dough and cut cookies before baking to prevent spreading and keep edges sharp.’, ‘Beat egg whites starting at medium speed until foamy, add sugar gradually, then increase speed to high for stiff peaks.’, ‘For flooding icing, thin with a few drops of water to a honey-like consistency.’, ‘Allow royal icing to dry completely before adding details to prevent bleeding or smudging.’, ‘Dough can be refrigerated up to 3 days or frozen for a month before rolling.’, ‘Cookies store well in an airtight container at room temperature for 5 days or frozen up to 3 months.’, ‘Flavors deepen after resting a day; decorate a day ahead if possible.’]
Nutrition
- Serving Size: 1 cookie
- Calories: 120
- Sugar: 10
- Fat: 6
- Saturated Fat: 3.5
- Carbohydrates: 16
- Protein: 1.5
Keywords: chocolate cookies, diploma cookies, royal icing, graduation cookies, homemade cookies, easy chocolate cookies, celebration treats