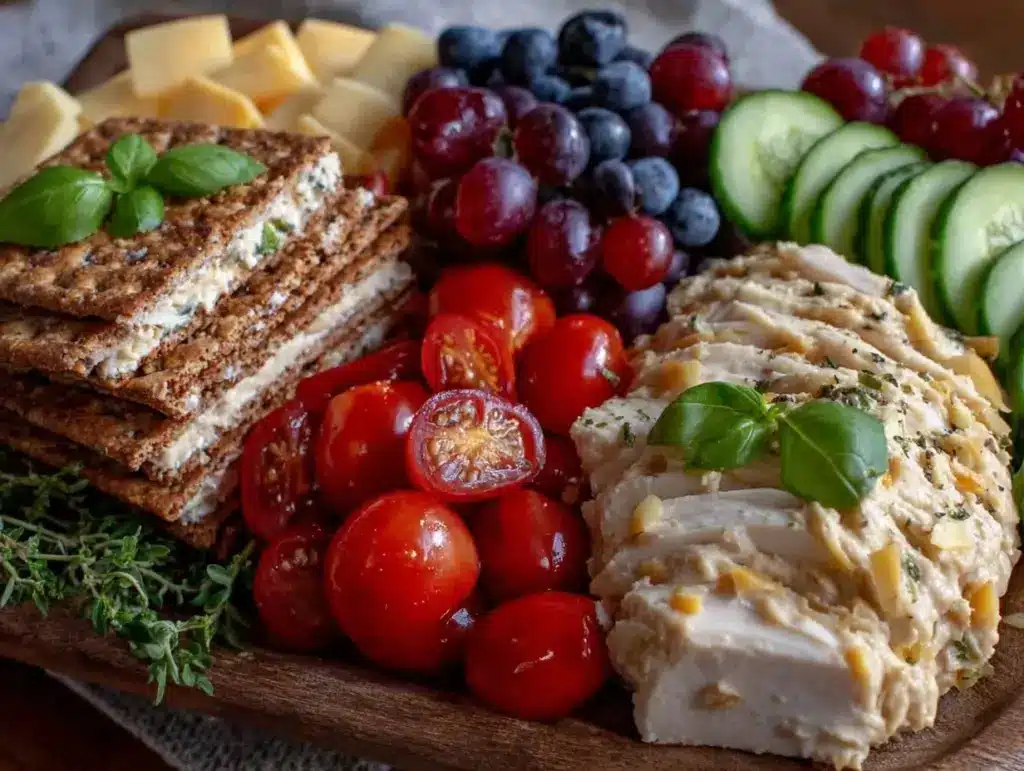
“Mom, can I have one of those lunch things with the crackers and cheese?” I’ve lost count of how many times that familiar request has come from my little one. Honestly, I used to reach for those store-bought Lunchables out of convenience, but between the sneaky preservatives and the lack of wholesome ingredients, I started wondering if there was a better option. One afternoon, while juggling a mountain of grocery bags and a cranky toddler, I threw together a quick version of DIY Lunchables using what I had on hand—no fancy prep, no stress. To my surprise, it was a hit! That simple, slightly thrown-together snack plate became our go-to for busy afternoons and school lunches.
What really stuck with me was how easy it was to customize each box to what my kiddo liked and what felt good to feed them. No more guessing what’s inside a package or stressing over nutrition labels. Just fresh, tasty bites that kids actually ask for—and I get a little peace of mind knowing I’m sending something nourishing their way. Over time, I’ve refined the combinations, making sure every bite counts without feeling like a chore. And honestly? It’s one of those small wins that keeps me sane during the chaos of parenting.
There’s something quietly satisfying about seeing your child’s eyes light up over a colorful plate you made yourself—especially when it’s packed with good-for-you ingredients that support their growing bodies. So here’s my take on Healthy DIY Lunchables Kids Love for Nutritious Snacking, with five easy ideas you can whip up in no time. I promise, it’s not just another snack hack—it’s a little ritual that turns everyday moments into something special, one bite at a time.
Why You’ll Love This Recipe
After testing dozens of snack combos, I can say with confidence these Healthy DIY Lunchables offer a fresh twist on a classic favorite. Here’s why they stand out:
- Quick & Easy: All five ideas come together in under 15 minutes, perfect for busy mornings or last-minute snack cravings.
- Simple Ingredients: No need to hunt for specialty items—most are pantry staples or everyday produce you likely already have.
- Perfect for Anytime: Whether it’s a school lunch, afternoon snack, or a picnic, these DIY Lunchables fit the bill.
- Crowd-Pleaser: Kids love the fun, build-your-own style and the colorful presentation keeps them curious and engaged.
- Unbelievably Delicious: The mix of textures—from crunchy crackers to creamy dips—hits the kind of comforting notes kids crave.
What makes these DIY Lunchables different? It’s all in the balance—nutrient-dense but approachable, flavorful but familiar. For example, blending cottage cheese into a smooth dip instead of just plain cheese cubes makes it more appealing and packs extra protein. Or swapping in whole grain crackers adds fiber without sacrificing crunch. Over time, I’ve learned how to tweak seasoning just right so each box feels like a little feast rather than a boring snack.
These lunchables aren’t just food—they’re a way to sneak in nutrients without a battle, making snack time something both kids and parents look forward to. Plus, they give you the freedom to experiment with tastes and textures, so your child’s preferences can evolve naturally. If you’re curious about other kid-friendly homemade treats, you might enjoy the soft funfetti cake batter cookies or the crispy baked parmesan chicken tenders—both favorites in our house that bring smiles every time.
What Ingredients You Will Need
This recipe uses simple, wholesome ingredients to deliver bold flavor and satisfying texture without the fuss. Most of these items are pantry staples or fresh produce that are easy to swap depending on what’s in season or what your kid prefers.
- Crackers & Bases:
- Whole grain crackers (look for brands like Triscuit or Mary’s Gone Crackers for fiber and crunch)
- Mini pita bread rounds or rice cakes (great gluten-free options)
- Sliced cucumbers or apple rounds (for a fresh, crisp base)
- Cheese & Dips:
- Cheddar or mozzarella cheese cubes (choose mild for kids’ palates)
- Cottage cheese (small-curd is best for a smoother texture, or blend it into a dip)
- Hummus or guacamole (store-bought or homemade for added creaminess and flavor)
- Proteins:
- Turkey or chicken slices (nitrate-free if possible, rolled or cut into fun shapes)
- Hard-boiled eggs, peeled and halved (easy protein boost)
- Roasted chickpeas or nuts (avoid if allergies are a concern)
- Fruits & Veggies:
- Baby carrots, cherry tomatoes, snap peas (fresh and colorful)
- Grapes or berries (seasonal and sweet)
- Bell pepper strips (adds crunch and vitamin C)
- Treats & Extras:
- Dark chocolate chips or mini cookies (a little sweet bonus)
- Sunflower seeds or pumpkin seeds (adds texture and healthy fats)
Feel free to swap in almond flour crackers for a gluten-free twist or use dairy-free coconut yogurt mixed with herbs as a dip alternative. When it comes to cheese, I’ve found that a good-quality sharp cheddar goes a long way in flavor, so it’s worth splurging a bit there. For summer months, fresh berries make a nice switch to frozen fruits, which can sometimes feel soggy by afternoon.
Equipment Needed
- Small bento box or divided lunch container (keeps snacks organized and visually appealing)
- Cutting board and sharp knife (for slicing fruits, veggies, and cheese)
- Small bowls or ramekins (for dips and spreads)
- Measuring spoons (handy if you’re mixing up custom dips)
- Optional: Food processor or blender (to blend cottage cheese into creamy dips quickly)
If you don’t have a bento box, a simple reusable container with compartments works just fine. Personally, I like using containers with snap-tight lids to avoid any spills in the lunch bag. For dips, tiny silicone cups are a lifesaver and super easy to clean. My blender isn’t fancy, but it gets the job done for smooth, kid-friendly spreads without much fuss. And if you’re on a budget, repurposing small glass jars or containers from your pantry can do the trick just as well.
Preparation Method
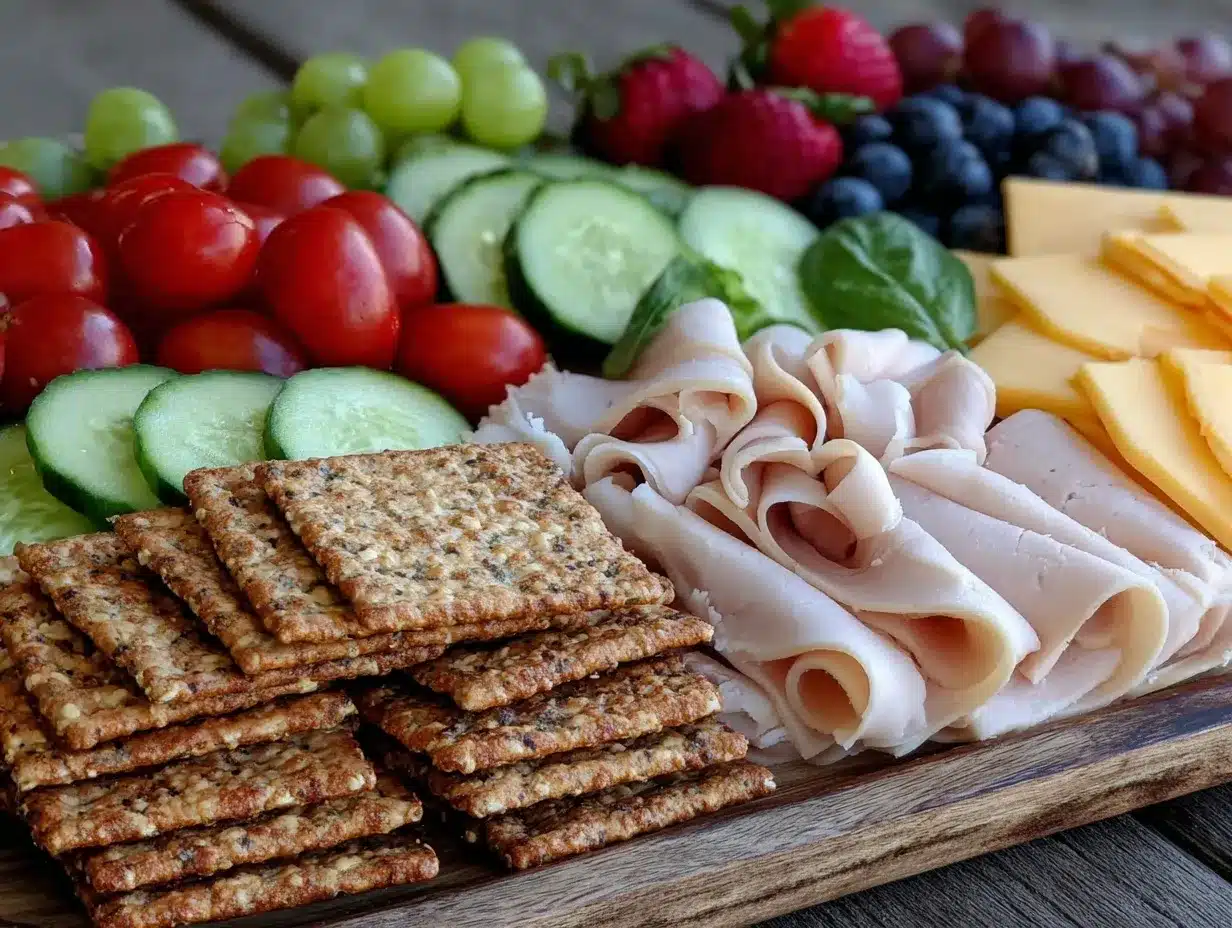
- Prep the Base: Start by selecting your cracker or veggie base. Arrange about 10-12 whole grain crackers or enough cucumber/apple slices to fill one section of your container. This usually takes 5 minutes. If using pita rounds, lightly toast them for extra crunch.
- Slice the Cheese: Cut your cheese into bite-sized cubes or fun shapes using small cookie cutters if you want to make it visually exciting. For about 1 cup (120g) of cheese, this takes 3-4 minutes. If blending cottage cheese, add ½ cup (120g) to a blender with a pinch of salt and herbs, then pulse until smooth.
- Prepare Protein: Roll or fold turkey/chicken slices into small bundles. Include 3-4 slices per box (about 85g). Hard-boil eggs ahead of time (takes 10-12 minutes cooking, but prep can be done earlier). Peel and halve for easy eating.
- Wash and Slice Produce: Thoroughly rinse baby carrots, cherry tomatoes, and snap peas. Slice bell peppers into thin strips. Portion about ½ cup (75g) total of mixed veggies. Cut grapes or berries if needed, aiming for about ½ cup (75g) fruit per box.
- Assemble Extras: Add a small handful of roasted chickpeas or nuts (about 2 tablespoons). Include a mini treat like a few dark chocolate chips or a mini cookie for a sweet touch. Place dips in small ramekins or silicone cups.
- Pack the Lunchable: Arrange all components neatly in your container to create a colorful, inviting plate. Keep wet items like dips separate to avoid sogginess. Close the lid tightly and refrigerate if not serving immediately.
Pro tip: If using fresh fruit like apples, toss slices in a little lemon juice to keep them from browning. Also, layering soft items under sturdier ones prevents crushing. When I first started, I accidentally squished the crackers under the cheese slices; lesson learned the hard way! Now, I always place crunchy items on top.
Cooking Tips & Techniques
Keeping DIY Lunchables fresh and tasty is all about a few key techniques. First, balance moisture levels—wet ingredients like hummus or guacamole should be packed separately to avoid soggy crackers. You know that disappointment when your crackers turn limp? Yeah, nobody wants that.
When slicing cheese or meats, try to keep pieces uniform in size. It helps kids pick them up easily and keeps presentation neat. If you have a picky eater, offering dips or spreads that complement the flavors can make a big difference—for example, mixing a little honey into plain yogurt for a sweet dip.
Hard-boiling eggs in advance saves precious morning minutes. I like to batch cook 6-12 eggs at once and keep them in the fridge for snack prep throughout the week. Just remember to peel them right before packing to keep them fresh longer.
Multitasking is your friend here. While the eggs boil, prep veggies and slice cheese. And don’t hesitate to get kids involved—they can help assemble their own lunchables, which builds excitement and encourages them to try new foods.
Variations & Adaptations
One of the joys of DIY Lunchables is how easy it is to tweak based on dietary needs or flavor preferences. Here are some ideas I’ve tried:
- Gluten-Free: Swap crackers for gluten-free rice cakes or sliced veggies like jicama or zucchini rounds.
- Vegetarian: Replace meat with extra cheese, hard-boiled eggs, or roasted chickpeas for protein.
- Seasonal Twist: In summer, I swap grapes for fresh peach slices or watermelon cubes for a juicy pop.
- Spicy Kick: Add a little mild salsa or guacamole with diced jalapeños for kids who like a bit of heat.
- Nut-Free: Use sunflower seed butter or soy nut butter in place of peanut butter spreads.
Personally, I once made a Mediterranean-inspired box with mini pita, hummus, cucumber slices, and kalamata olives (pitted, of course). It was a hit with my older kiddo and a nice change from the usual. Feel free to experiment with flavors—your kids’ favorites will likely surprise you.
Serving & Storage Suggestions
These lunchables are best served chilled or at room temperature. I usually pack them fresh in the morning and keep them in the fridge until it’s time to eat. If you’re sending them to school, an insulated lunch bag with a small ice pack helps keep everything crisp and fresh.
For leftovers, store components separately if possible to maintain texture—especially crackers and dips. Most parts will keep well in the fridge for up to 2 days, though fresh fruit is best consumed the same day.
When reheating isn’t an option, consider complementary sides like a small thermos of warm soup or a smoothie to round out the meal. If you want to offer something sweet alongside, the creamy key lime pie bars make a refreshing and light dessert after a savory lunch.
Flavors tend to develop nicely if you prep ingredients the night before, especially dips like hummus. Just keep everything airtight to prevent drying out.
Nutritional Information & Benefits
These Healthy DIY Lunchables pack a balanced mix of protein, healthy fats, fiber, and essential vitamins. For example, a typical box with 10 crackers, 1 oz (28g) cheese, 2 oz (56g) turkey, and ½ cup mixed veggies clocks in around 300-350 calories—perfect for a growing kid’s snack or light lunch.
Key ingredients like cottage cheese provide calcium and protein, while fresh fruits and veggies add antioxidants and fiber. Whole grain crackers contribute to sustained energy release, helping kids stay focused through the afternoon slump.
This recipe is naturally low in added sugars and can be adapted for gluten-free, nut-free, or vegetarian diets. Be mindful of allergies when adding nuts or seeds, and opt for organic or minimally processed ingredients whenever possible for the best health benefits.
Conclusion
It’s funny how something so simple can make such a difference. These Healthy DIY Lunchables aren’t just snacks—they’re little moments of connection, creativity, and comfort on busy days. Whether you’re packing school lunches or whipping up after-school snacks, this approach offers a way to feed kids well without the stress.
Feel free to customize these ideas based on your child’s tastes and dietary needs. There’s no right or wrong here—just fresh, real food that kids actually want to eat. For me, this recipe stuck because it turned snack time from a chore into a fun, colorful, and nourishing ritual, and that’s something I’m happy to share with you all.
If you try these lunchables or have your own spin on them, I’d love to hear how it goes! Drop a comment below or share your favorite combos to keep the inspiration flowing.
FAQs About Healthy DIY Lunchables Kids Love
Can I make these lunchables ahead of time?
Yes! You can prep most components the night before. Just keep crackers and crunchy items separate until serving to avoid sogginess.
What are good protein alternatives for picky eaters?
Try hard-boiled eggs, roasted chickpeas, or mild cheese cubes. Some kids also enjoy nut butter or hummus as protein sources.
How can I keep the crackers from getting soggy?
Keep dips in separate small containers and add crackers right before eating. Also, place crackers above moist items to prevent moisture transfer.
Are these lunchables suitable for allergy-sensitive kids?
They can be adapted easily. Avoid nuts if allergies are a concern and swap in seed butters or extra veggies instead.
Can these lunchables be frozen?
Most fresh ingredients don’t freeze well, especially crackers and veggies, so it’s best to prepare fresh or refrigerate for a day or two.
Pin This Recipe!
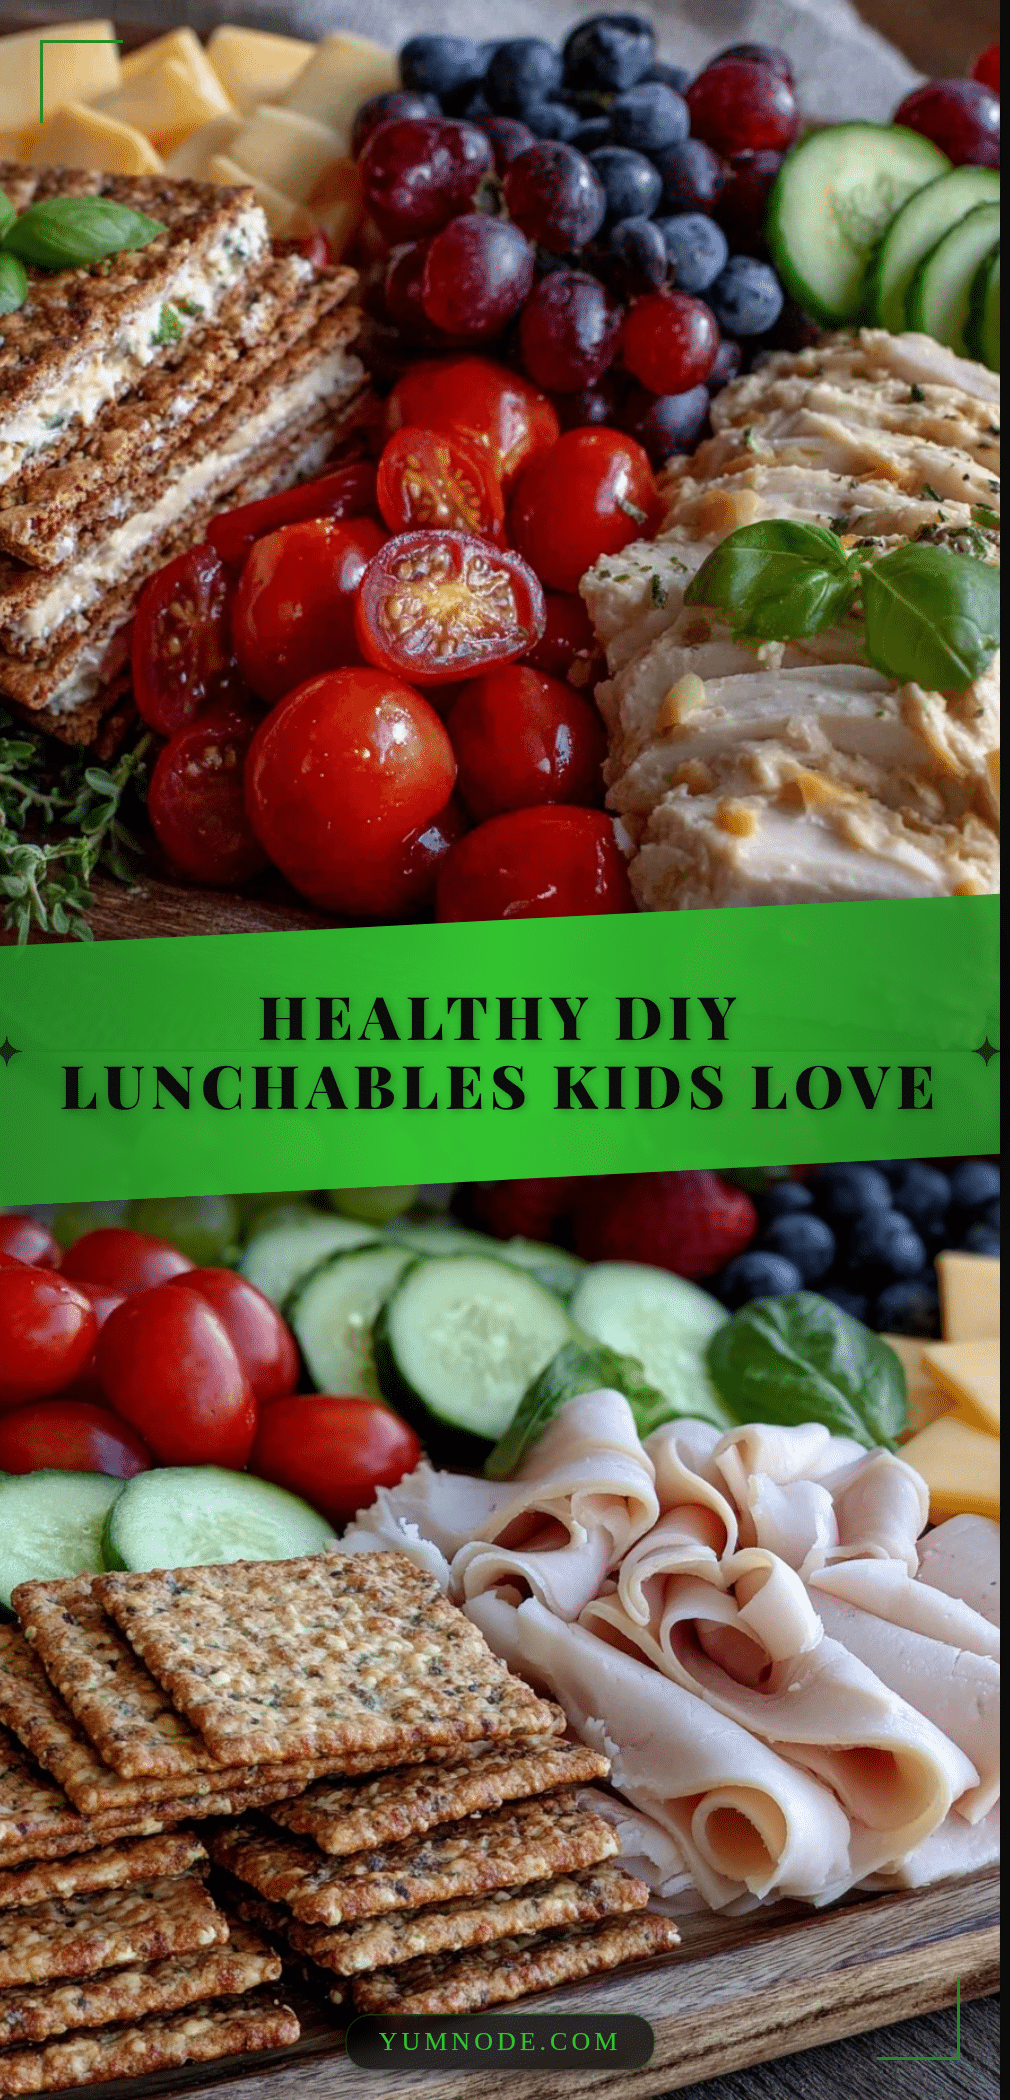
Healthy DIY Lunchables Kids Love 5 Easy Nutritious Snack Ideas

A quick and customizable DIY Lunchables recipe that offers nutritious, kid-friendly snack ideas using simple, wholesome ingredients perfect for school lunches or snacks.
- Prep Time: 10 minutes
- Cook Time: 10 minutes (for hard-boiling eggs)
- Total Time: 20 minutes
- Yield: 1 serving
- Category: Snack
- Cuisine: American
Ingredients
- Whole grain crackers (e.g., Triscuit or Mary’s Gone Crackers)
- Mini pita bread rounds or rice cakes (gluten-free options)
- Sliced cucumbers or apple rounds
- Cheddar or mozzarella cheese cubes (mild)
- Cottage cheese (small-curd or blended into a dip)
- Hummus or guacamole (store-bought or homemade)
- Turkey or chicken slices (nitrate-free if possible)
- Hard-boiled eggs, peeled and halved
- Roasted chickpeas or nuts (optional, avoid if allergies)
- Baby carrots, cherry tomatoes, snap peas
- Grapes or berries
- Bell pepper strips
- Dark chocolate chips or mini cookies (optional treat)
- Sunflower seeds or pumpkin seeds (optional)
Instructions
- Prep the Base: Select your cracker or veggie base. Arrange about 10-12 whole grain crackers or enough cucumber/apple slices to fill one section of your container. If using pita rounds, lightly toast them for extra crunch.
- Slice the Cheese: Cut cheese into bite-sized cubes or fun shapes. For about 1 cup (120g) of cheese, this takes 3-4 minutes. If blending cottage cheese, add ½ cup (120g) to a blender with a pinch of salt and herbs, then pulse until smooth.
- Prepare Protein: Roll or fold turkey/chicken slices into small bundles. Include 3-4 slices per box (about 3 oz or 85g). Hard-boil eggs ahead of time (10-12 minutes cooking), peel and halve.
- Wash and Slice Produce: Rinse baby carrots, cherry tomatoes, and snap peas. Slice bell peppers into thin strips. Portion about ½ cup (75g) mixed veggies. Cut grapes or berries if needed, about ½ cup (75g) fruit per box.
- Assemble Extras: Add a small handful (about 2 tablespoons) of roasted chickpeas or nuts. Include a mini treat like a few dark chocolate chips or a mini cookie. Place dips in small ramekins or silicone cups.
- Pack the Lunchable: Arrange all components neatly in your container to create a colorful, inviting plate. Keep wet items like dips separate to avoid sogginess. Close the lid tightly and refrigerate if not serving immediately.
Notes
Keep dips separate from crackers to avoid sogginess. Hard-boil eggs in advance to save time. Use lemon juice on apple slices to prevent browning. Place crunchy items on top to avoid crushing. Customize ingredients based on dietary needs and preferences.
Nutrition
- Serving Size: One lunch container
- Calories: 300350
- Sugar: 6
- Sodium: 450
- Fat: 12
- Saturated Fat: 4
- Carbohydrates: 30
- Fiber: 5
- Protein: 20
Keywords: DIY Lunchables, healthy snacks, kids snacks, nutritious snack ideas, easy lunch ideas, homemade Lunchables, kid-friendly snacks



