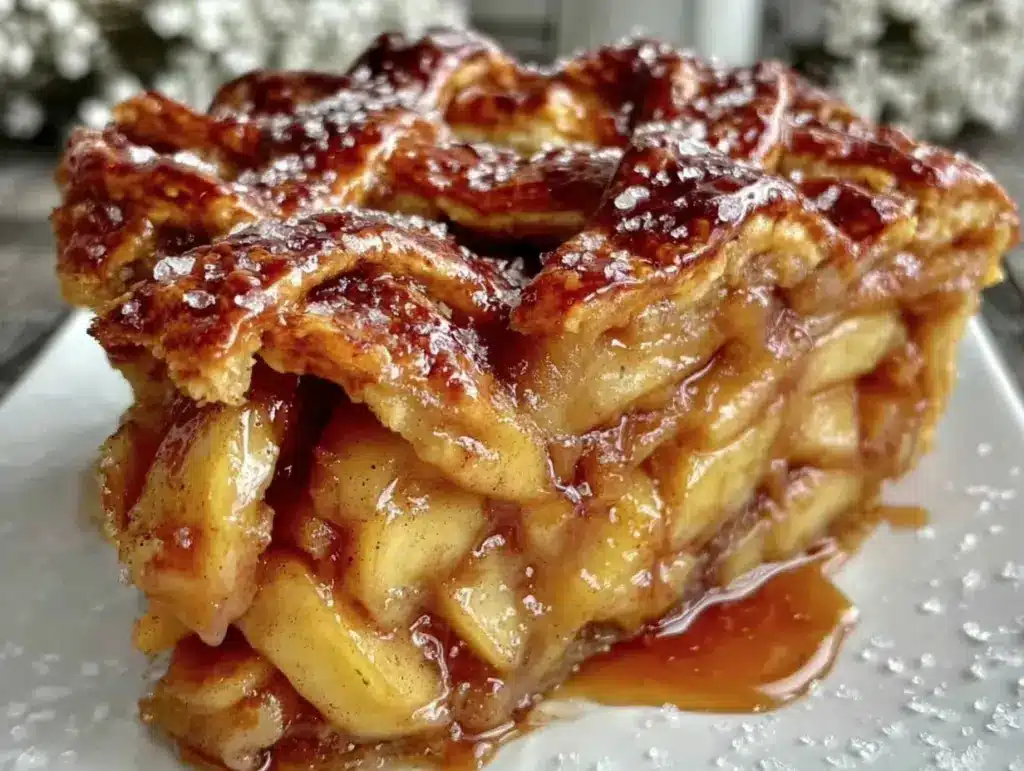
“You’re kidding me—apple pie from scratch, and it actually tastes like Grandma’s?” That was my friend’s exact reaction the first time I pulled this Perfect Flaky Classic American Apple Pie out of the oven. Honestly, I wasn’t expecting much either. It started as a last-minute rescue when a store-bought pie just wasn’t going to cut it for a casual Sunday dinner. I had a bag of crisp Granny Smith apples, a bit of flour, butter, and a hunch that with some patience, I could whip something up.
The kitchen smelled like autumn itself—warm cinnamon, tangy apples mingling with the buttery dough, practically begging for a scoop of vanilla ice cream. That flaky crust, which I half-expected to be a disaster, turned out golden and tender, flaking apart with the gentlest fork touch. After the first bite, the skepticism melted away; this pie wasn’t just good, it felt like a comforting hug on a plate.
I found myself making this pie multiple times that month, tweaking the spice mix here, adjusting the crust technique there, until it became my go-to for any occasion needing that classic American apple pie magic. There’s something quietly satisfying about pulling this pie from the oven, letting it cool just enough, and watching everyone’s eyes light up with that familiar, cozy delight. It’s not flashy, just honest, simple, and perfectly flaky.
That’s why this recipe stuck—not just for its taste, but for the little moments it creates, the smiles it brings, and the way it turns a simple apple into something memorable.
Why You’ll Love This Recipe
This Perfect Flaky Classic American Apple Pie has been tested countless times in my own kitchen and shared with friends who swear it’s the best homemade apple pie they’ve tasted. It’s a classic for a reason, but here’s what makes this version stand out:
- Quick & Easy: The pie comes together in about 1 hour and 30 minutes, including baking time. Perfect for busy weeknights or a relaxed weekend project.
- Simple Ingredients: Nothing fancy or hard to find—just good old-fashioned pantry staples and fresh apples.
- Perfect for Any Occasion: Whether it’s a holiday dinner, casual family gathering, or just a sweet treat after work, this pie fits the bill.
- Crowd-Pleaser: Kids and adults alike love the balance of sweet and tart apples with that flaky crust.
- Unbelievably Delicious: The crust is buttery and flaky thanks to a classic cold butter technique, while the filling is rich, spiced just right, and not too sweet.
What makes this recipe different? The crust is mixed and rolled with cold butter cubes and a splash of apple cider vinegar, which keeps it tender but flaky. The filling blends tart Granny Smith and sweet Fuji apples, creating a depth of flavor you won’t find in run-of-the-mill pies. Plus, a pinch of nutmeg and a touch of vanilla give it a warm, nostalgic aroma that fills the whole kitchen. This isn’t just another apple pie—it’s the one you’ll want to make over and over again.
What Ingredients You Will Need
This Perfect Flaky Classic American Apple Pie uses straightforward ingredients that combine to create bold flavor and that satisfying flaky texture without much fuss. Most are pantry staples, while the apples bring the fresh, seasonal goodness.
- For the crust:
- 2 ½ cups (320g) all-purpose flour, plus extra for dusting
- 1 teaspoon salt
- 1 tablespoon granulated sugar (adds a subtle sweetness)
- 1 cup (227g) unsalted butter, cold and cubed (I recommend Kerrygold for best flavor and flakiness)
- ¼ cup (60ml) ice water, plus more if needed
- 1 teaspoon apple cider vinegar (helps tenderize the dough)
- For the filling:
- 6 medium apples (about 3 pounds/1.4kg), peeled, cored, and sliced thinly (I use a mix of Granny Smith and Fuji for balanced tartness and sweetness)
- ¾ cup (150g) granulated sugar
- ¼ cup (50g) light brown sugar, packed (adds depth of flavor)
- 2 tablespoons all-purpose flour (helps thicken the filling)
- 1 teaspoon ground cinnamon
- ¼ teaspoon ground nutmeg
- ½ teaspoon salt
- 1 teaspoon pure vanilla extract
- 1 tablespoon unsalted butter, cut into small pieces (to dot over the filling)
- For the topping:
- 1 large egg, beaten with 1 tablespoon water (for egg wash)
- 1 tablespoon coarse sugar (optional, for sprinkling on top)
If you want a gluten-free option, substitute the all-purpose flour with a 1:1 gluten-free baking flour blend. For a dairy-free crust, swap the butter with cold coconut oil chunks and use a dairy-free butter alternative in the filling. And if you’re feeling fancy, a splash of Calvados or apple brandy in the filling adds a lovely boozy warmth.
Equipment Needed
- 9-inch (23cm) pie dish: Glass or ceramic works well to evenly distribute heat and showcase the golden crust.
- Mixing bowls: For combining dough and filling ingredients separately.
- Pastry cutter or food processor: To cut the cold butter into the flour for the crust. A food processor speeds things up, but a pastry cutter or two knives also do the trick.
- Rolling pin: Crucial for rolling out the dough evenly. I keep a silicone rolling pin handy for easy cleanup.
- Sharp knife or apple slicer: For prepping the apples thin and even.
- Baking sheet: To place under the pie in the oven—helps catch any drips and keeps your oven clean.
- Pastry brush: For applying the egg wash, giving the crust that shiny, golden finish.
If you don’t have a pastry cutter, no worries—using two butter knives to slice the butter into the flour works just fine (takes a bit longer). For rolling out the dough, freezing it for 15 minutes after mixing can make handling easier, especially if your kitchen is warm.
Preparation Method
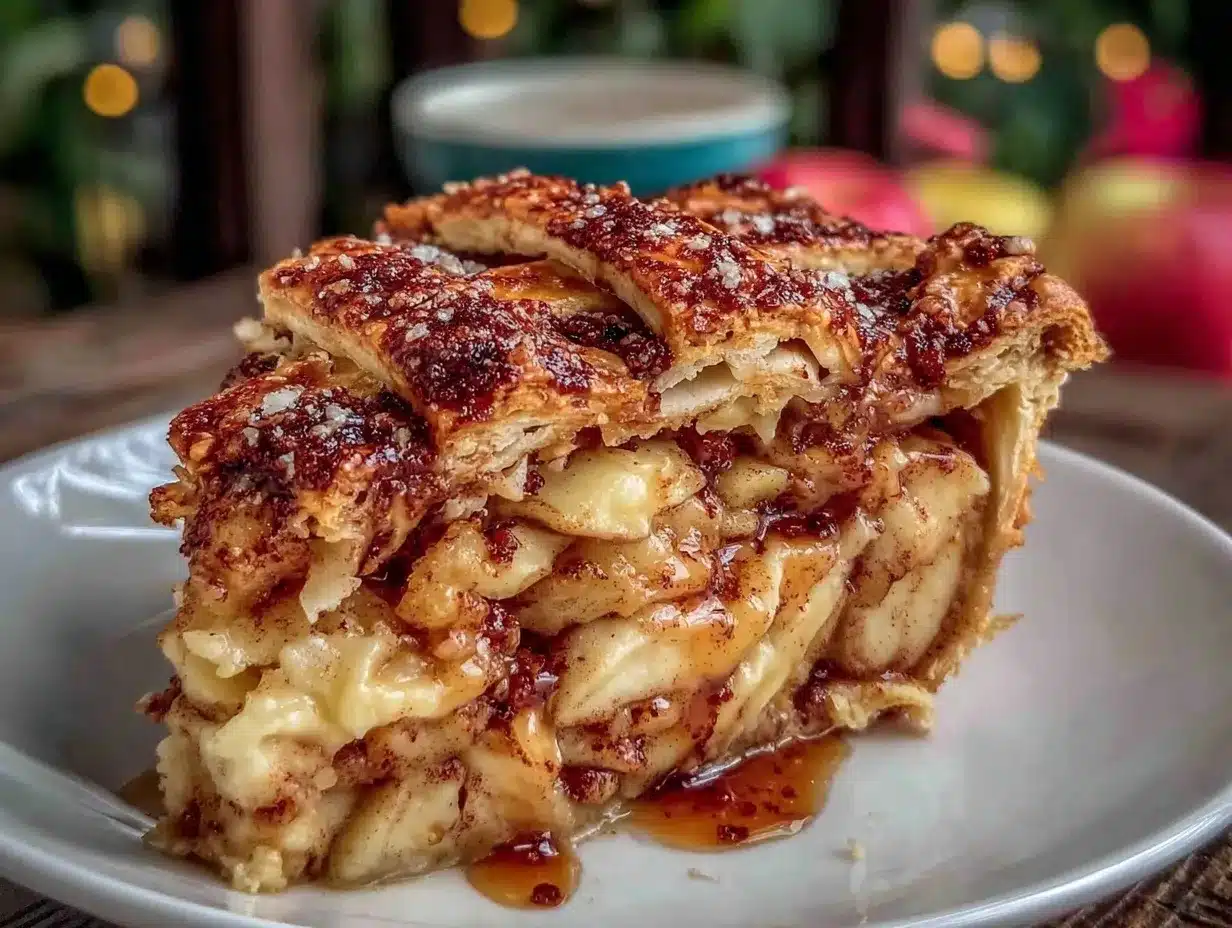
- Make the crust: In a large bowl, whisk together the flour, salt, and sugar. Add the cold butter cubes and cut them into the flour with a pastry cutter or pulses in a food processor until the mixture resembles coarse crumbs with some pea-sized bits.
- Add liquids: Mix the ice water and apple cider vinegar in a small cup. Gradually sprinkle the liquid over the flour mixture, tossing gently with a fork until the dough just starts to come together. You might not need all the water—stop when the dough holds when pressed.
- Form dough disks: Divide the dough into two equal parts. Flatten each into a disk about 1 inch thick, wrap tightly in plastic wrap, and chill for at least 1 hour (or up to 2 days). This chilling is key for flakiness.
- Prepare the filling: In a large bowl, toss the sliced apples with both sugars, flour, cinnamon, nutmeg, salt, and vanilla extract until evenly coated. Let rest while the dough chills, so the juices start to release.
- Roll out bottom crust: On a lightly floured surface, roll one dough disk into a 12-inch (30cm) circle. Transfer it to the pie dish, letting the edges hang over slightly. Chill again while you roll out the top crust.
- Fill the pie: Pour the apple mixture into the crust-lined dish, spreading evenly. Dot the filling with the small butter pieces to add richness as it bakes.
- Top crust: Roll the second dough disk into a 12-inch circle. You can do a full top crust with slits for steam or create a lattice pattern for a classic look. Carefully place it over the filling and trim edges to about 1 inch overhang.
- Seal and crimp edges: Fold the overhang under itself and crimp with your fingers or a fork to seal the pie.
- Apply egg wash: Brush the top crust with the beaten egg wash to encourage browning. Sprinkle coarse sugar on top for a subtle crunch and sparkle.
- Chill before baking: Pop the pie in the fridge for 15-20 minutes—this tightens the dough and helps keep the crust flaky.
- Bake: Place the pie on a baking sheet and bake in a preheated 425°F (220°C) oven for 15 minutes. Then reduce the heat to 350°F (175°C) and bake for another 40-50 minutes, or until the crust is golden and the filling bubbles through the vents.
- Cool: Let the pie cool on a wire rack for at least 2 hours before slicing. This rest time allows the filling to set perfectly.
Pro tip: If the crust edges brown too quickly, cover them with foil or a pie shield halfway through baking to avoid burning. When rolling out the dough, keep a little flour handy but try not to add too much—that can make the crust tough.
Cooking Tips & Techniques
Getting that flaky crust just right is often the trickiest part, but a few lessons from experience can help:
- Keep everything cold: The butter and water should be ice cold. Warm butter melts into the dough, creating a dense crust instead of flaky layers.
- Don’t overwork the dough: Mix just until it holds together. Over-kneading develops gluten and makes the crust tough.
- Use a mix of apples: Combining tart and sweet apples gives a more complex flavor than one type alone.
- Roll gently and evenly: Uneven thickness can cause soggy spots or uneven baking.
- Venting is important: If not using a lattice, cut slits to let steam escape and prevent a soggy crust.
- Watch the baking time: Oven temperatures vary, so start checking at 50 minutes into baking. The filling should bubble and the crust be golden.
One time I skipped chilling the dough and the crust shrunk like crazy in the oven—lesson learned! Also, I like to place a baking sheet beneath the pie to catch any drips, keeping my oven clean and avoiding smoke. Multitasking tip: While the pie bakes, clean your prep area and prep toppings for other dishes—trust me, it saves time later.
Variations & Adaptations
This classic apple pie is a great base to customize for different tastes or dietary needs:
- Spiced Up: Add a pinch of ground cloves, ginger, or cardamom for a warming twist. A splash of maple syrup instead of sugar changes the flavor profile beautifully.
- Gluten-Free: Use a gluten-free flour blend for the crust. Make sure it includes xanthan gum for structure, or add it separately. The filling remains the same.
- Vegan Version: Replace butter with a solid coconut oil or vegan butter substitute and use a flax egg or aquafaba wash for the crust glaze.
- Mini Pies: Make individual hand pies or tartlets using the same filling and dough. They bake faster and are perfect for parties.
- Personal Favorite: I sometimes dot the filling with small chunks of sharp cheddar cheese before adding the top crust—a nod to a classic American combo that’s surprisingly delicious.
For a shortcut option, you could swap the homemade crust with a high-quality store-bought one, but honestly, the homemade crust is worth the effort for that flaky, buttery texture you just can’t fake.
Serving & Storage Suggestions
This apple pie is best served warm or at room temperature, ideally with a scoop of vanilla ice cream or a dollop of whipped cream. The contrast between the flaky crust and creamy topping is a total crowd-pleaser. For a cozy breakfast twist, try a slice with a smear of sharp cheddar cheese—trust me, it works wonders.
Store leftover pie covered loosely with foil or plastic wrap at room temperature for up to 2 days, or refrigerate for up to 5 days. To freeze, wrap tightly in plastic wrap and foil, and freeze for up to 3 months. Thaw overnight in the fridge.
Reheat slices in a 350°F (175°C) oven for about 10-15 minutes to bring back that fresh-baked crispness. Over time, the flavors deepen and the spices meld beautifully, so sometimes a day-old slice tastes even better. Just avoid microwaving if you can—it tends to make the crust soggy.
Pair your pie with a hot cup of coffee or warm spiced cider for the ultimate cozy moment. If you enjoyed this, you might appreciate the warm spices in my cozy pumpkin spice bread with cream cheese swirl or the tart brightness of creamy key lime pie bars as a refreshing contrast.
Nutritional Information & Benefits
Each slice of this Perfect Flaky Classic American Apple Pie (1/8th of the pie) contains approximately:
| Calories | 320 kcal |
|---|---|
| Fat | 15g (mostly from butter) |
| Carbohydrates | 45g (natural sugars from apples and added sugars) |
| Fiber | 3g |
| Protein | 2g |
Apples provide dietary fiber, vitamin C, and antioxidants, which support digestion and immune health. Using real butter adds richness and some fat-soluble vitamins. While this pie is a treat, the mix of fresh fruit and wholesome ingredients makes it a satisfying dessert option.
This recipe is naturally gluten unless modified with gluten-free flour, and contains dairy from butter and egg. For lower sugar options, reduce the added sugars slightly or swap with natural sweeteners like maple syrup. It’s a comforting indulgence that fits nicely into balanced eating.
Conclusion
This Perfect Flaky Classic American Apple Pie is more than just a dessert—it’s a slice of comfort you can make with your own hands. It’s straightforward enough for a home cook, yet delivers that flaky, buttery crust and warmly spiced filling that feels truly special.
Don’t hesitate to adjust the spices or crust thickness to match your preferences. I love this pie because it combines simple ingredients with just the right technique to make something memorable—something that always brings people together around the table.
If you try this recipe, I’d love to hear about your tweaks or how it turned out for you. Drop a comment or share your version—there’s always room for another twist on this classic. Happy baking!
Frequently Asked Questions
What type of apples are best for apple pie?
A mix of tart Granny Smith and sweet Fuji or Honeycrisp apples works best. This combo balances flavor and texture, preventing the pie from being too sweet or mushy.
Can I make the pie crust ahead of time?
Yes! You can make and chill the dough up to 2 days in advance or freeze it for up to a month. Just thaw overnight in the fridge before rolling out.
How do I prevent a soggy bottom crust?
Make sure to use flour in the filling to thicken juices, and bake the pie on a lower oven rack to help set the crust. You can also partially blind-bake the bottom crust before adding the filling.
Can I use frozen apples for the filling?
Fresh apples are preferred for best texture, but frozen can work if thawed and drained well to avoid excess moisture.
How should I store leftover apple pie?
Cover loosely at room temperature for up to 2 days or refrigerate for up to 5 days. Reheat in the oven to keep the crust crisp.
Pin This Recipe!
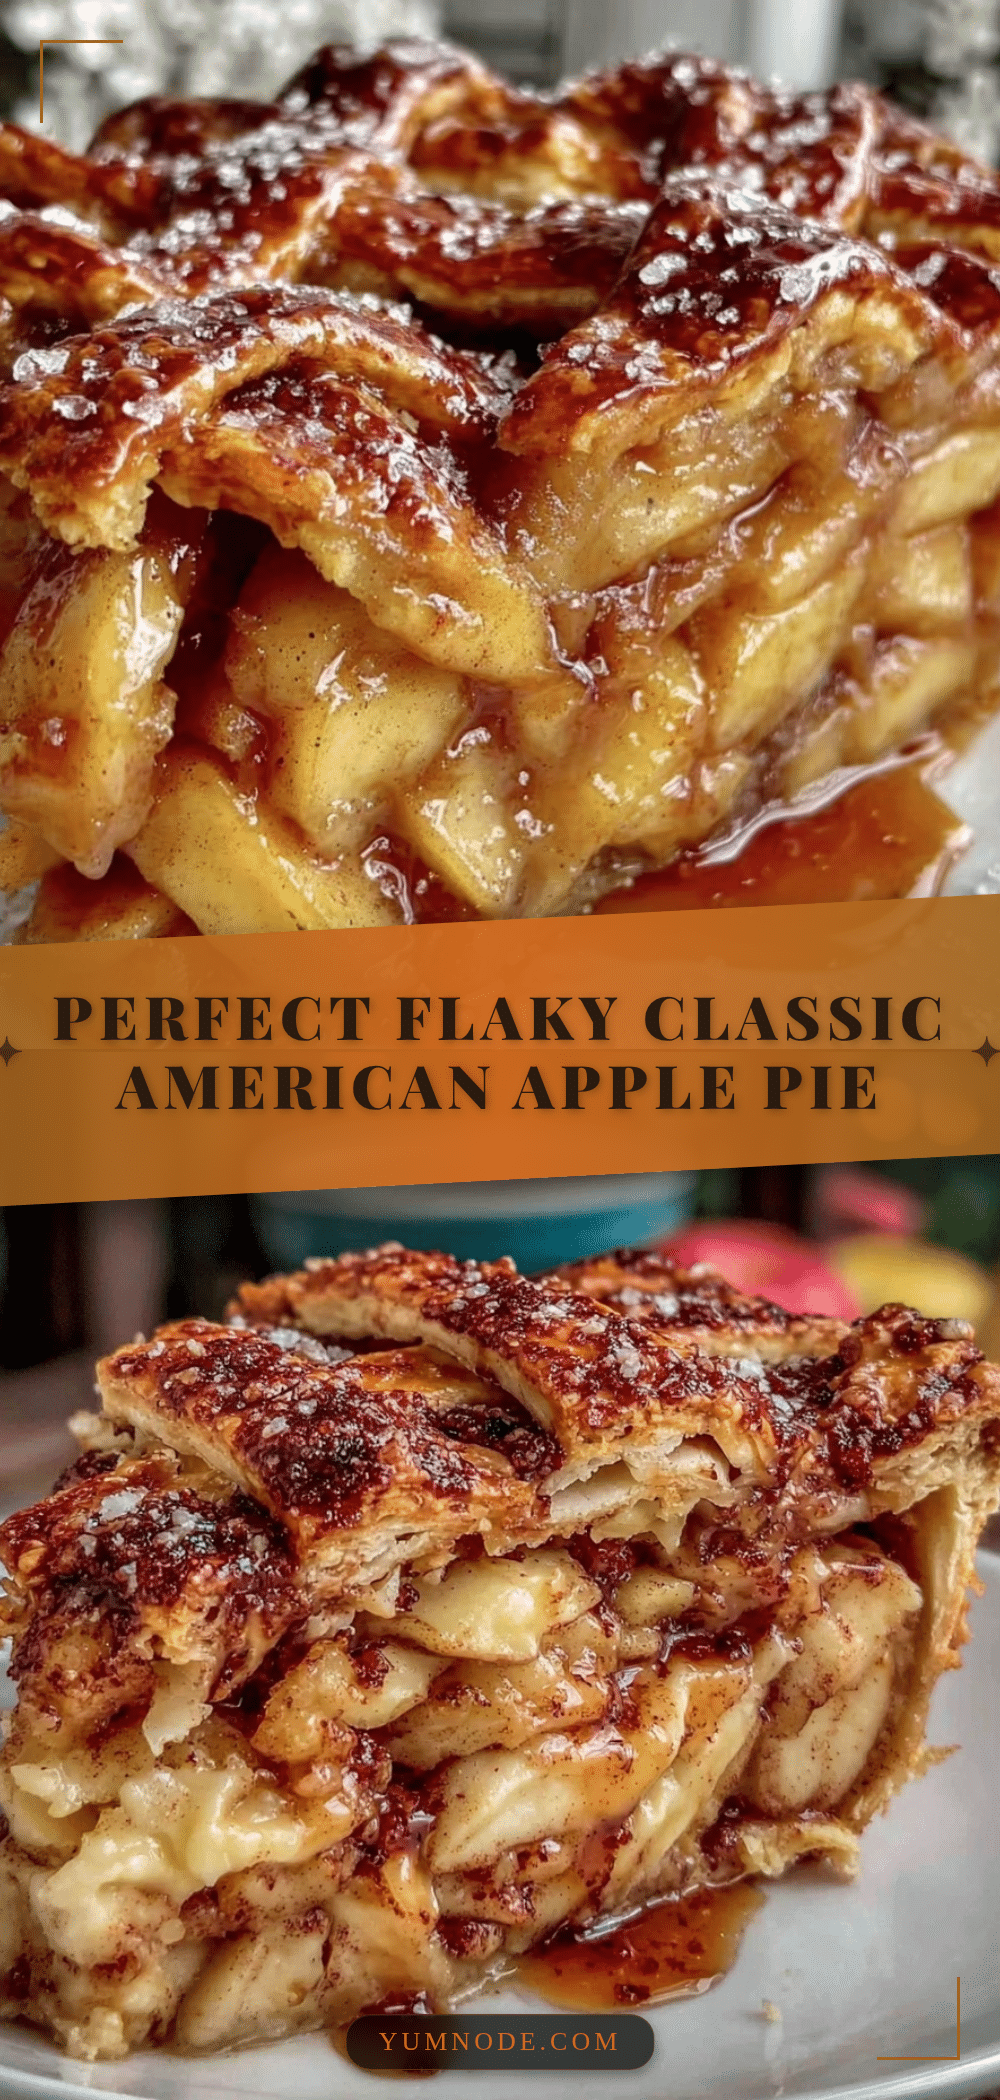
Perfect Flaky Classic American Apple Pie

A classic American apple pie with a flaky buttery crust and a spiced filling of tart Granny Smith and sweet Fuji apples. Easy to make and perfect for any occasion.
- Prep Time: 30 minutes
- Cook Time: 1 hour
- Total Time: 1 hour 30 minutes
- Yield: 8 servings 1x
- Category: Dessert
- Cuisine: American
Ingredients
- 2 ½ cups (320g) all-purpose flour, plus extra for dusting
- 1 teaspoon salt
- 1 tablespoon granulated sugar
- 1 cup (227g) unsalted butter, cold and cubed
- ¼ cup (60ml) ice water, plus more if needed
- 1 teaspoon apple cider vinegar
- 6 medium apples (about 3 pounds/1.4kg), peeled, cored, and sliced thinly (mix of Granny Smith and Fuji)
- ¾ cup (150g) granulated sugar
- ¼ cup (50g) light brown sugar, packed
- 2 tablespoons all-purpose flour
- 1 teaspoon ground cinnamon
- ¼ teaspoon ground nutmeg
- ½ teaspoon salt
- 1 teaspoon pure vanilla extract
- 1 tablespoon unsalted butter, cut into small pieces
- 1 large egg, beaten with 1 tablespoon water (for egg wash)
- 1 tablespoon coarse sugar (optional, for sprinkling on top)
Instructions
- In a large bowl, whisk together the flour, salt, and sugar for the crust.
- Add cold butter cubes and cut into the flour with a pastry cutter or pulse in a food processor until mixture resembles coarse crumbs with some pea-sized bits.
- Mix ice water and apple cider vinegar in a small cup. Gradually sprinkle over flour mixture, tossing gently with a fork until dough just starts to come together.
- Divide dough into two equal parts, flatten each into a disk about 1 inch thick, wrap in plastic wrap, and chill for at least 1 hour.
- In a large bowl, toss sliced apples with granulated sugar, brown sugar, flour, cinnamon, nutmeg, salt, and vanilla extract until evenly coated. Let rest while dough chills.
- Roll one dough disk on a lightly floured surface into a 12-inch circle. Transfer to a 9-inch pie dish, letting edges hang over slightly. Chill while rolling out top crust.
- Pour apple mixture into crust-lined dish and dot with small pieces of butter.
- Roll second dough disk into a 12-inch circle. Place over filling, trim edges to about 1 inch overhang.
- Fold overhang under itself and crimp edges to seal the pie.
- Brush top crust with beaten egg wash and sprinkle with coarse sugar if desired.
- Chill pie in fridge for 15-20 minutes before baking.
- Place pie on a baking sheet and bake in a preheated 425°F oven for 15 minutes.
- Reduce heat to 350°F and bake for another 40-50 minutes until crust is golden and filling bubbles.
- Let pie cool on a wire rack for at least 2 hours before slicing.
Notes
Keep butter and water ice cold to ensure a flaky crust. Chill dough for at least 1 hour before rolling. Use a mix of tart and sweet apples for balanced flavor. Cover crust edges with foil if browning too quickly. Let pie cool for 2 hours before slicing to set filling.
Nutrition
- Serving Size: 1 slice (1/8th of pi
- Calories: 320
- Fat: 15
- Carbohydrates: 45
- Fiber: 3
- Protein: 2
Keywords: apple pie, classic apple pie, flaky crust, homemade pie, American dessert, Granny Smith apples, Fuji apples, easy apple pie