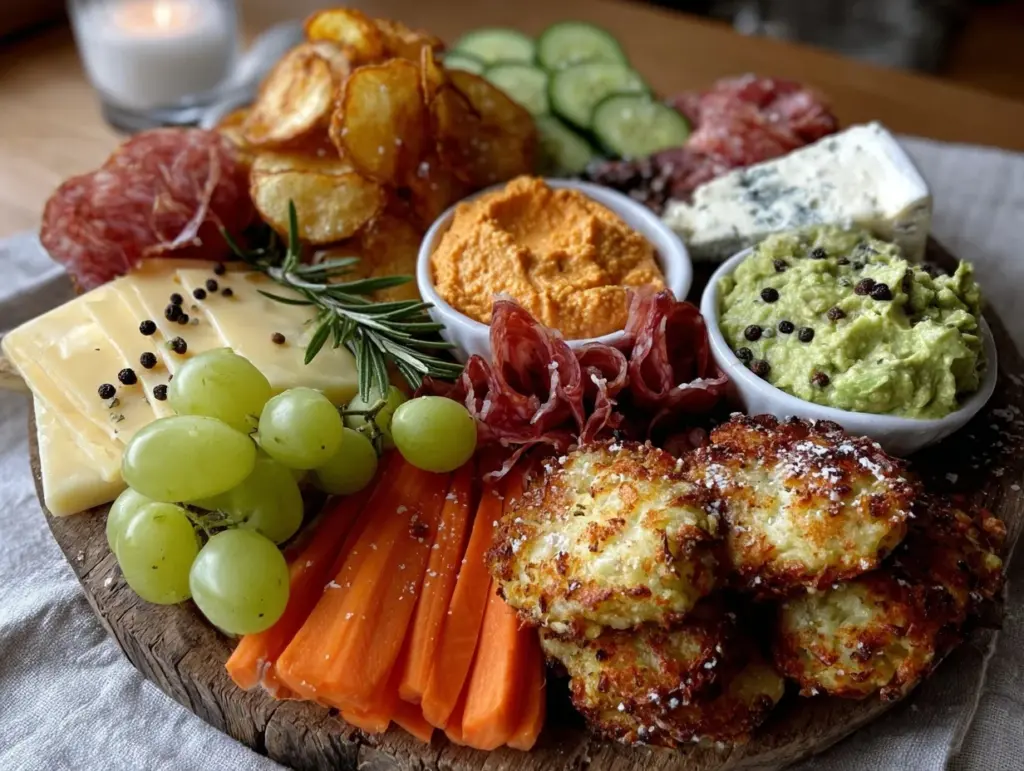
“Want anything else while I’m setting this up?” my partner asked, glancing over at the jumble of snacks I’d pulled from the fridge and pantry. Honestly, I wasn’t sure if it was going to work out. I’d tossed together some cheese, nuts, veggies, and a few dips on a whim. TV night was supposed to be chill, but I figured a little extra snack magic couldn’t hurt. By the time we settled in, that snack board was the real MVP—gone faster than the show’s plot twists. Turns out, the Ultimate Snack Board for TV Night is my new go-to for those evenings when you want something easy, crowd-friendly, and just a little bit fancy without the hassle.
There’s something quietly satisfying about an assortment of flavors and textures spread out, you know? Crunchy, creamy, salty, sweet—all within arm’s reach. I never thought a simple snack board could feel so… intentional. It’s become my little ritual, something I look forward to on hectic days or when friends drop by unexpectedly. Even better, it’s the kind of recipe that doesn’t have to be perfect to impress, which feels like a win in my book.
Honestly, this snack board sticks around because it’s flexible, comforting, and just plain fun to nibble on. No complicated cooking, just smart choices and a bit of creativity. If you’ve ever been sidetracked by grabbing random chips or ordering takeout during TV time, this might change your game. It’s the kind of spread that invites you to slow down, savor, and maybe share a laugh or two over your favorite show. Here’s why it’s worth your next night in.
Why You’ll Love This Recipe
This Ultimate Snack Board for TV Night has been tested through countless cozy evenings and spontaneous hangouts. I’ve learned what works, what doesn’t, and how to keep it fresh every time. Here’s the lowdown on why this will quickly become your favorite snack setup:
- Quick & Easy: Assembles in under 20 minutes, perfect for those last-minute TV nights or unexpected guests.
- Simple Ingredients: Mostly pantry staples and fresh basics you likely have—or can grab easily—without a special trip.
- Perfect for Any Occasion: Whether it’s a casual family night, a game day, or a laid-back weekend binge session, this board fits right in.
- Crowd-Pleaser: Combines salty, sweet, crunchy, and creamy elements to satisfy diverse tastes—from picky kids to adventurous adults.
- Unbelievably Delicious: The balance of flavors and textures makes it more than just snacks; it’s an experience you’ll savor bite after bite.
This isn’t your run-of-the-mill snack board. What sets it apart is a little trick I swear by: mixing a creamy, herby dip with a touch of tang, like a quick homemade ranch or whipped feta spread, which adds a fresh punch. Plus, I love including unexpected crunchy bits like candied nuts or spiced crackers that bring a surprising zing. It’s a snack board that feels thoughtfully crafted but takes no time at all. You might find yourself closing your eyes after the first bite—yeah, it’s that good.
What Ingredients You Will Need
This snack board uses simple, wholesome ingredients to deliver bold flavor and satisfying texture without the fuss. Most items are pantry staples or fresh finds you can swap easily based on your mood or season.
- Cheeses:
- Sharp cheddar, sliced or cubed (adds boldness)
- Soft brie or camembert wedge (for creamy richness)
- Feta or goat cheese crumbles (for tangy creaminess)
- Meats:
- Thinly sliced prosciutto or salami (for savory saltiness)
- Smoked turkey or ham slices (optional, mild flavor)
- Fresh Produce:
- Seedless grapes or fresh berries (sweet pop)
- Baby carrots, cucumber slices, cherry tomatoes (crisp freshness)
- Olives—green or black, pitted (briny bite)
- Crunchy Elements:
- Mixed nuts, lightly toasted (roasted almonds, cashews, or pecans)
- Artisan crackers or pita chips (choose a sturdy variety)
- Spiced or candied pecans (adds sweet heat)
- Dips & Spreads:
- Hummus—classic or roasted red pepper (creamy & savory)
- Whipped feta spread with lemon zest (a personal favorite)
- Quick guacamole or tzatziki (fresh and cooling)
- Extras:
- Honey or fig jam (for drizzling or pairing with cheese)
- Dark chocolate chunks or squares (optional sweet finish)
For the best results, I usually pick cheeses from trusted brands like Cabot for cheddar or local dairies for fresh goat cheese. When it comes to crackers, a sturdy multigrain or rosemary-flavored variety works wonders. Seasonal swaps? Absolutely—fresh peaches or apple slices in summer or fall add a lovely twist. If you’re vegan or dairy-free, almond-based cheeses and coconut yogurt dips work just as well.
Equipment Needed
- Large wooden or slate serving board (the bigger, the better for variety)
- Small bowls or ramekins for dips and jams
- Sharp knife for slicing cheeses and meats
- Cheese slicer or wire (optional but handy for neat slices)
- Serving spoons or spreaders for dips
- Optional: small tongs or picks for easy grabbing
I’ve found that investing in a good wooden board makes the whole setup feel more inviting (and Instagram-worthy). But if you’re on a budget, a large platter or even a clean baking sheet lined with parchment works just fine. Small bowls keep dips tidy and prevent cross-contamination of flavors. Oh, and always have a sharp knife on hand—trying to cut crumbly cheese with a dull blade is a nightmare. For a fuss-free night, having spreaders that double as knives saves time and washing up.
Preparation Method
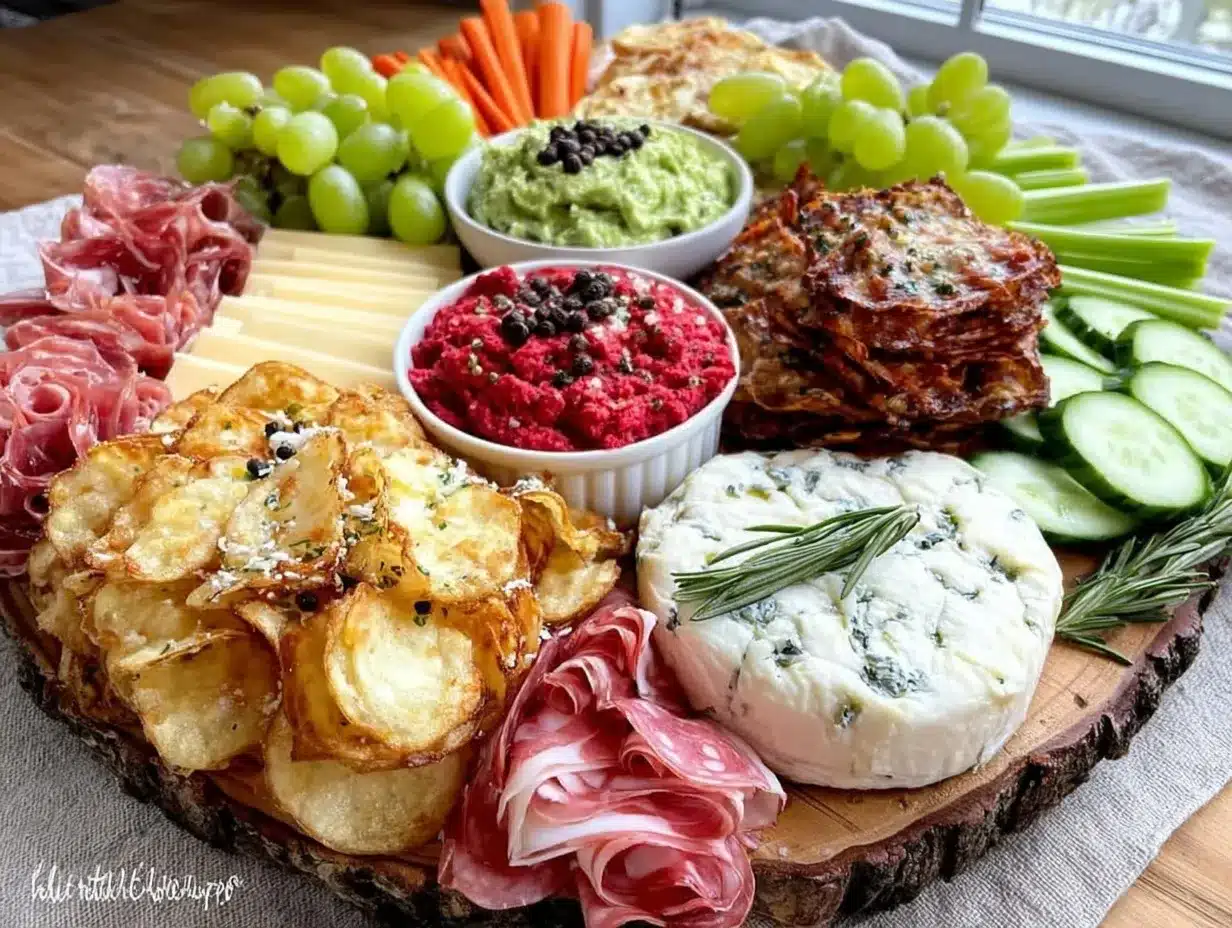
- Prep Your Ingredients (10 minutes): Rinse and dry fresh produce like grapes, cherry tomatoes, and cucumber slices. Slice cheeses into bite-sized pieces—cubes or wedges—and arrange meats in thin ribbons or folds to keep them neat and easy to grab.
- Toast Nuts (optional, 5 minutes): Lightly toast mixed nuts in a dry skillet over medium heat until fragrant and golden, about 3-4 minutes. Stir frequently to avoid burning. Let cool before adding to the board.
- Arrange Dips: Spoon your chosen dips—like hummus, whipped feta, or guacamole—into small bowls or ramekins. Drizzle olive oil or sprinkle herbs on top for an extra touch.
- Build the Board (10 minutes): Start by placing the bowls of dips on the board first. Next, arrange cheeses spaced evenly around the board, followed by folded meats near the cheeses. Fill in gaps with fresh fruit clusters, veggies, nuts, and crackers. Try to balance colors and textures for visual appeal.
- Add Final Touches: Drizzle a little honey or spoon fig jam near soft cheeses for sweet contrast. Scatter some dark chocolate chunks if you want a dessert-like twist. Add small serving utensils or toothpicks if you prefer.
- Serve Immediately: The board is best enjoyed fresh, but if you need to prep ahead, cover tightly with plastic wrap and refrigerate. Bring it to room temperature before serving for full flavor.
Watch for signs like cheeses that are too cold and firm—letting them sit out 15 minutes before serving really helps them soften and release flavor. If you’re short on time, pre-sliced cheeses and pre-washed produce from the store can be a lifesaver. Also, don’t cram the board too tightly; leaving little gaps invites guests to explore without feeling overwhelmed. Trust me, the ease of grabbing a bit of everything is what makes this fun.
Cooking Tips & Techniques
The beauty of this snack board is that it’s mostly no-cook, but there are still a few tricks to keep it smooth and satisfying. First, always taste your cheeses and dips ahead—season as needed. Sometimes a pinch of flaky sea salt or fresh cracked pepper can make a world of difference. When slicing cheeses, chill them first if they’re soft, but not too cold to avoid crumbling.
Don’t underestimate the power of texture contrast. Crunchy nuts and crisps paired with creamy cheeses or dips create a delightful mouthfeel. Toasting nuts or warming pita chips (just a few minutes in the oven) adds a fresh crunch that beats store-bought out of the box. I’ve learned the hard way that soggy crackers are a deal-breaker, so keep crackers separate from moist ingredients until serving.
Timing is key—put perishable items like soft cheeses and fresh dips out just before guests arrive so they stay fresh and inviting. Multitasking by prepping dips while slicing cheeses saves time. Also, layering flavors by pairing salty meats next to sweet fruits or tangy cheeses makes every bite interesting. Finally, don’t stress about perfect symmetry; a naturally arranged board feels more inviting.
Variations & Adaptations
This snack board is a playground for creativity and customization. Here are a few variations I’ve tried and loved:
- Vegan Version: Swap cheeses for plant-based alternatives like cashew cheese or almond-based spreads. Use roasted chickpeas instead of nuts for extra crunch. Include fresh veggies like bell pepper strips and cherry tomatoes with a vibrant avocado dip.
- Seasonal Twist: In fall, I swap grapes for crisp apple slices and add spiced pumpkin seeds. Summer boards shine with fresh peaches, watermelon cubes, and mint-infused yogurt dip.
- Spice It Up: Add a jar of spicy pickles or a smoky chipotle hummus for a kick. Including jalapeño cheddar or pepperoni slices ups the heat for adventurous palates.
For a party, you can scale up by adding themed elements like mini sliders or skewers. If you want to keep things low-carb, swap crackers for cucumber rounds or endive leaves. One personal favorite is pairing the board with a batch of crispy garlic chicken tenders—the combo never fails to impress guests.
Serving & Storage Suggestions
Serve your snack board at room temperature to get the full flavor range from cheeses and dips. Arrange it on a large table or coffee table where everyone can reach easily. Pairing with chilled sparkling water, craft beers, or a light white wine can turn your TV night into a mini celebration.
Leftovers? No worries. Wrap cheeses tightly in wax paper or plastic wrap and store in the fridge. Most fresh produce and nuts keep well in sealed containers for up to 3 days. Dips should be refrigerated promptly. When reheating pita chips or crackers, a quick 3-5 minute toast in a 350°F (175°C) oven refreshes their crunch.
Over time, flavors meld in dips and soft cheeses, often becoming even more intense the next day. I sometimes assemble smaller snack boards the day after to enjoy those deeper tastes with a new crowd or as a solo treat. For a sweet contrast, serving alongside easy homemade treats like these creamy key lime pie bars adds a perfect finishing touch.
Nutritional Information & Benefits
This snack board offers a balanced mix of proteins, healthy fats, and fiber-rich veggies. Cheeses provide calcium and protein, while nuts contribute heart-healthy fats and essential minerals. Fresh produce adds antioxidants and vitamins. Choosing whole grain crackers or seeds boosts fiber content.
Depending on ingredients, this board can be tailored to gluten-free or low-carb diets easily. For example, swapping crackers with sliced veggies keeps carbs low. Be mindful of nut allergies and opt for seeds or crunchy veggies instead. From a wellness perspective, this board encourages mindful snacking—combining nutrient-dense bites with indulgent flavors so you feel satisfied without overdoing it.
Conclusion
The Ultimate Snack Board for TV Night is more than just a collection of snacks—it’s a way to make your evenings feel special without stress. Whether you’re winding down solo or hosting friends, it invites you to savor simple pleasures with every bite. I love how flexible it is; you can tweak it to match your cravings, season, or dietary needs, making it truly your own.
Give it a try and see how this easy homemade idea can bring a little extra joy to your next TV night. It’s one of those recipes that feels personal, comforting, and effortlessly impressive—kind of like a good story you want to tell again and again.
FAQs
What are some good cheese options for a snack board?
Choose a mix of textures and flavors like sharp cheddar, creamy brie, and tangy goat cheese. Soft and hard cheeses together create a nice balance.
Can I prepare the snack board ahead of time?
Yes! Assemble most components but keep crackers and fresh veggies separate until serving to avoid sogginess. Bring items to room temperature before serving.
What can I use instead of nuts if I have allergies?
Seeds like pumpkin or sunflower seeds, roasted chickpeas, or extra crunchy veggies make great nut-free alternatives.
How do I keep crackers from getting soggy on the board?
Place crackers around the edges or in separate bowls instead of directly next to moist cheeses or dips. Serve them last for best crunch.
What beverages pair well with this snack board?
Light white wines, craft beers, sparkling water with citrus, or even iced tea complement the flavors without overpowering the snacks.
Pin This Recipe!
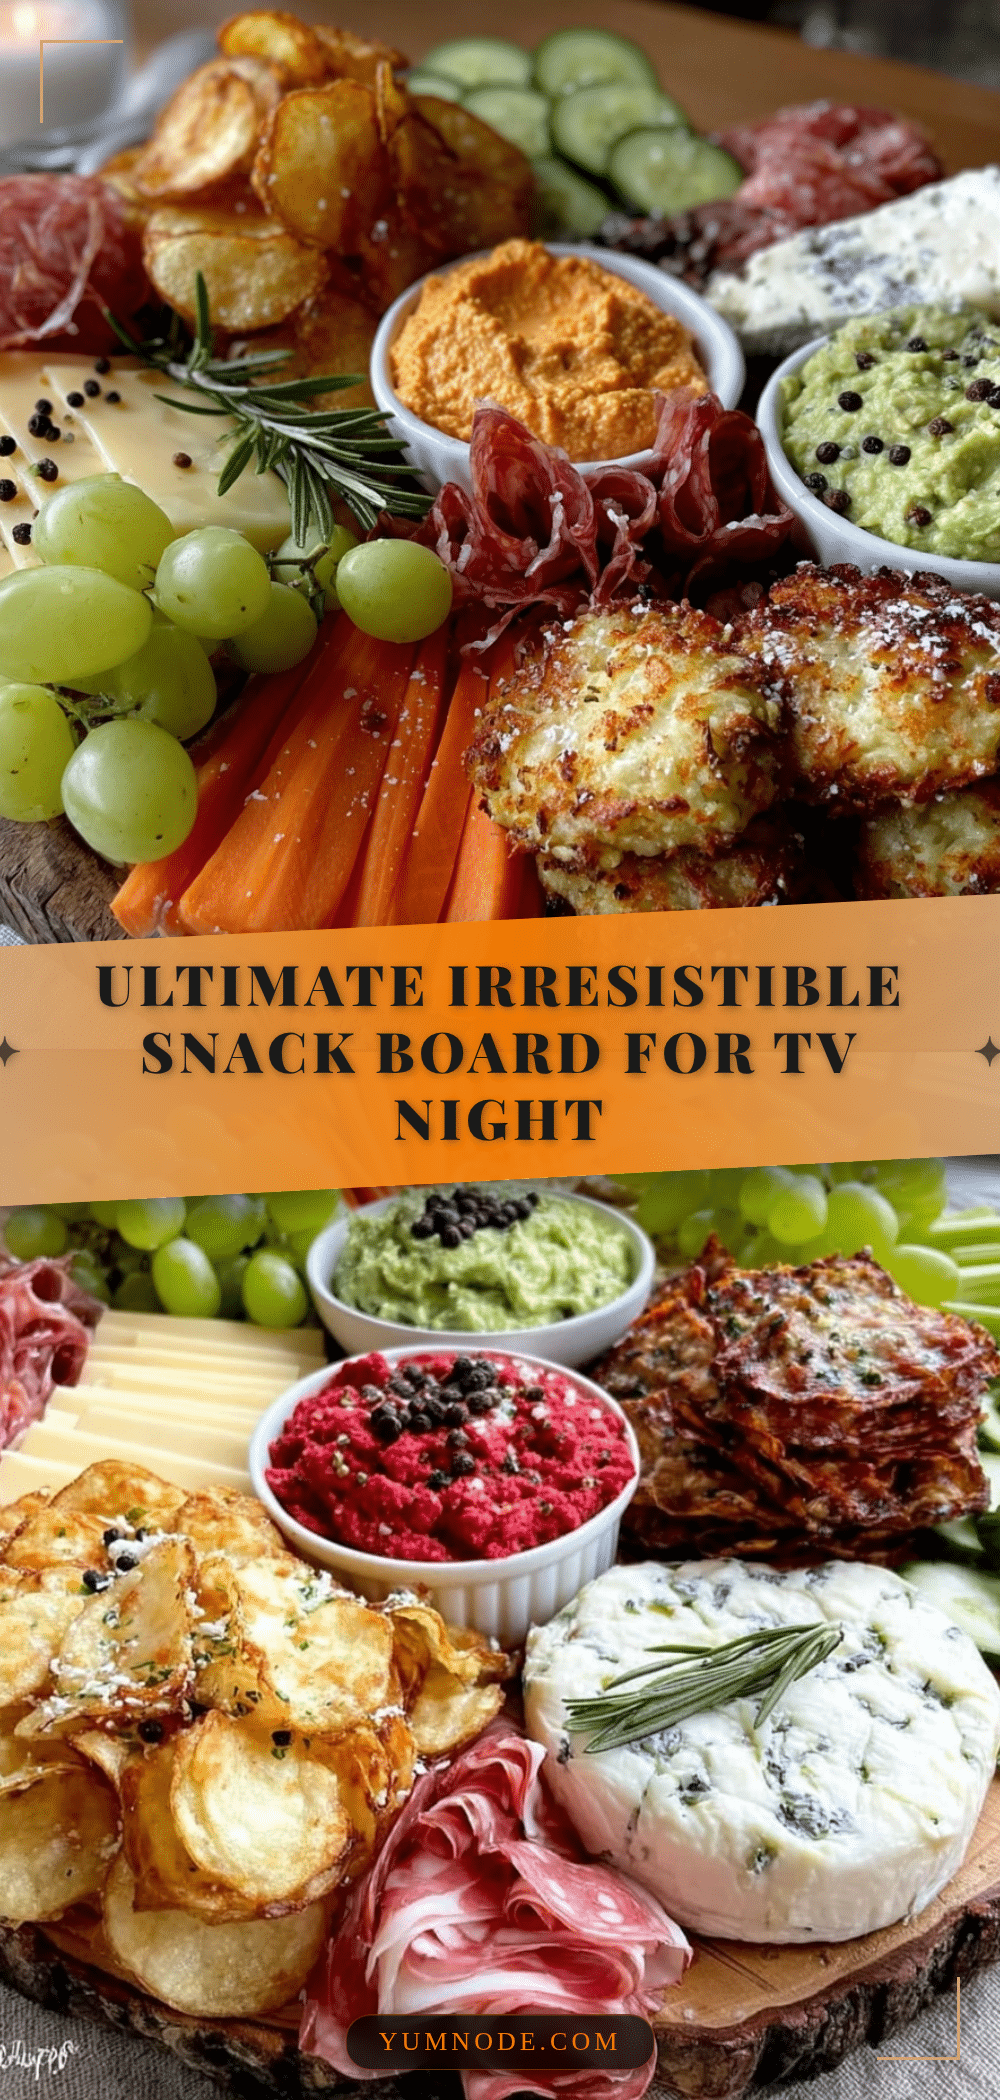
Ultimate Snack Board for TV Night

An easy, crowd-pleasing snack board combining a variety of cheeses, meats, fresh produce, nuts, crackers, and dips perfect for TV nights or casual gatherings.
- Prep Time: 15 minutes
- Cook Time: 5 minutes (optional for toasting nuts)
- Total Time: 20 minutes
- Yield: 4-6 servings
- Category: Snack
- Cuisine: American
Ingredients
- Sharp cheddar cheese, sliced or cubed
- Soft brie or camembert wedge
- Feta or goat cheese crumbles
- Thinly sliced prosciutto or salami
- Smoked turkey or ham slices (optional)
- Seedless grapes or fresh berries
- Baby carrots
- Cucumber slices
- Cherry tomatoes
- Green or black olives, pitted
- Mixed nuts, lightly toasted (roasted almonds, cashews, or pecans)
- Artisan crackers or pita chips
- Spiced or candied pecans
- Hummus (classic or roasted red pepper)
- Whipped feta spread with lemon zest
- Quick guacamole or tzatziki
- Honey or fig jam
- Dark chocolate chunks or squares (optional)
Instructions
- Rinse and dry fresh produce like grapes, cherry tomatoes, and cucumber slices.
- Slice cheeses into bite-sized pieces—cubes or wedges—and arrange meats in thin ribbons or folds.
- Lightly toast mixed nuts in a dry skillet over medium heat until fragrant and golden, about 3-4 minutes. Stir frequently and let cool before adding to the board.
- Spoon chosen dips into small bowls or ramekins. Drizzle olive oil or sprinkle herbs on top if desired.
- Place bowls of dips on the serving board first. Arrange cheeses spaced evenly around the board, followed by folded meats near the cheeses.
- Fill in gaps with fresh fruit clusters, veggies, nuts, and crackers, balancing colors and textures for visual appeal.
- Drizzle honey or spoon fig jam near soft cheeses for sweet contrast. Scatter dark chocolate chunks if desired.
- Add small serving utensils or toothpicks for easy grabbing.
- Serve immediately at room temperature. If prepping ahead, cover tightly with plastic wrap and refrigerate. Bring to room temperature before serving.
Notes
Let soft cheeses sit at room temperature for 15 minutes before serving to enhance flavor and texture. Keep crackers separate from moist ingredients until serving to avoid sogginess. Toast nuts or warm pita chips for extra crunch. Season cheeses and dips as needed with salt and pepper. Pre-sliced cheeses and pre-washed produce save time.
Nutrition
- Serving Size: Approximately 1/4 to
- Calories: 350
- Sugar: 6
- Sodium: 450
- Fat: 25
- Saturated Fat: 8
- Carbohydrates: 15
- Fiber: 3
- Protein: 12
Keywords: snack board, TV night snacks, cheese board, easy snacks, party platter, homemade snack ideas, crowd-pleaser



