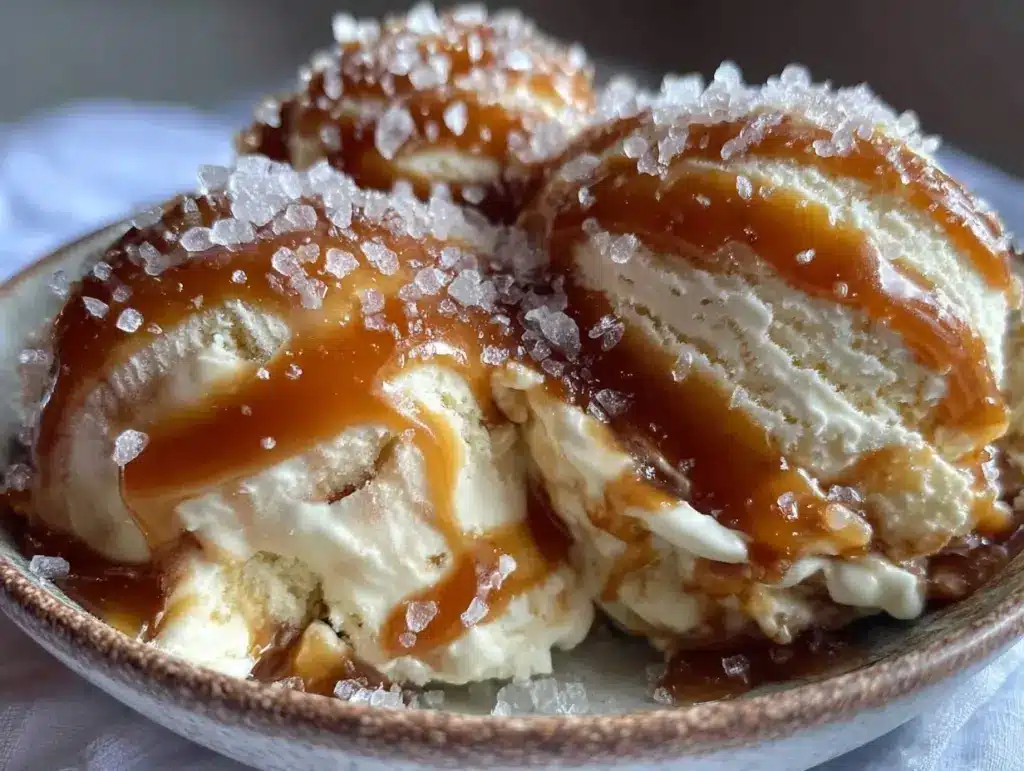
Late afternoon light filters softly through the kitchen window, casting a warm glow on the counter where a jar of golden caramel waits patiently. The air hums with quiet anticipation, and the only thing I want right now is that silky, luscious creamy no-churn salted caramel ice cream. It’s one of those simple things that feels like a small, treasured ritual—no rushed steps, just the slow, satisfying rhythm of stirring sweetness and cream into something that soothes the soul. This recipe, with just three humble ingredients, is a gentle companion to those moments when you don’t want fuss or fanfare, just honest comfort on a spoon.
Honestly, making ice cream without a machine always felt like a mysterious art to me, something that required fancy equipment or complicated steps. But this salted caramel version changed all that. It’s straightforward, with the deep, buttery kiss of caramel playing beautifully against a subtle saltiness, and the creaminess that comes from a simple whipped base. It’s been my go-to, especially on quiet Sundays when I’m curled up with a book and want a little treat that feels homemade, but without the usual hassle.
The caramel itself is the real star here, rich and buttery, yet perfectly balanced—not too sweet, not too salty. And the best part? You don’t need to churn or wait for hours of freezing with constant stirring. It’s that kind of recipe that makes you realize simple ingredients can create something surprisingly indulgent and memorable. It stuck with me because it’s not just ice cream; it’s a little moment of calm and pleasure that anyone can recreate, no special skills required.
There’s a quiet joy in knowing that this creamy no-churn salted caramel ice cream is ready when you are, and that you can trust the flavors to hold up every single time. It’s the kind of recipe that feels like a slow hug on a warm afternoon, a promise that good things don’t have to be complicated.
Why You’ll Love This Recipe
This creamy no-churn salted caramel ice cream has become a staple in my kitchen for plenty of reasons, and I’m pretty sure it’ll find a spot in yours too. I’ve tested it multiple times, tweaking the caramel balance and whipping technique until it felt just right, and honestly, it’s one of the easiest three-ingredient treats you’ll find.
- Quick & Easy: Comes together in under 10 minutes plus freezing time — perfect for busy weeknights or last-minute sweet cravings.
- Simple Ingredients: No complicated pantry raid needed; just heavy cream, sweetened condensed milk, and homemade or store-bought salted caramel sauce.
- Perfect for Summer or Anytime: Whether you’re cooling down after a long day or adding a touch of sweetness to a cozy night, it fits all occasions effortlessly.
- Crowd-Pleaser: Friends and family rave about the rich, creamy texture and that perfect salted caramel flavor.
- Unbelievably Delicious: The combo of creamy, smooth ice cream with swirls of salted caramel hits just the right note of indulgence without feeling heavy.
What sets this recipe apart is the no-churn technique paired with a salted caramel swirl that doesn’t sink to the bottom or turn icy. I use a slow folding method to keep the whipped cream light and airy, and the caramel sauce is made with just enough salt to keep it interesting but never overpowering. It’s not just any ice cream; it’s the kind that makes you pause and savor the simple, satisfying richness.
Plus, it’s versatile — you can easily swap the caramel for other sauces if you want to get creative, but honestly, this salted caramel version has that perfect balance I keep coming back to. It’s comfort food without the fuss, and honestly, sometimes that’s just what you need.
What Ingredients You Will Need
This creamy no-churn salted caramel ice cream uses simple, wholesome ingredients to deliver bold flavor and that satisfyingly smooth texture without the fuss. Everything you need is probably already sitting in your pantry or fridge.
- Heavy whipping cream (1 1/2 cups / 360 ml) – This is the base that gives the ice cream its creamy, fluffy texture. I always recommend using a high-quality brand like Organic Valley or any local cream for the best richness.
- Sweetened condensed milk (1 can / 14 oz / 396 g) – Adds sweetness and body to the ice cream. It’s the magic ingredient that binds the cream and caramel without needing an ice cream maker.
- Salted caramel sauce (3/4 cup / 180 ml) – You can either make your own caramel sauce for a fresh, buttery flavor or use a trusted store-bought brand like Trader Joe’s or Ghirardelli. Just be sure it’s salted to contrast with the sweet cream. Homemade tends to give a fresher, richer taste.
Optional but recommended: a pinch of flaky sea salt for extra texture on top before serving. It adds a little pop that makes each bite even more special.
If you’re feeling adventurous, you can also add vanilla extract (1 tsp) to deepen the flavor, but honestly, the salted caramel does all the heavy lifting here, so it’s not required. For a dairy-free twist, use coconut cream instead of heavy cream and swap the caramel for a vegan-friendly version.
Equipment Needed
- Large mixing bowl: For whipping the cream. A chilled metal bowl works best to keep the cream fluffy longer.
- Electric hand mixer or stand mixer: Essential for whipping the cream to soft peaks quickly and evenly. I’ve tried whipping by hand, but it takes forever and rarely gets the right texture.
- Spatula: For gently folding the condensed milk and caramel sauce into the whipped cream without deflating it.
- Loaf pan or airtight container: Perfect for freezing the ice cream in a shape that’s easy to scoop.
- Measuring cups and spoons: Accurate measurements really help maintain the balance here.
If you don’t have a stand mixer, a good hand mixer works just fine. Just try not to overbeat or underbeat the cream — soft peaks are key. Also, freezing the mixing bowl ahead of time helps keep the cream cold and whips up better.
Preparation Method
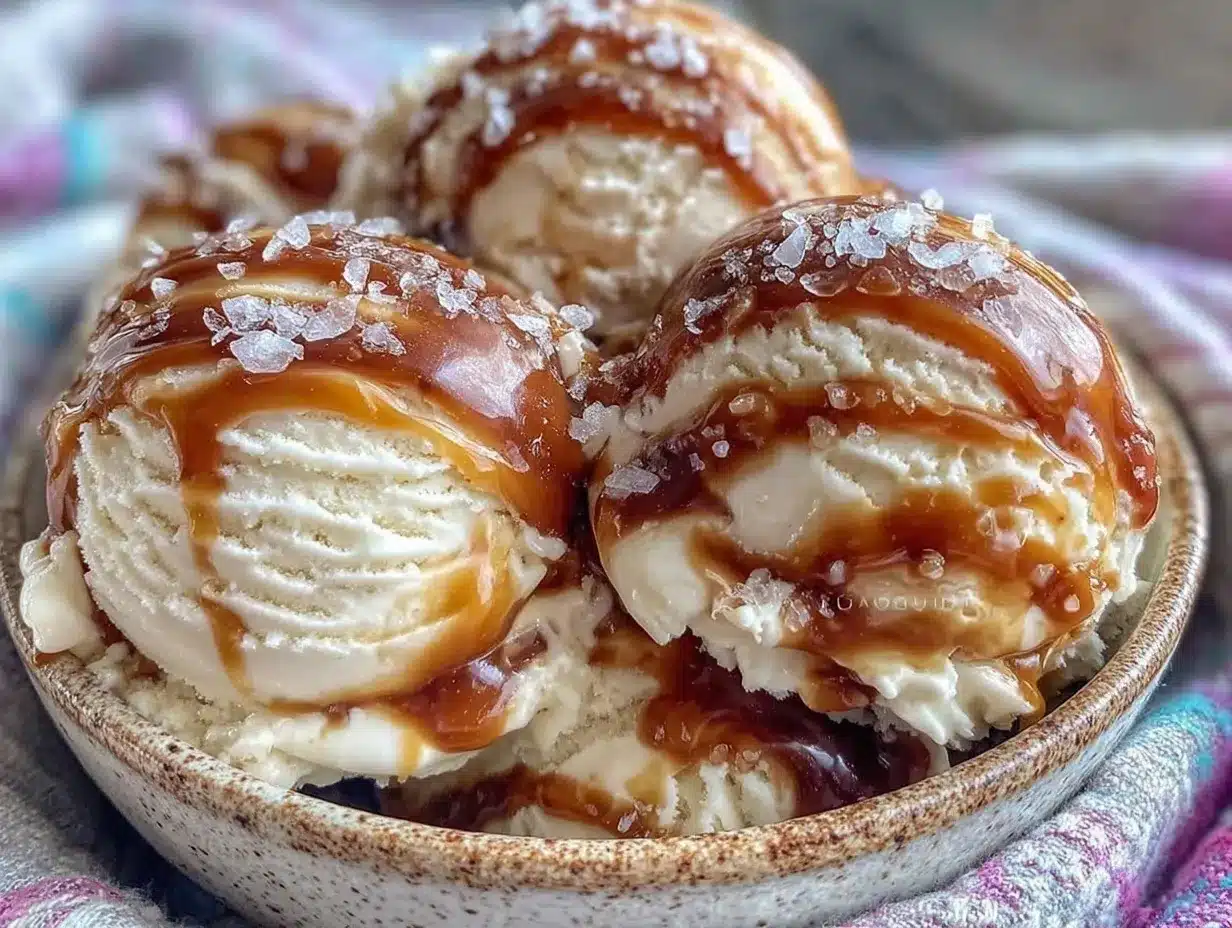
- Chill your mixing bowl and beaters: Place them in the freezer for about 10-15 minutes. Cold equipment helps the heavy cream whip up faster and fluffier.
- Whip the heavy cream: Pour the 1 1/2 cups (360 ml) of heavy whipping cream into the chilled bowl. Using an electric mixer, beat on medium-high speed for 3-5 minutes until soft peaks form. You’ll know it’s ready when the cream holds a gentle curl when you lift the beaters but isn’t stiff or grainy.
- Fold in the sweetened condensed milk: Gently add the entire 14 oz (396 g) can of sweetened condensed milk to the whipped cream. Use a spatula to fold it in carefully — you want to keep as much air in the mixture as possible to maintain that creamy texture. This step should take about 1-2 minutes of slow, deliberate folding.
- Add the salted caramel sauce: Reserve about 1/4 cup (60 ml) of caramel sauce for drizzling on top later. Swirl the remaining 1/2 cup (120 ml) gently into the whipped cream mixture. Don’t overmix; you want pretty caramel ribbons throughout the ice cream, not a uniform color.
- Transfer to container: Pour the mixture into a loaf pan or airtight container. Smooth the top with your spatula, then drizzle the reserved caramel over the surface. Use a skewer or knife to create swirls for a marbled effect.
- Freeze: Cover tightly with plastic wrap or a lid and freeze for at least 6 hours, preferably overnight. The ice cream will firm up beautifully without needing churning.
- Serve: Let the ice cream sit at room temperature for 5-10 minutes before scooping to soften slightly for easier serving.
Pro tip: If your caramel sauce is too thick to swirl easily, warm it gently for 10-15 seconds in the microwave to loosen. Also, don’t rush whipping the cream — patience here makes all the difference in the final texture.
Cooking Tips & Techniques
One thing I learned early on with this creamy no-churn salted caramel ice cream is that whipping the cream just right is everything. Underwhipped cream results in a dense, icy texture, while overwhipped can turn buttery and ruin the smoothness. Aim for soft peaks—you want the cream to hold shape but still feel light.
Another tip is to fold ingredients gently. You know, it’s tempting to stir vigorously to mix everything quickly, but you’ll lose all that precious air that keeps the ice cream light and creamy. Slow, patient folding is the key.
Salted caramel varies a lot by brand, so taste your sauce before adding it. If it’s too sweet or too salty, you can always adjust by adding a pinch of flaky sea salt to the ice cream mixture or balancing with a little vanilla extract. I’ve burned caramel myself in the past, so if you’re making it from scratch, keep a close eye and stir constantly—it only takes a moment to go from golden to bitter.
Timing-wise, I like to whip the cream and fold in ingredients right before bedtime, so it can freeze overnight and be ready by the next day. It frees up your schedule and makes the ice cream taste like it’s been melting and melding for longer.
Lastly, if you want to create nice caramel ribbons on top, drizzle the reserved sauce just before freezing and swirl gently. It keeps the texture interesting, and every bite has a surprise of gooey caramel.
Variations & Adaptations
The beauty of this creamy no-churn salted caramel ice cream recipe is how easily it adapts to your taste or dietary needs. Here are a few variations I’ve enjoyed or recommend:
- Dairy-Free Version: Swap heavy cream for full-fat coconut cream and use a vegan salted caramel sauce. The texture changes slightly but still maintains richness and flavor.
- Chocolate-Caramel Swirl: Add a few tablespoons of melted bittersweet chocolate into the caramel swirl for a decadent twist, similar to a rocky road but without the nuts.
- Nutty Caramel: Stir in toasted pecans or walnuts for crunch and a nutty depth that complements the caramel beautifully.
- Spiced Caramel: Mix a pinch of cinnamon or cardamom into the caramel sauce for a warm, cozy flavor—perfect for cooler months or alongside pumpkin spice bread.
For a quicker freeze, you can portion the ice cream into small ramekins instead of a loaf pan, which also makes serving easier. If you want to get fancy, layering the caramel and cream mixture in a trifle dish creates a beautiful presentation, much like I did with my tiramisu icebox cake, but without the coffee.
Serving & Storage Suggestions
This creamy no-churn salted caramel ice cream is best served slightly softened, around 5 to 10 minutes out of the freezer. This allows the ice cream to scoop smoothly and brings out the flavors more fully. Serve it in simple bowls or waffle cones for casual enjoyment, or alongside desserts like warm brownies or a slice of million dollar pound cake for a special touch.
Store leftovers in an airtight container in the freezer for up to two weeks. The texture holds up well, although the caramel swirl may darken slightly over time. To re-soften, let the ice cream sit at room temperature for a few minutes or microwave briefly in 10-second bursts to avoid melting.
Flavors tend to deepen after a day or two in the freezer, so if you can resist, letting the ice cream rest overnight really pays off in richness. Also, a sprinkle of flaky sea salt right before serving turns every spoonful into a tiny celebration.
Nutritional Information & Benefits
This recipe provides a creamy and indulgent treat with roughly 250-300 calories per half-cup (120 ml) serving, mostly from fat and sugar. The heavy cream provides a good source of calcium and fat-soluble vitamins, while the sweetened condensed milk adds calories and sweetness.
While it’s definitely a dessert best enjoyed in moderation, the salted caramel ice cream can be part of a balanced diet, especially when homemade and free from preservatives or artificial ingredients. For those watching sugar intake, you can experiment with lower-sugar caramel sauces or reduce the condensed milk slightly, but keep in mind that sweetness is key to balance the saltiness.
If you’re interested in a lighter twist, pairing a small scoop with fresh fruit like berries or a zesty citrus salad (think key lime pie bars) can create a satisfying dessert that feels less heavy but still indulgent.
Conclusion
This creamy no-churn salted caramel ice cream is one of those recipes that reminds me why simple ingredients often deliver the most satisfying results. It’s easy, quick, and always hits that perfect spot between sweet and salty, creamy and indulgent, without any of the usual fuss.
I love this recipe because it’s forgiving, approachable, and endlessly adaptable. Whether you’re craving a solo treat or need a crowd-pleaser for summer get-togethers, it’s ready to impress without stress. Plus, it pairs wonderfully with a slice of rich pound cake or even a scoop alongside warm chocolate peanut butter brownies for a decadent combo.
Give it a try, tweak it to your liking, and let me know how you make it your own. There’s something quietly satisfying about knowing a delicious, homemade ice cream is just a few ingredients and a little patience away.
Frequently Asked Questions
Can I use store-bought caramel sauce for this recipe?
Absolutely! Just make sure it’s salted caramel to get that perfect sweet and salty balance. If the sauce is thick, warm it slightly before folding in.
Do I need an ice cream maker for this recipe?
Nope. This is a no-churn recipe, so all the cream whipping and folding happens by hand or with a mixer. Then it simply freezes until firm.
How do I prevent ice crystals from forming?
Whipping the cream to soft peaks and folding gently helps trap air, keeping the texture smooth. Also, freeze it in a tightly covered container and avoid opening the freezer frequently.
Can I make this vegan or dairy-free?
Yes! Use coconut cream instead of heavy cream and a vegan salted caramel sauce. The texture will be slightly different but still delicious.
How long can I store the ice cream in the freezer?
Up to two weeks in an airtight container. For best texture and flavor, enjoy within the first week.
Pin This Recipe!
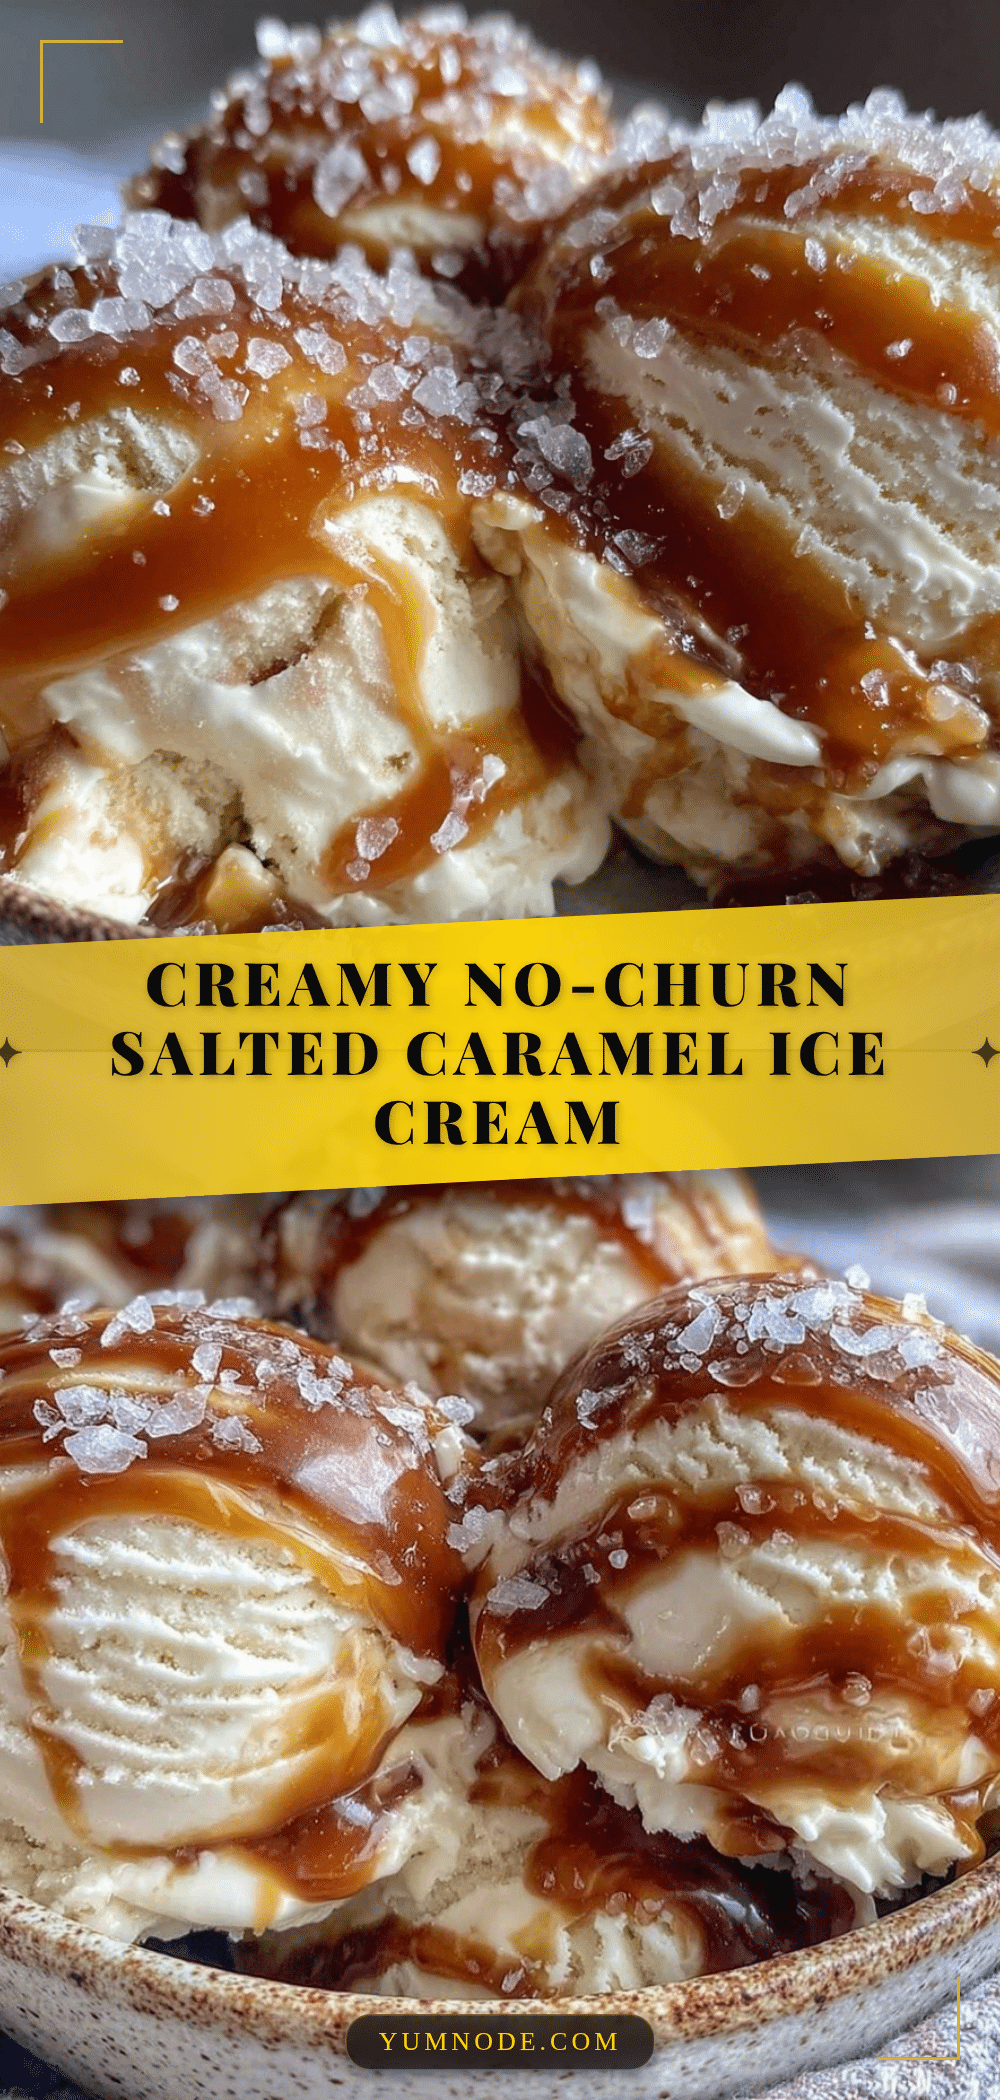
Creamy No-Churn Salted Caramel Ice Cream

A simple and indulgent no-churn ice cream recipe with just three ingredients: heavy cream, sweetened condensed milk, and salted caramel sauce. Perfectly creamy with rich caramel swirls and no ice cream maker needed.
- Prep Time: 15 minutes
- Cook Time: 0 minutes
- Total Time: 6 hours 15 minutes
- Yield: 8 servings 1x
- Category: Dessert
- Cuisine: American
Ingredients
- 1 1/2 cups (360 ml) heavy whipping cream
- 1 can (14 oz / 396 g) sweetened condensed milk
- 3/4 cup (180 ml) salted caramel sauce
- Optional: pinch of flaky sea salt for topping
- Optional: 1 tsp vanilla extract for deeper flavor
Instructions
- Chill your mixing bowl and beaters in the freezer for 10-15 minutes.
- Pour heavy whipping cream into the chilled bowl and whip on medium-high speed for 3-5 minutes until soft peaks form.
- Gently fold in the sweetened condensed milk using a spatula, maintaining airiness.
- Reserve 1/4 cup (60 ml) of caramel sauce for topping. Swirl the remaining 1/2 cup (120 ml) into the whipped cream mixture gently.
- Transfer the mixture to a loaf pan or airtight container. Drizzle the reserved caramel on top and create swirls with a skewer or knife.
- Cover tightly and freeze for at least 6 hours or overnight until firm.
- Before serving, let the ice cream sit at room temperature for 5-10 minutes to soften.
Notes
Use chilled equipment for best whipping results. Fold ingredients gently to keep the mixture airy. Warm caramel sauce slightly if too thick for swirling. Let ice cream soften before scooping for easier serving. Store in airtight container up to two weeks.
Nutrition
- Serving Size: 1/2 cup (120 ml)
- Calories: 275
- Sugar: 25
- Sodium: 120
- Fat: 18
- Saturated Fat: 11
- Carbohydrates: 27
- Protein: 3
Keywords: no-churn ice cream, salted caramel, easy ice cream recipe, 3-ingredient dessert, homemade ice cream, no ice cream maker



