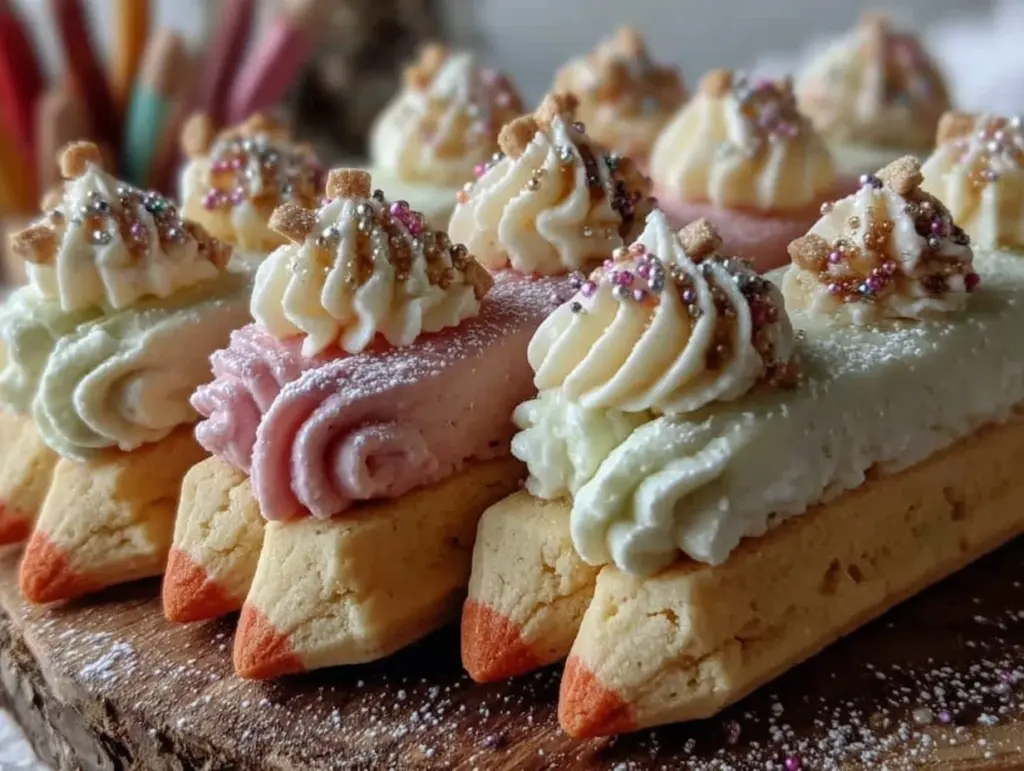
The tray was wiped clean before I even had a chance to sit down — twice in the same afternoon. There’s something about these Perfect Soft Frosted Back-to-School Sugar Cookie Pencils that just makes people come back for more, no questions asked. Honestly, I didn’t expect such a fuss when I first baked them. I mean, sugar cookies are everywhere, right? But these little pencil-shaped treats, soft and frosted just right, had everyone texting me for the recipe by evening.
It all started when I wanted to make something fun and simple for the kids to celebrate the first day of school. Something that wasn’t just another cookie but a playful nod to the school vibe — the kind of cookie that looks as cheerful as it tastes. I rolled up my sleeves, dug into my trusty sugar cookie recipe, and shaped the dough into pencils, adding color and a touch of whimsy with a smooth, creamy frosting. The smell that filled the kitchen was warm and inviting, and the texture? Soft but sturdy enough to hold the shape, which was a small victory in itself.
What surprised me most was how these cookies turned into a little tradition, showing up in lunchboxes, at classroom parties, and even as quick gifts for teachers. They’re not just cookies; they’re a celebration of a fresh start, wrapped in sweet, buttery dough and crowned with pastel frosting. I think that’s why this recipe stuck — it’s simple, it’s fun, and it genuinely brings a smile. So, if you want to make a back-to-school moment a little sweeter and a lot more memorable, these Perfect Soft Frosted Back-to-School Sugar Cookie Pencils might just become your go-to treat.
Why You’ll Love This Recipe
After making these sugar cookie pencils a handful of times, I’ve seen why they keep winning hearts and emptying trays. The recipe blends ease and charm in a way that feels almost effortless but delivers big on smiles and flavor.
- Quick & Easy: Ready in about 45 minutes from start to finish — perfect for those busy school mornings or last-minute baking urges.
- Simple Ingredients: Nothing fancy or hard to find. You likely have everything in your pantry already, which makes it a no-stress bake.
- Perfect for Back-to-School: These cookies are designed for the season — pencil-shaped, frosted in pretty colors, and just the right size to pack in lunchboxes or plate at parties.
- Crowd-Pleaser: Kids and adults alike love them. The soft texture and sweet frosting make them irresistible, even for the picky eaters.
- Unbelievably Delicious: The cookies stay soft and tender, with just enough sweetness to keep you reaching for more without feeling overwhelmed.
What sets this recipe apart? Honestly, it’s the combination of a perfectly balanced sugar cookie dough that doesn’t spread too much, paired with a creamy frosting that holds shape and color beautifully. Plus, the pencil shape is a fun twist that’s both nostalgic and festive. I like to think of this as a recipe that captures the back-to-school spirit in a bite — sweet, hopeful, and just a little bit playful.
It’s the kind of treat that makes you pause for a moment, close your eyes after the first bite, and remember those early school days with a smile. And since it’s easy enough for baking novices but yields impressive results, it’s a reliable recipe to have on hand for those seasonal celebrations or anytime you want a cheerful, homemade touch.
What Ingredients You Will Need
This recipe uses simple, wholesome ingredients to deliver that classic sugar cookie flavor with a soft texture and smooth frosting. Most are pantry staples, so you won’t have to hunt for anything special.
- All-Purpose Flour – 2 ¾ cups (345 g), sifted for a light, tender dough
- Baking Powder – 1 teaspoon (4 g), to give a slight lift without making the cookies cakey
- Salt – ½ teaspoon (3 g), balances the sweetness
- Unsalted Butter – 1 cup (227 g), softened, adds richness and moisture (I prefer Land O’Lakes for consistency)
- Granulated Sugar – 1 cup (200 g), for sweet, crisp edges
- Large Eggs – 1, room temperature, binds the dough and adds tenderness
- Pure Vanilla Extract – 1 teaspoon (5 ml), brings warmth and depth
- Powdered Sugar – 2 cups (240 g), for the frosting, sifted to avoid lumps
- Milk – 2 tablespoons (30 ml), to thin the frosting to just the right spreadable consistency
- Light Corn Syrup – 1 tablespoon (15 ml), adds shine and smoothness to the frosting
- Food Coloring – assorted colors (red, yellow, green, black), to paint the pencils and recreate the classic look
If you want a dairy-free version, swap the butter for a plant-based margarine and use a non-dairy milk like almond or oat milk in the frosting. For gluten-free, almond flour isn’t ideal here since structure matters, but a gluten-free all-purpose blend like Bob’s Red Mill can work well.
One tip from experience: using room temperature eggs and butter really helps the dough come together smoothly and keeps the cookies soft. Also, I like to use gel food coloring instead of liquid for more vibrant hues without watering down the frosting.
Equipment Needed
- Mixing Bowls – at least two, one for wet ingredients and one for dry
- Electric Mixer – stand or hand mixer, for creaming the butter and sugar smoothly (though you can do it by hand with a sturdy spoon)
- Measuring Cups and Spoons – for accurate ingredient portions
- Rolling Pin – to roll out the dough evenly (a silicone rolling pin helps prevent sticking)
- Pencil-Shaped Cookie Cutter – if you don’t have one, a small knife and a steady hand work fine too
- Baking Sheets – lined with parchment paper or silicone mats to prevent spreading
- Wire Cooling Rack – to cool the cookies completely before frosting
- Spoons or Offset Spatula – for spreading the frosting evenly
- Food-Safe Paintbrushes – optional, for adding fine details like the pencil tip and eraser bands
Not everyone has a pencil-shaped cutter, but I’ve found that with a sharp knife, cutting the dough into rectangles and then trimming a pointed tip can work just as well. Also, silicone baking mats are a favorite of mine since they’re reusable and keep the bottoms from browning too quickly, unlike parchment that sometimes slips around.
Preparation Method
- Preheat your oven to 350°F (175°C). Line two baking sheets with parchment paper or silicone mats for easy cleanup and even baking.
- Mix the dry ingredients. In a medium bowl, whisk together 2 ¾ cups (345 g) all-purpose flour, 1 teaspoon (4 g) baking powder, and ½ teaspoon (3 g) salt. Set aside.
- Cream the butter and sugar. In a large bowl, use an electric mixer to beat 1 cup (227 g) softened unsalted butter and 1 cup (200 g) granulated sugar until the mixture is light and fluffy, about 3-4 minutes. This step is crucial for soft cookies.
- Add the wet ingredients. Beat in 1 large room-temperature egg and 1 teaspoon (5 ml) vanilla extract until fully combined. The mixture may look slightly curdled—that’s okay.
- Combine wet and dry. Gradually add the flour mixture to the butter mixture, mixing on low speed just until incorporated. Avoid overmixing to keep the cookies tender.
- Shape the dough. On a lightly floured surface, roll out the dough to about ¼ inch (6 mm) thickness. Using your pencil-shaped cookie cutter or a knife, cut the dough into pencil shapes. Transfer cookies carefully onto the prepared baking sheets, spacing about 1 inch (2.5 cm) apart.
- Bake. Place the sheets in the oven and bake for 10-12 minutes, or until the edges are just beginning to turn golden. The centers should still look soft.
- Cool completely. Remove from oven and let cookies sit on the baking sheet for 5 minutes, then transfer to a wire rack to cool fully before frosting. Frosting warm cookies will cause the icing to melt and slide off.
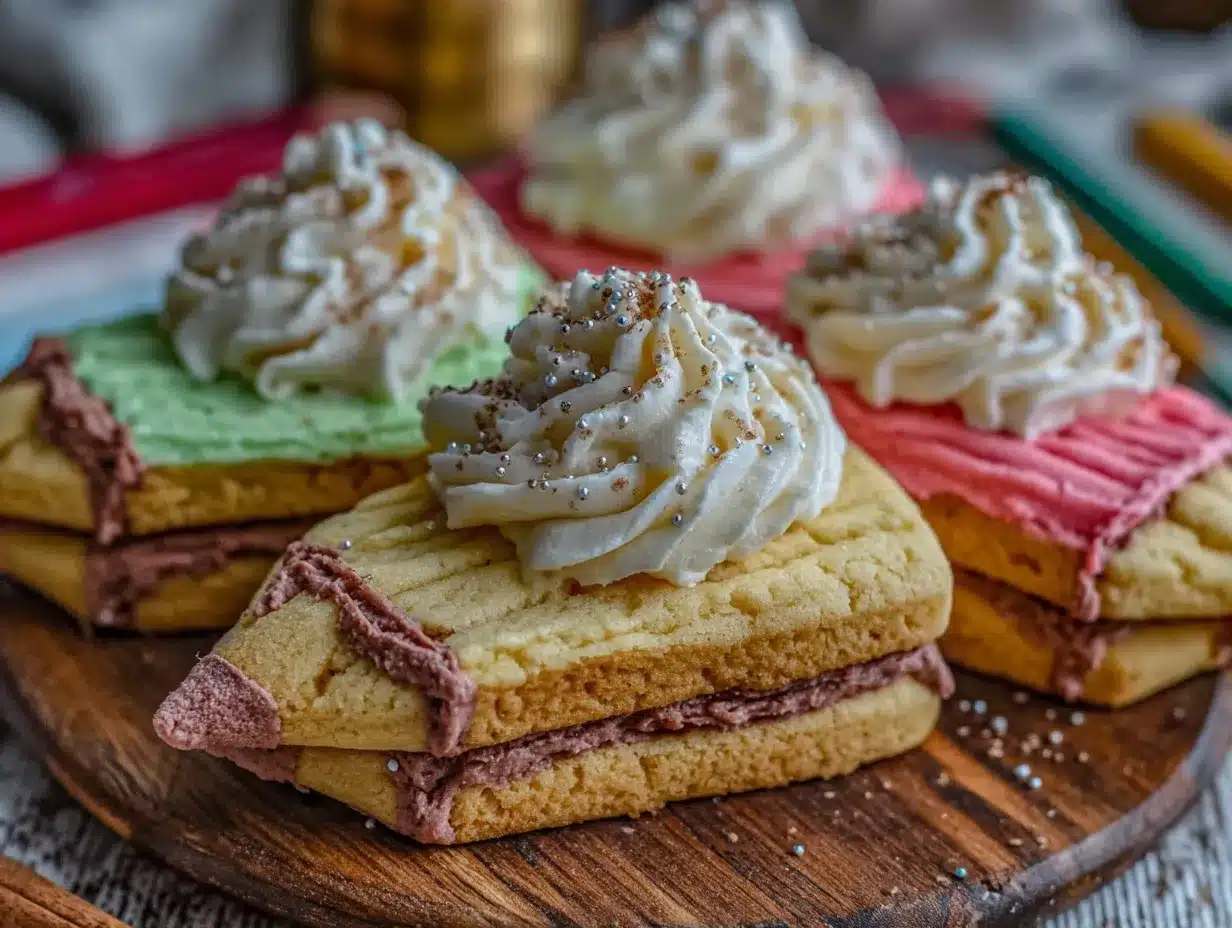
- Prepare the frosting. In a medium bowl, whisk 2 cups (240 g) powdered sugar with 2 tablespoons (30 ml) milk and 1 tablespoon (15 ml) light corn syrup until smooth. Divide into small bowls to add food coloring for different parts of the pencil (yellow for the body, pink for the eraser, black or brown for the tip, and light beige for the wood part).
- Decorate. Using a small spoon or offset spatula, spread the yellow frosting over the main pencil body. Let it set for a few minutes, then add details like the eraser, tip, and wood grain with the other colors using a small brush or the back of a spoon. Allow the frosting to dry completely.
Pro tip: If the dough feels sticky, pop it in the fridge for 15 minutes before rolling. Also, don’t worry if your edges aren’t perfectly sharp; the softness of the cookie helps keep the pencil shape charmingly rustic. If you see the cookies puffing up too much, a gentle press with a spatula right after baking can help flatten them slightly.
Cooking Tips & Techniques
One thing I learned early on is that the key to these soft sugar cookie pencils is not overbaking. You want a delicate golden edge but still a tender center. I usually set the timer for 10 minutes and check from there, because ovens vary and even a minute or two can make a difference.
When frosting, patience is your friend. Letting the base layer dry a bit before adding details prevents colors from bleeding into each other. I’ve made the mistake of rushing this and ended up with a messy palette instead of a neat pencil design.
Use gel food coloring for vibrant, true-to-life pencil colors without watering down your frosting. Sometimes I mix a tiny bit of white frosting into the colors to soften overly bright shades, which works great for the eraser and wood parts.
Another tip is to keep your rolling pin and surface lightly floured but not too much — excess flour can dry out the dough edges and make shaping tricky. Also, chilling the dough before rolling if your kitchen is warm helps keep the shapes crisp.
Finally, multitasking helps. While the first batch cools, roll and cut the next batch to keep the baking flow smooth. It’s a small thing but makes the process less rushed and more enjoyable.
Variations & Adaptations
These sugar cookie pencils are a perfect canvas for customization. Here are a few ways I’ve changed them up over the years:
- Gluten-Free Version: Swap the all-purpose flour for a gluten-free blend like King Arthur GF flour. Add a teaspoon of xanthan gum if your blend doesn’t include it to maintain structure.
- Flavor Twist: Add a teaspoon of lemon or almond extract to the dough for a subtle flavor twist. Lemon zest also works beautifully if you want a fresh note.
- Seasonal Colors: For fall, try orange, brown, and dark green frosting shades, or pastel tones for spring-themed pencils. You can even add edible glitter for a little sparkle.
- Vegan Option: Use dairy-free margarine and a flax egg (1 tbsp ground flaxseed + 3 tbsp water, mixed and rested) to replace the butter and egg.
- Different Shapes: If you want to switch things up, I’ve made these into mini notebook cookies or apple-shaped treats for teacher appreciation days — fun and just as delicious.
One personal favorite is swapping the vanilla frosting for a creamy lemon glaze inspired by my creamy key lime pie bars. The tang adds a surprising brightness to the sweet cookie that kids and adults both enjoy.
Serving & Storage Suggestions
These sugar cookie pencils are best served at room temperature, allowing the frosting to be silky without being too soft. They make a wonderful addition to school lunchboxes, party platters, or after-school snack bowls.
Pair them with a glass of cold milk or a fruity iced tea to complement the sweetness. They also sit nicely alongside a warm cup of coffee or tea for a cozy afternoon treat.
For storage, keep them in an airtight container at room temperature for up to 3 days. The cookies stay soft and the frosting holds up well. If you need to store them longer, refrigerate for up to a week, but bring them back to room temp before serving for best texture.
You can also freeze unfrosted cookies in a sealed bag for up to a month. Just thaw completely before decorating. If already frosted, freeze individually wrapped cookies on a baking sheet, then transfer to a container to avoid smudging. Thaw in the fridge and then warm slightly at room temperature before enjoying.
Flavors tend to mellow and blend beautifully after a day, so if you can resist, letting the cookies sit overnight actually improves their taste and texture. That said, they rarely last that long!
Nutritional Information & Benefits
Each Perfect Soft Frosted Back-to-School Sugar Cookie Pencil contains approximately:
| Calories | 140 kcal |
|---|---|
| Fat | 6 g |
| Carbohydrates | 20 g |
| Protein | 1.5 g |
While these treats are certainly meant to be an occasional sweet indulgence, the use of real butter and eggs provides some wholesome fats and protein. Using pure vanilla extract and minimal artificial additives keeps the flavor clean and familiar.
For those watching allergens, this recipe contains gluten, dairy, and eggs. However, the suggested vegan and gluten-free adaptations make it accessible for many dietary needs. Using natural food colorings or homemade frosting can further reduce additives.
I appreciate that these cookies bring joy without complicated ingredients or processes—comfort food that feels both nostalgic and simple. They fit well in balanced meals when enjoyed mindfully.
Conclusion
These Perfect Soft Frosted Back-to-School Sugar Cookie Pencils have earned their spot as a beloved seasonal treat in my kitchen. They’re easy enough to make on a weekday afternoon but special enough to feel like a celebration. I love how they capture the excitement and fresh start of a new school year, turning a simple cookie into a meaningful little moment.
Feel free to tailor the colors, flavors, and shapes to your family’s tastes—there’s plenty of room for creativity here. Baking these cookies is a chance to make memories, whether with kids, friends, or just yourself when you need a sweet pick-me-up.
If you try the recipe, I’d love to hear how your sugar cookie pencils turned out or what fun variations you came up with. Sharing stories and tweaks is part of what makes baking so rewarding. So go ahead, make your kitchen smell like fresh sugar and vanilla, and enjoy every soft, frosted bite.
FAQs
Can I make these cookies ahead of time?
Absolutely! You can bake the cookies a day or two in advance and store them in an airtight container. Frost them the day you plan to serve for the best texture and appearance.
What if I don’t have a pencil-shaped cookie cutter?
No worries! You can cut the dough into rectangles with a knife and then shape one end into a point for the pencil tip. It’s easier than it sounds and just as charming.
How do I keep the cookies soft and not crunchy?
The key is not to overbake. Remove the cookies once the edges start to turn golden but the centers still look soft. Cooling them on a rack helps preserve softness.
Can I make these sugar cookie pencils gluten-free or vegan?
Yes! Use a gluten-free flour blend with xanthan gum for gluten-free, and swap butter and eggs for vegan alternatives like margarine and flax egg. Adjust frosting with dairy-free milk as well.
What’s the best way to store leftover cookies?
Keep them in an airtight container at room temperature for up to 3 days. For longer storage, refrigerate or freeze unfrosted cookies and frost after thawing.
By the way, if you enjoy playful homemade treats like these, you might also like the creamy lemon cream cheese frosted sugar cookies or the soft funfetti cake batter cookies — both bring a sweet and colorful touch to any occasion.
Pin This Recipe!
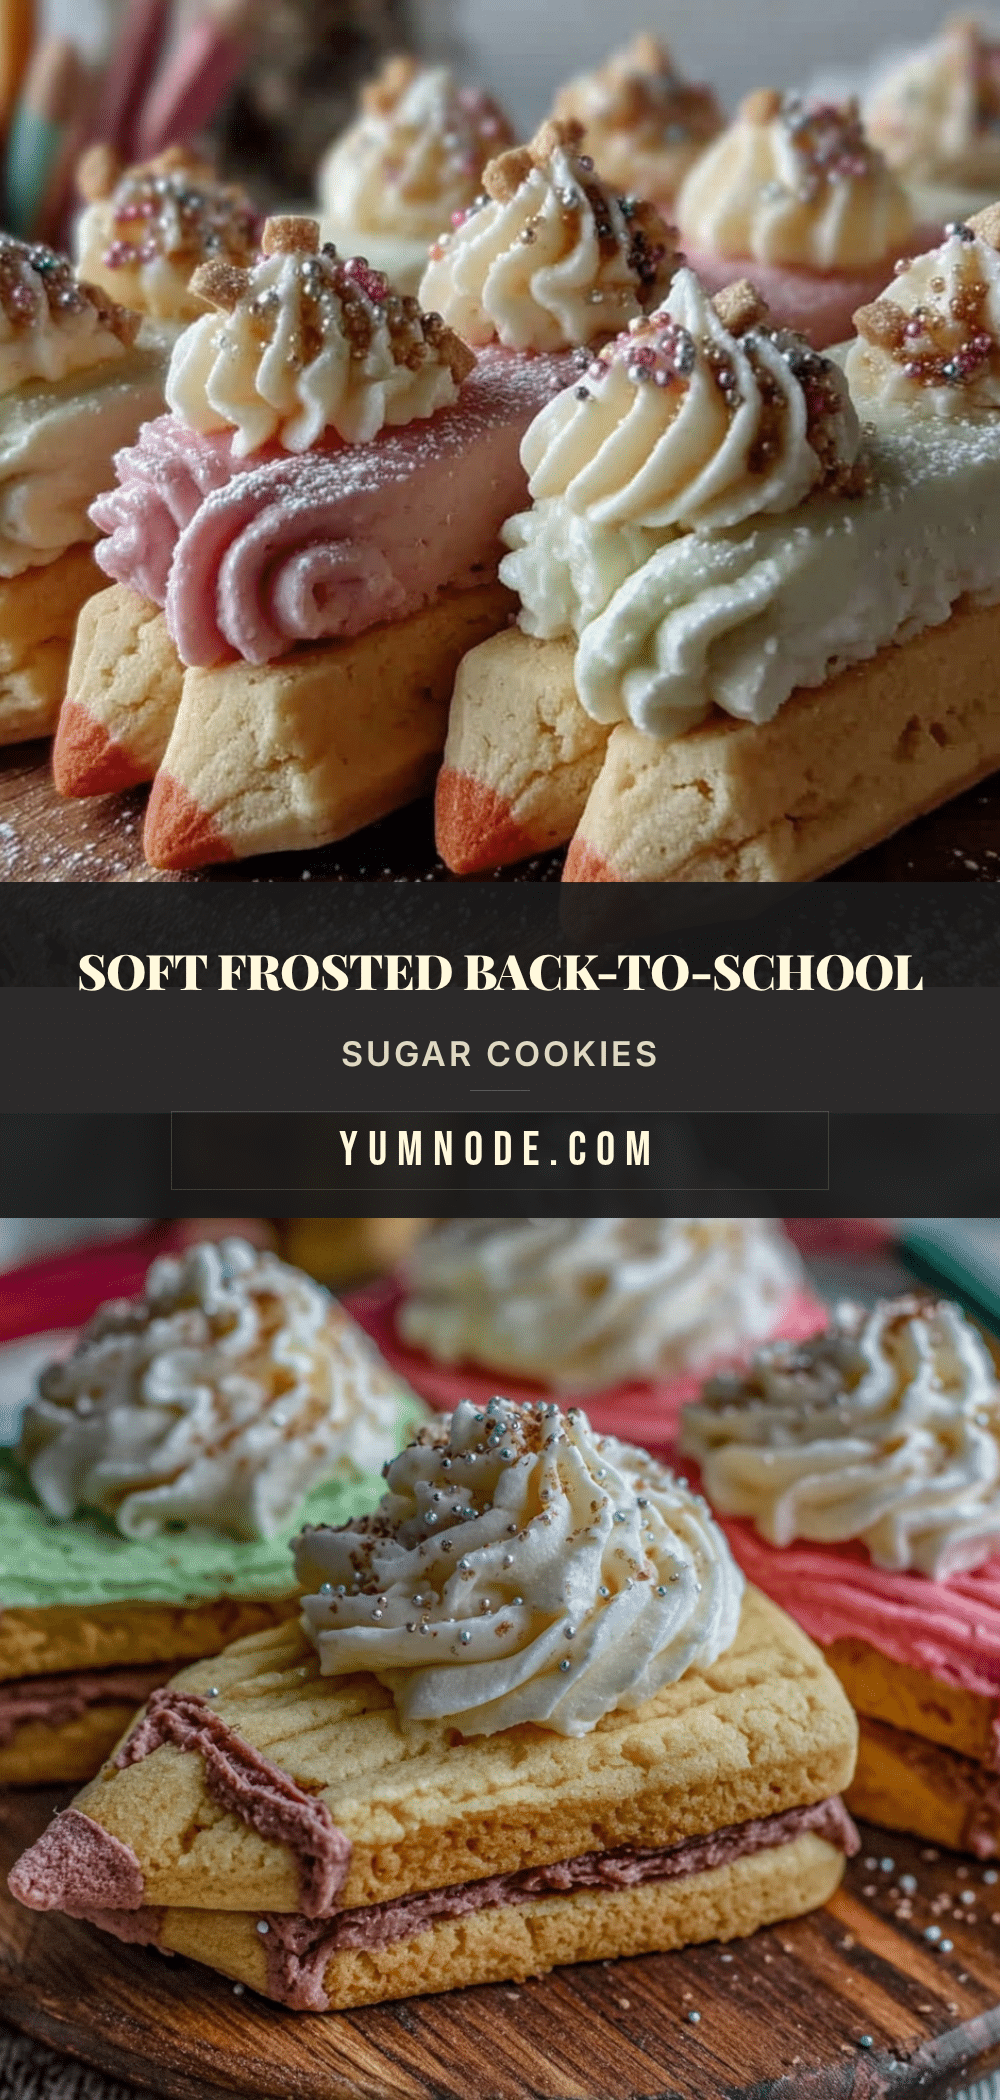
Perfect Soft Frosted Back-to-School Sugar Cookie Pencils Recipe Easy and Fun DIY Treats

These soft, pencil-shaped sugar cookies are frosted with colorful icing, perfect for back-to-school celebrations. They are easy to make, fun to decorate, and loved by kids and adults alike.
- Prep Time: 15 minutes
- Cook Time: 12 minutes
- Total Time: 45 minutes
- Yield: 24 cookies 1x
- Category: Dessert
- Cuisine: American
Ingredients
- 2 ¾ cups (345 g) all-purpose flour, sifted
- 1 teaspoon (4 g) baking powder
- ½ teaspoon (3 g) salt
- 1 cup (227 g) unsalted butter, softened
- 1 cup (200 g) granulated sugar
- 1 large egg, room temperature
- 1 teaspoon (5 ml) pure vanilla extract
- 2 cups (240 g) powdered sugar, sifted
- 2 tablespoons (30 ml) milk
- 1 tablespoon (15 ml) light corn syrup
- Food coloring (red, yellow, green, black) or gel food coloring
Instructions
- Preheat your oven to 350°F (175°C). Line two baking sheets with parchment paper or silicone mats.
- In a medium bowl, whisk together the flour, baking powder, and salt. Set aside.
- In a large bowl, beat the softened butter and granulated sugar with an electric mixer until light and fluffy, about 3-4 minutes.
- Beat in the egg and vanilla extract until fully combined.
- Gradually add the dry ingredients to the wet ingredients, mixing on low speed just until incorporated. Avoid overmixing.
- Roll out the dough on a lightly floured surface to about ¼ inch (6 mm) thickness. Cut into pencil shapes using a pencil-shaped cookie cutter or a knife.
- Place cookies on prepared baking sheets about 1 inch (2.5 cm) apart.
- Bake for 10-12 minutes until edges are just beginning to turn golden but centers remain soft.
- Let cookies cool on the baking sheet for 5 minutes, then transfer to a wire rack to cool completely before frosting.
- Prepare frosting by whisking powdered sugar, milk, and light corn syrup until smooth. Divide and color with food coloring.
- Spread yellow frosting over the pencil body, let set, then add details like eraser, tip, and wood grain with other colors using a small brush or spoon.
- Allow frosting to dry completely before serving.
Notes
Use room temperature eggs and butter for best dough consistency. Chill dough for 15 minutes if sticky. Avoid overbaking to keep cookies soft. Use gel food coloring for vibrant frosting without thinning. Let frosting layers dry between colors to prevent bleeding. Cookies can be stored in airtight containers at room temperature for up to 3 days or refrigerated up to a week. Freeze unfrosted cookies for up to a month.
Nutrition
- Serving Size: 1 cookie
- Calories: 140
- Fat: 6
- Carbohydrates: 20
- Protein: 1.5
Keywords: sugar cookies, back to school, pencil cookies, soft cookies, frosted cookies, easy cookie recipe, kids treats



