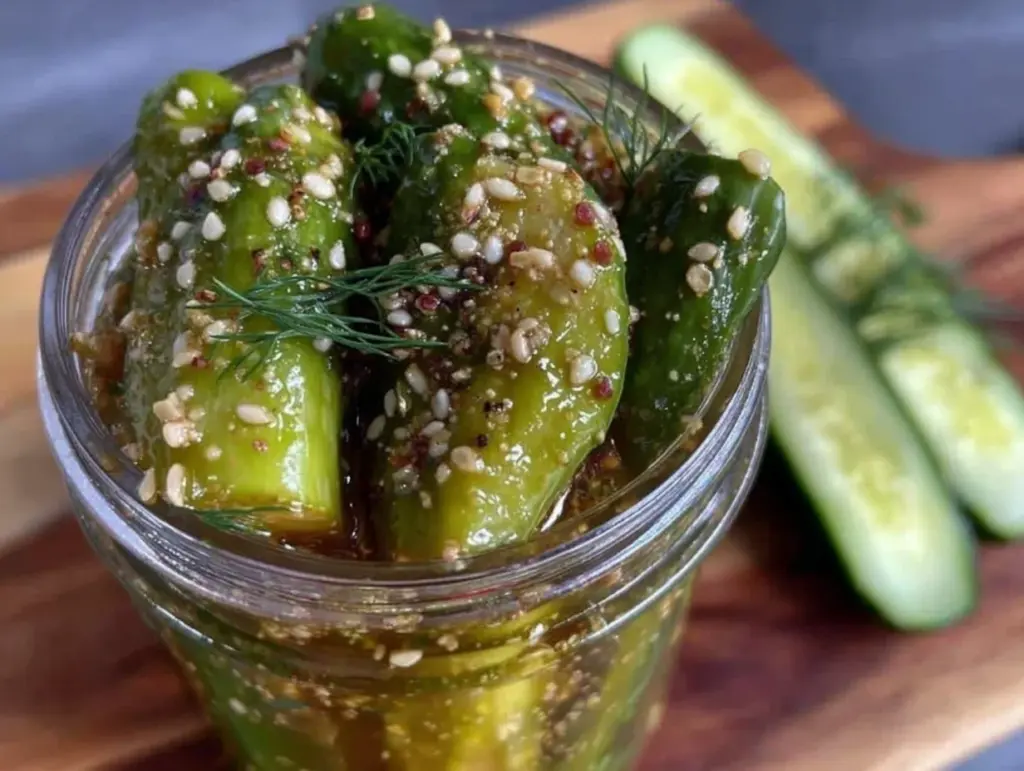
For a while, I just accepted that quick pickles didn’t quite hit that perfect balance of tangy and fresh garlic flavor I craved. You know, the kind that wakes up your taste buds without needing days to marinate. I remember staring at countless jars of store-bought pickles—too sweet, too bland, or just missing that bright dill punch I secretly wanted. It wasn’t frustration exactly, just a quiet acceptance that the perfect quick garlic dill refrigerator pickles were somewhat of a myth.
That feeling of wanting something fresh, crisp, and tangy yet ready in less than a day kept nudging me to tinker in the kitchen. I wasn’t rushing or expecting miracles—just hoping to find a small batch recipe that didn’t require a whole jar and a week of waiting. The idea of having pickles ready to snack on or toss in a sandwich after a few hours felt almost too good to be true.
There’s something about the sharp aroma of garlic mingling with the bright herbaceousness of dill that can make even the simplest meal feel special. I tried variations with vinegar types, tweaking the salt and sugar just a bit, always chasing that subtle zing and crunch. Eventually, this recipe came together quietly, with no fanfare, but with a satisfying tang that stuck around comfortably on the palate.
What kept me coming back to these quick garlic dill refrigerator pickles was how they fit easily into my rhythm—small batch, no fuss, and tangy enough to brighten any snack or meal. Honestly, it’s the kind of recipe that feels like a little secret worth sharing, even though it’s totally straightforward. It’s the kind of pickle that makes you realize sometimes the simplest things are the most rewarding.
Why You’ll Love This Quick Garlic Dill Refrigerator Pickles Recipe
Having tested countless pickling recipes in my kitchen over the years, these quick garlic dill refrigerator pickles stand out for a few reasons. They’re not just another jar of cucumbers soaking in brine—they’ve got personality and snap. Here’s why I keep coming back to this recipe:
- Quick & Easy: You can have these pickles ready to enjoy in about 6 hours, perfect when you want tangy crunch without the wait.
- Simple Ingredients: No need to hunt down odd spices—just garlic, dill, vinegar, salt, and cucumbers. Most of these are pantry staples or easy to find in any grocery store.
- Perfect for Small Batches: Sometimes you don’t want to commit to a gallon jar. This recipe makes just enough for a few servings, reducing waste and fitting neatly in your fridge.
- Crowd-Pleaser: Whether it’s a quick snack or a sandwich topper, these pickles get nods from both pickle aficionados and newcomers alike.
- Unbelievably Delicious: The fresh garlic and dill combine in a way that’s bright, tangy, and just a little spicy, making these pickles a standout companion for everything from burgers to picnic platters.
What sets this apart is the balance—it’s not too sour, not too salty, and definitely not bland. The key is using fresh dill and crushing the garlic just enough to release those oils without overpowering the cucumbers. It’s also a no-fuss method that doesn’t ask you to babysit a boiling pot or sterilize jars for hours.
Honestly, this recipe became a quiet staple in my kitchen because it’s reliable and always satisfying. Whether I’m grabbing a quick bite or assembling a batch of crispy garlic herb pull apart bread, these pickles add that perfect tangy crunch that makes the meal feel complete.
What Ingredients You Will Need for Quick Garlic Dill Refrigerator Pickles
This recipe uses simple, wholesome ingredients to deliver bold flavor and satisfying texture without the fuss. Most of these are pantry staples, and you can easily tweak a few if needed.
- Small cucumbers (Kirby or Persian): About 1 pound (450g), sliced into spears or rounds. Kirby cucumbers are ideal for their firm texture and size.
- Fresh dill sprigs: 3–4 sprigs (or about 2 tablespoons chopped). Fresh dill is essential here—dried won’t quite cut it.
- Garlic cloves: 3 large cloves, peeled and lightly smashed to release aroma (but not minced so they don’t overpower).
- White vinegar: 1 cup (240 ml), for that bright tang. You can substitute with apple cider vinegar if you prefer a slightly fruitier note.
- Water: 1 cup (240 ml), to balance the acidity.
- Kosher salt: 1 tablespoon, for proper brining without bitterness. Avoid iodized salt as it can affect color and flavor.
- Granulated sugar: 1 teaspoon, to round out the sharpness just slightly.
- Whole black peppercorns: 1 teaspoon, adding a subtle spice layer.
- Optional red pepper flakes: 1/4 teaspoon, if you like a little heat.
If you want to experiment, you can swap out the white vinegar for rice vinegar to create a milder flavor. For a gluten-free option, all these ingredients are naturally gluten-free. When choosing dill, I like using fresh sprigs from my local farmer’s market or even my garden when I’m lucky—there’s a difference in aroma that you can’t fake.
Equipment Needed
- Glass jar with lid: A pint-sized (16 oz / 500 ml) jar works perfectly for this small batch.
- Measuring cups and spoons: For precise vinegar, water, salt, and sugar amounts.
- Mixing bowl or saucepan: To combine the brine ingredients before pouring over cucumbers.
- Knife and cutting board: For slicing cucumbers into preferred shapes.
- Small bowl or mortar and pestle (optional): To lightly crush peppercorns or garlic if desired.
If you don’t have a glass jar, a clean plastic container with a tight lid can work too, but glass is best for flavor preservation and ease of cleaning. I’ve tried plastic before, and sometimes the pickles taste just a bit off after a few days, so consider investing in a couple of mason jars if you plan to make refrigerator pickles regularly. Keeping the garlic fresh and the brine clear is easier with glass.
Preparation Method for Quick Garlic Dill Refrigerator Pickles
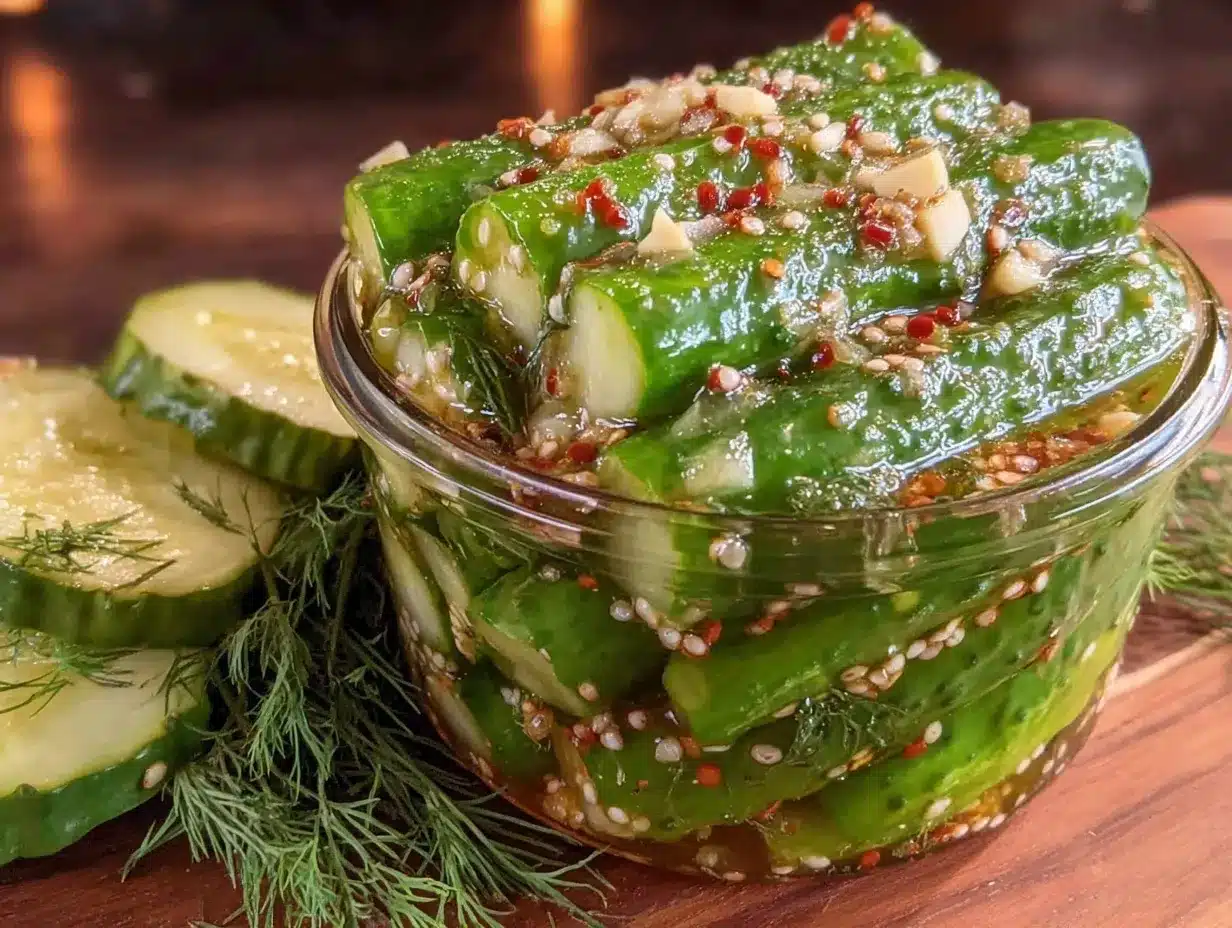
- Prepare the cucumbers: Wash and dry about 1 pound (450g) of small cucumbers. Slice them into spears about 3 inches long or rounds if you prefer. The firmness of the cucumber is key; too soft and they won’t stay crunchy.
- Pack the jar: Place the smashed garlic cloves and fresh dill sprigs at the bottom of a clean 16 oz (500 ml) glass jar. Tuck the cucumber slices in snugly but without crushing them.
- Make the brine: In a small saucepan or bowl, combine 1 cup (240 ml) white vinegar, 1 cup (240 ml) water, 1 tablespoon kosher salt, 1 teaspoon sugar, 1 teaspoon whole black peppercorns, and optional 1/4 teaspoon red pepper flakes. Stir until the salt and sugar dissolve completely.
- Pour the brine: Carefully pour the brine over the cucumbers in the jar, making sure everything is submerged. Leave about 1/2 inch space at the top.
- Seal and chill: Screw on the lid tightly and place the jar in the refrigerator. Let the pickles sit for at least 6 hours, but they taste best after 24 hours when the flavors fully meld.
- Enjoy: Once chilled and tangy, these pickles are ready to eat. They stay good for up to 2 weeks refrigerated, but honestly, they rarely last that long.
Tip: If you find your pickles are too salty or sour for your liking, try adjusting the vinegar-to-water ratio slightly next time. Also, crushing garlic just a bit helps release flavor without turning bitter.
Cooking Tips & Techniques for Perfect Refrigerator Pickles
One thing I learned is that the type of cucumber makes all the difference. Kirby cucumbers are a classic choice because they hold their crunch even after sitting in brine. Avoid large slicing cucumbers, as they tend to get mushy quickly.
When brining, dissolving the salt and sugar fully before pouring the liquid over the cucumbers is crucial. Undissolved salt crystals can cause uneven flavor and unpleasant texture.
Don’t skimp on fresh dill—it’s the herb that carries the signature garlic dill taste. I once tried dried dill in a pinch, and the pickles were just… flat. Fresh dill sprigs, even if a little wilted, bring that bright, grassy note that makes these pickles sing.
Also, keep the garlic cloves whole or lightly smashed rather than minced. Minced garlic can overpower the brine and become too pungent, especially after sitting overnight.
Timing-wise, if you’re short on patience, 6 hours in the fridge gives you a decent tang, but a full 24 hours really lets the flavors develop and the cucumbers soften just enough without losing crunch.
Finally, always use a clean jar and utensils to avoid any unwanted bacteria that might spoil your pickles. I recommend sterilizing jars with boiling water if you plan to store pickles longer than a week.
Variations & Adaptations
This quick garlic dill refrigerator pickles recipe is flexible and lends itself well to different tastes and dietary needs.
- Spicy Pickles: Add more red pepper flakes or a sliced fresh jalapeño to the jar for an extra kick.
- Low Sodium: Reduce the salt to ½ tablespoon, but keep an eye on flavor and texture as salt is key for crunch.
- Vegan & Paleo Friendly: Naturally, this recipe fits those diets, but you can swap white vinegar for apple cider vinegar for a milder flavor.
- Herb Variations: Swap dill for fresh tarragon or add a few mustard seeds for a different flavor profile.
- Quick Bread & Pickle Combo: I love pairing these pickles with cozy pumpkin spice bread or a savory loaf for an unexpected contrast.
A personal variation I tried once was adding a splash of lemon juice and a few crushed coriander seeds, which gave the pickles a bright, almost citrusy twist that went well with grilled chicken.
Serving & Storage Suggestions
These quick garlic dill refrigerator pickles are best served cold, straight from the fridge. Their tangy crunch makes them ideal as a snack, a sandwich topping, or alongside grilled meats and cheeses.
They pair beautifully with rich dishes like the creamy lemon cream cheese frosted sugar cookies for a salty-sweet contrast or alongside a hearty sandwich like a classic Reuben.
Store pickles in the refrigerator in a sealed glass jar. They keep well for up to two weeks but tend to soften past that point. For best texture, try to consume within the first 10 days.
Reheating isn’t necessary (and actually not recommended for pickles), but letting them sit at room temperature for about 10 minutes before serving can help the flavors open up a bit.
Over time, the flavors deepen and the cucumbers soften slightly, so if you prefer a crisper bite, stick to enjoying them within the first few days.
Nutritional Information & Benefits
These pickles are low in calories — roughly 10-15 calories per serving (about 2-3 spears) — making them a guilt-free snack. The cucumbers provide some hydration and a small amount of vitamin K, while the garlic offers antioxidants and antimicrobial properties.
Using vinegar in pickling can aid digestion and has been linked to blood sugar regulation in some studies. This recipe is gluten-free, vegan, and paleo-friendly, which fits many dietary lifestyles.
Just be mindful of the sodium content since kosher salt is a key ingredient. If you’re watching salt intake, consider the low sodium variation mentioned earlier.
Personally, I appreciate how these pickles add a satisfying crunch and flavor without adding fat or sugar, which isn’t always the case with store-bought options.
Conclusion
These quick garlic dill refrigerator pickles are a simple recipe that quietly fills a gap for anyone wanting fresh, tangy, and garlicky pickles without the long wait or large batch commitment. Their crisp texture and bright flavor make them a reliable companion to so many meals.
Feel free to tweak the brine and spices to match your own taste buds—whether you like them spicy, extra garlicky, or a little sweeter. I keep coming back to this recipe because it’s easy, quick, and just right for those moments when you want something homemade but fuss-free.
Next time you’re looking to add a punch of flavor to sandwiches or snacks, give this recipe a shot and see why it quietly became a favorite in my kitchen. And hey, if you ever fancy a fresh twist on a classic dessert to go alongside, you might want to try the creamy key lime pie bars for a zesty finish.
Happy pickling!
FAQs About Quick Garlic Dill Refrigerator Pickles
How long do quick refrigerator pickles last in the fridge?
They typically stay fresh and crunchy for up to 2 weeks when stored in a sealed glass jar in the refrigerator.
Can I use regular cucumbers instead of Kirby cucumbers?
While you can, Kirby cucumbers hold their crunch better. Regular slicing cucumbers may get soggy faster.
Do I need to boil the brine before pouring it over the cucumbers?
Nope! For this quick pickle recipe, simply stirring the salt and sugar until dissolved is enough.
Can I make this recipe without garlic?
You can, but garlic is key to the flavor profile. Try adding extra dill or mustard seeds to compensate.
What’s the best way to serve these pickles?
Enjoy cold as a snack, on sandwiches, or alongside grilled meats and cheese for a tangy crunch.
Pin This Recipe!
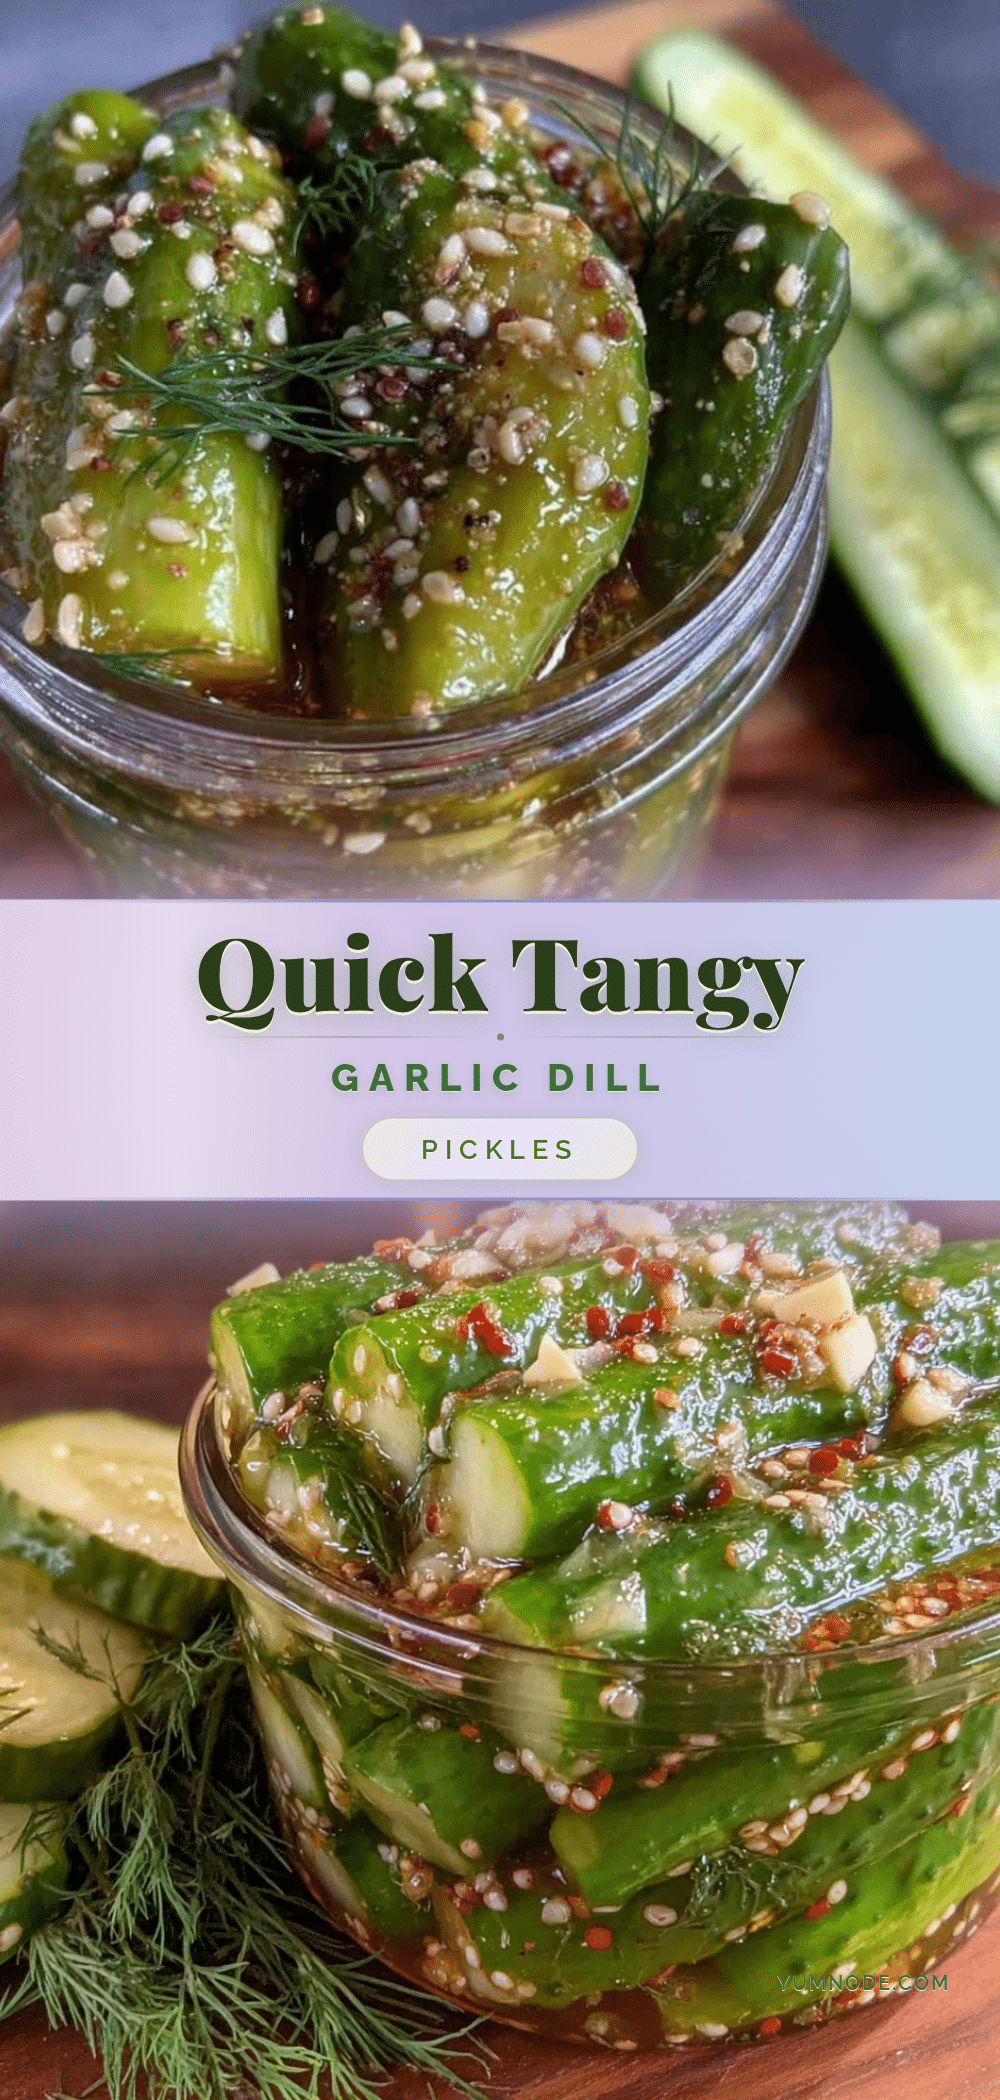
Quick Garlic Dill Refrigerator Pickles Recipe Easy Tangy Small Batch Pickles

A quick and easy recipe for tangy, crunchy garlic dill pickles ready in as little as 6 hours. Perfect for small batches and packed with fresh garlic and dill flavor.
- Prep Time: 10 minutes
- Cook Time: 0 minutes
- Total Time: 6 hours
- Yield: About 2 servings 1x
- Category: Condiment
- Cuisine: American
Ingredients
- 1 pound small cucumbers (Kirby or Persian), sliced into spears or rounds
- 3–4 fresh dill sprigs (about 2 tablespoons chopped)
- 3 large garlic cloves, peeled and lightly smashed
- 1 cup white vinegar (240 ml)
- 1 cup water (240 ml)
- 1 tablespoon kosher salt
- 1 teaspoon granulated sugar
- 1 teaspoon whole black peppercorns
- 1/4 teaspoon optional red pepper flakes
Instructions
- Wash and dry about 1 pound (450g) of small cucumbers. Slice into spears about 3 inches long or rounds.
- Place smashed garlic cloves and fresh dill sprigs at the bottom of a clean 16 oz (500 ml) glass jar. Tuck cucumber slices in snugly without crushing.
- In a small saucepan or bowl, combine 1 cup white vinegar, 1 cup water, 1 tablespoon kosher salt, 1 teaspoon sugar, 1 teaspoon whole black peppercorns, and optional 1/4 teaspoon red pepper flakes. Stir until salt and sugar dissolve.
- Pour the brine over the cucumbers in the jar, ensuring everything is submerged. Leave about 1/2 inch space at the top.
- Seal the jar tightly and refrigerate. Let pickles sit for at least 6 hours; best after 24 hours for full flavor.
- Enjoy chilled. Pickles stay good for up to 2 weeks refrigerated.
Notes
Use fresh dill for best flavor; dried dill is not recommended. Crushing garlic lightly releases flavor without overpowering. Use Kirby cucumbers for best crunch. Adjust vinegar-to-water ratio to taste. Store in a clean glass jar for best preservation. Pickles taste best after 24 hours but can be eaten after 6 hours.
Nutrition
- Serving Size: About 2-3 pickle spe
- Calories: 15
- Sugar: 1
- Sodium: 600
- Carbohydrates: 3
- Fiber: 1
Keywords: quick pickles, garlic dill pickles, refrigerator pickles, small batch pickles, easy pickles, tangy pickles, homemade pickles



