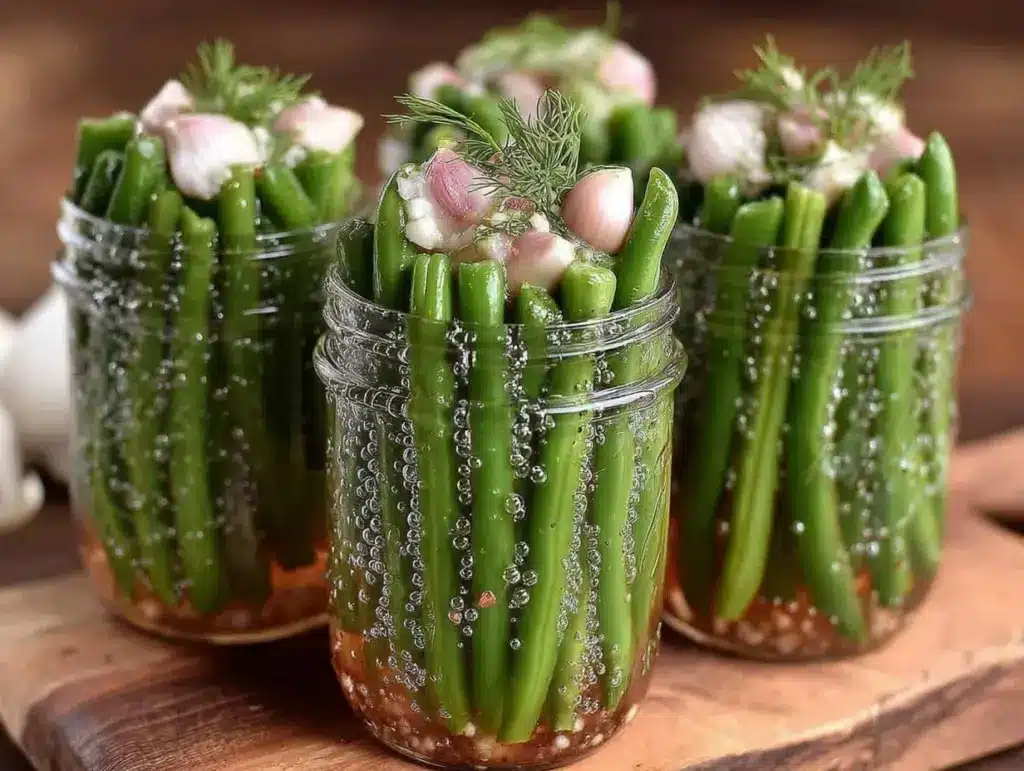
I burned the green beans in my first three attempts at pickling before figuring out what was going wrong. Honestly, I thought pickling green beans was foolproof—just vinegar, spices, and beans, right? Nope. Turns out, the secret to perfect crisp dilly beans isn’t just the recipe but the timing and the right kind of green bean. I remember standing over the stove, the kitchen smelling like vinegar and burnt dill, wondering if I’d ever get it right. I even preferred my second batch, which wasn’t quite crisp and had a slightly overcooked snap, because it reminded me of grandma’s slightly soggy but flavorful jars from years ago. But when I finally nailed that perfectly crunchy, tangy bite, it was like finding a new favorite hobby in canning season.
There’s something quietly satisfying about opening a jar of these crisp dilly beans in the dead of winter, the crackle of the seal as fresh as the summer garden they came from. The bright green color, the punch of dill, and that unmistakable snap make this recipe stick in my kitchen rotation every year. It’s not just about preservation; it’s a little ritual, a nod to seasons changing, and a way to bring a bit of fresh crunch to meals when fresh beans aren’t around anymore. This recipe wasn’t a quick win, but it’s the kind of thing that grows on you—literally and figuratively—and I’m glad it stuck around.
Why You’ll Love This Recipe
After years of canning and testing pickled beans, this crisp dilly beans recipe stands out for all the right reasons. It’s not just a preservation method; it’s a flavor-packed treat that holds its crunch through months of storage.
- Quick & Easy: You can prep a batch in under 45 minutes, perfect for busy weekends during canning season.
- Simple Ingredients: No need for exotic spices or hard-to-find items—just fresh green beans, vinegar, garlic, and dill.
- Perfect for Canning Season: This recipe shines when green beans are fresh and plentiful, making it ideal for preserving summer’s bounty.
- Crowd-Pleaser: Whether on the snack table or as a garnish for Bloody Marys, these pickled beans always get compliments.
- Unbelievably Delicious: The balance of tangy vinegar and fragrant dill paired with the crisp texture is seriously addictive.
What sets this crisp dilly beans recipe apart is the careful balance of pickling brine acidity and the timing of processing. The technique ensures your beans stay crunchy instead of turning mushy, which, honestly, took me a little trial and error to master. Plus, I toss in garlic cloves and fresh dill heads to boost the flavor, making these jars taste fresh and vibrant even months after sealing. It’s not just another pickled green bean—it’s the one that’ll make you want to keep canning year after year.
What Ingredients You Will Need
This crisp dilly beans recipe uses straightforward, pantry-friendly ingredients that come together to create that signature tart and fresh flavor. The ingredients are mostly staples, with a few fresh touches to bring the recipe alive.
- Fresh Green Beans – about 2 pounds (900 grams), trimmed and washed. Look for firm, crisp beans with no blemishes for the best crunch.
- White Vinegar (5% acidity) – 2 cups (480 ml). This is the base of your brine and the pickling agent.
- Water – 2 cups (480 ml), to balance the vinegar’s acidity and prevent harshness.
- Pickling Salt – 2 tablespoons (use non-iodized salt to avoid cloudiness).
- Garlic Cloves – 4-6 cloves, peeled (adds a punch of flavor and aroma).
- Fresh Dill Heads – 4 heads or about 4 tablespoons of fresh dill weed (the star herb for that classic dill flavor).
- Black Peppercorns – 1 teaspoon (optional, for a subtle peppery note).
- Red Pepper Flakes – 1/2 teaspoon (optional, if you like a little heat).
For substitutions: If you want a gluten-free and low-carb option, this recipe fits perfectly without any changes. You can swap the white vinegar for apple cider vinegar if you prefer a milder tang, though it will change the flavor slightly. For salt, pickling salt is best, but kosher salt works as long as you adjust the quantity. And if fresh dill isn’t available, dried dill weed can substitute in a pinch, but the flavor won’t be quite as vibrant.
Equipment Needed
- Large Canning Pot or Stockpot: To boil water bath jars safely. If you don’t have a specialized canner, a deep stockpot with a rack works fine.
- Heatproof Jars with Lids: Pint or half-pint Mason jars — I prefer pint jars for this recipe. Make sure lids are new or in good condition for a proper seal.
- Jar Lifter: For safely removing hot jars from boiling water. If you don’t have one, thick tongs can work but are less secure.
- Funnel: A wide-mouth canning funnel makes filling jars easier and less messy.
- Measuring Cups and Spoons: For precise ingredient measurements.
- Mixing Bowl: To prepare the brine.
- Sharp Knife and Cutting Board: For trimming the green beans.
I’ve tried pickling green beans using both traditional canning pots and simpler setups, and honestly, investing in a good jar lifter made the process feel safer and less stressful. For budget options, you can use a large pot with a colander at the bottom as a rack. Just be sure jars don’t touch the bottom directly to avoid cracking.
Preparation Method
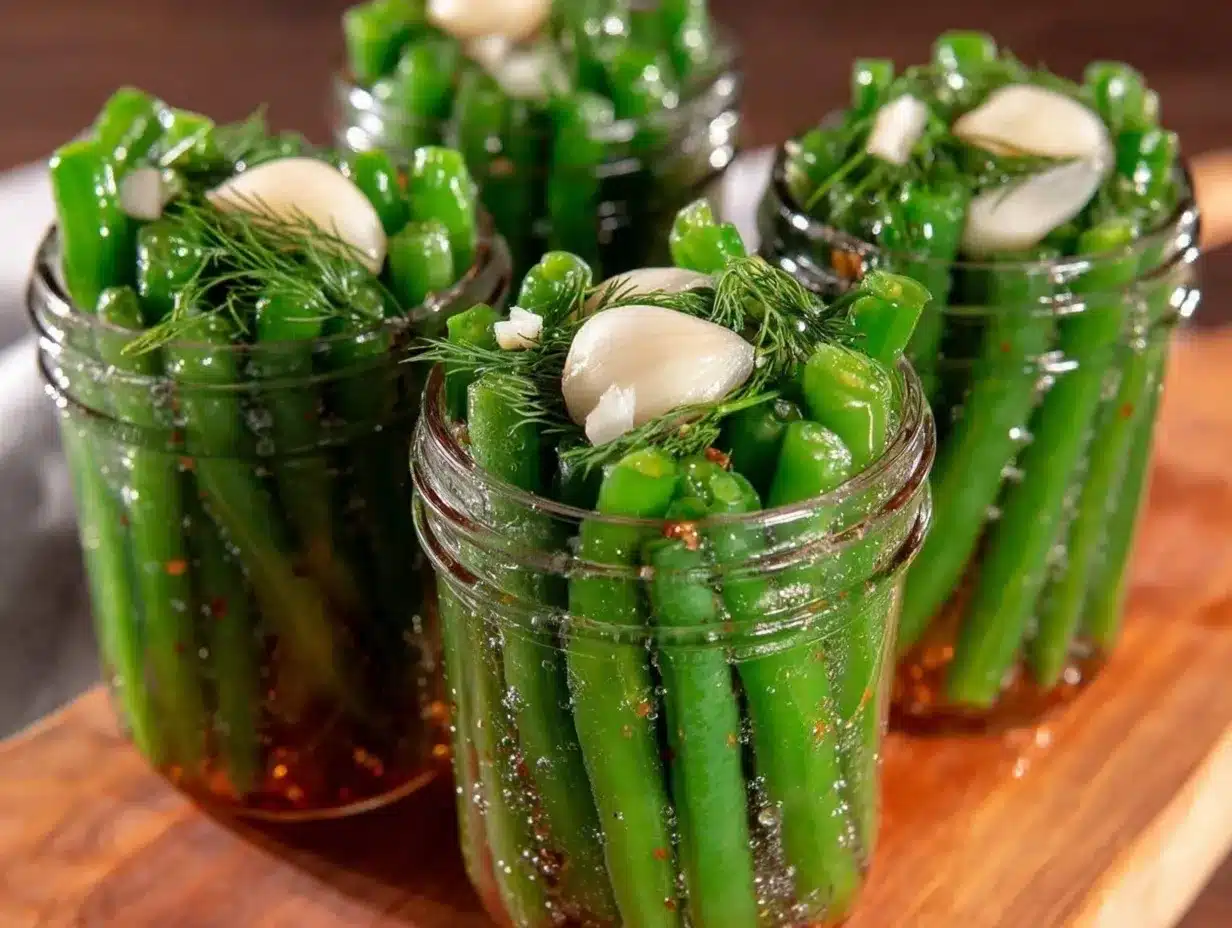
- Prepare the Jars and Lids: Wash your canning jars and lids in hot soapy water. Rinse well and keep jars warm in a pot of simmering water to prevent cracking when filling with hot brine. Time: 10 minutes.
- Trim the Green Beans: Snap or cut off the stem ends of the green beans. You want them about 4 inches (10 cm) long so they fit nicely in the jars. Discard any beans that look limp or blemished. Time: 10 minutes.
- Pack the Jars: Into each warm jar, place 1-2 garlic cloves, 1 fresh dill head, about 1/4 teaspoon black peppercorns, and a pinch of red pepper flakes if using. Then pack green beans vertically, standing them upright and pressing gently to fit as many as possible without crushing. Leave about 1/2 inch (1.3 cm) of headspace at the top. Time: 10 minutes.
- Make the Brine: In a pot, combine 2 cups (480 ml) white vinegar, 2 cups (480 ml) water, and 2 tablespoons pickling salt. Bring to a boil, stirring until salt dissolves completely. Time: 5 minutes.
- Fill the Jars: Using a funnel, pour the hot brine over the beans in each jar, covering them fully but leaving the 1/2 inch headspace. Use a non-metallic utensil to remove air bubbles by gently poking around the jar. Wipe rims clean with a damp cloth. Time: 5 minutes.
- Seal and Process: Place lids on jars and screw bands until fingertip tight. Process jars in a boiling water bath for 10 minutes (start timing when water returns to a boil). Make sure jars are covered by at least 1 inch (2.5 cm) of water during processing. Time: 15-20 minutes including heating and cooling.
- Cool and Store: Remove jars with a jar lifter and place on a towel or cooling rack. Let them cool undisturbed for 12-24 hours. Check seals by pressing the center of lids—if they don’t pop back, jars are sealed. Store in a cool, dark place. Time: 12-24 hours cooling.
Note: If you find beans are turning soft, it might be that your processing time is too long or beans were stored too long before pickling. Fresh, crisp beans and precise timing are key.
Cooking Tips & Techniques
One big lesson I learned was that the type and freshness of green beans matter more than you might think. Freshly picked beans snap crisply when bent, and that’s exactly what you want. Older beans or those stored too long before pickling will never stay crisp no matter what.
When making the brine, don’t skimp on the vinegar or salt—they’re your natural preservatives. But balance is key. Too much vinegar and your beans will taste harsh; too little and they won’t preserve properly. I stick to the classic 50/50 vinegar-water ratio with pickling salt, which has worked every time.
Another tip: pack the jars tightly but don’t crush the beans. Gentle pressure is enough. If beans are too tightly packed, they lose their snap.
Also, avoid using table salt with additives—it can cloud your brine and affect taste. Pickling salt or kosher salt is best.
Finally, timing the boiling water bath is crucial. I once left jars in too long and ended up with soft beans. Exactly 10 minutes is plenty for pint jars.
Variations & Adaptations
- Spicy Dilly Beans: Add extra red pepper flakes or a few sliced jalapeños for a kick. Great if you like things on the hotter side.
- Garlic Lovers’ Version: Double or triple the garlic cloves per jar for an extra pungent punch that pairs well with sandwiches.
- Low-Sodium Option: Reduce the pickling salt by half and compensate with extra vinegar. Keep in mind this affects preservation time, so consider refrigerating instead of canning for longer storage.
- Oven Pickled Beans: If you’re short on time, you can pour hot brine over beans in a jar, refrigerate, and enjoy after a few days without canning. The texture won’t last as long, but it’s a quick fix.
- Herb Variations: Swap dill for tarragon or add a few sprigs of thyme for a different herbal note. I once tried adding fresh basil, which was an unexpected but pleasant twist.
Serving & Storage Suggestions
These crisp dilly beans are best served cold or at room temperature. They make a fantastic crunchy snack straight from the jar or a flavorful garnish for cocktails like Bloody Marys. I also love serving them alongside grilled meats or as part of a charcuterie board—adds that perfect tangy crunch.
Store sealed jars in a cool, dark place. Once opened, keep them refrigerated and consume within a month for best flavor and texture. The flavors actually deepen over a couple of weeks, so if you can wait, you’ll be rewarded with a more balanced dill punch.
For leftovers or smaller batches, refrigeration-only pickled beans are great for quick consumption but won’t last as long as canned ones. When reheating for recipes, avoid cooking the beans too long to preserve their texture.
Nutritional Information & Benefits
A one-ounce (28g) serving of crisp dilly beans is roughly:
| Calories | 10 |
|---|---|
| Carbohydrates | 2g |
| Fiber | 1g |
| Protein | 0.5g |
| Sodium | 150-200mg (varies by recipe) |
Green beans are low in calories and a good source of vitamins A, C, and K. The vinegar used in pickling can aid digestion and support gut health. This recipe is naturally gluten-free and low in carbs, making it a good fit for many diets. Do note the sodium content from the pickling salt, so keep that in mind if you’re watching salt intake. The fresh dill adds antioxidants and a unique flavor with minimal calories.
Conclusion
This crisp dilly beans recipe is worth every minute of prep and every jar you store away. It’s the kind of canning project that feels rewarding because the results actually taste amazing and last well. I love that it’s simple enough for beginners but still offers room to customize with spices and herbs.
Whether you’re preserving a bumper crop of green beans or just want a crunchy, tangy snack, this recipe has stuck around in my kitchen because it delivers consistent, delicious results. Plus, every jar tells a story of summer’s bounty saved for winter’s table.
If you try this recipe, I’d love to hear how your pickled beans turn out or what variations you give a whirl. Sharing those kitchen wins (and fails) is what makes cooking fun and keeps traditions alive.
Frequently Asked Questions about Crisp Dilly Beans
How long do pickled dilly beans last?
Properly canned and sealed jars last up to one year stored in a cool, dark place. Once opened, refrigerate and consume within 3-4 weeks for best texture and flavor.
Can I use frozen green beans for pickling?
It’s best to use fresh green beans. Frozen beans lose their crispness and can become mushy after pickling.
Why are my pickled green beans soft?
Soft beans usually result from over-processing in the water bath or using older beans that aren’t fresh and firm. Shorten processing time and choose fresh beans next time.
Can I skip canning and just refrigerate the pickled beans?
Yes, you can refrigerate after pouring hot brine over the beans. They’ll be ready in a few days but should be eaten within a month.
What’s the best way to add heat to dilly beans?
Add red pepper flakes or slices of fresh jalapeño to the jars before pickling for a spicy kick.
If you enjoy preserving fresh flavors, you might also appreciate the ease of fresh lemon asparagus pasta or the comforting vibes of creamy scalloped potatoes with ham for your next dinner.
Pin This Recipe!
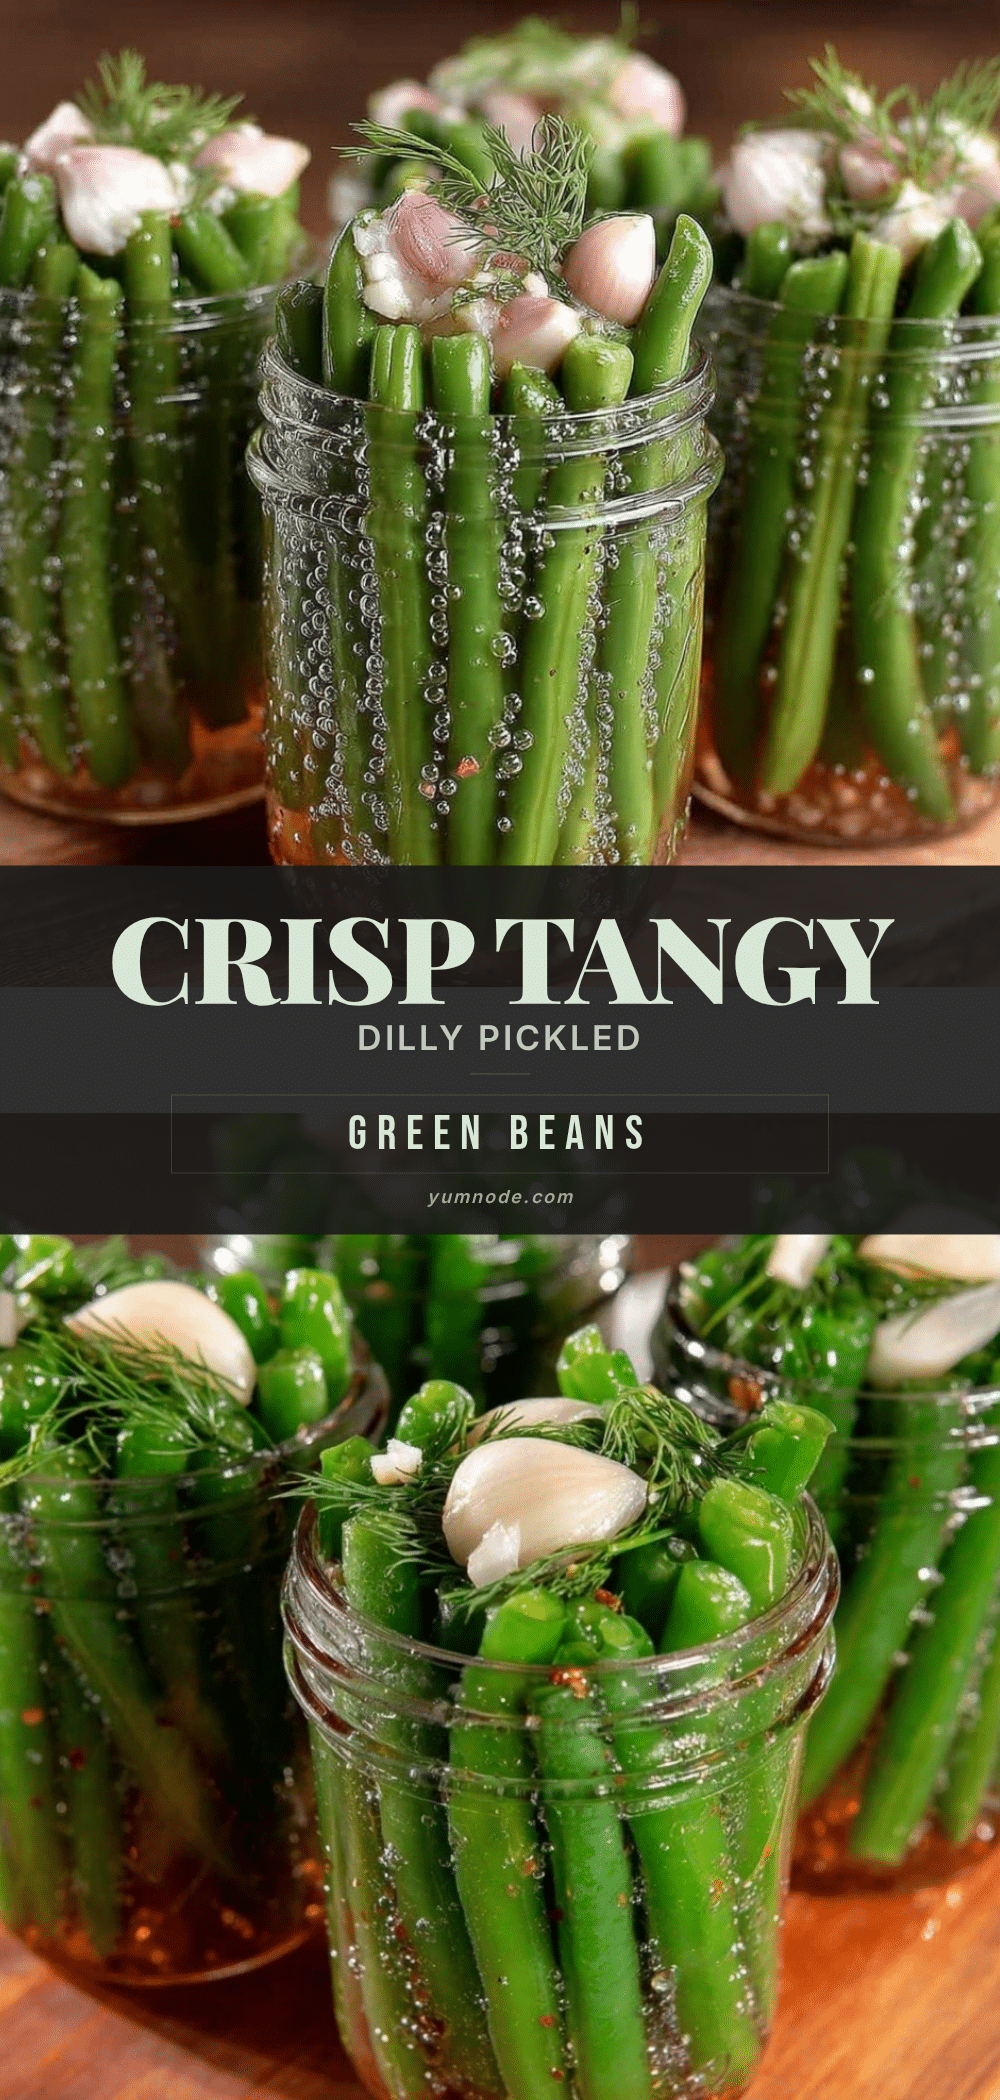
Crisp Dilly Beans Recipe Easy Pickled Green Beans for Canning Season

A flavorful and crunchy pickled green beans recipe perfect for canning season, preserving the fresh taste of summer with a tangy dill brine.
- Prep Time: 30 minutes
- Cook Time: 20 minutes
- Total Time: 12 hours 50 minutes
- Yield: 4-6 pints 1x
- Category: Preserves
- Cuisine: American
Ingredients
- 2 pounds fresh green beans, trimmed and washed
- 2 cups white vinegar (5% acidity)
- 2 cups water
- 2 tablespoons pickling salt (non-iodized)
- 4–6 garlic cloves, peeled
- 4 fresh dill heads or about 4 tablespoons fresh dill weed
- 1 teaspoon black peppercorns (optional)
- 1/2 teaspoon red pepper flakes (optional)
Instructions
- Wash canning jars and lids in hot soapy water. Rinse well and keep jars warm in a pot of simmering water to prevent cracking when filling with hot brine. (10 minutes)
- Snap or cut off the stem ends of the green beans to about 4 inches long. Discard any limp or blemished beans. (10 minutes)
- Into each warm jar, place 1-2 garlic cloves, 1 fresh dill head, about 1/4 teaspoon black peppercorns, and a pinch of red pepper flakes if using. Pack green beans vertically, standing upright and pressing gently to fit as many as possible without crushing. Leave 1/2 inch headspace. (10 minutes)
- In a pot, combine 2 cups white vinegar, 2 cups water, and 2 tablespoons pickling salt. Bring to a boil, stirring until salt dissolves. (5 minutes)
- Using a funnel, pour hot brine over beans in each jar, covering fully but leaving 1/2 inch headspace. Remove air bubbles with a non-metallic utensil. Wipe rims clean. (5 minutes)
- Place lids on jars and screw bands fingertip tight. Process jars in boiling water bath for 10 minutes once water returns to boil. Ensure jars are covered by at least 1 inch of water. (15-20 minutes including heating and cooling)
- Remove jars with jar lifter and place on towel or cooling rack. Let cool undisturbed for 12-24 hours. Check seals by pressing lid centers; if no pop back, jars are sealed. Store in cool, dark place. (12-24 hours cooling)
Notes
Use fresh, firm green beans for best crunch. Avoid over-processing in water bath to prevent soft beans. Use pickling or kosher salt to avoid cloudy brine. Maintain 50/50 vinegar to water ratio for balanced acidity. Pack jars gently without crushing beans. Store sealed jars in cool, dark place up to one year. Refrigerate after opening and consume within 3-4 weeks.
Nutrition
- Serving Size: 1 ounce (28 grams)
- Calories: 10
- Sodium: 175
- Carbohydrates: 2
- Fiber: 1
- Protein: 0.5
Keywords: pickled green beans, dilly beans, canning, pickling, crunchy green beans, dill, garlic, preserving, summer vegetables



