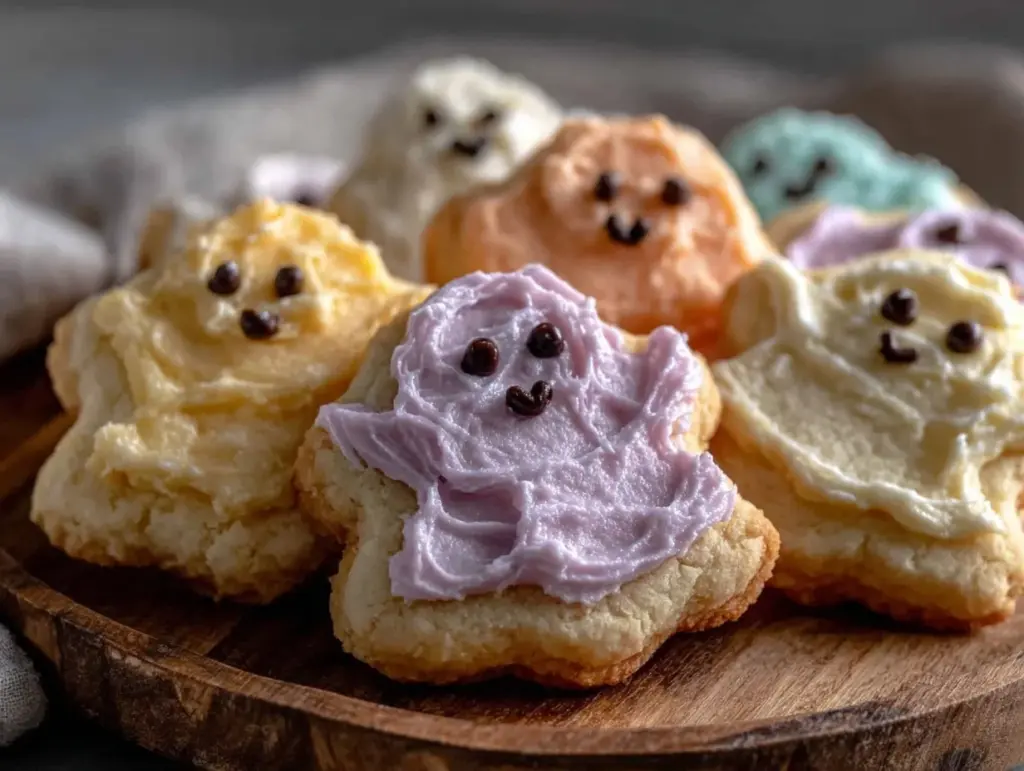
These pastel Halloween ghost sugar cookies are calling my name, and honestly, I don’t even need a reason beyond that. I’ve got the dough rolled out, the cookie cutters lined up, and my royal icing colors ready—except, well, I forgot to decide if I want the ghosts to look more spooky or sweet this year. You know that little itch, the one that says, let’s make Halloween a bit brighter and softer? Yeah, that’s what led me down this pastel ghost cookie rabbit hole. I can almost smell the vanilla and that faint almond undertone from the icing as I mix it, thinking maybe, just maybe, these cookies will be the highlight of the season.
I’m not one to do the usual orange and black every Halloween; I like to mix it up and make things feel a little unexpected yet cozy. These pastel ghosts are the perfect compromise—festive but gentle on the eyes, like a sugary whisper of Halloween magic. Plus, there’s something satisfying about the way royal icing dries with that smooth, glassy finish, and the way the little ghost shapes pop against the soft pastel shades. It’s like a tiny art project you can eat, and honestly, that’s the kind of fun I want from my baking.
What really sticks with me about these cookies is how they bring a subtle joy to the table. Maybe it’s the way the pastel colors remind me of spring, clashing beautifully with the eerie ghost shapes. Or maybe it’s just the memories of decorating alongside my kids, smudging icing here and there, laughing over their “spooky” designs. Either way, this recipe isn’t just about making sugar cookies—it’s about carving out a little space for creativity and sweetness amid the Halloween chaos.
So, if you’re craving something that looks charmingly spooky but tastes like a soft vanilla dream, this recipe for Perfect Pastel Halloween Ghost Sugar Cookies with Royal Icing might just be the treat you didn’t know you needed. And trust me, once you get that royal icing just right, it’s hard not to keep going back for one more.
Why You’ll Love This Recipe
Here’s the deal: these pastel Halloween ghost sugar cookies aren’t your run-of-the-mill spooky treats. There’s a reason I keep coming back to this recipe every fall, and it’s not just because the ghosts look adorable. After a few rounds of trial and error, I’ve nailed down a balance that’s both easy and impressive. Honestly, these cookies have become a little tradition, and I think they’ll work for you too.
- Quick & Easy: The dough comes together in under 15 minutes, and chilling it doesn’t take all day. Perfect for those last-minute Halloween plans or unexpected cookie cravings.
- Simple Ingredients: No specialty items here. You probably have all these basics in your pantry already, from the flour to the powdered sugar for the royal icing.
- Perfect for Halloween Parties: Whether it’s trick-or-treat night or a spooky brunch, these cookies fit right in with their pastel twist that stands out from the usual orange and black fare.
- Crowd-Pleaser: Kids, adults, picky eaters—they all seem to love these. The texture is soft yet sturdy enough for decorating, and the flavor is a crowd-pleasing vanilla classic.
- Unbelievably Delicious: The royal icing dries with a subtle crunch that contrasts perfectly with the tender cookie underneath. Plus, the pastel colors make them look like little edible pieces of art.
What sets this recipe apart? Well, it’s the royal icing technique I’ve fine-tuned to get that smooth, glossy finish without the fuss. By mixing a touch of meringue powder and just the right amount of powdered sugar, the icing stays perfect for decorating ghosts with fine details. Plus, the use of soft pastel colors adds a whimsical softness that’s both unexpected and delightful.
This isn’t just a cookie recipe—it’s a little celebration of creativity and fun in the kitchen. It’s the kind of treat that makes you pause, smile, and maybe even close your eyes for a moment after that first bite. Perfectly spooky, softly sweet, and absolutely charming.
What Ingredients You Will Need
This recipe uses simple, wholesome ingredients to deliver bold flavor and satisfying texture without the fuss. Most of these are pantry staples, so no extra trips to the store unless you want to get fancy with your pastel food coloring.
- For the Sugar Cookie Dough:
- All-purpose flour — 3 cups (360g), sifted for smoother dough
- Baking powder — 1 teaspoon (5g), to give a little lift
- Salt — ½ teaspoon (3g), balances flavor
- Unsalted butter — 1 cup (227g), softened to room temperature (I prefer Land O Lakes for consistency)
- Granulated sugar — 1 cup (200g), for sweetness and slight crunch
- Large eggs — 2, room temperature (makes dough easier to work with)
- Pure vanilla extract — 2 teaspoons (10ml), for that classic sugar cookie aroma
- For the Royal Icing:
- Powdered sugar — 4 cups (480g), sifted to avoid clumps
- Meringue powder — 3 tablespoons (21g), for that perfect royal icing texture
- Warm water — approx. 7-8 tablespoons (105-120ml), adjust for consistency
- Pure vanilla extract — 1 teaspoon (5ml), adds subtle flavor
- Gel food coloring in pastel shades — pink, blue, lavender, mint green (gel colors give vibrant hues without watering down the icing)
Optional but helpful:
- Lemon juice — a teaspoon can brighten the icing flavor if you like a slight tang
- Cornstarch — a pinch, to thicken icing if too runny
If you prefer a gluten-free twist, almond flour can substitute for part of the all-purpose flour, but expect a slightly different texture. For dairy-free, swap the butter with vegan margarine, and for egg allergies, try an egg replacer or a flaxseed mixture. For royal icing, meringue powder is a must, but if you want, you could experiment with fresh egg whites (just be cautious with food safety).
Equipment Needed
To get these pastel Halloween ghost sugar cookies just right, a few kitchen tools will make life easier, though you can tweak if you’re low on gadgets.
- Mixing Bowls: At least two; one for the dough, one for the royal icing. I always prefer glass or stainless steel for easy cleanup.
- Electric Mixer: Stand or hand mixer helps cream butter and sugar smoothly and whip the royal icing to the perfect texture. You can do it by hand, but it’s a workout.
- Measuring Cups and Spoons: Accuracy is clutch for baking, especially when balancing flour and sugar.
- Rolling Pin: A classic wooden or silicone rolling pin works. I like silicone because it’s less sticky with the dough.
- Ghost-shaped Cookie Cutters: Essential for the theme! If you don’t have one, a simple oval cutter plus a knife to shape can work.
- Baking Sheets: Non-stick or lined with parchment paper to keep cookies from sticking.
- Cooling Rack: To cool cookies evenly and prevent sogginess underneath.
- Small Piping Bags or Ziplock Bags: For decorating with royal icing. Snipping a tiny corner off a ziplock works in a pinch.
- Toothpicks or Scribe Tool: For fine icing details and fixing small mistakes.
For budget-friendly baking, you can often find cookie cutters and piping bags pretty cheap online or at local stores. If you want to keep your royal icing tools pristine, wash them immediately after use to prevent hard-to-remove dried icing buildup.
Preparation Method
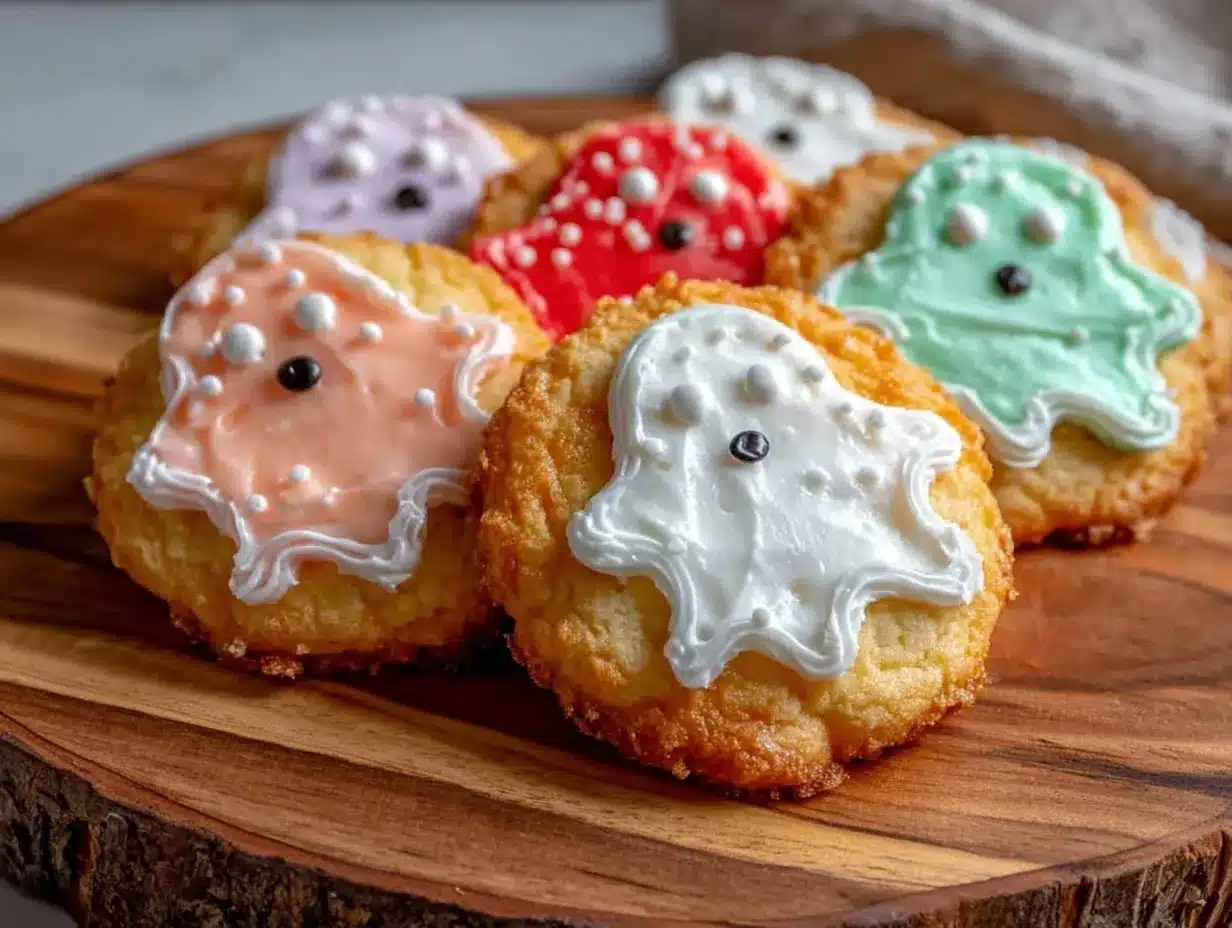
- Make the Dough: In a medium bowl, whisk together 3 cups (360g) flour, 1 teaspoon (5g) baking powder, and ½ teaspoon (3g) salt. Set aside. (This keeps your dry ingredients nicely combined.)
- Cream Butter and Sugar: In a large bowl, beat 1 cup (227g) softened unsalted butter and 1 cup (200g) granulated sugar with an electric mixer on medium speed until fluffy and pale, about 3-4 minutes. (Don’t rush this; it’s key for tender cookies.)
- Add Eggs and Vanilla: Beat in 2 large eggs, one at a time, then 2 teaspoons (10ml) vanilla extract until fully incorporated.
- Combine Wet and Dry: Slowly add the flour mixture to the wet ingredients on low speed, mixing until just combined. The dough should be soft but not sticky. If it feels too sticky, sprinkle a bit more flour.
- Chill the Dough: Divide dough into two disks, wrap in plastic, and refrigerate for at least 1 hour (or up to overnight). (Chilling is crucial for easier rolling and cleaner cookie shapes.)
- Preheat Oven and Prepare Sheets: Heat oven to 350°F (177°C). Line baking sheets with parchment paper.
- Roll and Cut Cookies: On a lightly floured surface, roll out one dough disk to about ¼ inch (6mm) thickness. Use your ghost cookie cutters to cut shapes and place them 1 inch (2.5 cm) apart on baking sheets.
- Bake: Bake cookies for 8-10 minutes or until edges just begin to turn golden. (Watch closely to avoid overbaking.) Remove from oven and cool on sheets for 5 minutes, then transfer to wire racks to cool completely.
- Make Royal Icing: In a large bowl, combine 4 cups (480g) sifted powdered sugar and 3 tablespoons (21g) meringue powder. Add 7 tablespoons (105ml) warm water and 1 teaspoon (5ml) vanilla extract. Beat on high until stiff peaks form, about 5-7 minutes. Adjust consistency with more water or powdered sugar if needed.
- Color Your Icing: Divide icing into small bowls and tint each with gel food coloring to your desired pastel shades. Thin icing slightly with water for flooding and keep a thicker batch for piping details.
- Decorate: Using piping bags or ziplock bags with tiny snips, outline each ghost with the thicker icing, then flood inside with the thinned icing. Use toothpicks to spread and smooth. Add eyes and mouth with black or dark icing once base dries.
- Let Dry: Allow decorated cookies to dry at room temperature for at least 4 hours, preferably overnight, to get that perfect hard royal icing finish.
Pro tip: If the royal icing gets too stiff while decorating, add a few drops of water and stir gently to soften. Also, keep your piping tip clean by wiping with a damp cloth regularly to avoid clogs.
Cooking Tips & Techniques
Royal icing can be a little intimidating, but once you get the hang of it, it’s a game changer. One thing I learned the hard way is to always sift your powdered sugar and measure carefully. Clumps or too much sugar can make the icing grainy or too thick to pipe smoothly.
Another tip: chilling the cookie dough is non-negotiable. It makes rolling and cutting so much easier and prevents cookies from spreading too much in the oven, keeping those ghost shapes crisp and recognizable.
When decorating, working in small batches of icing helps keep the colors vibrant and the consistency just right. Use gel colors over liquid to avoid thinning your icing too much. And use a damp paper towel to wipe your piping tips often—dried icing can clog your designs quickly.
Don’t rush the drying time. I know, it’s tempting to gobble these up immediately, but the royal icing needs hours to harden fully. Otherwise, you risk smudging your cute little ghost faces. Patience here really pays off.
Multitasking is your friend: While the cookies bake, whip up your royal icing and prep your piping bags. It’s a smooth flow that keeps you efficient and less overwhelmed.
Variations & Adaptations
These pastel Halloween ghost sugar cookies are super adaptable. Here are some ideas to make them your own:
- Flavor Variations: Add a pinch of almond extract or lemon zest to the dough for a subtle flavor twist. For a chocolate ghost, swap ½ cup (60g) flour for cocoa powder.
- Dietary Adaptations: Use gluten-free flour blend instead of all-purpose flour for gluten sensitivity. Swap butter for coconut oil (solid) for dairy-free, and use aquafaba plus powdered sugar for vegan royal icing.
- Seasonal Twists: For a fall take, incorporate a pinch of pumpkin pie spice into the dough or use autumnal pastel shades like soft orange and muted gold instead of the usual pastel palette.
- Decorating Techniques: Try adding edible glitter or pearlescent dust on the ghosts for a magical shimmer. Or use mini chocolate chips or edible markers to create quirky ghost expressions.
One variation I adore is pairing these pastel ghosts with my cozy pumpkin spice bread for a full fall-themed treat table that’s both sweet and comforting.
Serving & Storage Suggestions
Serve these pastel Halloween ghost sugar cookies at room temperature to enjoy the full flavor and texture. They make a charming centerpiece for any Halloween party table or a sweet treat to pack in lunchboxes for a festive surprise.
Pair them with warm drinks like spiced apple cider or a cozy chai latte to bring out the vanilla notes. They also complement fall desserts beautifully, such as pumpkin pies or creamy key lime pie bars for a refreshing contrast.
To store, place cookies in an airtight container layered with parchment paper between each layer. They keep well at room temperature for up to 5 days. For longer storage, freeze un-iced cookies in a single layer, then thaw and decorate as needed.
Reheat is not recommended since royal icing can soften with heat. Instead, let frozen cookies thaw at room temperature for the best texture. The flavors actually deepen a bit after a day, making leftovers taste even better.
Nutritional Information & Benefits
Each cookie (assuming about 2.5 inches in size) contains roughly 150-180 calories, with the majority coming from sugar and butter. While these are definitely a treat, the recipe’s use of real vanilla extract and minimal artificial ingredients makes it a slightly cleaner indulgence than many store-bought cookies.
Key ingredients like eggs and butter provide protein and fats that help keep you satisfied, while the powdered sugar in the royal icing gives a quick energy boost. If you’re mindful of allergies, note that this recipe contains gluten, dairy, and eggs, but with easy substitutions, it can be adapted for most diets.
From a wellness perspective, baking at home means you control the ingredients and can skip preservatives and artificial colors, making these pastel Halloween ghost sugar cookies a more wholesome choice than many commercial sweets.
Conclusion
These Perfect Pastel Halloween Ghost Sugar Cookies with Royal Icing have become a little slice of happy in my kitchen every fall. They’re simple enough for a beginner but offer plenty of room to show off your decorating skills. Whether you keep them soft and sweet or get creative with colors and expressions, they’re sure to bring smiles around the table.
Feel free to tweak the flavors, colors, or decorating style to make them truly yours. I love that this recipe invites you to play and personalize, turning ordinary ingredients into something special. Plus, there’s something really satisfying about biting into a cookie that looks as good as it tastes.
If you give these pastel Halloween ghost sugar cookies a try, I’d love to hear how your decorating adventure went or what variations you dreamed up. Baking is always better when shared, don’t you think?
FAQs About Perfect Pastel Halloween Ghost Sugar Cookies
How long can I store these sugar cookies?
Store in an airtight container at room temperature for up to 5 days. For longer storage, freeze un-iced cookies and decorate after thawing.
Can I make the dough ahead of time?
Absolutely. The dough can be refrigerated for up to 2 days or frozen for up to 3 months. Just thaw before rolling.
What if my royal icing is too runny or too thick?
Add powdered sugar to thicken or a few drops of water to thin until you reach the desired consistency for outlining or flooding.
Can I use food coloring other than gel?
Gel food coloring is best as it won’t thin out the icing. Liquid colors can make the icing too runny and affect drying.
How do I fix cracked or broken cookies?
Use a little royal icing as “glue” to piece them back together. Let dry completely before decorating.
Pin This Recipe!
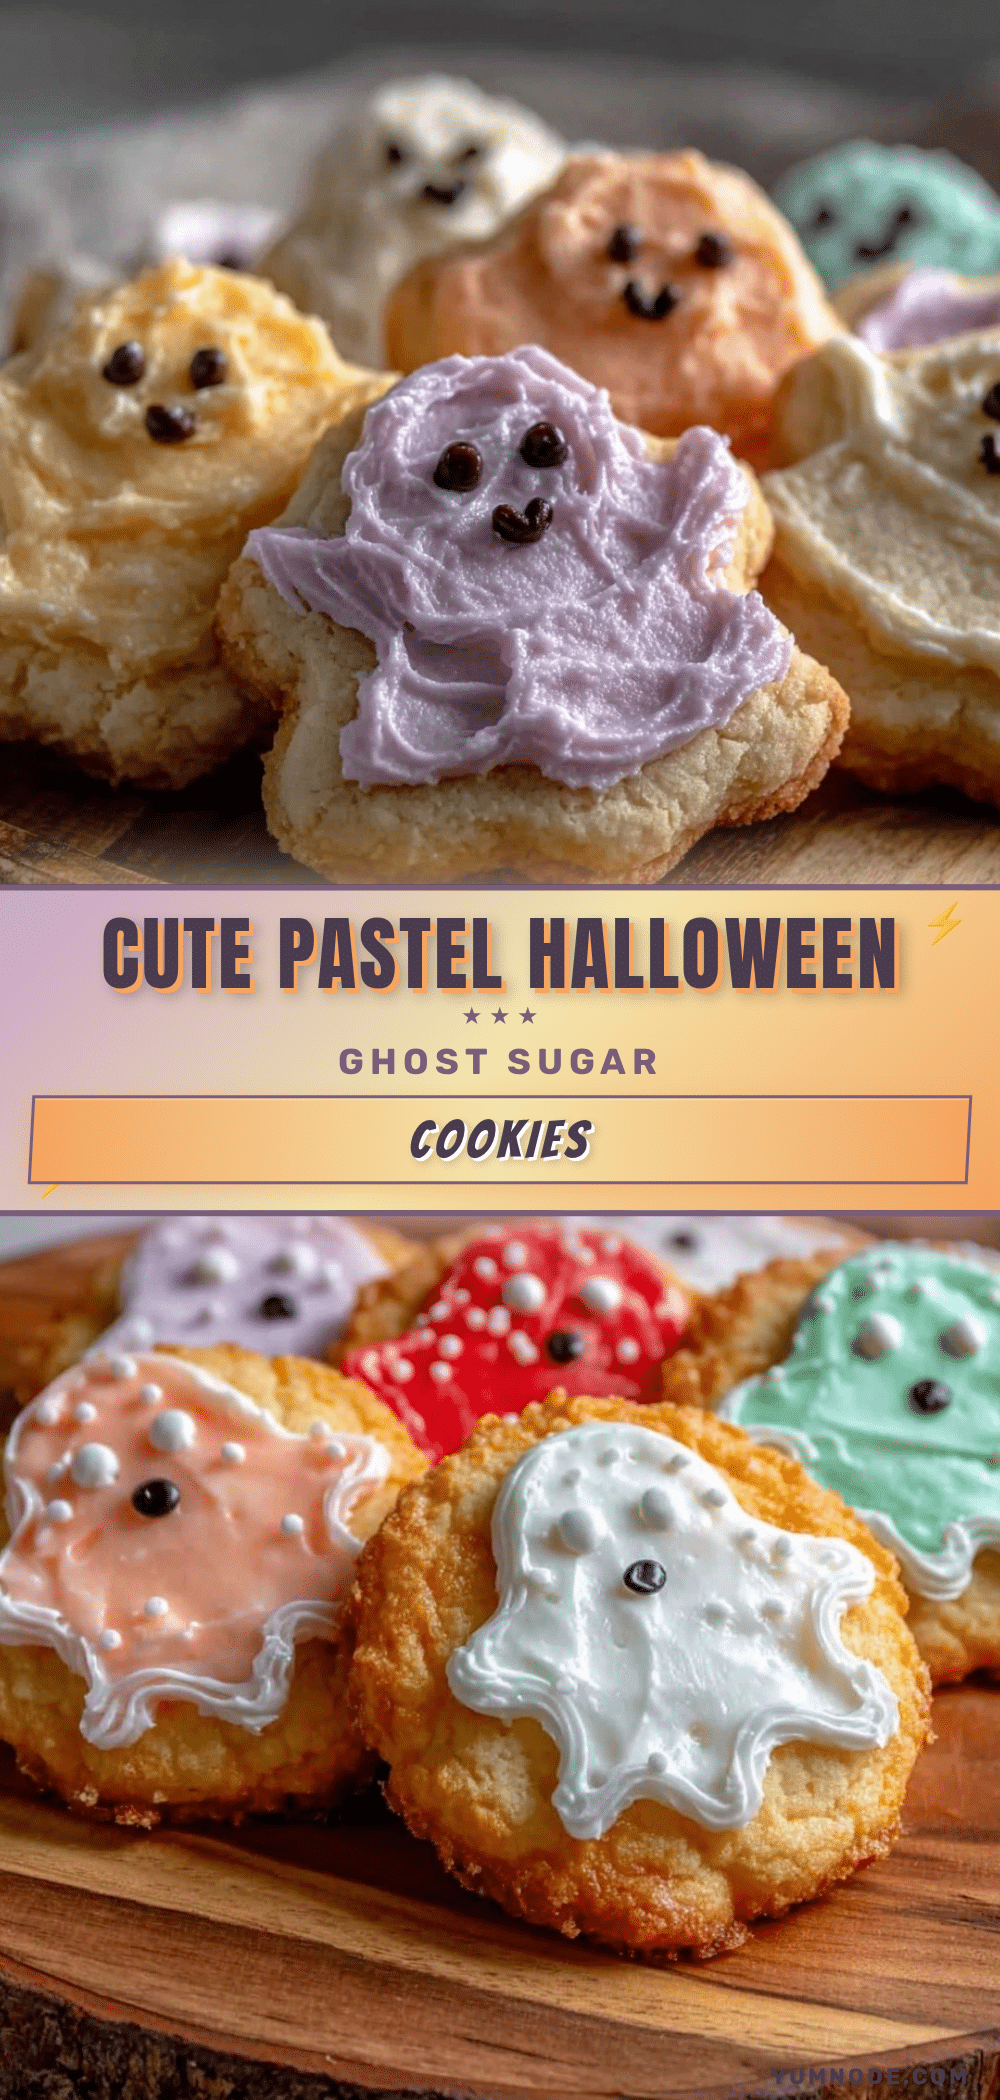
Perfect Pastel Halloween Ghost Sugar Cookies Easy Royal Icing Recipe

These pastel Halloween ghost sugar cookies offer a charmingly spooky yet softly sweet treat with a smooth royal icing finish, perfect for festive decorating and Halloween celebrations.
- Prep Time: 15 minutes
- Cook Time: 10 minutes
- Total Time: 1 hour 25 minutes
- Yield: 24 cookies 1x
- Category: Dessert
- Cuisine: American
Ingredients
- 3 cups (360g) all-purpose flour, sifted
- 1 teaspoon (5g) baking powder
- ½ teaspoon (3g) salt
- 1 cup (227g) unsalted butter, softened to room temperature
- 1 cup (200g) granulated sugar
- 2 large eggs, room temperature
- 2 teaspoons (10ml) pure vanilla extract
- 4 cups (480g) powdered sugar, sifted
- 3 tablespoons (21g) meringue powder
- 7–8 tablespoons (105-120ml) warm water
- 1 teaspoon (5ml) pure vanilla extract
- Gel food coloring in pastel shades (pink, blue, lavender, mint green)
- Optional: 1 teaspoon lemon juice
- Optional: pinch of cornstarch
Instructions
- In a medium bowl, whisk together flour, baking powder, and salt. Set aside.
- In a large bowl, beat softened butter and granulated sugar with an electric mixer on medium speed until fluffy and pale, about 3-4 minutes.
- Beat in eggs one at a time, then add vanilla extract until fully incorporated.
- Slowly add the flour mixture to the wet ingredients on low speed, mixing until just combined. If dough is too sticky, sprinkle a bit more flour.
- Divide dough into two disks, wrap in plastic, and refrigerate for at least 1 hour or up to overnight.
- Preheat oven to 350°F (177°C). Line baking sheets with parchment paper.
- On a lightly floured surface, roll out one dough disk to about ¼ inch (6mm) thickness. Use ghost cookie cutters to cut shapes and place them 1 inch apart on baking sheets.
- Bake cookies for 8-10 minutes or until edges just begin to turn golden. Cool on sheets for 5 minutes, then transfer to wire racks to cool completely.
- To make royal icing, combine powdered sugar and meringue powder in a large bowl. Add warm water and vanilla extract. Beat on high until stiff peaks form, about 5-7 minutes. Adjust consistency with more water or powdered sugar as needed.
- Divide icing into small bowls and tint each with gel food coloring to desired pastel shades. Thin icing slightly with water for flooding and keep a thicker batch for piping details.
- Outline each ghost with thicker icing, then flood inside with thinned icing using piping bags or ziplock bags with tiny snips. Use toothpicks to spread and smooth. Add eyes and mouth with black or dark icing once base dries.
- Allow decorated cookies to dry at room temperature for at least 4 hours, preferably overnight, to harden the royal icing.
Notes
Chilling the dough is crucial for easier rolling and cleaner cookie shapes. Use gel food coloring to avoid thinning the icing. Let royal icing dry fully for at least 4 hours or overnight to prevent smudging. If royal icing becomes too stiff, add a few drops of water to soften. Keep piping tips clean by wiping with a damp cloth regularly.
Nutrition
- Serving Size: 1 cookie (about 2.5
- Calories: 165
- Sugar: 18
- Sodium: 90
- Fat: 7
- Saturated Fat: 4
- Carbohydrates: 25
- Protein: 2
Keywords: Halloween cookies, sugar cookies, royal icing, pastel cookies, ghost cookies, Halloween treats, easy sugar cookies, festive cookies



