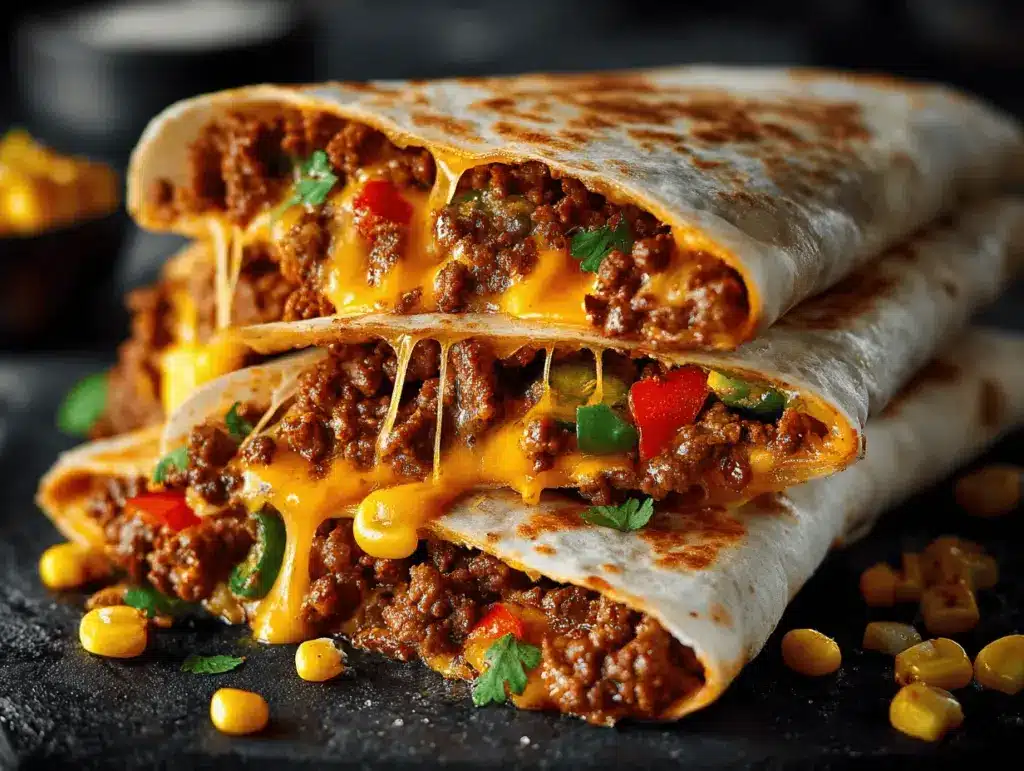
The sizzle of a golden-brown quesadilla hitting a hot skillet gets me every single time. You know that moment—cheese stretches, beef is perfectly seasoned, and suddenly, your kitchen smells like you’ve ordered takeout from your favorite Mexican spot. That’s exactly what happens when I whip up these Cheesy Beef Quesadilla Melt Wraps. Honestly, these wraps are my go-to for any night when I’m craving something hearty, melty, and downright satisfying.
I first came across the idea for these Cheesy Beef Quesadilla Melt Wraps on a chilly evening when I wanted something fuss-free but packed with flavor. I’d made classic quesadillas for years, but one night, I decided to wrap everything up burrito-style—and it turned into a total family favorite. The result? All the best parts of a quesadilla and a burrito merged together for the ultimate comfort food experience.
This recipe is perfect for busy weeknights, lazy weekends, or those times when you just want to treat yourself to a little cheesy indulgence. It’s a crowd-pleaser, and I can promise that even picky eaters will be reaching for seconds. Not only are these Cheesy Beef Quesadilla Melt Wraps easy to assemble, but they’re also totally adaptable—you can sneak in veggies, use different cheeses, or even make them ahead for meal prep. After testing this recipe more times than I care to admit, it’s earned a permanent spot in my weeknight dinner rotation. Trust me, if you love cheesy, beefy comfort food, this one’s for you!
Why You’ll Love This Recipe
Let’s face it—sometimes you just want a meal you can count on to deliver big flavor and happy faces around the table. These Cheesy Beef Quesadilla Melt Wraps are it. Here’s why you’ll want to make them again and again:
- Quick & Easy: You’ll have dinner on the table in about 30 minutes, start to finish. Great for those nights when you don’t want to spend ages in the kitchen.
- Simple Ingredients: No fancy shopping trips needed. Most of these ingredients are pantry or fridge staples.
- Perfect for Any Occasion: Whether it’s a lazy weekend, a game day get-together, or a family dinner, these wraps fit right in. They travel well, too—hello, picnic lunch!
- Crowd-Pleaser: Both kids and adults go wild for these. The cheesy melted center and savory beef are always a hit.
- Unbelievably Delicious: The combo of melty cheese, seasoned beef, and a crispy tortilla wrap delivers comfort food vibes in every bite.
What really makes these Cheesy Beef Quesadilla Melt Wraps stand out is the way everything comes together. I blend sharp cheddar and Monterey Jack for maximum gooeyness. The beef is seasoned just right, and wrapping it up keeps all that cheesy goodness inside—no more messy, leaking quesadillas!
Every time I serve these, someone inevitably asks for the recipe. They’re the kind of meal that brings everyone to the table, phones down, just digging in. And honestly, isn’t that what comfort food is all about? These wraps are reliable, cozy, and indulgent, but you can still sneak in some nutrition if you want. The best part? They’re totally customizable, so you can make them your own.
What Ingredients You Will Need
This recipe uses simple, wholesome ingredients to bring bold flavor and crave-worthy texture—without a ton of fuss. Almost everything on this list is probably already in your kitchen, but feel free to tweak it to your taste!
- For the Beef Filling:
- 1 pound (450g) ground beef (I use 85% lean for flavor and juiciness)
- 1 small onion, finely chopped (adds sweetness and depth)
- 2 cloves garlic, minced
- 1 teaspoon chili powder (adds a gentle kick)
- 1/2 teaspoon ground cumin
- 1/2 teaspoon smoked paprika (for a smoky undertone)
- 1/2 teaspoon salt (or to taste)
- 1/4 teaspoon black pepper
- 1/4 cup (60ml) beef broth or water (keeps the beef juicy)
- For the Quesadilla Melt:
- 2 cups (200g) shredded cheese (I use a mix of sharp cheddar and Monterey Jack for the ultimate melt)
- 6 large flour tortillas (10-inch or “burrito-size”)
- 2 tablespoons unsalted butter or neutral oil (for crisping the wraps)
- 1/2 cup (120g) sour cream or Greek yogurt (for spreading, optional but so good)
- 1/2 cup (60g) salsa (optional, for added flavor and moisture)
- Optional Add-ins & Toppings:
- 1/2 cup (80g) canned corn, drained
- 1/2 cup (80g) black beans, rinsed and drained
- 1/2 red bell pepper, diced (for crunch and color)
- Chopped fresh cilantro
- Sliced jalapeños (if you’re feeling spicy!)
- Guacamole or diced avocado, for serving
- Extra salsa, for dipping
If you’re looking to swap things around, you can use ground turkey or chicken instead of beef. For a gluten-free version, go for gluten-free tortillas. If you want to lower the fat, swap in reduced-fat cheese and Greek yogurt for sour cream. I’ve also made these with dairy-free cheese for my lactose-intolerant friends, and they still come out melty and delicious!
My favorite cheese brands for meltiness are Tillamook and Sargento, but use what you love. If you’re feeling adventurous, try mixing in a smoky chipotle cheese or even a little pepper jack for extra zing. The ingredient list is forgiving, so don’t stress—use what you have and make it work for you.
Equipment Needed
You don’t need anything fancy to make these Cheesy Beef Quesadilla Melt Wraps, just a few basics:
- Large nonstick skillet or griddle (12-inch works best for big tortillas)
- Spatula (preferably wide and sturdy for easy flipping)
- Mixing bowl (for prepping toppings or mixing cheese blends)
- Chef’s knife and cutting board (for slicing onions, peppers, etc.)
- Measuring spoons and cups
- Optional: Cast iron skillet (gives the crispiest crust, but nonstick works fine)
If you’re short on skillets, a regular frying pan works just fine—you’ll just crisp the wraps in batches. I’ve also used a sandwich press in a pinch (it’s great for evenly melting the cheese). For easy cleanup, I recommend using a silicone spatula so you don’t scratch your pans. If you’re on a budget, any large pan will do—just keep an eye on the heat so nothing burns. And don’t forget to wipe down your skillet between batches for the best golden crust every time!
Preparation Method
- Prepare the Beef Filling (10-12 minutes):
- Heat a large nonstick skillet over medium-high heat. Add the ground beef, breaking it up with a spatula.
- Cook for 3-4 minutes until browned, then drain excess fat if needed.
- Add the chopped onion and cook for another 2-3 minutes until softened and fragrant.
- Stir in minced garlic, chili powder, cumin, smoked paprika, salt, and black pepper. Cook for 1 minute, stirring constantly (you should smell the spices blooming—yum!).
- Pour in the beef broth or water and simmer for 2-3 minutes until the mixture thickens slightly and becomes juicy but not soupy.
- Remove from heat and set aside. Taste and adjust seasoning if needed. (If your mixture looks dry, add a splash more broth.)
- Prep the Cheese & Tortillas (2-3 minutes):
- In a mixing bowl, combine shredded cheddar and Monterey Jack cheese.
- Warm the tortillas in the microwave for 20 seconds or in a dry skillet for 1 minute to make folding easier. (Cold tortillas tend to crack.)
- Assemble the Wraps (5-7 minutes):
- Lay a tortilla flat on a clean surface. Spread a spoonful of sour cream (or Greek yogurt) in the center, if using.
- Spoon about 1/3 cup (about 80g) of the beef mixture onto the lower third of the tortilla.
- Top beef with a generous handful (about 1/3 cup or 30g) of the cheese blend.
- Add any optional fillings—corn, beans, peppers, jalapeños, etc.
- Drizzle a little salsa if desired (but not too much or the wrap will get soggy).
- Fold in the sides, then roll up tightly from the bottom, burrito-style. Repeat with remaining tortillas and filling.
- Crisp the Wraps (8-10 minutes):
- Wipe out your skillet (if using the same one from earlier) and return to medium heat.
- Add a dab of butter or a splash of oil and swirl to coat the pan.
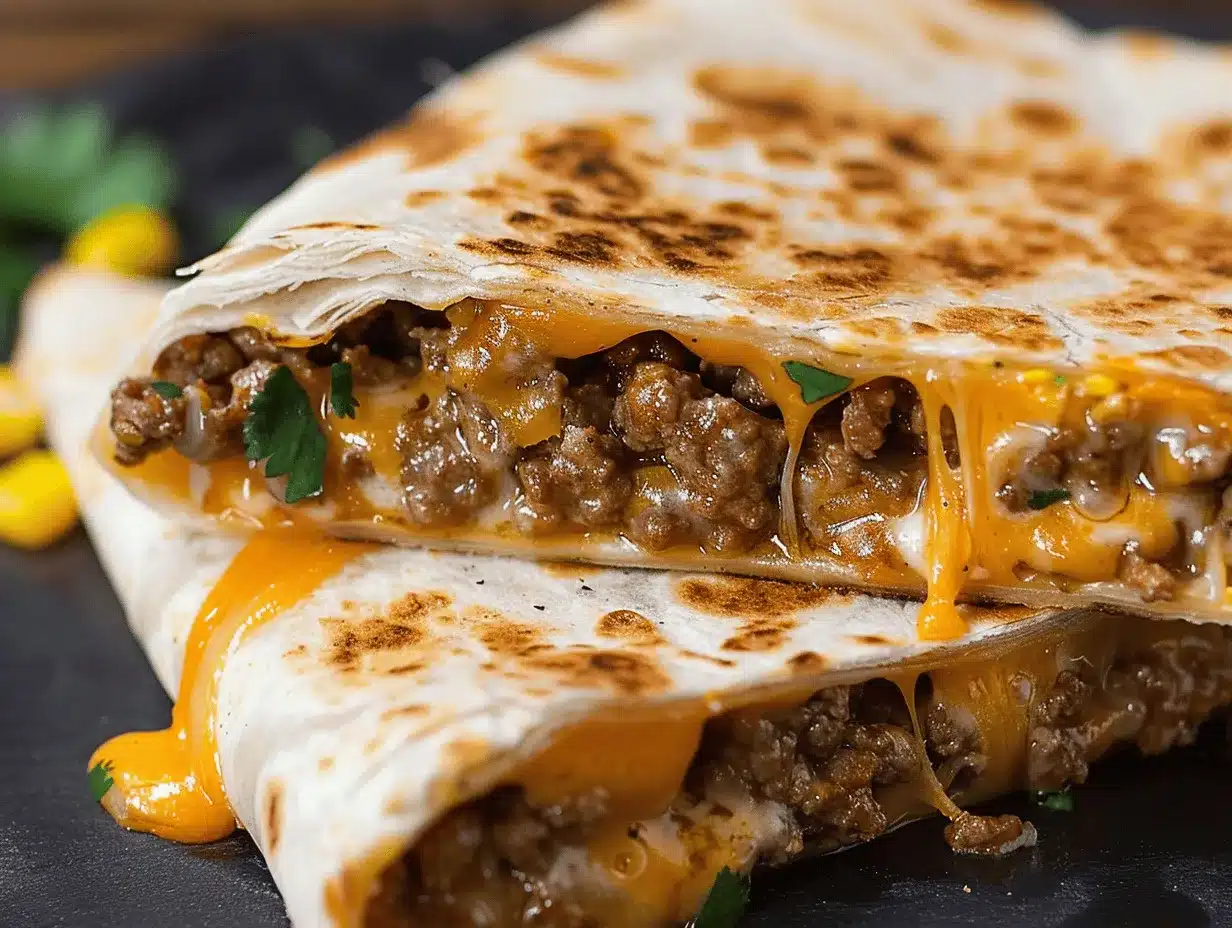
- Place 2-3 wraps seam-side down in the pan. Cook for 2-3 minutes per side, pressing gently with a spatula, until golden brown and the cheese is melted inside. (If the pan is too hot, the outside will brown before the cheese melts—medium heat is key!)
- Transfer to a cutting board and let cool for 1-2 minutes before slicing—this helps the cheese set and keeps the filling from spilling out.
- Repeat with remaining wraps, adding more butter or oil as needed.
- Serve & Enjoy:
- Slice each wrap in half and serve warm with extra salsa, guacamole, or your favorite dipping sauces. Sprinkle with fresh cilantro or extra cheese, if you’re feeling fancy!
Personal Tip: If the wraps start to unravel, secure them with a toothpick while crisping—but don’t forget to remove it before serving! And if you like extra crispy edges, brush the seam with a little melted butter before browning. It makes all the difference!
Cooking Tips & Techniques
After making these Cheesy Beef Quesadilla Melt Wraps more times than I can count, I’ve picked up a few tricks that really help:
- Don’t Overstuff: It’s tempting to pile on the filling, but too much will make the wraps burst open or get soggy. Stick to about 1/3 cup of beef and 1/3 cup of cheese per wrap for best results.
- Golden, Not Burnt: Keep your skillet at medium heat. If it’s too hot, the tortillas will brown before the cheese melts inside. Patience pays off here!
- Cheese Placement: Sprinkle a little cheese on the bottom and top of the beef before wrapping. This acts like “glue” and helps the wrap hold together.
- Moisture Control: Too much salsa or wet fillings can make the wraps soggy. Add salsa on the side or just a thin layer inside.
- Batch Cooking: If making a lot, keep finished wraps warm in a 200°F (95°C) oven while you brown the rest. This way, everyone eats together!
- Personal Fail: The first time I tried to make these, I overloaded the wrap and everything oozed out into the pan. Lesson learned—less is more!
- Freeze for Later: Assemble the wraps, wrap in foil, and freeze before browning. Reheat in a skillet or oven for an easy meal later on.
And a quick tip for multitasking: While the beef cooks, prep the cheese and optional fillings to save time. If you have a helper, one person can assemble while the other crisps the wraps—teamwork makes it so much faster!
Variations & Adaptations
What I love about these Cheesy Beef Quesadilla Melt Wraps is how easy it is to switch things up. Here are some favorite ways to make them your own:
- Chicken or Turkey: Swap the ground beef for cooked, shredded chicken or ground turkey. Just season the same way—it’s lighter but still super satisfying.
- Veggie-Packed: Use sautéed mushrooms, zucchini, or spinach in place of some (or all) of the beef. Black beans and corn work beautifully for a meatless version.
- Spicy Kick: Add diced jalapeños, pickled red onions, or a swirl of hot sauce for extra heat. Pepper jack cheese is a great swap, too.
- Gluten-Free: Use gluten-free tortillas and double-check your broth and seasonings.
- Dairy-Free: Sub in a plant-based cheese and use dairy-free yogurt or skip the creamy spread.
- Breakfast Wraps: I’ve made these with scrambled eggs, sausage, and cheese—total brunch win!
Once, I even made a “pizza” version with marinara, mozzarella, and pepperoni. My kids devoured it. Don’t be afraid to experiment—these wraps are super forgiving. Just keep an eye on how much moisture you add so they stay crisp and hold together.
Serving & Storage Suggestions
For the best flavor, serve these Cheesy Beef Quesadilla Melt Wraps hot and fresh from the skillet. I like to slice them in half and stack on a platter for a fun, casual vibe. Top with a sprinkle of cilantro or extra cheese if you’re feeling festive.
Pair with sides like Mexican rice, a simple salad, or a bowl of tortilla chips and salsa. For drinks, you can’t go wrong with iced tea, lime agua fresca, or even a cold beer if it’s that kind of night.
Leftovers? No problem. Wrap cooled quesadilla melts tightly in foil or plastic wrap and refrigerate for up to 3 days. To reheat, pop them in a skillet over medium-low heat until the cheese is gooey again (about 3-4 minutes per side). You can also microwave them for 1-2 minutes, but the tortilla will lose some crispness. For freezing, wrap each in foil and freeze for up to 2 months—reheat from frozen in the oven at 350°F (175°C) for 15-20 minutes. The flavor actually gets even better after a day as the spices meld. Just don’t overload with salsa before storing or they’ll go soggy.
Nutritional Information & Benefits
Each Cheesy Beef Quesadilla Melt Wrap (using standard ingredients) is roughly:
- Calories: 480
- Protein: 25g
- Fat: 26g
- Carbohydrates: 37g
- Fiber: 3g
- Sugar: 3g
What makes these wraps a bit healthier? You can control the fat by using lean beef or turkey, and sneak in veggies for extra fiber. Cheese delivers calcium, and using Greek yogurt instead of sour cream bumps up the protein. The wraps are naturally nut-free and can be made gluten-free or dairy-free with simple swaps. Just watch for allergens in tortillas and cheese if needed. Personally, I love that I can get a balanced meal—protein, carbs, and healthy fats—all in one cheesy, comforting package!
Conclusion
There’s a reason these Cheesy Beef Quesadilla Melt Wraps are on repeat in my kitchen. They’re cozy, filling, and just the right mix of cheesy, beefy goodness with a crispy edge. Whether you’re feeding a hungry family, hosting friends, or just treating yourself, these wraps always hit the spot.
Don’t be afraid to riff on the recipe—add more veggies, play with spices, or swap in different proteins. The real magic is how easy they are to make your own. Me? I love them just as they are, with extra cheese and a side of guac. If you try these, let me know! Drop a comment, share your favorite twist, or tag me if you snap a pic. Can’t wait to see your creations!
Remember, the best comfort food is the kind you share—and these Cheesy Beef Quesadilla Melt Wraps are always worth sharing. Happy cooking!
Frequently Asked Questions
How do I keep my Cheesy Beef Quesadilla Melt Wraps from getting soggy?
Don’t overload the wraps with salsa or wet ingredients before crisping. Keep fillings balanced and avoid too much moisture inside. If storing, wrap tightly and reheat in a skillet for the best texture.
Can I make these Cheesy Beef Quesadilla Melt Wraps ahead of time?
Absolutely! Assemble the wraps and refrigerate them (uncooked) for up to 24 hours. When ready to eat, crisp them in a skillet as directed. You can also freeze for longer storage.
What’s the best cheese for a super melty wrap?
I love a mix of sharp cheddar and Monterey Jack for that stretch and creamy melt. Pepper jack, mozzarella, or any melty cheese will work, so use your favorite blend!
Are these wraps kid-friendly?
Yes! Cheesy Beef Quesadilla Melt Wraps are always a hit with kids. You can skip the spicy seasonings or add extra cheese for picky eaters. Let them help assemble for a fun dinner activity.
How can I make these wraps vegetarian?
Swap the beef for sautéed veggies, black beans, or even crumbled tofu. Use the same spices for tons of flavor, and keep the melty cheese for that classic comfort food vibe.
Pin This Recipe!
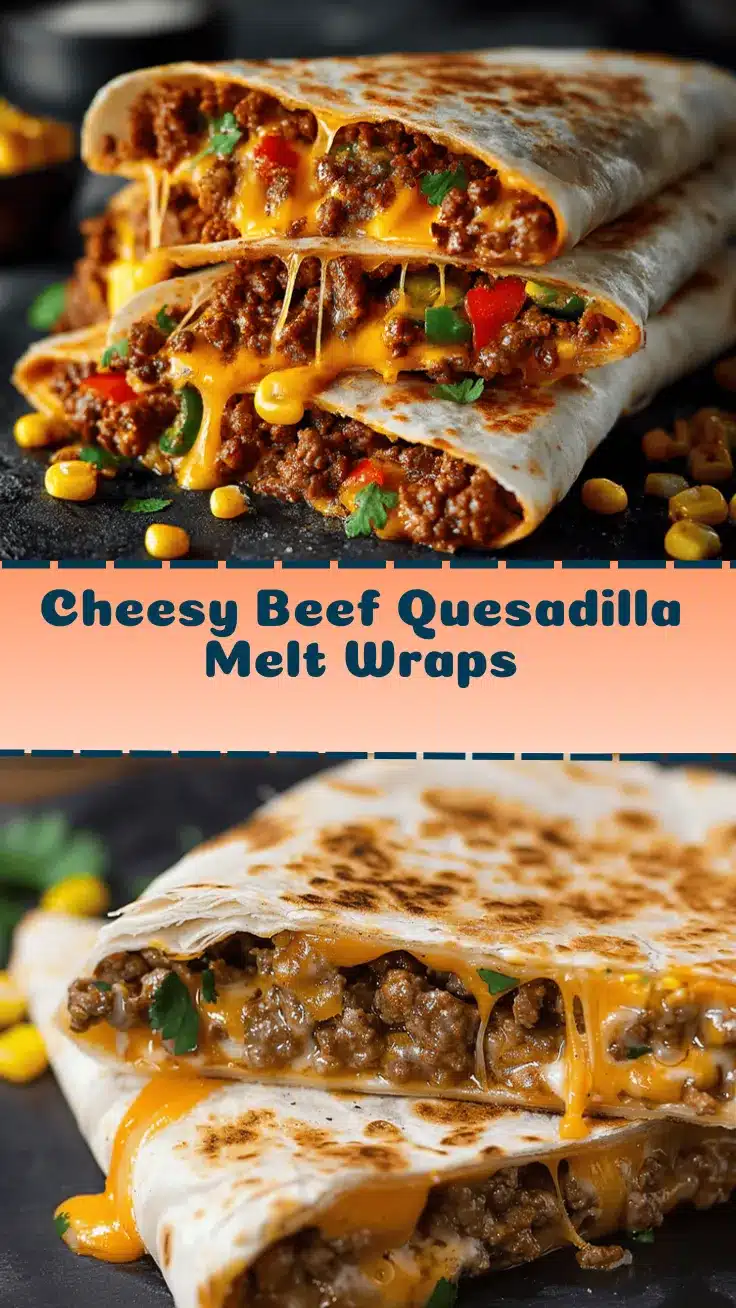
Cheesy Beef Quesadilla Melt Wraps

These Cheesy Beef Quesadilla Melt Wraps combine all the best parts of a quesadilla and a burrito for the ultimate comfort food. Melty cheese, seasoned beef, and crispy tortillas make this an easy, crowd-pleasing family dinner.
- Prep Time: 15 minutes
- Cook Time: 15 minutes
- Total Time: 30 minutes
- Yield: 6 wraps 1x
- Category: Main Course
- Cuisine: Mexican-American
Ingredients
- 1 pound ground beef (85% lean)
- 1 small onion, finely chopped
- 2 cloves garlic, minced
- 1 teaspoon chili powder
- 1/2 teaspoon ground cumin
- 1/2 teaspoon smoked paprika
- 1/2 teaspoon salt (or to taste)
- 1/4 teaspoon black pepper
- 1/4 cup beef broth or water
- 2 cups shredded cheese (mix of sharp cheddar and Monterey Jack)
- 6 large flour tortillas (10-inch, burrito-size)
- 2 tablespoons unsalted butter or neutral oil
- 1/2 cup sour cream or Greek yogurt (optional, for spreading)
- 1/2 cup salsa (optional)
- 1/2 cup canned corn, drained (optional)
- 1/2 cup black beans, rinsed and drained (optional)
- 1/2 red bell pepper, diced (optional)
- Chopped fresh cilantro (optional)
- Sliced jalapeños (optional)
- Guacamole or diced avocado, for serving (optional)
- Extra salsa, for dipping (optional)
Instructions
- Heat a large nonstick skillet over medium-high heat. Add ground beef, breaking it up with a spatula.
- Cook for 3-4 minutes until browned, then drain excess fat if needed.
- Add chopped onion and cook for another 2-3 minutes until softened.
- Stir in garlic, chili powder, cumin, smoked paprika, salt, and black pepper. Cook for 1 minute, stirring constantly.
- Pour in beef broth or water and simmer for 2-3 minutes until thickened and juicy but not soupy. Remove from heat and set aside.
- In a mixing bowl, combine shredded cheddar and Monterey Jack cheese.
- Warm tortillas in the microwave for 20 seconds or in a dry skillet for 1 minute.
- Lay a tortilla flat. Spread a spoonful of sour cream or Greek yogurt in the center, if using.
- Spoon about 1/3 cup of beef mixture onto the lower third of the tortilla.
- Top with about 1/3 cup of cheese blend.
- Add any optional fillings: corn, beans, peppers, jalapeños, etc.
- Drizzle a little salsa if desired.
- Fold in the sides, then roll up tightly from the bottom, burrito-style. Repeat with remaining tortillas and filling.
- Wipe out skillet and return to medium heat. Add butter or oil and swirl to coat.
- Place 2-3 wraps seam-side down in the pan. Cook for 2-3 minutes per side, pressing gently, until golden brown and cheese is melted.
- Transfer to a cutting board and let cool for 1-2 minutes before slicing.
- Repeat with remaining wraps, adding more butter or oil as needed.
- Slice each wrap in half and serve warm with extra salsa, guacamole, or your favorite dipping sauces. Sprinkle with fresh cilantro or extra cheese if desired.
Notes
Don’t overstuff the wraps to avoid bursting or sogginess. Use medium heat for best results. Cheese acts as a ‘glue’ to hold wraps together. For extra crispy edges, brush the seam with melted butter before browning. Wraps can be assembled ahead and refrigerated or frozen before crisping. For gluten-free or dairy-free, use appropriate tortillas and cheese substitutes.
Nutrition
- Serving Size: 1 wrap
- Calories: 480
- Sugar: 3
- Sodium: 820
- Fat: 26
- Saturated Fat: 12
- Carbohydrates: 37
- Fiber: 3
- Protein: 25
Keywords: quesadilla, beef, wrap, comfort food, easy dinner, Mexican, family meal, cheesy, skillet, burrito



