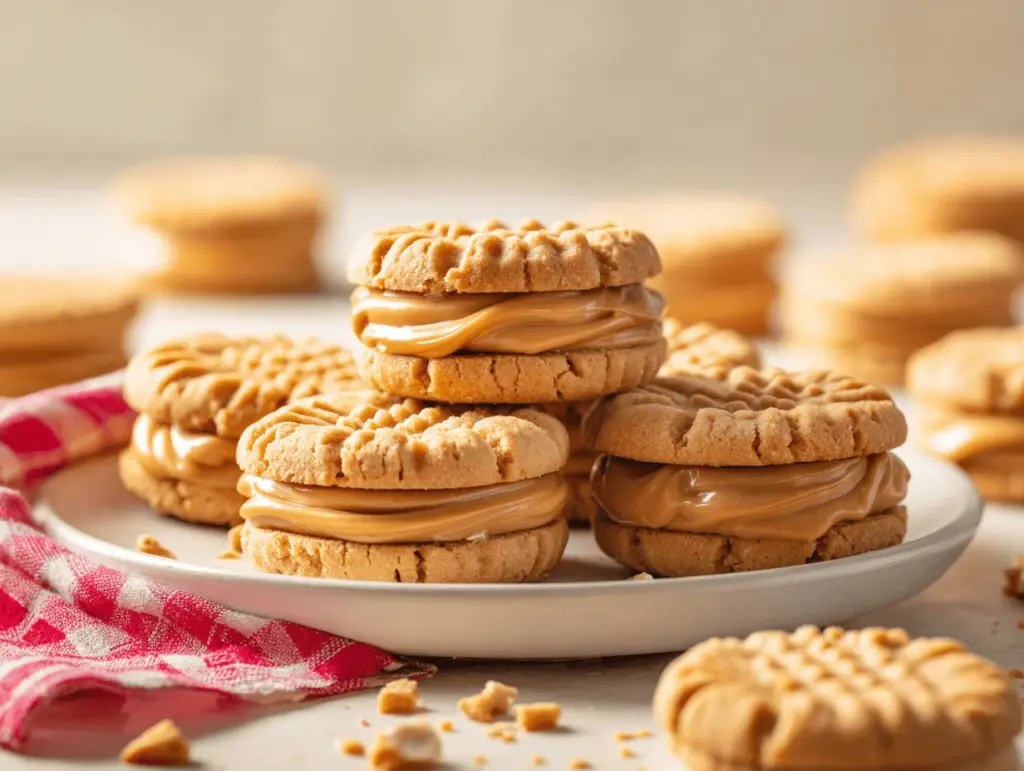
The first time I pulled a batch of these copycat Nutter Butters out of the oven, the kitchen smelled so rich and nutty I almost couldn’t wait for them to cool. You know that thick, warm scent that makes your stomach growl a little? That’s what these cookies do. I grew up on the classic Nutter Butter cookies – those crunchy, peanut-shaped treats with that creamy filling – but honestly, this homemade version just hits different. It’s softer, extra peanutty, and the filling is so dreamy you’ll want to lick the spoon (I always do, no shame!).
I first started making these copycat Nutter Butters during a holiday cookie swap. My sister asked for something nostalgic, but I wanted a cookie that was softer and a little more decadent than the original. After a handful of tweaks (and, okay, a few burnt batches), I landed on this recipe. The result? Buttery, golden cookies with a thick stripe of creamy peanut butter filling – they look just like the real thing, but taste even better. And if you’re a peanut butter lover like me, you’ll get why I can’t stop baking them.
What I love about this copycat Nutter Butters recipe is how easy it is – no fancy ingredients, just pantry staples and a couple of mixing bowls. Whether you’ve got kids who love to help, or you just want to relive some sweet childhood memories, these cookies are pure comfort. You can whip them up for a bake sale, to impress your coworkers, or just because you had a rough day and need a little peanut butter magic. I’ve tested this recipe more times than I can count, and it never lets me down. So get ready – these homemade peanut butter cookies are about to become your new go-to treat.
Why You’ll Love This Copycat Nutter Butters Recipe
- Quick & Easy: The dough comes together in under 15 minutes, and you don’t need a stand mixer (unless you want to use one!). Perfect for busy weeknights or when you’re craving something sweet right now.
- Simple Ingredients: No weird stuff here – just peanut butter, flour, butter, sugar, and a few baking basics. If you bake at all, you’ve probably got everything in your kitchen already.
- Perfect for Any Occasion: These copycat Nutter Butters are fantastic for lunchbox treats, birthday parties, after-school snacks, or just a lazy Saturday afternoon. I’ve even brought them to a baby shower and they disappeared fast!
- Crowd-Pleaser: My family goes wild for these. Even the “I’m not a dessert person” folks admit they’re pretty addictive. Kids especially love the fun sandwich shape!
- Unbelievably Delicious: Soft, chewy cookies with a creamy peanut butter filling – honestly, it’s the ultimate peanut butter cookie experience. Way more flavorful than the store-bought kind.
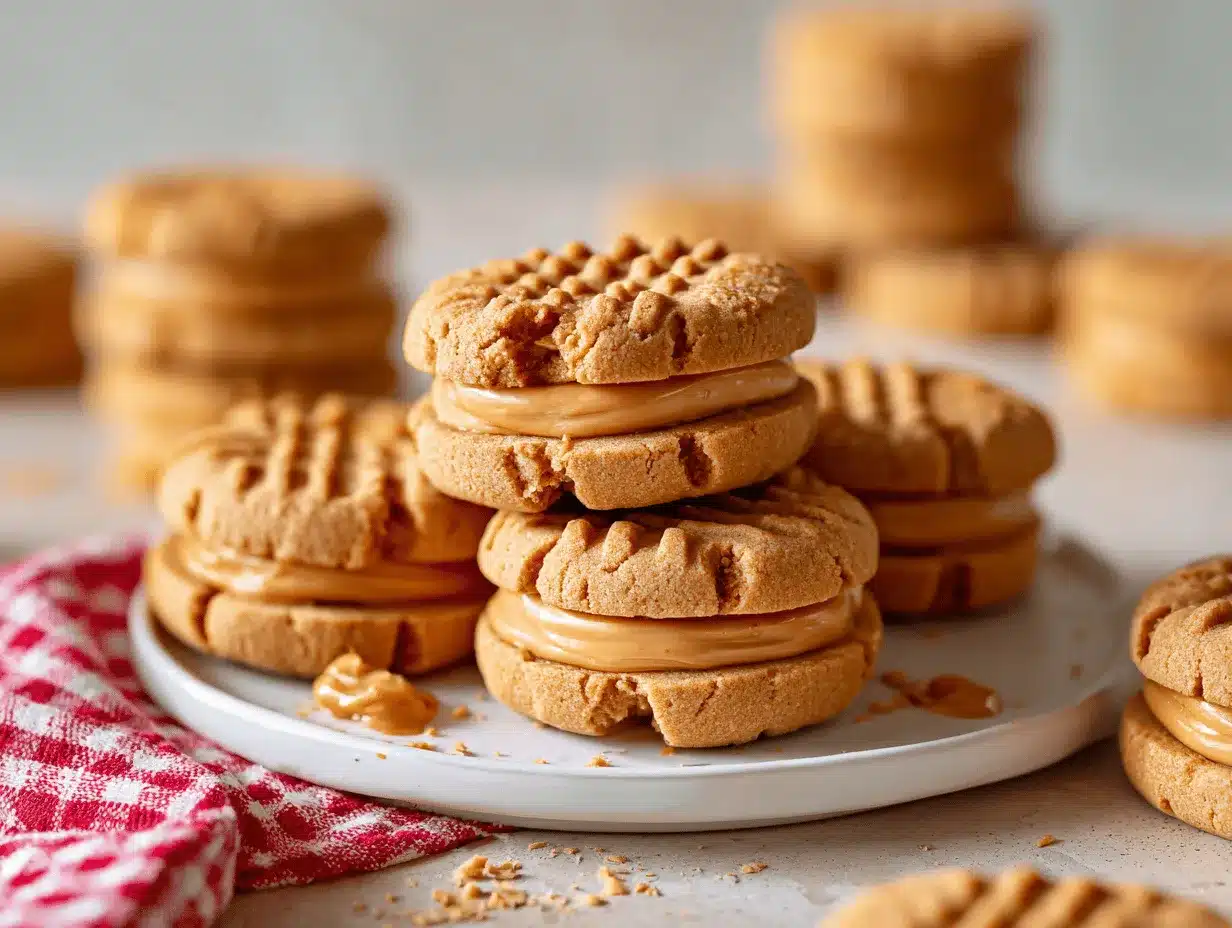
Here’s what makes this recipe really stand out: the cookies themselves are soft, with just a hint of crispness around the edges. I use a little extra brown sugar for a caramel note, and smooth peanut butter for that classic flavor. For the filling, I beat together peanut butter, butter, and powdered sugar until it’s cloud-like. The secret? I chill the dough just a bit so the cookies hold their shape, and I use a fork to give them that signature criss-cross texture. It’s simple, but the result is bakery-worthy.
This recipe is one of those keepers – the kind you’ll want to print out and tuck in your recipe box, or save to your favorite Pinterest board. It’s comforting, nostalgic, and just a little bit playful. Whether you want a sweet pick-me-up or a show-stopping cookie platter, these copycat Nutter Butters never disappoint.
What Ingredients You Will Need
This recipe uses simple, wholesome ingredients to deliver bold peanut butter flavor and that melt-in-your-mouth cookie texture. Most of these are pantry staples, and you can easily swap a few items to suit your needs.
- For the Peanut Butter Cookie Dough:
- 1 cup (250g) creamy peanut butter (I love Skippy or Jif for that classic taste)
- 1/2 cup (113g) unsalted butter, softened (room temp is key for easy mixing)
- 1 cup (200g) light brown sugar, packed (adds chewiness and flavor)
- 1/2 cup (100g) granulated sugar
- 2 large eggs, room temperature
- 1 tsp vanilla extract (real vanilla, if you can swing it)
- 2 cups (250g) all-purpose flour
- 1 tsp baking soda
- 1/2 tsp baking powder
- 1/4 tsp salt (skip if your peanut butter is salty)
- For the Creamy Peanut Butter Filling:
- 1/2 cup (125g) creamy peanut butter (again, stick with your favorite brand)
- 1/4 cup (57g) unsalted butter, softened
- 1 cup (120g) powdered sugar (sifted for that smooth texture)
- 2-3 tbsp (30-45ml) milk or heavy cream (to reach the perfect spreadable consistency)
- 1/2 tsp vanilla extract
- Pinch of salt (optional, but I like the flavor boost)
Ingredient Tips: If you only have natural peanut butter, be sure to stir it well and expect a slightly different texture (a bit more crumbly, but still delicious). For gluten-free cookies, a 1:1 gluten-free flour blend works well. If you’re dairy-free, swap the butter for a good vegan butter – I’ve done it, and it works! For the filling, powdered sugar is best – don’t try to use granulated or it’ll be gritty. And if you want a sweeter cookie, you can add an extra spoonful of sugar to the dough, but I like them as-is.
Honestly, you can’t go wrong with these ingredients. Just make sure to use fresh, high-quality peanut butter and butter for the best flavor. And don’t stress – I’ve used generic brands and the cookies still turn out amazing!
Equipment Needed
- Mixing Bowls: One large and one medium. Stainless steel or glass is great, but any sturdy bowl will do.
- Electric Mixer: Hand mixer or stand mixer both work. I prefer my old hand mixer – it’s less to wash!
- Measuring Cups & Spoons: For accuracy. If you bake a lot, investing in a digital kitchen scale is a game changer for perfect cookies every time.
- Baking Sheets: Two standard-size sheets, lined with parchment paper or silicone mats for easy cleanup.
- Fork: For pressing that signature criss-cross pattern onto the cookies. No need for anything fancy!
- Cookie Scoop (optional): Helps to keep cookie sizes even, but two spoons work fine if you don’t have one.
- Wire Cooling Rack: For cooling the cookies evenly (prevents soggy bottoms!).
- Spatula or Butter Knife: For spreading the creamy peanut butter filling.
Honestly, you don’t need any specialty tools for these copycat Nutter Butters. I’ve even made them in a rental kitchen with just a fork and a single mixing bowl – a little extra muscle, but totally doable. If you use silicone mats, wash them right away so the peanut butter oils don’t stick (learned that the hard way!). And if you’re baking on a budget, everything above can be found at most dollar stores or big-box retailers. The recipe is forgiving, so don’t worry if you’re missing a fancy gadget.
How to Make Copycat Nutter Butters – Step-by-Step
-
Preheat and Prep:
Preheat your oven to 350°F (175°C). Line two baking sheets with parchment paper or silicone baking mats.
Tip: Lining the pans keeps cookies from sticking and makes cleanup a breeze. -
Mix Wet Ingredients:
In a large mixing bowl, beat together 1 cup (250g) creamy peanut butter, 1/2 cup (113g) unsalted butter, 1 cup (200g) brown sugar, and 1/2 cup (100g) granulated sugar until light and fluffy (about 3 minutes).
Sensory cue: The mixture should look creamy and a little lighter in color. -
Add Eggs and Vanilla:
Beat in 2 eggs, one at a time, mixing well after each addition. Add 1 tsp vanilla extract and mix until combined.
Warning: Don’t overmix – just until smooth. -
Combine Dry Ingredients:
In a separate bowl, whisk together 2 cups (250g) all-purpose flour, 1 tsp baking soda, 1/2 tsp baking powder, and 1/4 tsp salt.
Tip: Whisking helps distribute the leaveners evenly. -
Mix Dough:
Gradually add the dry ingredients to the peanut butter mixture, mixing on low until just combined. Scrape down the bowl as needed.
Sensory cue: Dough will be soft and just a bit sticky. -
Chill (Optional but Recommended):
Cover the dough and chill for 15-20 minutes. This makes shaping easier and helps the cookies keep their shape.
Tip: If you’re in a rush, you can skip chilling, but cookies may spread a bit more. -
Shape the Cookies:
Scoop heaping tablespoons (about 1.5 tbsp or 25g) of dough and roll into balls. Shape each ball into an oval, then gently flatten and pinch the ends to look like a peanut.
Personal note: Don’t stress if they aren’t perfect – the filling covers a lot! -
Criss-Cross Pattern:
Use a fork to gently press a criss-cross pattern onto each cookie (like the originals). This gives them that classic look.
Warning: Don’t press too hard or they’ll be too thin. -
Bake:
Bake for 10-12 minutes, rotating the sheets halfway through for even browning. Cookies are done when they look golden around the edges but still soft in the middle.
Sensory cue: They’ll puff up and the kitchen will smell like peanut butter heaven. -
Cool:
Let cookies rest on the baking sheet for 5 minutes, then transfer to a wire rack to cool completely.
Tip: Don’t skip this step or your cookies might break. -
Make the Filling:
Beat together 1/2 cup (125g) creamy peanut butter, 1/4 cup (57g) unsalted butter, 1 cup (120g) powdered sugar, 2-3 tbsp (30-45ml) milk or heavy cream, and 1/2 tsp vanilla until light and fluffy. Start with 2 tbsp milk and add more as needed for a creamy, spreadable texture.
Personal tip: It’s okay if you eat a little with a spoon – it’s that good. -
Assemble:
Spread about 1 tablespoon (15g) of filling onto the flat side of half the cooled cookies, then sandwich with another cookie.
Warning: Don’t overfill or the filling will ooze out (unless you like that, which honestly isn’t bad).
And there you have it – soft, homemade copycat Nutter Butters that look and taste just like the originals, but even better. If you run into crumbly dough, add a splash of milk. If your cookies spread too much, chill the dough a bit longer. After a few batches, you’ll find your perfect sweet spot!
Cooking Tips & Techniques
- Room Temperature Ingredients Matter: Butter and eggs blend best when not cold. I usually set everything out an hour before baking. If you forget, you can microwave the butter in 10-second bursts (but don’t melt it!).
- Don’t Overmix: Once you add the flour, mix just until combined. Overworking the dough can make the cookies tough. Trust me, I’ve been there – chewy is good, rubbery isn’t.
- Chill for Shape: Chilling the dough isn’t totally required, but it helps the cookies keep that cute peanut shape. The first time I skipped chilling, my cookies looked more like pancakes. Still tasty, but not as photogenic!
- Consistency in Size: Try to keep your cookie ovals about the same size so they bake evenly and sandwich nicely. A cookie scoop helps, but I often just eyeball it. If you end up with a few oddballs, just eat those first – baker’s treat.
- Rotating Pans: Halfway through baking, swap and rotate your pans. This helps every batch get that perfect golden edge. Some ovens have hot spots (mine sure does!), so this little move is a game changer.
- Don’t Rush Cooling: As tempting as it is, let your cookies cool completely before filling. If they’re warm, the filling will melt and slide out. Learned that one the hard way!
For perfect copycat Nutter Butters every time, remember: patience pays off, and don’t sweat the imperfections. The best cookies are made with a little love and a lot of peanut butter.
Variations & Adaptations
- Gluten-Free Nutter Butters: Swap in a cup-for-cup gluten-free flour blend. The cookies will be a touch softer, but honestly, they’re still so satisfying.
- Crunchy Peanut Butter: Use crunchy peanut butter for extra texture. I sometimes do half creamy, half crunchy for the best of both worlds.
- Chocolate-Dipped: Melt 1/2 cup (85g) chocolate chips and dip half of each sandwich cookie. Let them set on parchment for a little chocolate-peanut butter magic.
- Dairy-Free: Use a plant-based butter and almond milk in both the dough and filling. The flavor’s a little different, but still absolutely delicious.
- Other Nut Butters: For a twist, try almond or cashew butter. Just know the flavor will change (in a good way!). I once made them with sunflower seed butter for a nut-free classroom treat – worked surprisingly well!
My personal favorite? Swapping the filling for chocolate-hazelnut spread and adding a sprinkle of sea salt on top. It’s like a grown-up version of the classic. Don’t be afraid to play around – after all, homemade is all about making it your own!
Serving & Storage Suggestions
These copycat Nutter Butters are best enjoyed at room temperature, when the filling is creamy and the cookies are soft. Stack them on a pretty plate, or line them up in a lunchbox for the ultimate snack. They pair perfectly with cold milk or a hot cup of coffee (if you’re anything like me, you’ll want both!).
For a fun dessert platter, serve them alongside chocolate chip cookies and brownies. They also make adorable party favors – just wrap a few in parchment and tie with a ribbon. If you want to get fancy, dust them with a little powdered sugar before serving.
To store, keep cookies in an airtight container at room temperature for up to 5 days. If your kitchen is warm, stash them in the fridge, but let them sit out a bit before eating so the filling softens. They freeze beautifully, too – just layer with parchment paper in a freezer-safe container for up to 2 months. To thaw, set them out on the counter for about an hour. Reheat briefly in the microwave (5-10 seconds) for that fresh-baked feel.
The flavors actually develop and deepen after a day or two, so if you can resist, they’re even better the next day. (Not that they usually last that long in my house!)
Nutritional Information & Benefits
Each copycat Nutter Butter sandwich cookie is about 220 calories, with 10g fat, 25g carbs, 3g protein, and 14g sugar (give or take, depending on your portion size). They’re a sweet treat, but the peanut butter does add a little protein and some healthy fats. If you use natural peanut butter, you’ll get fewer additives and a tiny fiber boost.
These cookies are naturally vegetarian, and can easily be made dairy-free or gluten-free with the swaps I mentioned above. Allergens? If you need nut-free, use a seed butter and double-check your labels. The cookies are a treat, and while not low-carb, they’re definitely more wholesome than most packaged cookies – plus, you control every ingredient. I love knowing exactly what’s in my homemade copycat Nutter Butters, and honestly, making them yourself just feels better for the soul (and the belly!).
Conclusion
If you’re after the ultimate peanut butter cookie experience, these copycat Nutter Butters are totally worth it. They’re soft, creamy, nostalgic, and way easier to make than you’d think. I love how customizable they are, and how they bring instant smiles to everyone who tries them.
Feel free to tweak the recipe to suit your tastes – play with different nut butters, fillings, or even shapes. That’s the best part about baking at home! Personally, these cookies always remind me of childhood, but with a little grown-up twist. And yes, I still sneak a few before anyone else gets home.
So, grab your apron and give these a try! If you bake them, I’d love to hear how they turned out – leave a comment, share your favorite adaptation, or tag me if you post them on social. Happy baking, and remember: a little extra peanut butter never hurts!
Frequently Asked Questions
Can I make these copycat Nutter Butters ahead of time?
Absolutely! They stay soft for several days, and you can freeze the assembled cookies for up to 2 months. Just thaw before serving for best texture.
What’s the best peanut butter to use for this recipe?
Creamy peanut butter like Jif or Skippy gives the classic Nutter Butter taste and texture, but you can use any brand you love. Stir natural peanut butter well before using.
Can I make them gluten-free?
Yes! Use a 1:1 gluten-free flour blend. The cookies will be slightly softer, but still super delicious.
How do I get the peanut shape?
Roll the dough into small ovals and gently pinch the ends. Use a fork to make the criss-cross pattern for that signature look. They don’t have to be perfect – homemade charm is part of the fun!
Can I skip the filling and just make the cookies?
Of course! The cookies are tasty on their own. But honestly, the creamy peanut butter filling is what makes them true copycat Nutter Butters, so I highly recommend not skipping it!
Pin This Recipe!
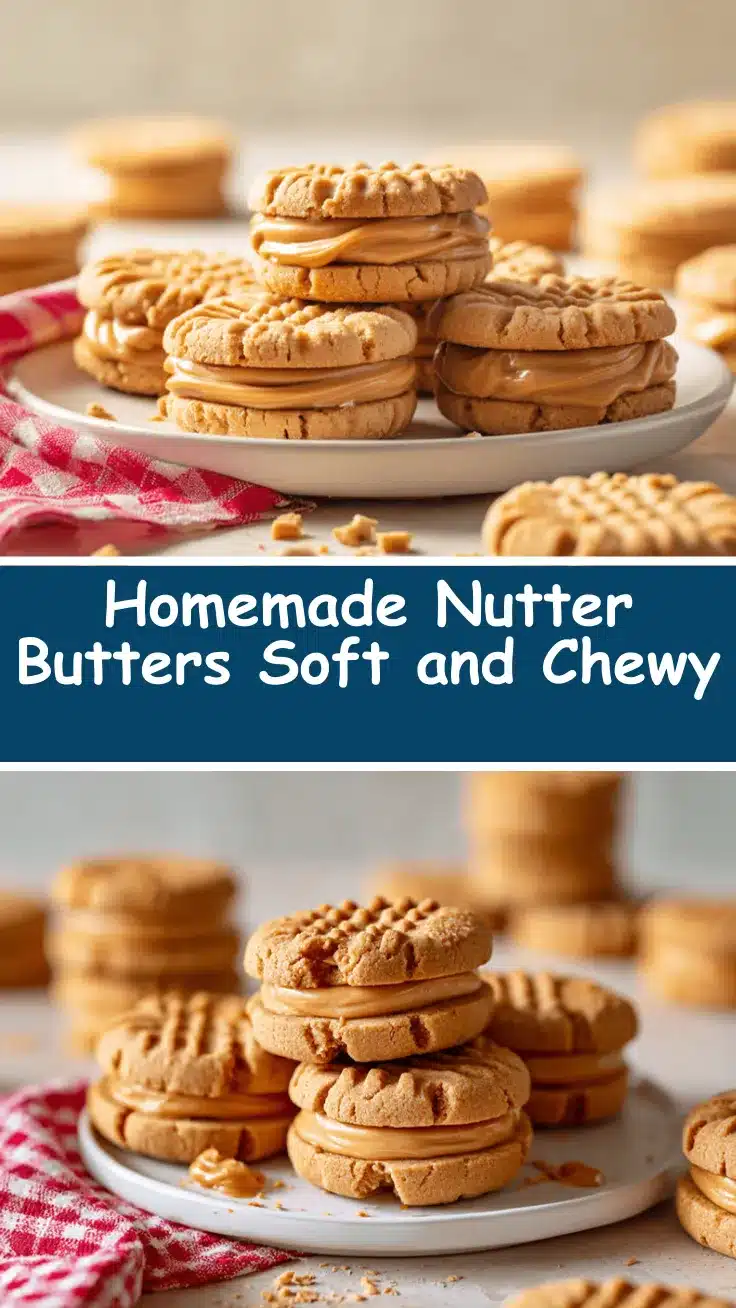
Copycat Nutter Butters Recipe – Easy Homemade Peanut Butter Cookies

These homemade copycat Nutter Butters are soft, extra peanutty sandwich cookies with a creamy peanut butter filling. They’re easy to make with pantry staples and taste even better than the store-bought classic.
- Prep Time: 20 minutes
- Cook Time: 12 minutes
- Total Time: 40 minutes
- Yield: 18 sandwich cookies 1x
- Category: Dessert
- Cuisine: American
Ingredients
- 1 cup (250g) creamy peanut butter
- 1/2 cup (113g) unsalted butter, softened
- 1 cup (200g) light brown sugar, packed
- 1/2 cup (100g) granulated sugar
- 2 large eggs, room temperature
- 1 tsp vanilla extract
- 2 cups (250g) all-purpose flour
- 1 tsp baking soda
- 1/2 tsp baking powder
- 1/4 tsp salt
- For the Creamy Peanut Butter Filling:
- 1/2 cup (125g) creamy peanut butter
- 1/4 cup (57g) unsalted butter, softened
- 1 cup (120g) powdered sugar
- 2–3 tbsp (30-45ml) milk or heavy cream
- 1/2 tsp vanilla extract
- Pinch of salt (optional)
Instructions
- Preheat your oven to 350°F (175°C). Line two baking sheets with parchment paper or silicone baking mats.
- In a large mixing bowl, beat together 1 cup creamy peanut butter, 1/2 cup unsalted butter, 1 cup brown sugar, and 1/2 cup granulated sugar until light and fluffy (about 3 minutes).
- Beat in 2 eggs, one at a time, mixing well after each addition. Add 1 tsp vanilla extract and mix until combined.
- In a separate bowl, whisk together 2 cups all-purpose flour, 1 tsp baking soda, 1/2 tsp baking powder, and 1/4 tsp salt.
- Gradually add the dry ingredients to the peanut butter mixture, mixing on low until just combined. Scrape down the bowl as needed.
- Cover the dough and chill for 15-20 minutes (optional but recommended).
- Scoop heaping tablespoons of dough and roll into balls. Shape each ball into an oval, then gently flatten and pinch the ends to look like a peanut.
- Use a fork to gently press a criss-cross pattern onto each cookie.
- Bake for 10-12 minutes, rotating the sheets halfway through. Cookies are done when golden around the edges but still soft in the middle.
- Let cookies rest on the baking sheet for 5 minutes, then transfer to a wire rack to cool completely.
- For the filling: Beat together 1/2 cup creamy peanut butter, 1/4 cup unsalted butter, 1 cup powdered sugar, 2-3 tbsp milk or heavy cream, and 1/2 tsp vanilla until light and fluffy. Add milk as needed for a creamy, spreadable texture.
- Spread about 1 tablespoon of filling onto the flat side of half the cooled cookies, then sandwich with another cookie.
Notes
For best results, use room temperature ingredients and chill the dough for easier shaping. Cookies can be made gluten-free or dairy-free with simple swaps. Let cookies cool completely before filling to prevent the filling from melting. Store in an airtight container for up to 5 days or freeze for up to 2 months.
Nutrition
- Serving Size: 1 sandwich cookie
- Calories: 220
- Sugar: 14
- Sodium: 100
- Fat: 10
- Saturated Fat: 3
- Carbohydrates: 25
- Fiber: 1
- Protein: 3
Keywords: nutter butter, copycat nutter butter, peanut butter cookies, sandwich cookies, homemade nutter butters, easy peanut butter cookies, nostalgic cookies, kid friendly cookies



