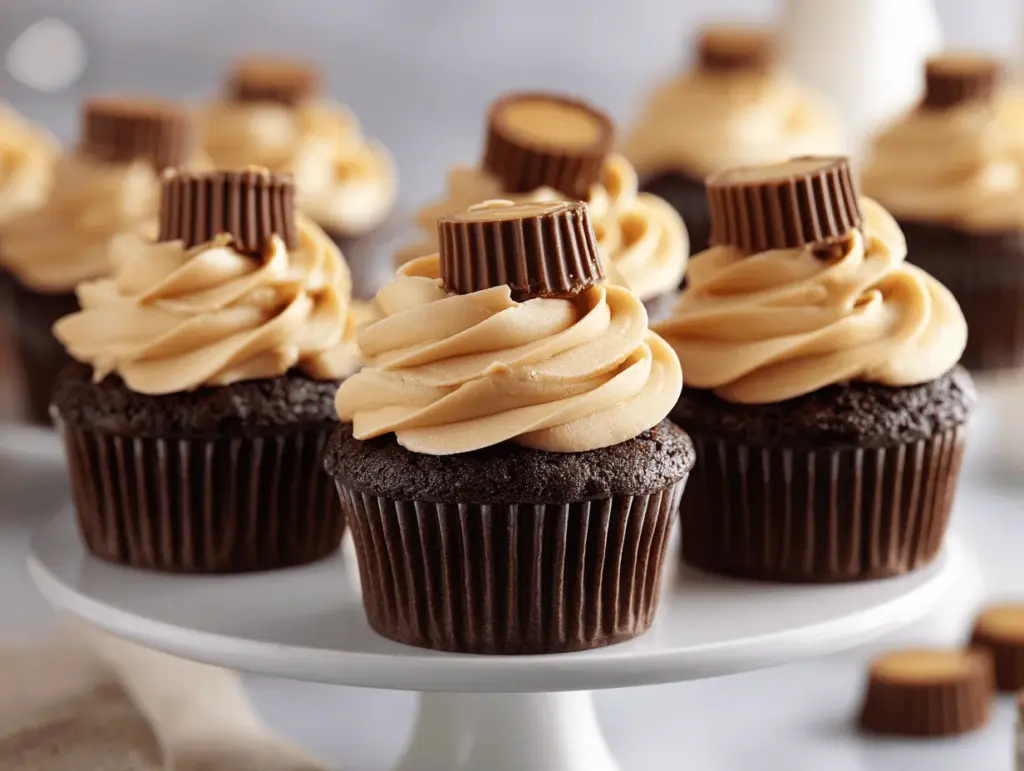
The first bite of a warm, chocolatey cupcake with a creamy peanut butter center can honestly stop time. When I think about comfort bakes, nothing beats these decadent Reese’s cupcakes—each one stuffed with an oozy mini peanut butter cup, crowned with silky peanut butter frosting, and sprinkled with chopped candy. I first whipped up this Reese’s cupcakes recipe on a rainy Sunday, craving something nostalgic and a little bit over-the-top. Let’s just say, by the end of the day, there wasn’t a single cupcake left for breakfast. (You know that’s the sign of a truly great dessert.)
These cupcakes are basically the ultimate peanut butter cup dessert—perfectly moist, rich chocolate cake, a hidden Reese’s cup in every bite, and that dreamy peanut butter swirl on top. They’re the kind of treat that makes everyone’s eyes light up, whether you’re baking for a birthday, a potluck, or just a sweet tooth moment after dinner. I’ve tested this recipe more times than I care to admit (for “quality control,” of course), and every time, it gets rave reviews from both the chocolate fiends and the peanut butter lovers in my family.
If you’re wondering why you should try this Reese’s cupcakes recipe, let me tell you—it’s easy enough for beginner bakers, but impressive enough for any celebration. I’ve tweaked, swapped, and taste-tested until I landed on this version: soft, fluffy cupcakes with all the flavor of a Reese’s, plus a little extra magic. If you love that salty-sweet combo, or you need a dessert that makes people smile (and maybe beg for the recipe), you’re in the right place. Let’s get baking—these Reese’s cupcakes are about to become your new obsession.
Why You’ll Love This Reese’s Cupcakes Recipe
- Quick & Easy: These cupcakes come together in under an hour, so you can whip up a batch even on a busy weeknight or when you get a last-minute dessert request.
- Simple Ingredients: No hunting for weird specialty items; you probably already have everything you need for these Reese’s cupcakes in your pantry (except maybe the Reese’s cups, but isn’t that always a good excuse for a snack run?).
- Perfect for Any Occasion: Whether it’s a birthday party, movie night, office gathering, or just a “treat yourself” kind of day, these cupcakes fit right in.
- Crowd-Pleaser: I’ve never met anyone who didn’t love these. They disappear fast—kids, teens, adults, peanut butter skeptics—everyone comes back for seconds.
- Unbelievably Delicious: The moist chocolate cake, gooey peanut butter cup center, and that creamy frosting…it’s the dessert that makes you pause and say, “Wow.”
What sets this Reese’s cupcakes recipe apart is the way each element is balanced. I’ve learned (after a few too-dry cupcakes and one too-many runny frostings) that it’s all about the right ratios: melt-in-your-mouth chocolate cake, a generous peanut butter core, and a swirl of frosting that’s rich but not overwhelming. I blend my peanut butter into the frosting for an extra-smooth, not-too-sweet finish, and I always use mini Reese’s cups in the center for that surprise bite.
This isn’t just another chocolate-peanut butter cupcake recipe—it’s the kind you make when you want to feel a little special, even on an ordinary Tuesday. It’s comfort food, but with a little playful twist stuffed inside. And honestly? It’s the best excuse to eat candy for dessert, and nobody can judge you for it. Make them once, and you’ll be hooked—trust me, I’ve been there!
What Ingredients You Will Need
This Reese’s cupcakes recipe uses familiar, easy-to-find ingredients to create bold chocolate and peanut butter flavors—no complicated steps or weird fillers. Here’s what you’ll need for cupcake success:
- For the Cupcakes:
- All-purpose flour (120g) – Standard, nothing fancy. Gives the cupcakes structure.
- Unsweetened cocoa powder (30g) – I like Dutch-process for a deeper flavor, but natural cocoa works too.
- Granulated sugar (150g) – For sweetness and moisture.
- Brown sugar (60g) – Adds a hint of caramel and extra softness.
- Baking powder (1 tsp) & baking soda (1/2 tsp) – Both help the cupcakes rise and become fluffy.
- Salt (1/2 tsp) – Don’t skip it; salt brings all the flavors together.
- Large eggs (2), room temperature – Bind everything and add richness.
- Whole milk (120ml) – Keeps the cake moist. (You can use any milk, even non-dairy.)
- Vegetable oil (60ml) – For extra tenderness. I’ve used melted coconut oil in a pinch.
- Vanilla extract (1 1/2 tsp) – For warmth and that classic bakery flavor.
- Hot water (120ml) – Makes the cocoa “bloom” and keeps the cake super soft.
- Mini Reese’s peanut butter cups (12-16) – Unwrapped. These go right in the middle of each cupcake for a gooey, melty surprise.
- For the Peanut Butter Frosting:
- Creamy peanut butter (120g) – I prefer Skippy or Jif (not natural peanut butter—it can be too runny).
- Unsalted butter, softened (115g) – For a rich, fluffy base.
- Powdered sugar (220g) – Sifts in easy for a smooth, melt-in-your-mouth frosting.
- Heavy cream (2-3 tbsp) – Adds creaminess and makes the frosting pipeable.
- Vanilla extract (1/2 tsp) – Rounds out the peanut butter flavor.
- Pinch of salt – Optional, but I love what it does for balance.
- For Garnish:
- Extra mini Reese’s cups, chopped – For sprinkling on top.
- Chocolate sprinkles or mini chocolate chips – Totally optional, but they look so cute for parties!
If you need gluten-free, use a good 1:1 gluten-free flour blend. For dairy-free, swap milk and butter for your favorite plant-based alternatives, and double-check your chocolate chips. I’ve even made these once with almond butter cups—they were good, but let’s be real, the classic Reese’s flavor is tough to beat. If you want to go extra fancy, swirl in a bit of Nutella or caramel into the frosting. This recipe is flexible, forgiving, and totally crave-worthy.
Equipment Needed
- Muffin tin (12-cup standard) – I use a nonstick, but any sturdy pan works. If you bake a lot, invest in a heavy-duty one for even browning.
- Paper cupcake liners – Makes cleanup so much easier. If you’re out, just spray the tin well with nonstick spray.
- Mixing bowls – One large for the batter, one medium for frosting.
- Electric mixer or stand mixer – For creaming the butter and peanut butter. You can do it by hand, but it’s a solid arm workout.
- Whisk and spatula – Whisk for dry ingredients, spatula for folding and scraping every last bit of batter.
- Ice cream scoop or large spoon – For evenly portioning the cupcake batter (seriously, this changed my cupcake game).
- Piping bag and star tip – For that bakery-style swirl on top. Don’t have one? Snip the corner off a zip-top bag—it works in a pinch.
- Wire rack – For cooling the cupcakes so they don’t get soggy bottoms.
If you’ve got a silicone muffin pan, just place it on a baking sheet for stability. I’ve learned the hard way that cheap pans can warp, so if you bake a lot, consider grabbing a good-quality tin. For easy cleanup, soak your frosting tools and bowl in warm water right away—peanut butter frosting can get sticky fast!
Preparation Method
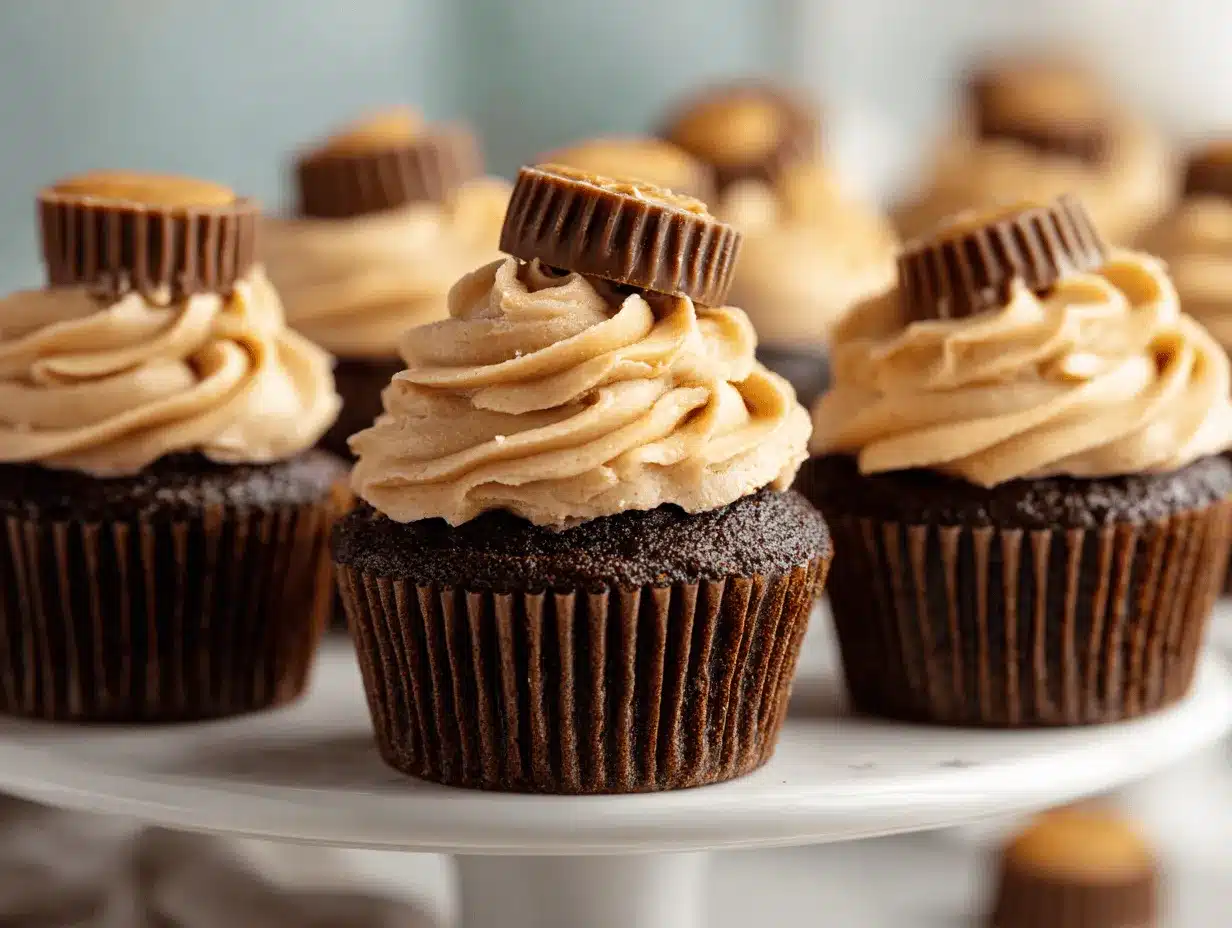
- Preheat & Prep: Preheat your oven to 350°F (175°C). Line a 12-cup muffin tin with cupcake liners. If you only have one pan and need to bake in batches, that’s totally fine—just keep the batter covered at room temp.
- Dry Ingredients: In a large mixing bowl, whisk together 120g flour, 30g cocoa powder, 150g sugar, 60g brown sugar, 1 tsp baking powder, 1/2 tsp baking soda, and 1/2 tsp salt. Make sure there are no lumps (nobody likes a cocoa clump in their cupcake!).
- Wet Ingredients: In another bowl, whisk 2 eggs, 120ml milk, 60ml oil, and 1 1/2 tsp vanilla extract until well blended. Slowly pour the wet mixture into the dry ingredients, mixing gently. The batter will look thick, but that’s what you want.
- Add Hot Water: Carefully pour in 120ml hot water (not boiling, but nice and steamy). Mix until just combined—don’t over-mix or the cupcakes might turn out dense. The batter should be smooth and a little runny.
- Fill the Cups: Using an ice cream scoop or large spoon, fill each cupcake liner about 1/2 full with batter. Gently press a mini Reese’s cup into the center of each cup, then cover with a bit more batter until each liner is about 3/4 full.
- Bake: Bake for 18-22 minutes, or until the tops spring back lightly when touched and a toothpick inserted at the edge (not through the Reese’s cup) comes out clean. Resist the urge to overbake—chocolate cupcakes dry out fast.
- Cool: Let the cupcakes cool in the pan for 5 minutes, then transfer to a wire rack to cool completely. If you frost too soon, the frosting will melt (and trust me, I’ve made that mistake on impatient days).
- Make the Frosting: In a medium bowl, beat 115g softened butter and 120g creamy peanut butter until smooth and fluffy (about 2 minutes). Slowly add 220g powdered sugar, beating on low. Add 2-3 tbsp heavy cream and 1/2 tsp vanilla extract, whipping until light and creamy. If the frosting is too thick, add a splash more cream; if too soft, add extra powdered sugar, a tablespoon at a time.
- Frost: Spoon the frosting into a piping bag fitted with a star tip. Pipe generous swirls onto each cooled cupcake. If you’re using a zip-top bag, snip off a corner and swirl away—you don’t need to be perfect.
- Decorate: Top each cupcake with chopped mini Reese’s cups and chocolate sprinkles or chips. (This is the fun part—kids love helping here!)
If your cupcakes sink slightly in the middle, don’t stress—they’ll be hidden under that gorgeous frosting. If your frosting feels too runny, pop it in the fridge for 10 minutes before piping. I always taste the frosting before decorating (for quality control, of course). These cupcakes look bakery-worthy, but really, it’s all about a few simple tricks and a little patience.
Cooking Tips & Techniques
- Room Temp Ingredients: Let your eggs, milk, and butter come to room temperature before baking. Cold ingredients can lead to lumpy batter or dense cupcakes. I forgot once, and my cupcakes were just…meh.
- Don’t Over-mix: It’s tempting to beat the batter until super smooth, but too much mixing means tough cupcakes. Stir just until the dry streaks disappear.
- Hot Water Magic: Pouring hot water into the batter “blooms” the cocoa, giving a deeper chocolate flavor. It also makes the batter thin—don’t panic, that’s what keeps things moist.
- Getting Even Cupcakes: Use an ice cream scoop for batter. It’s the easiest way to get bakery-style, uniform cupcakes (and less mess).
- Hidden Reese’s Cup: Press the mini cup gently into the batter, but don’t push all the way to the bottom. You want it floating in the middle, like a surprise.
- Cooling: Always cool completely before frosting, or your beautiful swirls will melt into a puddle. (I’ve made this mistake more than once on a hot day!)
- Frosting Consistency: If your peanut butter frosting is too stiff to pipe, add a splash of cream. Too soft? Extra powdered sugar does the trick.
- Multitasking: While the cupcakes bake, make the frosting and chop toppings. It’s a great way to save time and feel like a kitchen pro.
- Batch Baking: If you only have one muffin tin, bake in rounds and keep leftover batter covered at room temperature—don’t refrigerate, or the cupcakes won’t rise as well.
I’ve learned that baking is partly science and partly intuition—trust your senses. If the kitchen smells like warm chocolate and peanut butter, you’re doing it right. And if you’re baking with kids, let them decorate (even if it gets messy!).
Variations & Adaptations
- Gluten-Free Reese’s Cupcakes: Swap the all-purpose flour for a 1:1 gluten-free baking blend. I’ve tried Bob’s Red Mill and King Arthur’s with great results—just double-check your baking powder and cocoa are gluten-free, too.
- Dairy-Free Option: Use almond or oat milk instead of regular milk, and swap the butter for vegan butter sticks. Most peanut butter cups contain dairy, but you can use Enjoy Life SunButter cups for an allergy-friendly twist.
- Nutella Swirl: For a hazelnut-chocolate spin, swirl a teaspoon of Nutella into the center of each cupcake instead of a peanut butter cup. The flavor is rich and a little bit unexpected.
- Different Candy Centers: Not a fan of peanut butter cups? Try mini Milky Way, Rolos, or caramel-filled chocolates for a new surprise in the middle.
- Seasonal Toppings: Add crushed peppermint candies at Christmas, or use pastel-colored sprinkles for Easter and birthdays.
- Personal Favorite: Once, I mixed a spoonful of crunchy peanut butter into the frosting for texture—it added a salty crunch that everyone went wild for!
If you need to avoid peanuts, swap in almond butter cups (or even sunflower butter cups) for a similar treat. For extra chocolate, drizzle melted chocolate over the frosting before serving. The possibilities are endless—make these Reese’s cupcakes your own!
Serving & Storage Suggestions
These Reese’s cupcakes are best served at room temperature, where the frosting is soft and the hidden peanut butter cup is nice and gooey. For parties, arrange them on a pretty cake stand and sprinkle with extra chopped Reese’s cups for a Pinterest-worthy display.
Pair these cupcakes with a cold glass of milk, hot coffee, or even a creamy chocolate shake for the ultimate dessert experience. They’re a fun finish to a barbecue, a sweet lunchbox surprise, or the star of a birthday dessert table.
To store, keep the cupcakes in an airtight container at room temperature for up to 2 days, or refrigerate for up to 5 days (just let them come back to room temp before eating for the best texture). For longer storage, freeze unfrosted cupcakes for up to 2 months—thaw and frost just before serving. If your kitchen is warm, pop them in the fridge so the peanut butter frosting doesn’t get too soft.
Honestly, if you make these for a group, storage probably won’t be an issue—leftovers vanish fast. And I swear, they taste even better the next day as all the flavors meld together!
Nutritional Information & Benefits
- Estimated per cupcake: 340 calories, 18g fat, 40g carbs, 4g protein.
- Key Ingredients: Cocoa powder provides a little antioxidant boost, and peanut butter brings protein and healthy fats.
- Dietary Considerations: These cupcakes contain peanuts, dairy, and wheat. Gluten-free and dairy-free swaps work well (see above).
- Personal Wellness Tip: I love making these for special occasions—they’re a treat, but with real peanut butter and simple ingredients you can feel good about sharing.
Of course, Reese’s cupcakes are definitely a dessert, but sometimes you just need a little chocolate-peanut butter happiness in your life. If allergies are a concern, always double-check your candy labels and use safe substitutions.
Conclusion
If you’re searching for a show-stopping, easy-to-make dessert that absolutely everyone will love, this Reese’s cupcakes recipe is your answer. The combo of rich chocolate cake, a hidden peanut butter cup, and silky frosting is pure comfort food—no fancy pastry skills required. I make these whenever I want to impress with minimal effort, and they never, ever disappoint.
Don’t be afraid to get creative—try a new candy, swap the frosting, or add your own flair. Baking should be fun, and these cupcakes are basically a blank canvas for your sweet tooth dreams. And honestly? The best part is seeing everyone’s face light up when they discover that peanut butter cup surprise inside.
If you try this recipe, I’d love to hear what you think! Drop a comment, share your cupcake photos, or let me know your favorite variation. Happy baking—and don’t forget to snag a cupcake for yourself before they all disappear!
FAQs About Reese’s Cupcakes
How do I keep the peanut butter cup from sinking to the bottom?
Gently press the Reese’s cup into the batter but don’t push it all the way down. Cover it with a bit more batter so it floats in the middle while baking.
Can I make these cupcakes ahead of time?
Absolutely! Bake the cupcakes a day before, then frost and decorate right before serving for the freshest result. You can also freeze unfrosted cupcakes for up to 2 months.
What’s the best way to get smooth, fluffy peanut butter frosting?
Use creamy peanut butter (not natural), beat it well with softened butter, and add cream slowly until you reach a pipeable texture. If it’s too thick, add more cream; if too soft, add more powdered sugar.
Can I use jumbo or regular Reese’s cups instead of mini ones?
You can, but the regular-sized cups may make the cupcakes a little messy or overflow. Minis fit just right in a standard cupcake tin for the perfect hidden center.
Are these Reese’s cupcakes safe for peanut allergies?
Traditional Reese’s cupcakes contain peanuts, but you can swap in peanut-free chocolate cups (like SunButter cups) and use sunflower butter in the frosting for an allergy-friendly version. Always check labels!
Pin This Recipe!
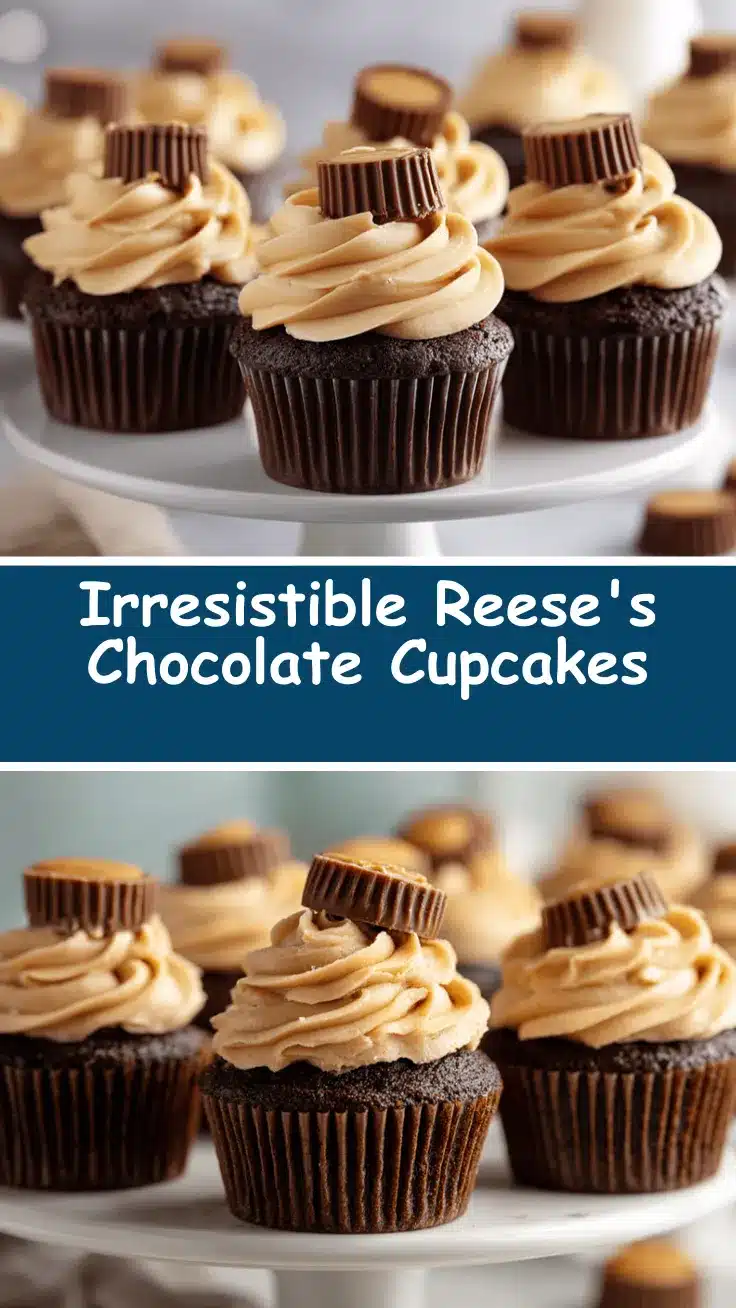
Reese’s Cupcakes Recipe: Easy Ultimate Peanut Butter Cup Dessert

These decadent Reese’s cupcakes feature moist chocolate cake with a hidden mini peanut butter cup center, topped with creamy peanut butter frosting and chopped candy. Perfect for birthdays, potlucks, or any sweet tooth craving, they’re easy to make and always a crowd-pleaser.
- Prep Time: 20 minutes
- Cook Time: 20 minutes
- Total Time: 40 minutes
- Yield: 12 cupcakes 1x
- Category: Dessert
- Cuisine: American
Ingredients
- 1 cup all-purpose flour (120g)
- 1/3 cup unsweetened cocoa powder (30g)
- 3/4 cup granulated sugar (150g)
- 1/3 cup brown sugar (60g)
- 1 teaspoon baking powder
- 1/2 teaspoon baking soda
- 1/2 teaspoon salt
- 2 large eggs, room temperature
- 1/2 cup whole milk (120ml)
- 1/4 cup vegetable oil (60ml)
- 1 1/2 teaspoons vanilla extract
- 1/2 cup hot water (120ml)
- 12–16 mini Reese’s peanut butter cups, unwrapped
- For the Peanut Butter Frosting:
- 1/2 cup creamy peanut butter (120g, Skippy or Jif recommended)
- 1/2 cup unsalted butter, softened (115g)
- 2 cups powdered sugar (220g)
- 2–3 tablespoons heavy cream
- 1/2 teaspoon vanilla extract
- Pinch of salt (optional)
- For Garnish:
- Extra mini Reese’s cups, chopped
- Chocolate sprinkles or mini chocolate chips (optional)
Instructions
- Preheat your oven to 350°F (175°C). Line a 12-cup muffin tin with cupcake liners.
- In a large mixing bowl, whisk together flour, cocoa powder, granulated sugar, brown sugar, baking powder, baking soda, and salt until well combined.
- In another bowl, whisk eggs, milk, vegetable oil, and vanilla extract until blended.
- Pour the wet mixture into the dry ingredients and mix gently until just combined. The batter will be thick.
- Carefully pour in the hot water and mix until the batter is smooth and slightly runny. Do not over-mix.
- Fill each cupcake liner about halfway with batter. Gently press a mini Reese’s cup into the center of each, then cover with more batter until liners are about 3/4 full.
- Bake for 18-22 minutes, or until the tops spring back when touched and a toothpick inserted at the edge (not through the Reese’s cup) comes out clean.
- Let cupcakes cool in the pan for 5 minutes, then transfer to a wire rack to cool completely.
- For the frosting: In a medium bowl, beat softened butter and peanut butter until smooth and fluffy (about 2 minutes).
- Gradually add powdered sugar, beating on low. Add heavy cream and vanilla extract, whipping until light and creamy. Adjust consistency with more cream or powdered sugar as needed.
- Spoon frosting into a piping bag fitted with a star tip and pipe swirls onto cooled cupcakes.
- Decorate with chopped mini Reese’s cups and chocolate sprinkles or chips as desired.
Notes
Let eggs, milk, and butter come to room temperature for best results. Don’t over-mix the batter to keep cupcakes tender. If frosting is too stiff, add more cream; if too soft, add more powdered sugar. For gluten-free, use a 1:1 gluten-free flour blend. Cupcakes can be made ahead and frozen (unfrosted) for up to 2 months.
Nutrition
- Serving Size: 1 cupcake
- Calories: 340
- Sugar: 28
- Sodium: 220
- Fat: 18
- Saturated Fat: 7
- Carbohydrates: 40
- Fiber: 2
- Protein: 4
Keywords: Reese's cupcakes, peanut butter cup dessert, chocolate cupcakes, peanut butter frosting, easy cupcake recipe, party dessert, kid-friendly, chocolate peanut butter, homemade cupcakes



