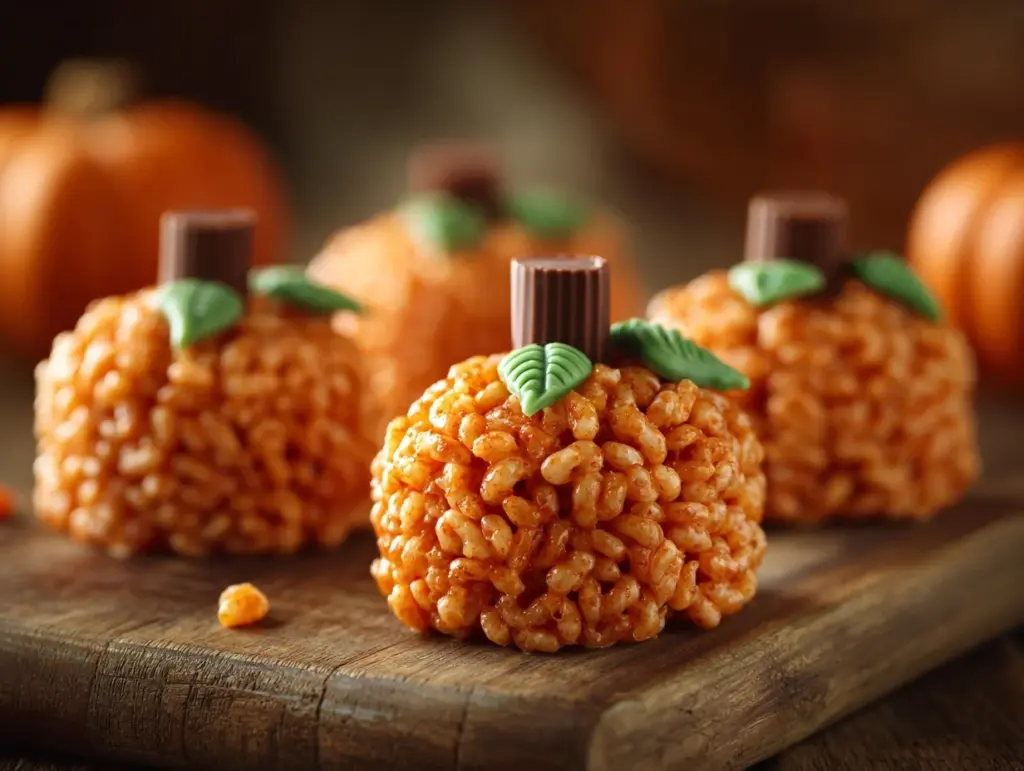
The crunch of sweet, gooey Rice Krispie treats paired with the festive charm of pumpkins—who could resist? These adorable Rice Krispie Treat Pumpkins are the ultimate Halloween snack, combining creativity and deliciousness in every bite. Whether you’re hosting a spooky party or just want a fun kitchen activity with the kids, this recipe is guaranteed to deliver smiles and sticky fingers!
I remember the first time I made these treats—it was a last-minute Halloween party, and I needed something quick but eye-catching. With just a few pantry staples and a little imagination, these pumpkins were a hit. They’ve since become a tradition every October, and trust me, they’re as fun to make as they are to eat!
If you’re looking for a festive recipe that’s simple yet impressive, these Rice Krispie Treat Pumpkins are perfect. From their vibrant orange color to the cute little “stems,” they’ll be the star of your Halloween spread. Plus, they’re a no-bake recipe, which means less hassle and more fun. Let’s get started!
Why You’ll Love This Recipe
- Quick & Easy: Ready in under 30 minutes, this recipe is perfect for busy parents or last-minute planners.
- No-Bake Fun: Keep the oven off—these treats come together on the stovetop.
- Festive and Adorable: Shaped like pumpkins, they’re a guaranteed crowd-pleaser for Halloween.
- Kid-Friendly: A fun activity to involve the little ones—they’ll love rolling and shaping the treats!
- Customizable: Add sprinkles, candy eyes, or swap out the stems for licorice for extra pizzazz.
What makes this recipe stand out is the simplicity. You don’t need fancy tools or hard-to-find ingredients—just a few basics, a little food coloring, and some creativity. Plus, they’re gluten-free, making them a great option for guests with dietary restrictions. With their bright orange hue and playful design, these treats instantly add Halloween spirit to any gathering.
What Ingredients You Will Need
This recipe uses simple, accessible ingredients to create irresistibly cute treats. Here’s everything you’ll need:
- Rice Krispies cereal: The foundation of these treats (any crispy rice cereal will work).
- Mini marshmallows: For that gooey, stretchy texture.
- Unsalted butter: Helps bind everything together and adds richness.
- Orange food coloring: To achieve that vibrant pumpkin color.
- Green candy melts or Tootsie Rolls: Perfect for creating the pumpkin stems.
- Vanilla extract: Adds a subtle, sweet flavor.
- Cooking spray: To keep your hands from sticking during shaping.
If you don’t have orange food coloring, you can mix red and yellow food coloring to create the shade you need. For the stems, get creative—pretzel sticks, green gummy candies, or even small chocolate pieces work great!
Equipment Needed
Here’s a list of kitchen tools that make this recipe a breeze:
- Large saucepan: For melting the marshmallows and butter.
- Mixing spoon: A sturdy spoon to combine the ingredients.
- Measuring cups: To ensure perfect portions.
- Non-stick baking sheet: For cooling the treats.
- Wax paper: Helps prevent sticking when shaping the pumpkins.
No fancy tools are needed, but if you have food-safe gloves, they can make shaping the pumpkins even easier. A little maintenance tip: after working with sticky marshmallows, soak your pans and utensils in warm water for effortless cleanup!
Preparation Method
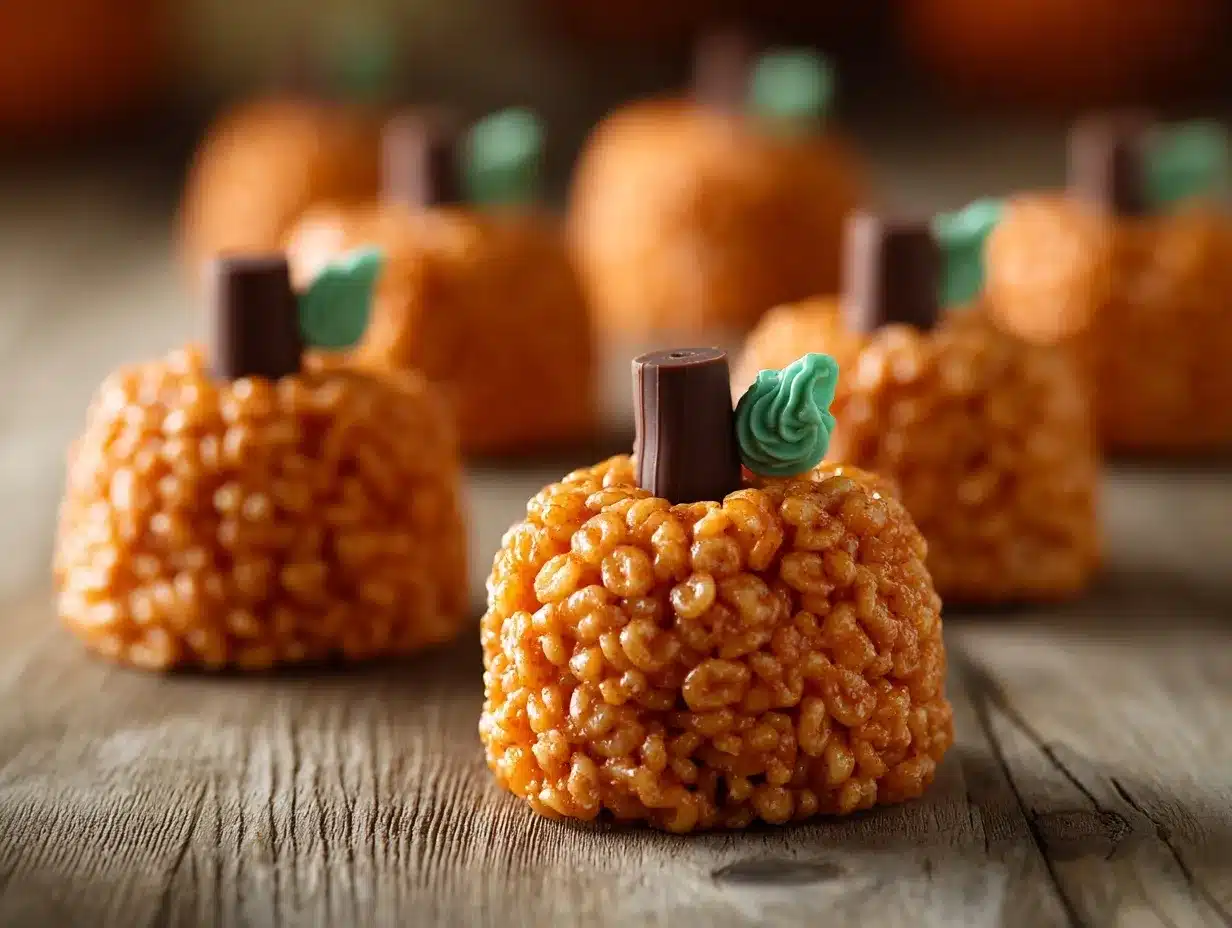
- In a large saucepan, melt the butter over medium heat. Add the mini marshmallows and stir until completely melted. This will take about 3-5 minutes.
- Remove the pan from heat and stir in the vanilla extract and orange food coloring. Add a few drops at a time until you achieve the desired pumpkin shade.
- Gradually fold in the Rice Krispies cereal, mixing until everything is evenly coated. Work quickly before the mixture starts to cool and stiffen!
- Spray your hands lightly with cooking spray to prevent sticking. Scoop out small handfuls of the mixture and roll them into balls to form the pumpkin shapes.
- Press a small indentation at the top of each ball to create a spot for the stem.
- Insert green candy melts, Tootsie Rolls, or any stem substitute into the indentation. Let the treats cool on a non-stick baking sheet lined with wax paper for 20 minutes.
A quick tip: If the mixture gets too sticky to handle, let it sit for a minute or two to firm up slightly. And don’t worry if your pumpkins aren’t perfectly round—imperfections add character!
Cooking Tips & Techniques
Here are some helpful tips to ensure your Rice Krispie Treat Pumpkins turn out perfectly:
- Don’t Overheat: Melt the marshmallows slowly to avoid hard, crunchy treats.
- Work Fast: The mixture stiffens as it cools, so shape your pumpkins quickly.
- Use Cooking Spray: A light spritz on your hands and utensils makes shaping a breeze.
- Mix Evenly: Stir thoroughly to ensure the orange color and marshmallow coating are evenly distributed.
- Customize the Size: Make mini pumpkins for bite-sized treats or larger ones for centerpiece-worthy snacks.
If you’re making these with kids, let them handle the decorating! Candy faces, sprinkles, or edible glitter can take these pumpkins to the next level.
Variations & Adaptations
Want to switch things up? Here are some fun variations:
- Dietary Adaptation: Use vegan marshmallows and dairy-free butter for a plant-based version.
- Flavor Twist: Add a pinch of pumpkin spice or cinnamon for a seasonal flavor boost.
- Color Swap: Make ghostly white pumpkins by skipping the food coloring or spooky black ones with dark cocoa powder.
- Different Shapes: Create Rice Krispie bats or ghosts using cookie cutters for extra Halloween fun.
I once tried adding mini chocolate chips to the mixture—while they melted slightly, the result was a delightful chocolate-orange combo!
Serving & Storage Suggestions
These treats are best served at room temperature for maximum gooeyness. Here are some additional tips:
- Presentation: Arrange them on a festive Halloween platter or use them as edible table decorations.
- Pairings: Serve alongside hot apple cider or a pumpkin spice latte for the perfect autumn vibe.
- Storage: Keep them in an airtight container at room temperature for up to three days.
- Freezing: Freeze the treats in a sealed bag for up to a month—just let them thaw at room temperature before serving.
Pro tip: If you’re storing them overnight, place wax paper between layers to prevent sticking.
Nutritional Information & Benefits
These treats are a fun indulgence, but they also offer a few perks:
- Calories: Approximately 120 calories per pumpkin (depending on size).
- Gluten-Free: Safe for those avoiding gluten.
- Low Fat: Marshmallows and Rice Krispies keep the fat content relatively low.
While these aren’t a health food, the portion-controlled design makes them a guilt-free Halloween treat. Plus, they’re free from common allergens like nuts, making them party-friendly!
Conclusion
These Rice Krispie Treat Pumpkins are the perfect balance of festive fun and delicious simplicity. Whether you’re crafting them for a Halloween party or just enjoying a cozy afternoon in the kitchen, they’re bound to bring joy. Don’t be afraid to get creative—add your own twist and make them uniquely yours!
Let me know how your pumpkins turn out in the comments below. I’d love to hear about your decorating ideas or any fun variations you try. Happy Halloween, and may your treats be as sweet as your spooky celebrations!
FAQs
Can I make these treats ahead of time?
Yes! These can be made a day or two in advance and stored in an airtight container at room temperature.
What can I use instead of candy melts for the stems?
Pretzel sticks, green licorice, or even small pieces of chocolate work well as stem substitutes.
How do I prevent the mixture from sticking to my hands?
Spray your hands lightly with cooking spray or rub a little butter on them before shaping the pumpkins.
Can I use regular marshmallows instead of mini marshmallows?
Absolutely! Just be sure to cut them into smaller pieces so they melt evenly.
What if I don’t have orange food coloring?
You can mix red and yellow food coloring to create orange or leave them uncolored for a fun twist!
Pin This Recipe!
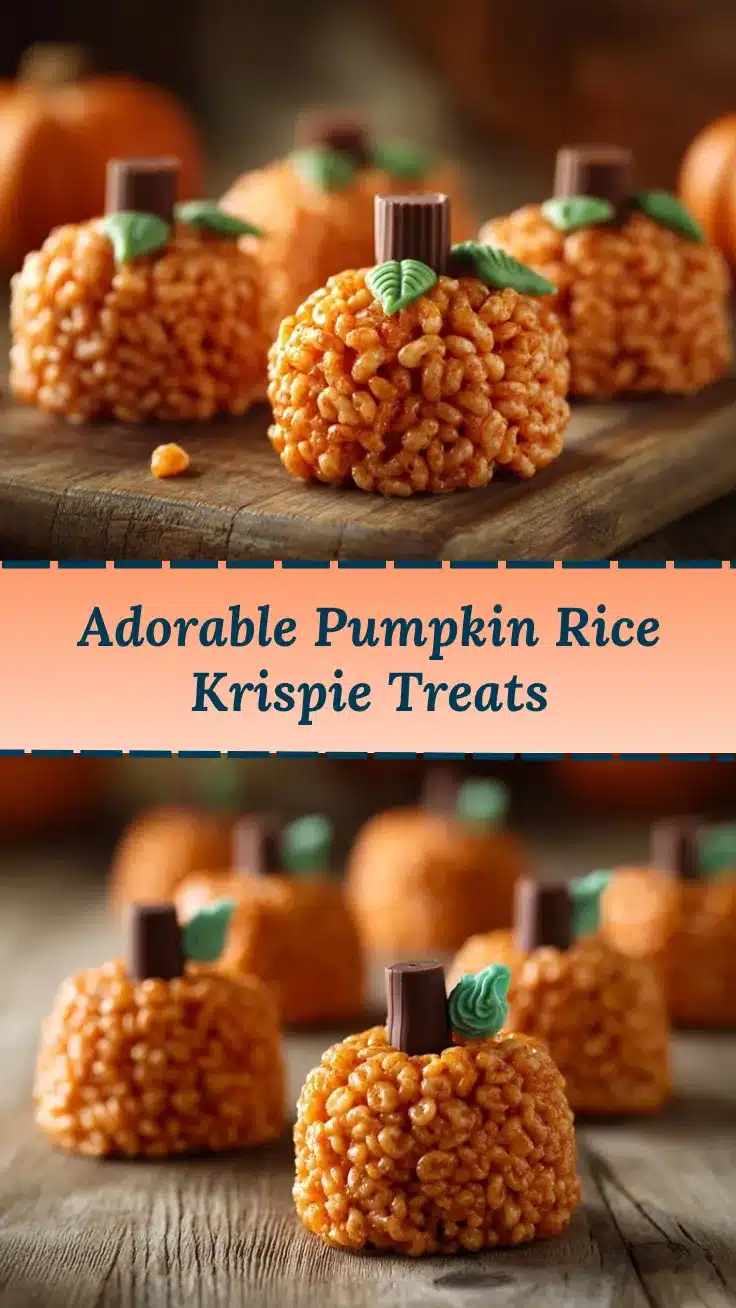
Rice Krispie Treat Pumpkins

These adorable Rice Krispie Treat Pumpkins are the ultimate Halloween snack, combining creativity and deliciousness in every bite. Perfect for festive gatherings or fun kitchen activities with kids.
- Prep Time: 10 minutes
- Cook Time: 5 minutes
- Total Time: 30 minutes
- Yield: 12 servings 1x
- Category: Dessert
- Cuisine: American
Ingredients
- 6 cups Rice Krispies cereal
- 10 ounces mini marshmallows
- 3 tablespoons unsalted butter
- Orange food coloring
- Green candy melts or Tootsie Rolls
- 1 teaspoon vanilla extract
- Cooking spray
Instructions
- In a large saucepan, melt the butter over medium heat. Add the mini marshmallows and stir until completely melted, about 3-5 minutes.
- Remove the pan from heat and stir in the vanilla extract and orange food coloring. Add a few drops at a time until you achieve the desired pumpkin shade.
- Gradually fold in the Rice Krispies cereal, mixing until everything is evenly coated. Work quickly before the mixture starts to cool and stiffen.
- Spray your hands lightly with cooking spray to prevent sticking. Scoop out small handfuls of the mixture and roll them into balls to form the pumpkin shapes.
- Press a small indentation at the top of each ball to create a spot for the stem.
- Insert green candy melts, Tootsie Rolls, or any stem substitute into the indentation. Let the treats cool on a non-stick baking sheet lined with wax paper for 20 minutes.
Notes
If the mixture gets too sticky to handle, let it sit for a minute or two to firm up slightly. Imperfections in pumpkin shapes add character!
Nutrition
- Serving Size: 1 pumpkin treat
- Calories: 120
- Sugar: 12
- Sodium: 80
- Fat: 3
- Saturated Fat: 2
- Carbohydrates: 22
- Protein: 1
Keywords: Halloween, Rice Krispie Treats, Pumpkin, No-Bake, Kid-Friendly, Gluten-Free