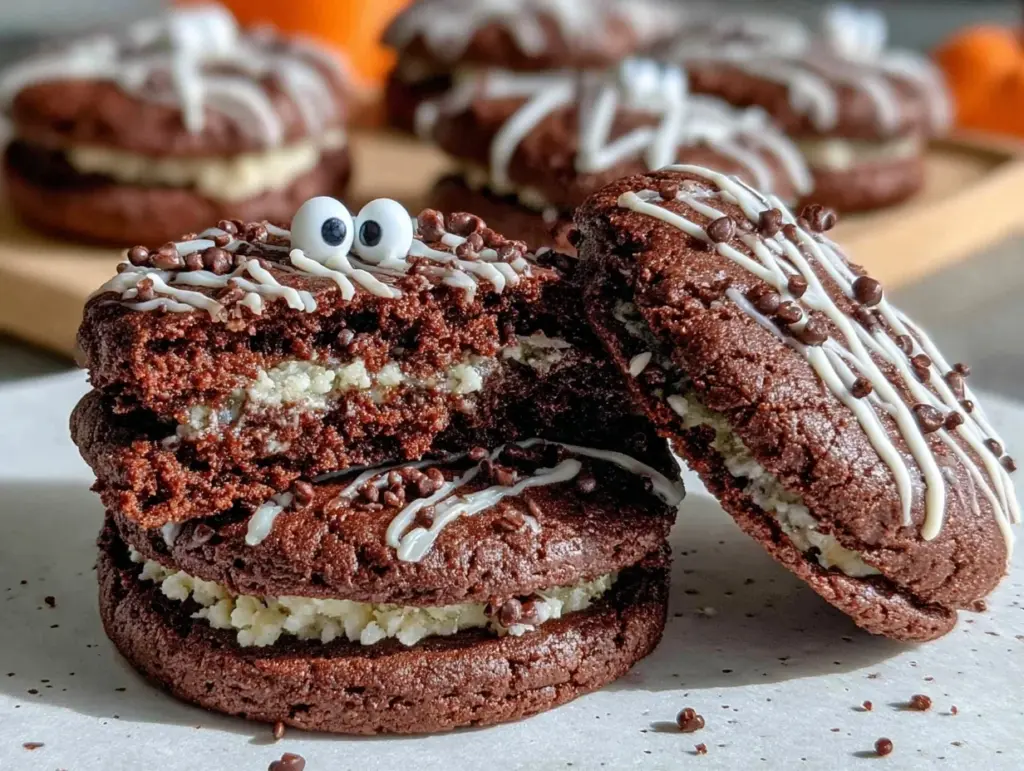
Halloween just got sweeter (and spookier) with these irresistible mummy cookies! Picture this: soft, buttery sugar cookies dressed up in eerie white bandages with adorable googly eyes peeking out. These cookies aren’t just fun to look at—they’re incredibly easy to make and even more delicious to eat. Whether you’re hosting a Halloween party, sharing treats with neighbors, or just looking for a creative baking project, these mummy cookies are the perfect festive addition to your spooky season.
I discovered this recipe last year when my kids begged for a Halloween-themed dessert. I wanted something simple but fun enough to impress them. After testing a few ideas, mummy cookies quickly became a family favorite. They combine a classic sugar cookie base with a playful design that’s surprisingly quick to put together. Trust me, once you try them, you’ll want to make them a tradition every October!
Why You’ll Love This Recipe
- Quick & Easy: You don’t need fancy baking skills to make these mummy cookies. They come together in under an hour, from start to finish!
- Simple Ingredients: Everything you need for this recipe is likely already in your pantry or easy to grab at your local grocery store.
- Kid-Friendly: These cookies are a hit with kids! Plus, they can help decorate, making it a fun family activity.
- Perfect for Halloween: Whether it’s a costume party or trick-or-treat night, these cookies are guaranteed to delight everyone.
- Customizable: You can tweak the colors, flavors, or decorations to suit your spooky vision.
What sets these mummy cookies apart? It’s the balance between simplicity and creativity. While they look like they came from a fancy bakery, they’re super achievable even for beginners. The best part? The mix of buttery sweetness from the cookies and the creamy vanilla icing is absolutely irresistible. These cookies don’t just look good—they taste amazing too.
What Ingredients You Will Need
This recipe uses everyday ingredients to create a Halloween masterpiece. Here’s what you’ll need:
- For the cookies:
- 2 1/2 cups all-purpose flour
- 1/2 teaspoon baking powder
- 1/4 teaspoon salt
- 3/4 cup unsalted butter, softened
- 1 cup granulated sugar
- 1 large egg
- 1 teaspoon vanilla extract
- For the decorations:
- White royal icing or candy melts (for bandages)
- Mini candy eyes
Optional substitutions: If you’re gluten-free, you can swap all-purpose flour for a 1:1 gluten-free baking flour. For dairy-free cookies, use vegan butter instead of regular butter.
Equipment Needed
You don’t need anything fancy to whip up these mummy cookies. Here’s what you’ll need:
- Mixing bowls (medium and large)
- Hand mixer or stand mixer
- Rolling pin
- Cookie cutters (round or oval shapes work best)
- Baking sheets
- Parchment paper
- Decorating piping bag or zip-top bag (for icing)
If you don’t have a piping bag for the icing, no problem—a zip-top bag with the corner snipped off works just as well!
Preparation Method
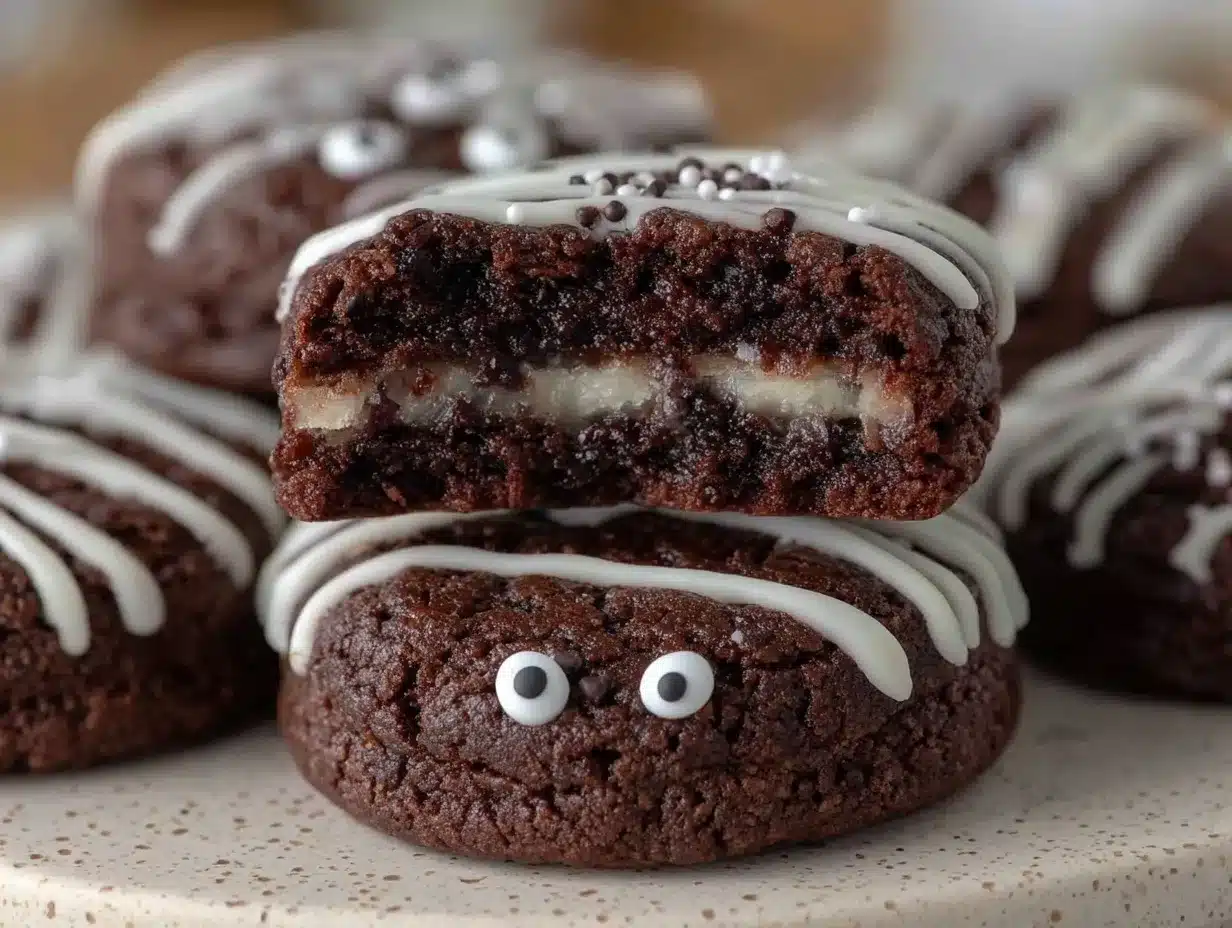
- Prepare the dough: In a large bowl, whisk together the flour, baking powder, and salt. In a separate bowl, cream the softened butter and sugar until light and fluffy. Add the egg and vanilla extract, mixing until combined. Gradually add the dry ingredients to the wet mixture, stirring until a soft dough forms.
- Chill the dough: Wrap the dough in plastic wrap and refrigerate for 30 minutes. This helps the cookies hold their shape during baking.
- Roll and cut: Preheat your oven to 350°F (175°C) and line baking sheets with parchment paper. Roll out the chilled dough on a floured surface to about 1/4-inch thickness. Use round or oval cookie cutters to cut out the shapes.
- Bake: Arrange the cookies on the prepared baking sheets, leaving space between each. Bake for 8-10 minutes or until the edges are lightly golden. Let them cool completely on wire racks before decorating.
- Decorate the cookies: Fill a piping bag (or zip-top bag) with white royal icing or melted candy melts. Pipe thin lines across the cookies to create the mummy bandages. Place mini candy eyes on each cookie before the icing sets.
Pro tip: If your icing feels too thick, add a few drops of water to reach the perfect consistency. If it’s too runny, mix in a little powdered sugar.
Cooking Tips & Techniques
- Don’t skip chilling the dough: Chilled dough is easier to roll and helps the cookies maintain their shape during baking.
- Use parchment paper: This prevents the cookies from sticking to the baking sheet and ensures even baking.
- Thin icing for bandages: Aim for a medium consistency—too thick, and you’ll struggle to pipe; too thin, and the icing will spread too much.
- Decorate quickly: Place the candy eyes while the icing is still wet so they stick firmly.
- Work in batches: If you’re decorating with kids, divide the cookies into smaller batches to keep things manageable and fun.
Variations & Adaptations
- Chocolate mummy cookies: Add 1/3 cup of cocoa powder to the dry ingredients for a chocolate twist.
- Spooky colors: Swap the white icing for neon green or orange for a fun twist.
- Flavor swap: Sub vanilla extract with almond, lemon, or pumpkin spice extract to customize the taste.
- Allergen-friendly version: Make these cookies vegan by using flaxseed meal as an egg substitute and dairy-free butter.
I once tried making these cookies with matcha powder for green mummies, and they were a hit! Feel free to get creative and let your spooky side shine.
Serving & Storage Suggestions
Serve your mummy cookies on a festive Halloween platter with a backdrop of cobwebs and candles for added spooky vibes. Pair them with hot apple cider or a pumpkin spice latte for the ultimate fall treat.
To store, place the cookies in an airtight container at room temperature for up to 5 days. If you want to make them ahead of time, you can freeze the undecorated cookies for up to 3 months. When ready to serve, thaw them at room temperature and decorate as usual.
Reheat cookies slightly in the microwave for 5-10 seconds to make them taste freshly baked.
Nutritional Information & Benefits
| Nutrient | Amount per Cookie |
|---|---|
| Calories | 125 |
| Fat | 5g |
| Sugar | 8g |
| Protein | 1g |
While these mummy cookies are a treat and should be enjoyed in moderation, they’re made with simple ingredients and can be customized to fit various dietary needs. You can even use whole-grain flour for extra fiber!
Conclusion
These irresistible mummy cookies are more than just a Halloween dessert—they’re a memory in the making. The combination of buttery sugar cookies and playful decorations makes them perfect for kids, parties, or simply indulging your creative side. I love how they bring smiles and laughter to everyone who sees (and eats) them!
I can’t wait to hear how your mummy cookies turn out! Let me know in the comments how you customized your spooky treats, and don’t forget to share this recipe with fellow Halloween enthusiasts. Happy baking!
FAQs
Can I use store-bought cookie dough?
Yes! Store-bought sugar cookie dough works just as well and can save you some time.
How do I make royal icing at home?
Mix 2 cups powdered sugar, 2 tablespoons milk, and 1 tablespoon light corn syrup until smooth. Add vanilla extract for flavor!
What’s the best way to stick the candy eyes?
Place them on the wet icing right after piping the bandages so they adhere properly.
Can I freeze decorated mummy cookies?
It’s better to freeze the undecorated cookies and add the icing and eyes after thawing.
Can I use different shapes for the cookies?
Absolutely! Oval shapes work great for mummies, but you can get creative with pumpkins or ghost shapes too.
Pin This Recipe!
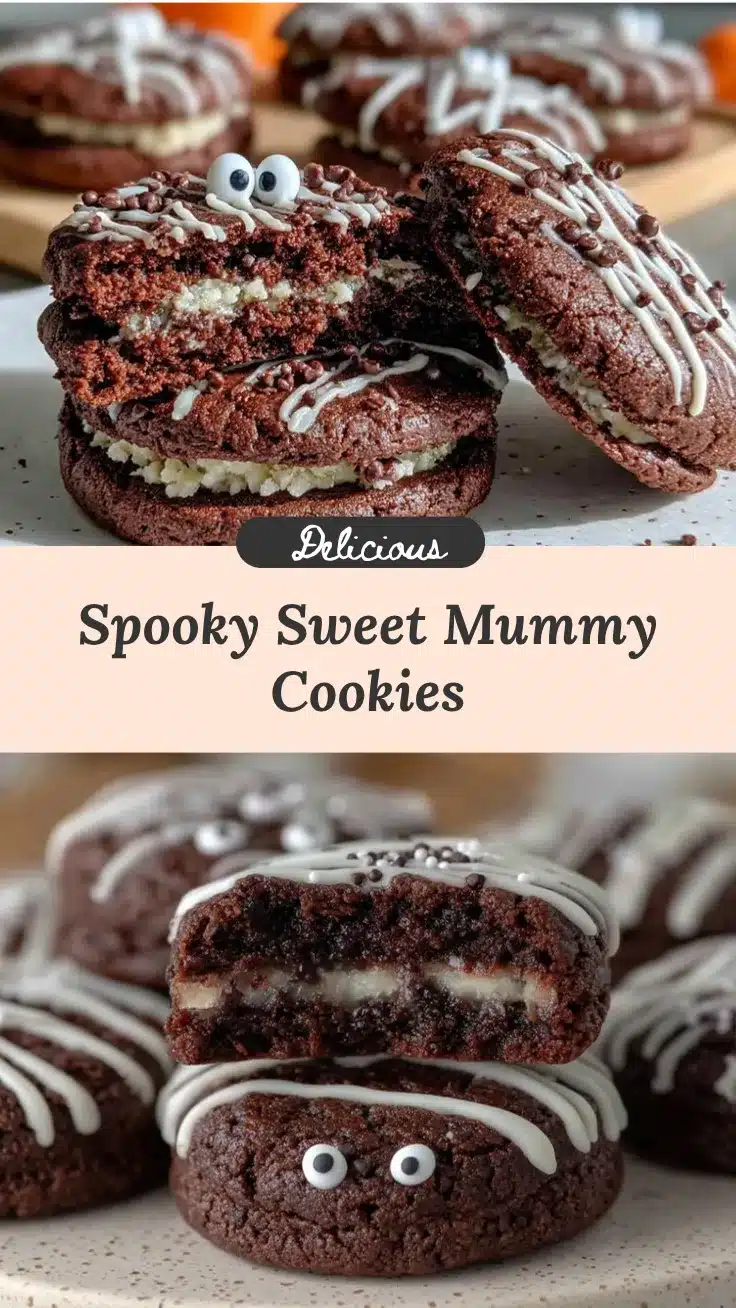
Irresistible Mummy Cookies Recipe for Easy Halloween Fun

Soft, buttery sugar cookies dressed in eerie white bandages with googly eyes, perfect for Halloween parties or festive baking fun.
- Prep Time: 30 minutes
- Cook Time: 10 minutes
- Total Time: 40 minutes
- Yield: 24 cookies 1x
- Category: Dessert
- Cuisine: American
Ingredients
- 2 1/2 cups all-purpose flour
- 1/2 teaspoon baking powder
- 1/4 teaspoon salt
- 3/4 cup unsalted butter, softened
- 1 cup granulated sugar
- 1 large egg
- 1 teaspoon vanilla extract
- White royal icing or candy melts (for bandages)
- Mini candy eyes
Instructions
- In a large bowl, whisk together the flour, baking powder, and salt.
- In a separate bowl, cream the softened butter and sugar until light and fluffy. Add the egg and vanilla extract, mixing until combined.
- Gradually add the dry ingredients to the wet mixture, stirring until a soft dough forms.
- Wrap the dough in plastic wrap and refrigerate for 30 minutes.
- Preheat your oven to 350°F (175°C) and line baking sheets with parchment paper.
- Roll out the chilled dough on a floured surface to about 1/4-inch thickness. Use round or oval cookie cutters to cut out the shapes.
- Arrange the cookies on the prepared baking sheets, leaving space between each. Bake for 8-10 minutes or until the edges are lightly golden.
- Let the cookies cool completely on wire racks before decorating.
- Fill a piping bag (or zip-top bag) with white royal icing or melted candy melts. Pipe thin lines across the cookies to create the mummy bandages.
- Place mini candy eyes on each cookie before the icing sets.
Notes
[‘Chill the dough to help cookies maintain their shape during baking.’, ‘Use parchment paper to prevent sticking and ensure even baking.’, ‘Adjust icing consistency for easier piping.’, ‘Decorate quickly to ensure candy eyes stick firmly to wet icing.’, ‘Divide cookies into smaller batches for decorating with kids.’]
Nutrition
- Serving Size: 1 cookie
- Calories: 125
- Sugar: 8
- Fat: 5
- Protein: 1
Keywords: Halloween, Mummy Cookies, Sugar Cookies, Festive Baking, Kid-Friendly, Easy Recipe



