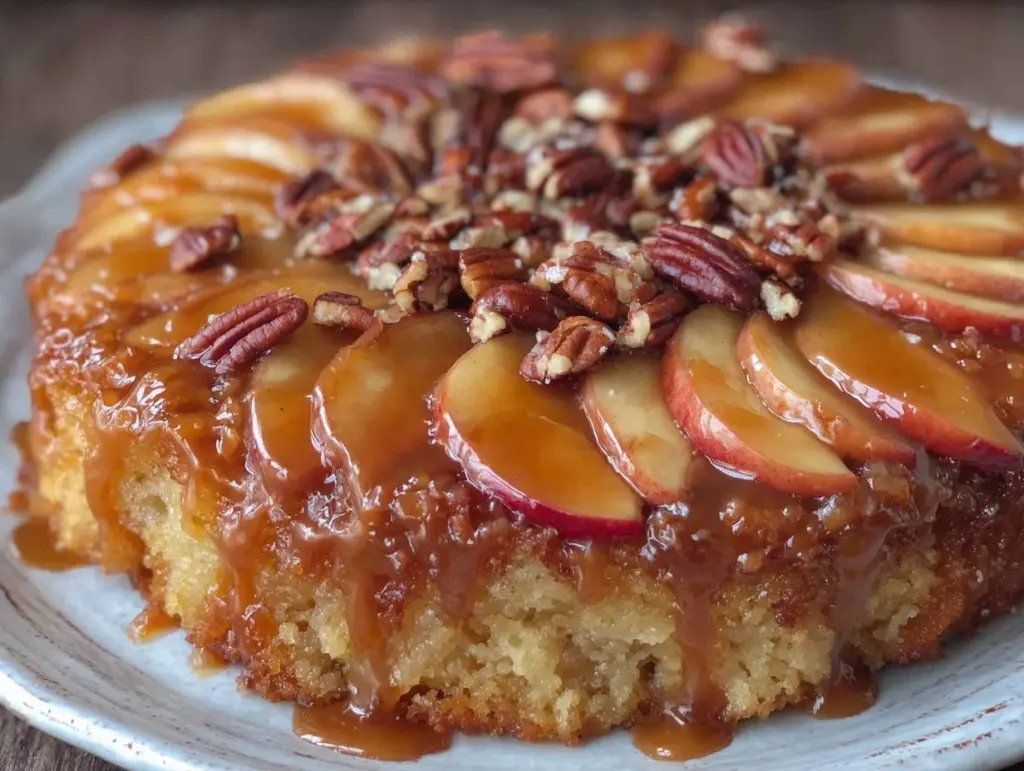
The smell of warm caramel mingling with spiced apples baking in the oven is honestly one of those scents that instantly wraps you in cozy fall vibes. I first made this caramel apple upside-down cake on a crisp October afternoon when I wanted something sweet but comforting—something that reminded me of orchard visits and pumpkin patches. It quickly became a favorite in my kitchen, showing up at gatherings and even quiet weekend breakfasts.
This irresistible caramel apple upside-down cake isn’t just any dessert. It’s that perfect balance of tender cake and sticky, buttery caramel topped with soft, cinnamon-kissed apples. I’ve baked this recipe more times than I can count, tweaking it just enough to get the texture and flavor spot-on every time. If you’re someone who loves fall baking with a twist or want a dessert that feels fancy without the fuss, this recipe is for you.
Whether you’re serving up something special for family, impressing guests, or just craving a slice of autumn on your plate, this caramel apple upside-down cake fits the bill. And trust me, once you try it, you’ll want to keep this recipe close all season long.
Why You’ll Love This Recipe
- Quick & Easy: Comes together in under an hour, so you won’t be stuck in the kitchen all day.
- Simple Ingredients: No need for specialty shopping—most items are pantry staples or easy-to-find fall produce.
- Perfect for Fall Gatherings: Ideal for holiday brunches, potlucks, or just a cozy weekend treat.
- Crowd-Pleaser: The combination of caramel and tart apples always wins over both kids and adults.
- Unbelievably Delicious: The moist cake base paired with the gooey caramel topping creates a flavor and texture combo that’s hard to resist.
This isn’t just your average fruit cake. What sets this caramel apple upside-down cake apart is the way the apples soak in the caramel as they bake, creating a luscious topping that’s both sticky and tender. I like to lightly spice the apples with cinnamon and a hint of nutmeg, which makes every bite sing with fall flavor. Plus, the cake itself stays moist for days, so it’s a win for busy households or anyone looking to bake ahead.
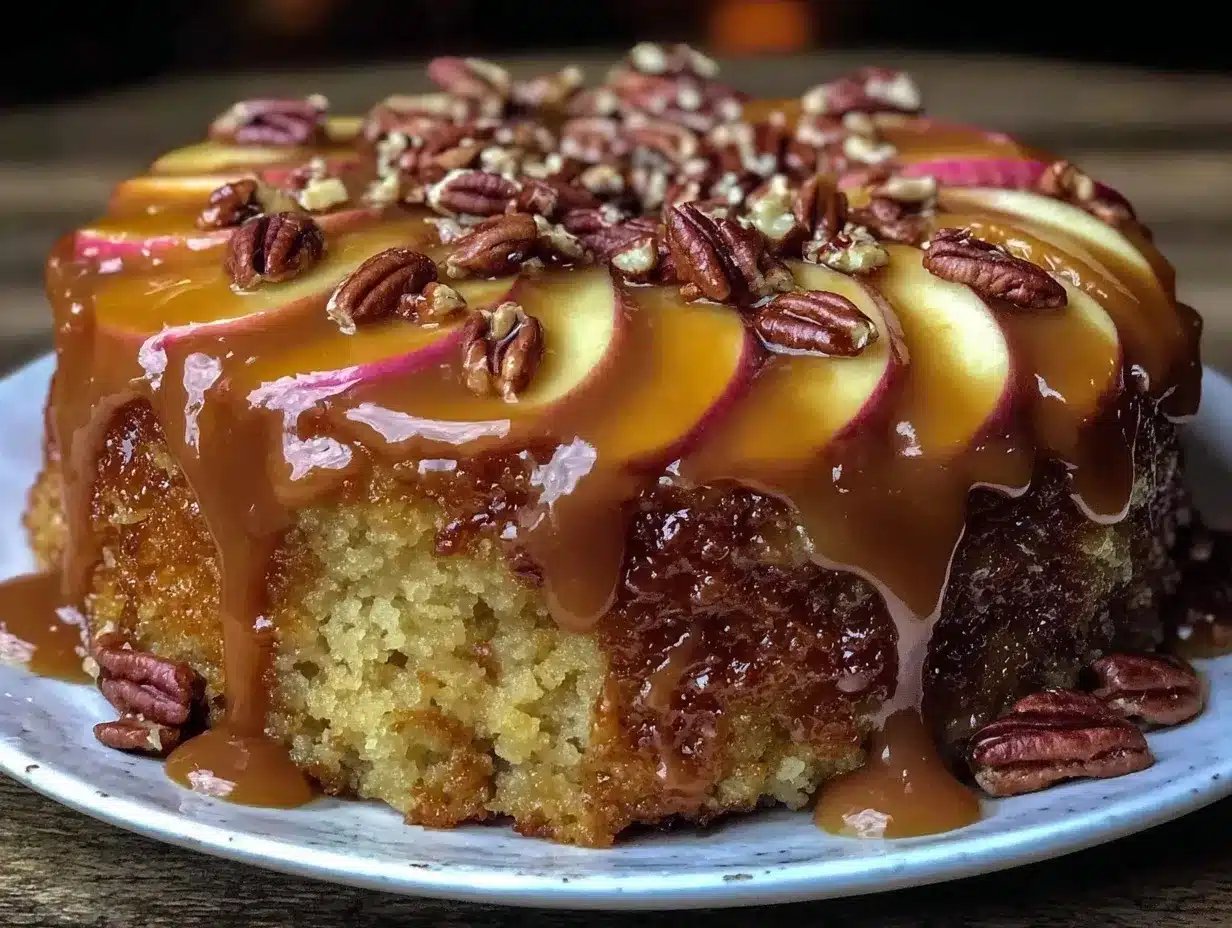
Honestly, there’s something about the glossy caramel pooled on top, glistening under warm kitchen lights, that makes you want to close your eyes and savor every bite. This cake strikes the perfect balance between comfort food and a showstopper dessert—without the stress.
What Ingredients You Will Need
This recipe uses simple, wholesome ingredients to deliver bold flavor and satisfying texture without the fuss. Most of these are pantry staples, with fresh apples bringing the star power.
- For the Topping:
- Unsalted butter – 6 tablespoons (softened; adds richness and helps caramelize apples)
- Brown sugar – 3/4 cup (packed; I prefer light brown sugar for a milder molasses flavor)
- Apples – 3 medium-sized, peeled, cored, and sliced (Granny Smith or Honeycrisp work best for a tart-sweet balance)
- Cinnamon – 1 teaspoon (freshly ground if possible for better aroma)
- Nutmeg – 1/4 teaspoon (optional, for warm spice note)
- For the Cake Batter:
- All-purpose flour – 1 1/2 cups (you can substitute with gluten-free flour blend if needed)
- Baking powder – 2 teaspoons (helps the cake rise perfectly)
- Salt – 1/2 teaspoon
- Granulated sugar – 3/4 cup
- Large eggs – 2 (room temperature for better mixing)
- Vanilla extract – 1 teaspoon (adds depth and sweetness)
- Whole milk – 1/2 cup (room temperature; swap with almond or oat milk for dairy-free)
- Vegetable oil – 1/4 cup (keeps the cake moist and tender)
I usually grab my apples from the farmer’s market when in season because fresh, crisp apples make all the difference. For the butter, I trust Land O’Lakes or Kerrygold for consistent quality. If you want a dairy-free version, replacing butter with coconut oil and milk with almond milk works surprisingly well here. Just keep the spices and sugar the same—those are the soul of this recipe.
Equipment Needed
- 9-inch round cake pan (a classic choice; non-stick recommended for easier release)
- Mixing bowls (one large for batter, one medium for dry ingredients)
- Electric mixer or hand whisk (the mixer makes it smoother but whisk works fine if you have some elbow grease!)
- Measuring cups and spoons (accuracy matters here for balanced sweetness and rise)
- Spatula (for folding and spreading batter evenly)
- Peeler and knife (for prepping apples)
If you don’t have a 9-inch pan, an 8-inch will work but the cake will be a little taller and might need extra baking time. I once used a cast-iron skillet for this cake and loved how it caramelized the edges. Just remember to grease your pan thoroughly—sticky caramel can cling if you’re not careful! For budget-friendly options, silicone spatulas and measuring sets from brands like OXO or Wilton have served me well without breaking the bank.
Detailed Preparation Method
- Preheat your oven to 350°F (175°C). Grease your 9-inch cake pan with butter or non-stick spray and set aside. This step is crucial to prevent sticking, especially with caramel involved. (5 minutes)
- Prepare the caramel apple topping: In a small saucepan over medium heat, melt 6 tablespoons of butter with 3/4 cup packed brown sugar, stirring until the sugar dissolves and the mixture is smooth and bubbling. This should take about 3-4 minutes; watch carefully so it doesn’t burn. Pour this caramel mixture evenly into the bottom of your prepared pan. (7 minutes)
- Arrange the apples: Toss the sliced apples with 1 teaspoon cinnamon and 1/4 teaspoon nutmeg in a bowl. Lay them neatly over the caramel layer in a single layer. Don’t crowd them too much—give each slice room to soften and caramelize properly. (8 minutes)
- Mix dry ingredients: In a medium bowl, whisk together 1 1/2 cups all-purpose flour, 2 teaspoons baking powder, and 1/2 teaspoon salt. This ensures even distribution of rising agents and seasoning. (3 minutes)
- Make the batter: In a large bowl, beat 3/4 cup granulated sugar with 2 large eggs until fluffy and light yellow, about 3-4 minutes with an electric mixer on medium speed. Then, add 1 teaspoon vanilla extract, 1/2 cup whole milk, and 1/4 cup vegetable oil; mix until just combined. (7 minutes)
- Combine wet and dry: Gradually add the dry ingredients to the wet mixture, folding gently with a spatula until just combined. Avoid overmixing to keep the cake tender and avoid a dense crumb. The batter will be thick but spreadable. (4 minutes)
- Pour batter over apples: Carefully spoon and spread the batter evenly over the caramel apple layer in the pan. Smooth the top with a spatula so it bakes uniformly. (3 minutes)
- Bake: Place the pan in the oven and bake for 40-45 minutes, or until a toothpick inserted in the center comes out clean. The edges should be golden and you’ll notice the caramel bubbling at the sides. (40-45 minutes)
- Cool and invert: Let the cake cool in the pan for 10-15 minutes. Run a knife around the edges to loosen it, then place a serving plate over the pan and invert quickly but carefully. The caramel apple topping should now be on top, sticky and glossy. (15 minutes)
- Serve warm or at room temperature: This cake is best enjoyed the day it’s made but holds up nicely for 2 days if covered. Optional: serve with vanilla ice cream or whipped cream for extra indulgence.
Pro tip: If your caramel seems too runny after baking, don’t worry—it firms up as the cake cools. Also, if apples shift when flipping, gently push them back into place with a spatula before serving. This recipe is forgiving, but a gentle hand helps presentation!
Cooking Tips & Techniques
One trick I learned is to slice the apples uniformly to ensure even cooking. Too-thick slices stay firm, too-thin can get mushy. I aim for about 1/4-inch thick slices.
Don’t skip softening the butter before mixing it with sugar; this helps the caramel develop a smooth texture without graininess. Also, stirring the caramel constantly prevents it from burning—caramel can turn bitter real fast if neglected.
For the batter, mixing just until combined is key. Overmixing activates gluten, leading to a tough cake, which you definitely don’t want here. I usually stop when I see no more flour streaks, even if the batter looks a bit lumpy.
Multitasking during baking helps save time—while the cake is in the oven, clean up your workspace and prep any toppings you want to serve alongside. This way, you’re ready to enjoy the cake fresh out of the oven.
Lastly, don’t rush the cooling and flipping step. Letting the cake cool for a bit helps the caramel set and keeps the topping intact when flipped. If you try to invert too soon, you risk a sticky mess.
Variations & Adaptations
- Spiced Pear Variation: Swap apples for peeled, sliced pears and add a pinch of ground cloves for a slightly different fall flavor. Pears bring a softer texture that contrasts nicely with caramel.
- Gluten-Free Option: Use a 1:1 gluten-free flour blend in place of all-purpose flour. I recommend brands like Bob’s Red Mill for best results. Baking time may vary slightly, so keep an eye on the cake.
- Vegan Adaptation: Replace butter with vegan margarine or coconut oil, use flax eggs (1 tablespoon ground flaxseed + 3 tablespoons water per egg), and swap milk for almond or oat milk. The cake will be slightly denser but still delicious.
- Caramel Sauce Upgrade: For extra indulgence, drizzle homemade salted caramel sauce over each slice before serving.
- Nutty Twist: Sprinkle chopped toasted pecans or walnuts over the caramel layer before adding apples for crunch and a nutty flavor.
One of my favorite tweaks is adding a splash of bourbon to the batter for a grown-up version. The warmth of the bourbon complements the spices and caramel beautifully. It’s perfect for holiday dinners or special occasions!
Serving & Storage Suggestions
This caramel apple upside-down cake is best served warm or at room temperature. The caramel topping is gooey and luscious when slightly warm, but it also tastes fantastic cooled, letting the flavors develop fully.
For presentation, serve slices with a scoop of vanilla ice cream or a dollop of freshly whipped cream. A sprinkle of cinnamon or a drizzle of extra caramel sauce makes it look like it came from a bakery.
Store leftovers covered at room temperature for up to 2 days. For longer storage, wrap tightly in plastic wrap and refrigerate for up to 5 days. The cake can also be frozen—wrap slices individually and freeze for up to 3 months. Thaw overnight in the fridge and warm gently before serving.
Reheating in a microwave for 15-20 seconds or in a low oven (about 300°F / 150°C) for 10 minutes brings back the fresh-baked warmth. Just watch that caramel doesn’t burn again!
Flavors deepen after resting, so if you can wait a few hours before eating, that’s ideal. The spices blend better, and the cake texture firms up nicely without drying out.
Nutritional Information & Benefits
Per serving (1 slice, based on 8 slices), this caramel apple upside-down cake contains approximately:
| Calories | 320 |
|---|---|
| Fat | 14g (mostly from butter and oil) |
| Carbohydrates | 45g (includes natural sugars from apples) |
| Protein | 3g |
| Fiber | 2g |
Apples provide dietary fiber and antioxidants, while cinnamon adds anti-inflammatory benefits. This dessert balances indulgence with some nutritional perks thanks to the fruit. Plus, using real butter and minimal processed sugar means you’re not loading up on artificial ingredients.
For those watching carbs, swapping sugar for coconut sugar or a natural sweetener can lower the glycemic impact slightly. The recipe can also be adapted with gluten-free or dairy-free options, making it friendly for many dietary needs.
From a wellness perspective, I love that this cake combines comfort and seasonality. It’s a treat that feels special but doesn’t weigh you down, perfect for fall’s cozy mindset.
Conclusion
This caramel apple upside-down cake recipe is truly one I keep coming back to every fall. It’s simple enough for a weeknight dessert but impressive enough for holiday celebrations. The way the apples soften and soak in that buttery caramel, paired with a light and tender cake, makes it a winner in my book.
I encourage you to make this recipe your own—whether that’s adding your favorite nuts, swapping in pears, or trying the vegan version. It’s forgiving, delicious, and full of fall spirit.
Give it a try, then come back and tell me how it turned out! I’d love to hear your twists or family favorites inspired by this irresistible caramel apple upside-down cake. Happy baking and warm autumn smiles!
FAQs
Can I use different types of apples for this cake?
Absolutely! Granny Smith and Honeycrisp are great for their tartness, but Fuji or Gala apples work well too. Just keep the slices uniform for even baking.
How do I store leftover caramel apple upside-down cake?
Keep leftovers covered at room temperature for up to 2 days or refrigerated for up to 5 days. You can also freeze individual slices for up to 3 months.
Is it possible to make this cake gluten-free?
Yes, using a 1:1 gluten-free flour blend works well. Just monitor baking time as it may vary slightly.
Can I prepare this cake ahead of time?
You can assemble the cake and refrigerate it before baking, but let it sit at room temperature for about 20 minutes before baking to ensure even cooking.
What’s the best way to reheat the cake?
Warm slices gently in the microwave for 15-20 seconds or in a 300°F (150°C) oven for about 10 minutes to bring back that fresh-baked feel.
Pin This Recipe!
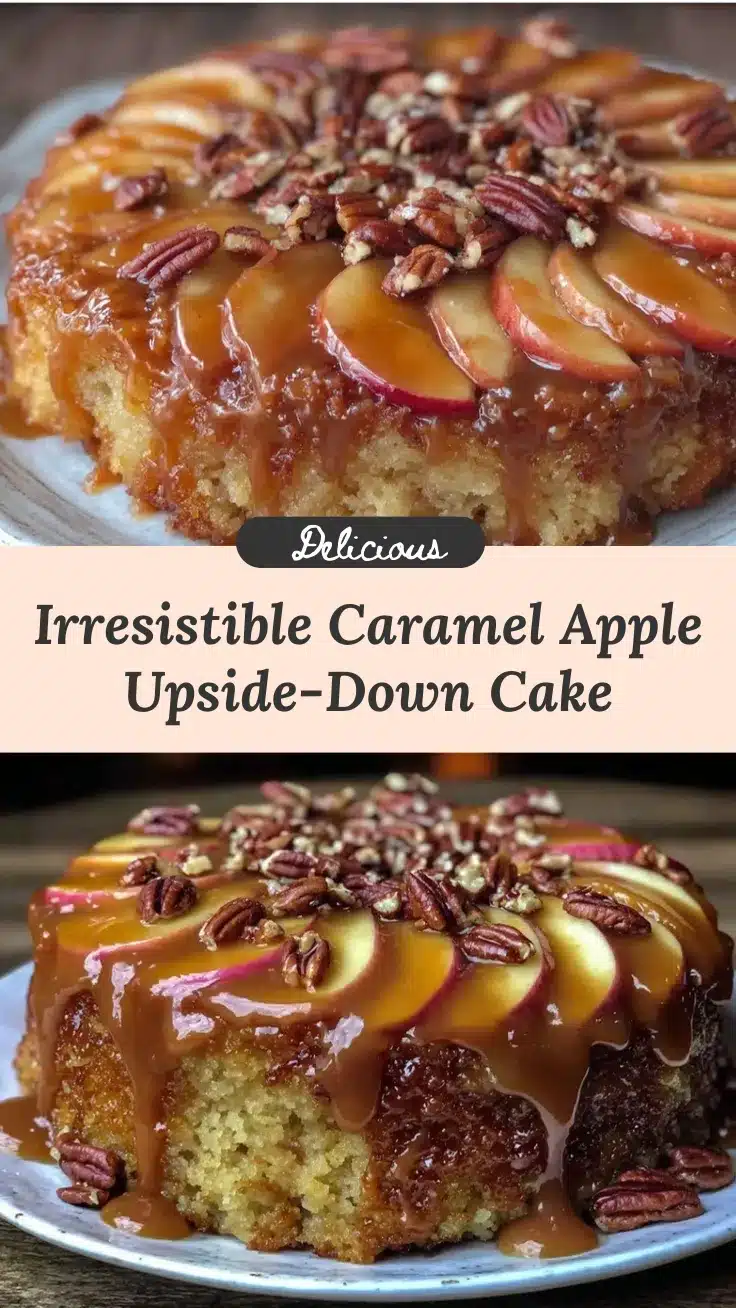
Irresistible Caramel Apple Upside-Down Cake

A cozy fall dessert featuring tender cake topped with sticky, buttery caramel and cinnamon-spiced apples. Perfect for gatherings or a comforting treat.
- Prep Time: 25 minutes
- Cook Time: 45 minutes
- Total Time: 1 hour 10 minutes
- Yield: 8 servings 1x
- Category: Dessert
- Cuisine: American
Ingredients
- 6 tablespoons unsalted butter (softened)
- 3/4 cup packed brown sugar (light preferred)
- 3 medium apples, peeled, cored, and sliced (Granny Smith or Honeycrisp)
- 1 teaspoon cinnamon
- 1/4 teaspoon nutmeg (optional)
- 1 1/2 cups all-purpose flour (or gluten-free flour blend)
- 2 teaspoons baking powder
- 1/2 teaspoon salt
- 3/4 cup granulated sugar
- 2 large eggs (room temperature)
- 1 teaspoon vanilla extract
- 1/2 cup whole milk (room temperature; almond or oat milk for dairy-free)
- 1/4 cup vegetable oil
Instructions
- Preheat oven to 350°F (175°C). Grease a 9-inch round cake pan with butter or non-stick spray.
- In a small saucepan over medium heat, melt 6 tablespoons butter with 3/4 cup packed brown sugar, stirring until smooth and bubbling (3-4 minutes). Pour caramel evenly into the bottom of the prepared pan.
- Toss sliced apples with 1 teaspoon cinnamon and 1/4 teaspoon nutmeg. Arrange apples in a single layer over the caramel in the pan.
- In a medium bowl, whisk together 1 1/2 cups flour, 2 teaspoons baking powder, and 1/2 teaspoon salt.
- In a large bowl, beat 3/4 cup granulated sugar with 2 eggs until fluffy and light yellow (3-4 minutes). Add 1 teaspoon vanilla extract, 1/2 cup milk, and 1/4 cup vegetable oil; mix until just combined.
- Gradually fold dry ingredients into wet mixture until just combined, avoiding overmixing.
- Pour batter evenly over the apples and smooth the top with a spatula.
- Bake for 40-45 minutes, or until a toothpick inserted in the center comes out clean and edges are golden.
- Cool cake in pan for 10-15 minutes. Run a knife around edges, then invert onto a serving plate carefully.
- Serve warm or at room temperature, optionally with vanilla ice cream or whipped cream.
Notes
Slice apples uniformly about 1/4-inch thick for even cooking. Soften butter before mixing with sugar to avoid grainy caramel. Stir caramel constantly to prevent burning. Avoid overmixing batter to keep cake tender. Let cake cool before inverting to set caramel topping. If caramel is runny after baking, it firms up as it cools.
Nutrition
- Serving Size: 1 slice (1/8 of cake
- Calories: 320
- Fat: 14
- Carbohydrates: 45
- Fiber: 2
- Protein: 3
Keywords: caramel apple cake, upside-down cake, fall dessert, autumn baking, caramel apple dessert, easy cake recipe