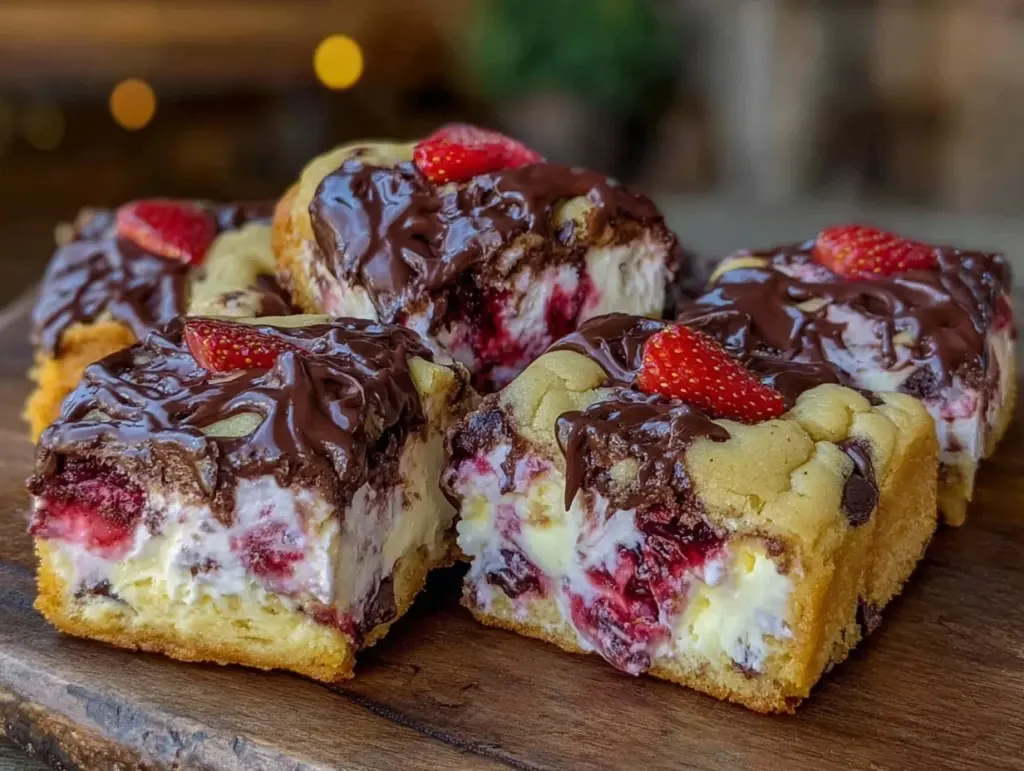
The moment you bite into these decadent chocolate-covered strawberry ice cream cookie bars, it’s like a little party in your mouth. Seriously, the rich chocolate shell cracking just enough to reveal the sweet strawberry ice cream and chewy cookie underneath is pure magic. I first whipped up this recipe on a scorching summer afternoon when I was craving something cool but also a little indulgent—something that wasn’t just your everyday ice cream sandwich. These bars became an instant favorite in my family, especially with my kids who love anything strawberry and chocolate combined.
Now, I’ve made these bars multiple times, tweaking the balance between cookie thickness and ice cream creaminess to get just the right bite. What I love about this decadent chocolate-covered strawberry ice cream cookie bars recipe is that it offers a playful twist on classic desserts, combining textures and flavors that hit all the right notes. If you’re looking for a fancy treat that’s actually simple to make at home, this recipe will totally surprise you. Plus, it’s perfect for summer get-togethers, birthday parties, or just when you need a little sweet escape. Trust me, once you try these, you’ll be making them again and again.
Why You’ll Love This Recipe
- Quick & Easy: Just 5 simple steps and you’re on your way to dessert heaven—no complicated techniques or long waits.
- Simple Ingredients: You probably have most of what you need right in your pantry and freezer already.
- Perfect for Summer Parties: These bars are crowd-pleasers at barbecues, picnics, or casual get-togethers.
- Crowd-Pleaser: Kids and adults alike absolutely love the combination of creamy strawberry ice cream and rich chocolate-coated cookie bars.
- Unbelievably Delicious: The chewy cookie base balanced with smooth ice cream and a crisp chocolate shell? It’s a texture and flavor party you don’t want to miss.
What makes this recipe stand out is the way the cookie bars hold the ice cream perfectly without getting soggy, thanks to a little trick I’ve learned after a dozen tries. Plus, coating the bars in chocolate adds that extra “wow” factor—not just in taste but in presentation too. Honestly, this isn’t just another ice cream sandwich; it’s the best version you’ll ever make at home, combining comfort with a dash of elegance. And, if you’re like me, who loves a dessert that looks as good as it tastes, you’ll be proud to serve these up!
What Ingredients You Will Need
This recipe uses simple, wholesome ingredients to bring together bold flavors and satisfying textures without any fuss. Most of these are pantry staples, and a few fresh or frozen items make it special.
- For the Cookie Base:
- All-purpose flour (1 ½ cups / 190g) – Provides structure and chewiness
- Baking soda (½ teaspoon) – Helps the cookie rise just right
- Salt (¼ teaspoon) – Balances sweetness
- Unsalted butter (½ cup / 113g), softened – Adds richness and tenderness (I use Land O’Lakes for best results)
- Granulated sugar (⅓ cup / 67g) – Sweetens without overpowering
- Brown sugar (⅓ cup / 67g), packed – Adds moisture and depth
- Vanilla extract (1 teaspoon) – Enhances flavor
- Large egg (1), room temperature – Binds ingredients together
- For the Ice Cream Layer:
- Strawberry ice cream (about 2 cups / 475ml) – Choose a creamy one, like Häagen-Dazs or your favorite local brand
- Fresh strawberries (optional, sliced) – For added fruitiness and texture
- For the Chocolate Coating:
- Good quality semi-sweet chocolate chips or chunks (1 ½ cups / 270g) – I swear by Ghirardelli for smooth melting
- Coconut oil (1 tablespoon) – Helps chocolate harden with a nice shine and snap (can substitute with vegetable oil if needed)
Pro tip: If you want a gluten-free version, swap the all-purpose flour for a 1:1 gluten-free baking flour blend. Also, dairy-free fans can substitute the ice cream with coconut milk-based strawberry ice cream and use vegan butter for the cookie base.
Equipment Needed
- 9×9-inch (23×23 cm) baking pan – A square pan works best for even bars
- Parchment paper – For easy removal and cleanup
- Mixing bowls – At least two, one for cookie dough and one for melting chocolate
- Electric mixer or sturdy spoon – To cream the butter and sugars efficiently
- Rubber spatula – For folding ingredients gently
- Plastic wrap or foil – To cover the bars while freezing
- Double boiler or microwave-safe bowl – For melting chocolate (I’ve used both with success; the microwave just needs careful attention to avoid burning)
If you don’t have a 9×9 pan, an 8×8 can work too, but the bars will be thicker and may need a little extra freezing time. I usually line the pan with parchment and leave a little overhang—makes lifting out the bars a breeze! For melting chocolate, a double boiler feels fancy but honestly, a microwave with 20-second bursts works just fine.
Detailed Preparation Method
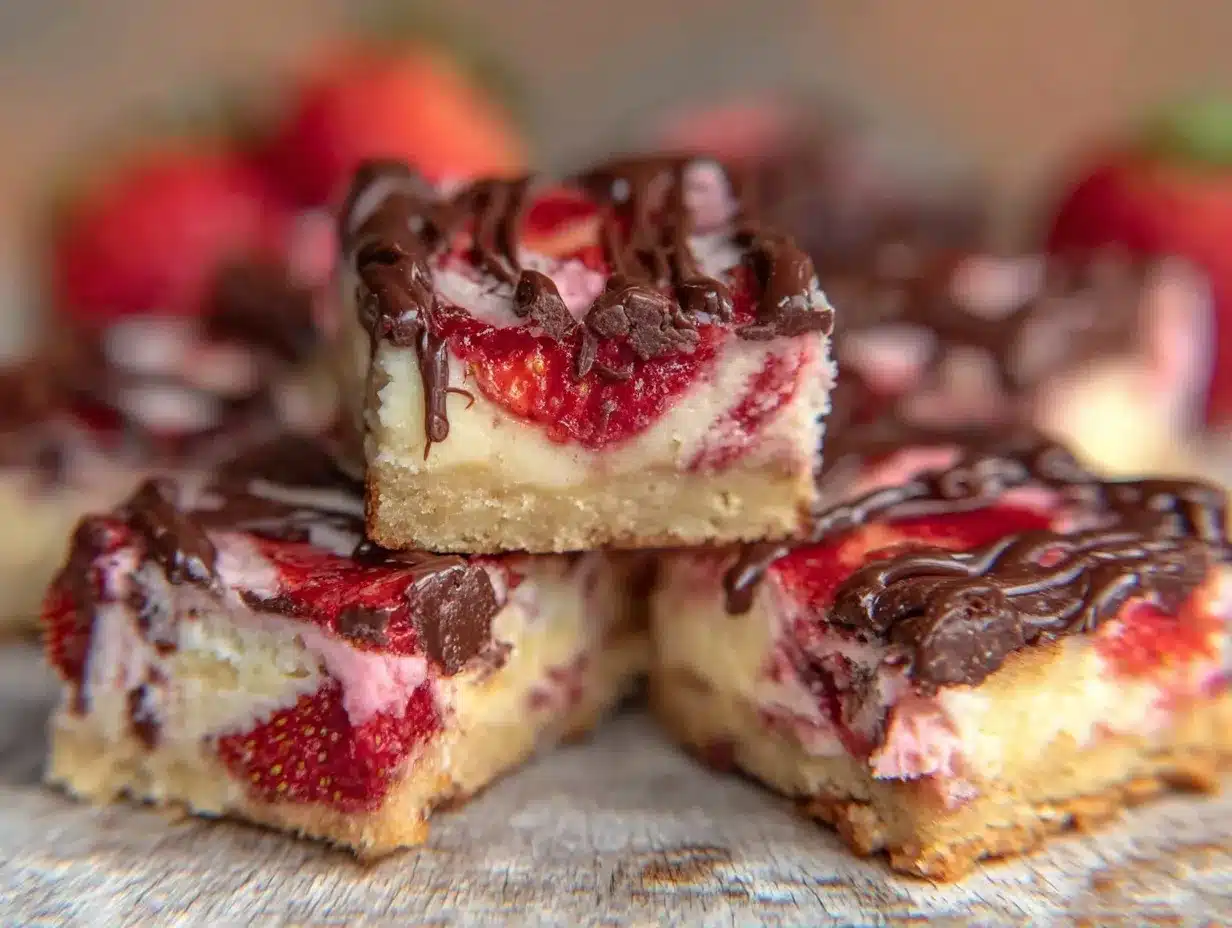
- Prepare the Cookie Base (10 minutes prep + 15 minutes baking)
Preheat your oven to 350°F (175°C). Line your 9×9-inch pan with parchment paper, leaving some overhang for easy removal later. In a medium bowl, whisk together 1 ½ cups (190g) of all-purpose flour, ½ teaspoon baking soda, and ¼ teaspoon salt. Set aside.
In a large bowl, cream ½ cup (113g) softened unsalted butter with ⅓ cup (67g) granulated sugar and ⅓ cup (67g) packed brown sugar until light and fluffy—about 3 minutes with an electric mixer. Add 1 teaspoon vanilla extract and 1 large egg, beating until combined.
Gradually add the dry ingredients to the wet, mixing until just combined. Don’t overmix—otherwise your bars might get tough. Spread this cookie dough evenly into your prepared pan, pressing gently to form a smooth surface.
Bake for 15 minutes or until the edges are golden but the center still looks slightly soft. Let it cool completely in the pan (this is key so the ice cream layer doesn’t melt or get soggy).
Tip: If the cookie base puffs up too much, gently press it down with a spatula as soon as it comes out of the oven. - Add the Strawberry Ice Cream Layer (10 minutes prep + 1-2 hours freezing)
Soften about 2 cups (475ml) of strawberry ice cream at room temperature for 5-10 minutes until spreadable but not melted. Spread it evenly over the cooled cookie base. If you like, scatter thin slices of fresh strawberries on top for extra bursts of fruity flavor.
Cover the pan with plastic wrap and place it in the freezer for at least 1 hour, or until the ice cream layer is firm and set.
Note: Patience is your friend here! Trying to coat the bars before the ice cream is firm enough can get messy. - Prepare the Chocolate Coating (5-10 minutes)
In a microwave-safe bowl, combine 1 ½ cups (270g) semi-sweet chocolate chips and 1 tablespoon coconut oil. Microwave in 20-second intervals, stirring well between each, until smooth and glossy. Alternatively, melt the chocolate and oil in a double boiler, stirring constantly.
Let the chocolate cool for a minute or two, but don’t let it harden. - Coat the Bars with Chocolate (10 minutes + freezing)
Remove the pan from the freezer. Using the parchment paper overhang, lift the entire dessert out and place it on a wire rack with a baking tray underneath to catch drips. Pour the melted chocolate evenly over the top, spreading gently with a spatula if needed to cover the surface fully.
Return the bars to the freezer for another 30 minutes or until the chocolate shell has hardened completely.
Hot tip: If you want a thicker chocolate layer, repeat the coating step once the first layer is set. - Slice and Serve (5 minutes)
Once the chocolate is firm, transfer the bars to a cutting board. Use a sharp knife warmed under hot water and dried to slice into 12 bars. The warm knife helps cut through the chocolate without cracking.
Serve immediately or keep them stored in an airtight container in the freezer.
Note: Let bars sit for a couple of minutes at room temp before eating to soften slightly for the best texture.
Cooking Tips & Techniques
One trick I’ve learned is to always make sure the cookie base is completely cooled before adding the ice cream. Otherwise, you’ll end up with a soggy mess instead of those nice layers. Also, softening the ice cream just enough to spread smoothly, but not so much that it melts, is a balancing act—you want it pliable but still solid.
Melting chocolate can be intimidating, but using coconut oil helps create a smooth, shiny finish and makes the chocolate easier to work with. I usually stir continuously and heat in short bursts to avoid burning.
When slicing the bars, warming the knife under hot water is a game-changer. It glides through the chocolate without cracking or shattering the edges. Finally, don’t rush the freezing steps! Letting each layer set properly ensures clean layers and a perfect bite every time.
Variations & Adaptations
- Flavor Twist: Swap strawberry ice cream for raspberry or cherry for a tangy variation that pairs wonderfully with chocolate.
- Dietary Adaptation: Use a gluten-free cookie base mix and dairy-free ice cream to make these bars allergy-friendly without losing flavor.
- Extra Crunch: Add chopped nuts (like pistachios or almonds) to the cookie dough or sprinkle on top of the chocolate before it hardens for added texture.
- Cooking Method: Instead of baking the cookie base in a pan, try making individual cookie cups and filling them with ice cream, then dipping them in chocolate for handheld treats.
- Personal Favorite: Once, I swirled in a little balsamic glaze over the strawberry ice cream before freezing—it was unexpected but so delicious!
Serving & Storage Suggestions
Serve these decadent chocolate-covered strawberry ice cream cookie bars chilled right from the freezer or let them soften for 3-5 minutes at room temperature for a creamier bite. They’re perfect on their own or paired with a fresh strawberry garnish or a drizzle of warm chocolate sauce for added flair.
Store leftovers in an airtight container in the freezer for up to 2 weeks. If you want to prep ahead, they freeze beautifully and keep their texture well. To reheat slightly, just leave them on the counter for a few minutes or microwave briefly (10-15 seconds) to soften the chocolate without melting the ice cream.
Over time, the flavors meld even more, so these bars taste just as amazing the next day—or even better if you ask me! Just remember to keep them covered tightly to avoid freezer burn or absorbing other odors.
Nutritional Information & Benefits
Each bar provides a satisfying combination of carbs from the cookie, healthy fats from the chocolate and butter, and a nice dose of calcium and antioxidants from the strawberry ice cream and fresh fruit. While these bars are definitely a treat, using quality ingredients like real butter and good chocolate means you’re getting more flavor and less processed junk.
For those watching gluten intake, using a gluten-free flour blend makes these bars accessible without sacrificing taste. Plus, strawberries add a pop of vitamin C and antioxidants, giving a slight health boost to this indulgent dessert. Just a heads up—these bars do contain dairy and eggs, so they’re not vegan or dairy-free unless you substitute carefully.
Conclusion
Honestly, these decadent chocolate-covered strawberry ice cream cookie bars are one of my go-to recipes when I want something impressive but fuss-free. They bring together the best of summer flavors and textures in a handheld treat that’s perfect for any occasion. Feel free to tweak the ice cream flavors or add your favorite mix-ins to make it your own.
I love how this recipe brings smiles every time I serve it—there’s just something about that perfect combo of crisp chocolate, creamy strawberry ice cream, and chewy cookie base that hits all the right spots. Give it a try, and don’t be shy about sharing your own twists in the comments—I’d love to hear what you come up with!
Go ahead, whip up a batch and treat yourself to a little decadence today.
FAQs
Can I make these bars ahead of time?
Absolutely! These bars freeze well and can be made a few days in advance. Just keep them in an airtight container in the freezer until ready to serve.
What’s the best way to store leftover bars?
Store any leftovers in a sealed container in the freezer. They’ll stay fresh for up to two weeks with minimal loss of flavor or texture.
Can I substitute the strawberry ice cream with another flavor?
Yes! Vanilla, raspberry, or even chocolate ice cream would work nicely. Just pick a flavor that complements chocolate well.
How do I prevent the cookie base from getting soggy?
Cooling the cookie base completely before adding the ice cream and freezing promptly helps keep it firm and prevents sogginess.
Can I use dark chocolate instead of semi-sweet?
Definitely! Dark chocolate will add a richer, slightly bitter contrast to the sweet strawberry and cookie layers. Just choose a good quality bar or chips for best results.
Pin This Recipe!
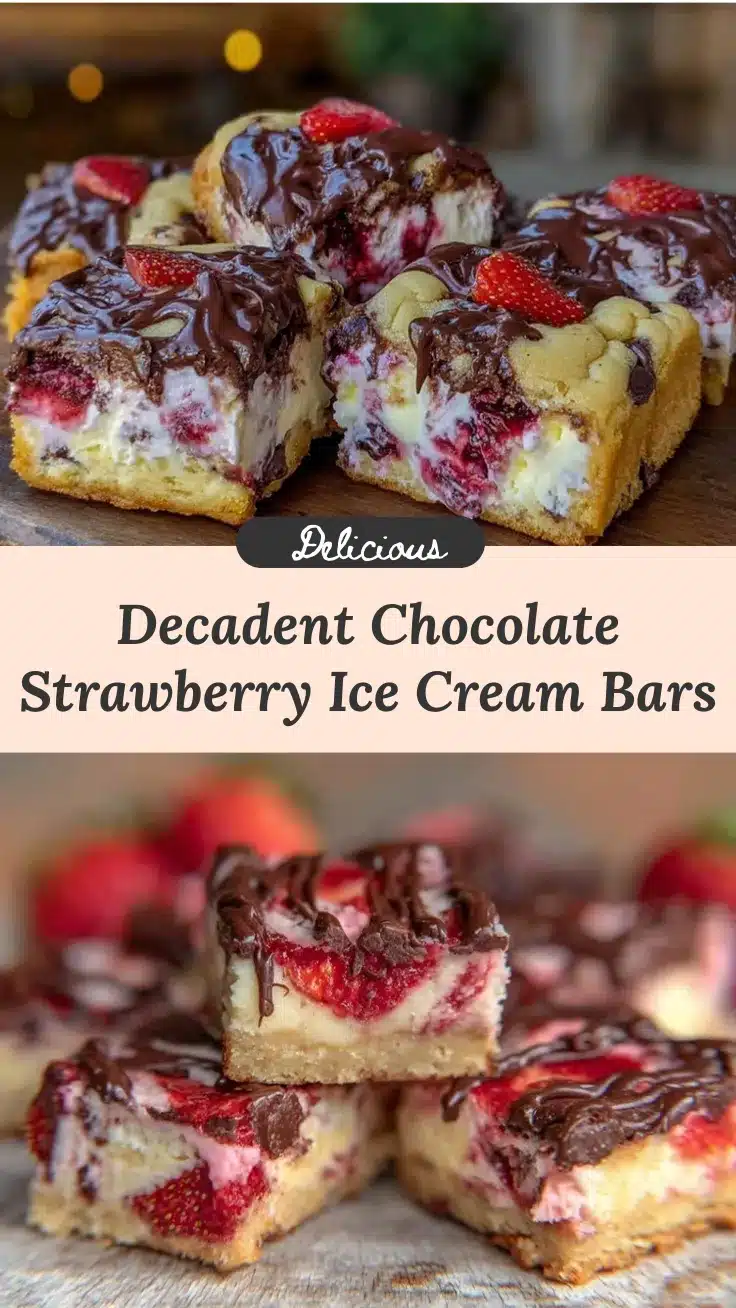
Decadent Chocolate-Covered Strawberry Ice Cream Cookie Bars

These decadent chocolate-covered strawberry ice cream cookie bars combine a chewy cookie base, creamy strawberry ice cream, and a crisp chocolate shell for a perfect summer treat that’s easy to make and loved by all ages.
- Prep Time: 25 minutes
- Cook Time: 15 minutes
- Total Time: 2 hours 15 minutes
- Yield: 12 bars 1x
- Category: Dessert
- Cuisine: American
Ingredients
- 1 ½ cups (190g) all-purpose flour
- ½ teaspoon baking soda
- ¼ teaspoon salt
- ½ cup (113g) unsalted butter, softened
- ⅓ cup (67g) granulated sugar
- ⅓ cup (67g) packed brown sugar
- 1 teaspoon vanilla extract
- 1 large egg, room temperature
- About 2 cups (475ml) strawberry ice cream
- Fresh strawberries, sliced (optional)
- 1 ½ cups (270g) semi-sweet chocolate chips or chunks
- 1 tablespoon coconut oil
Instructions
- Preheat oven to 350°F (175°C). Line a 9×9-inch baking pan with parchment paper, leaving an overhang for easy removal.
- In a medium bowl, whisk together flour, baking soda, and salt. Set aside.
- In a large bowl, cream softened butter with granulated sugar and brown sugar until light and fluffy, about 3 minutes. Add vanilla extract and egg, beating until combined.
- Gradually add dry ingredients to wet ingredients, mixing until just combined. Spread dough evenly in prepared pan and bake for 15 minutes or until edges are golden and center is slightly soft. Let cool completely in pan.
- Soften strawberry ice cream at room temperature for 5-10 minutes until spreadable. Spread evenly over cooled cookie base. Optionally, scatter sliced fresh strawberries on top. Cover and freeze for at least 1 hour until firm.
- Melt chocolate chips and coconut oil in microwave-safe bowl in 20-second intervals, stirring until smooth and glossy. Let cool slightly but do not harden.
- Remove frozen bars from pan using parchment overhang and place on wire rack with tray underneath. Pour melted chocolate evenly over bars, spreading gently if needed. Return to freezer for 30 minutes or until chocolate is firm. For thicker coating, repeat chocolate layer once set.
- Use a sharp knife warmed under hot water and dried to slice bars into 12 pieces. Serve immediately or store in airtight container in freezer.
Notes
Ensure the cookie base is completely cooled before adding ice cream to prevent sogginess. Soften ice cream just enough to spread but not melt. Use coconut oil in chocolate for a shiny, firm coating. Warm knife under hot water before slicing to avoid cracking chocolate. Freeze each layer properly for best texture.
Nutrition
- Serving Size: 1 bar
- Calories: 320
- Sugar: 22
- Sodium: 150
- Fat: 18
- Saturated Fat: 10
- Carbohydrates: 35
- Fiber: 2
- Protein: 4
Keywords: chocolate, strawberry, ice cream, cookie bars, summer dessert, easy recipe, chocolate-covered, frozen treat