Introduction
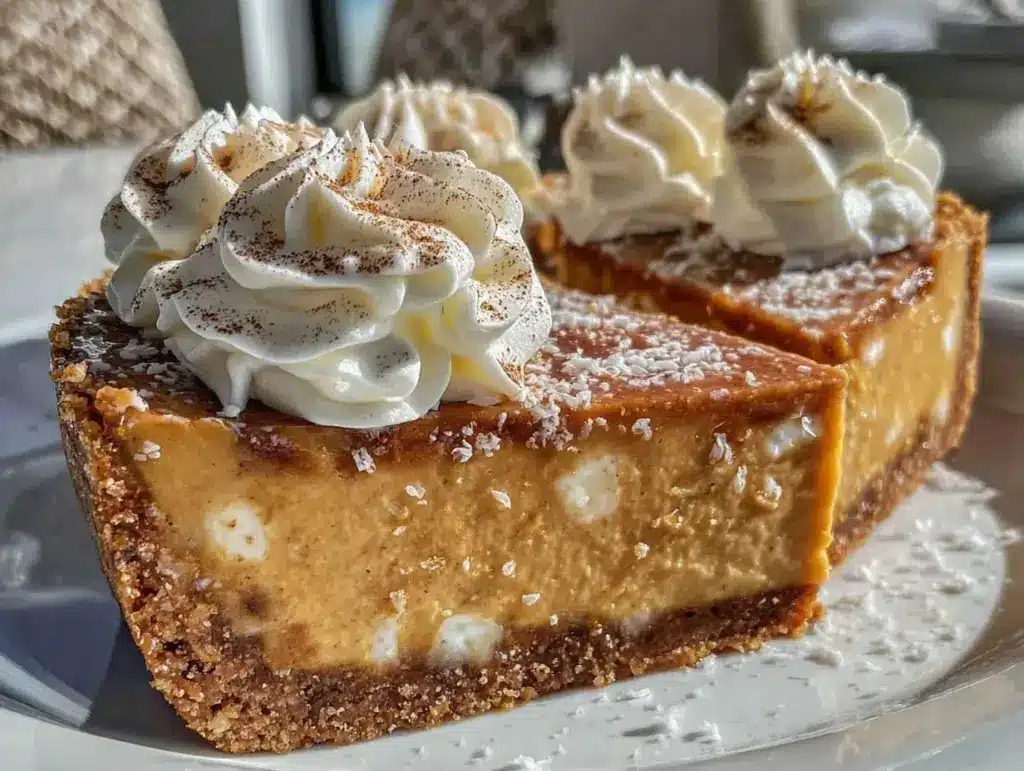
The creamy sweetness of marshmallows combined with the rich, spiced flavors of pumpkin—doesn’t that sound heavenly? This No Bake Marshmallow Pumpkin Pie recipe is pure autumn magic, packed with cozy fall vibes and perfect for when you want dessert without turning on your oven. I remember the first time I made this pie—it was a crisp October evening, and I needed a last-minute dessert for a dinner party. It turned out to be such a hit that I’ve made it every year since! It’s light, fluffy, and has just the right amount of pumpkin spice to make you feel all warm and fuzzy inside.
Whether you’re looking for a quick Thanksgiving dessert or just something to satisfy your pumpkin craving, this recipe is a total game-changer. Plus, there’s no need for complicated techniques or special equipment. Just simple ingredients, a little mixing, and some chill time. Trust me, this no-bake pumpkin pie will leave everyone asking for seconds.
Why You’ll Love This Recipe
- Quick & Easy: No oven required, and it comes together in less than 30 minutes.
- Minimal Ingredients: Uses pantry staples and a few grocery store basics.
- Perfect for Fall Gatherings: An ideal dessert for Thanksgiving, Friendsgiving, or cozy autumn dinners.
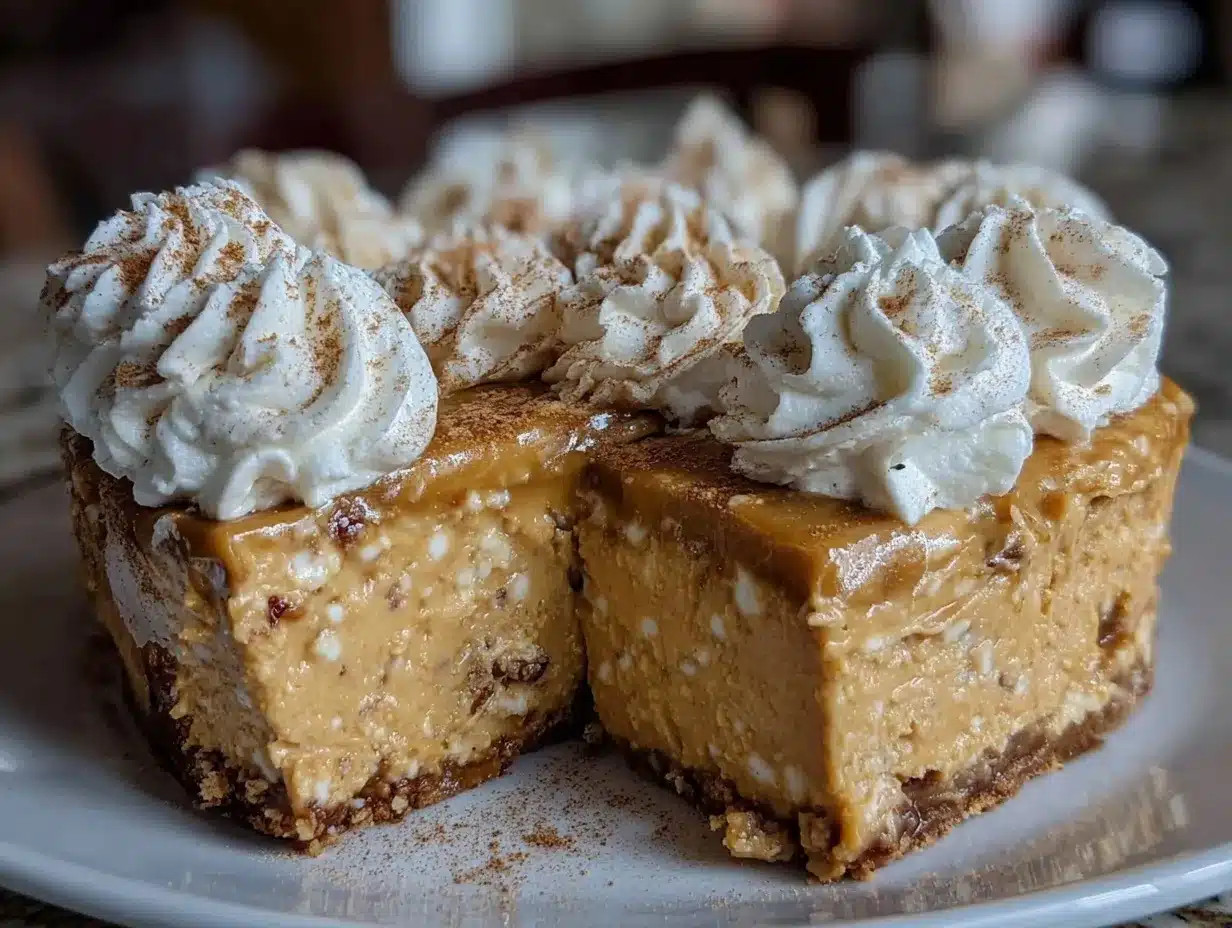
- Light & Fluffy Texture: The marshmallow and whipped topping create an airy, melt-in-your-mouth pie.
- Customizable: Easy to adapt for different tastes or dietary needs.
- Kid-Friendly: The sweet marshmallow-pumpkin combo is a hit with little ones.
What sets this recipe apart is the marshmallow base—it adds a unique sweetness and stability that other pumpkin pie recipes just don’t have. Plus, the no-bake aspect makes it foolproof! You’ll love how simple yet satisfying this dessert is, and it’s pretty enough to impress your guests.
What Ingredients You Will Need
This No Bake Marshmallow Pumpkin Pie uses simple ingredients that work together to create a creamy, spiced masterpiece. Here’s what you’ll need:
- Store-bought graham cracker crust: The perfect base for this pie, and no baking required!
- Mini marshmallows: Melted into the pumpkin mixture for sweetness and a fluffy texture.
- Pumpkin puree: Not pumpkin pie filling—just pure pumpkin for that authentic flavor.
- Pumpkin spice: A blend of cinnamon, nutmeg, ginger, and cloves to bring out the best fall flavors.
- Whipped topping: Like Cool Whip, folded into the mixture for a light and airy finish.
- Butter: A small amount to help melt the marshmallows and bind the filling.
- Vanilla extract: Enhances the overall flavor and complements the pumpkin spice.
- Optional toppings: Whipped cream, crushed graham crackers, or a sprinkle of cinnamon for garnish.
If you’d like, you can swap the graham cracker crust for a cookie crust (like gingersnap or Oreo), or use homemade whipped cream instead of store-bought topping for an extra-special touch.
Equipment Needed
- Medium saucepan: For melting the marshmallows and butter.
- Mixing bowls: You’ll need a couple of bowls to combine and fold ingredients.
- Rubber spatula: Perfect for folding the whipped topping into the pumpkin mixture.
- Whisk: To ensure a smooth and lump-free filling.
- Pie dish: If you’re using a homemade crust, you’ll need a pie dish.
Don’t have a whisk? A fork works in a pinch! And if you don’t have a pie dish, disposable pie tins are a budget-friendly option.
Preparation Method
- Melt the marshmallows: In a medium saucepan over low heat, combine the mini marshmallows and butter. Stir continuously until the marshmallows are completely melted and smooth. Remove from heat.
- Add pumpkin and spices: Stir the pumpkin puree and pumpkin spice into the melted marshmallow mixture. Mix until fully combined and smooth.
- Cool the filling: Let the pumpkin-marshmallow mixture cool to room temperature. This is important so the whipped topping doesn’t melt when added.
- Fold in whipped topping: Once cooled, gently fold the whipped topping into the pumpkin mixture using a rubber spatula. Be careful not to overmix—you want to keep the filling light and airy.
- Assemble the pie: Pour the filling into the graham cracker crust, smoothing the top with your spatula.
- Chill: Refrigerate the pie for at least 4 hours, or until set. Overnight chilling is even better for a firmer texture.
- Garnish & serve: Before serving, add whipped cream, crushed graham crackers, or a sprinkle of cinnamon on top. Slice, serve, and enjoy!
If your filling seems too liquidy, let it chill longer—it thickens beautifully over time. And don’t skip the garnish—it adds that extra touch of presentation and flavor.
Cooking Tips & Techniques
- Don’t rush the cooling process: If the filling is still warm when you fold in the whipped topping, it can deflate and lose its fluffiness.
- Use fresh pumpkin spice: Make sure your spice blend is fresh for the best flavor. Old spices can taste dull.
- Chill for longer: While 4 hours is the minimum chill time, overnight refrigeration gives the pie a firmer, more sliceable consistency.
- Prevent crust crumbling: If your graham cracker crust feels too crumbly, you can brush it lightly with melted butter to hold it together.
- Customize the sweetness: If you prefer a less sweet pie, reduce the amount of marshmallows slightly.
Pro tip: If your marshmallows stick to the pan while melting, add a teaspoon of milk to loosen the mixture.
Variations & Adaptations
- Gluten-Free: Use a gluten-free graham cracker crust and double-check that your marshmallows and whipped topping are gluten-free.
- Dairy-Free: Replace the butter with coconut oil and use a dairy-free whipped topping like coconut whipped cream.
- Spiced Cookie Crust: Swap the graham cracker crust for a gingersnap cookie crust for an extra burst of autumn flavor.
- Extra Pumpkin Spice: Add an extra 1/2 teaspoon of pumpkin spice for a bolder flavor, or sprinkle it directly onto the whipped topping before serving.
- Chocolate Twist: Drizzle melted chocolate over the pie or mix cocoa powder into the filling for a pumpkin-chocolate variation.
One of my favorite experiments was adding crushed pecans to the top for a nutty crunch—it was a hit!
Serving & Storage Suggestions
This pie is best served chilled straight from the fridge. Slice it into wedges and top with a dollop of fresh whipped cream or a sprinkle of cinnamon. Pair it with a warm cup of coffee, spiced cider, or a glass of milk for the ultimate cozy treat. It’s also great with a scoop of vanilla ice cream!
To store, cover the pie tightly with plastic wrap and keep it in the refrigerator for up to 4 days. For longer storage, wrap individual slices in plastic wrap and freeze for up to 2 months. Thaw overnight in the fridge before serving.
Reheat isn’t necessary for this dish, but if you prefer it warmer, you can leave it out at room temperature for 10-15 minutes before serving. The spices will bloom over time, so the flavor is even better the next day!
Nutritional Information & Benefits
While this isn’t exactly a low-calorie dessert, it does have some redeeming qualities! Pumpkin is packed with vitamins A and C, as well as fiber, which makes this pie a slightly healthier indulgence compared to traditional options. Each slice is approximately 280 calories, with 10g fat, 40g carbohydrates, and 3g protein.
For those watching their sugar intake, you can use sugar-free whipped topping and marshmallows to cut back on sweetness. Just keep in mind the crust and pumpkin puree will still have natural sugars!
Allergens to note: This recipe contains dairy and gluten (unless adaptations are made). Make sure to double-check ingredient labels if you’re accommodating dietary restrictions.
Conclusion
This No Bake Marshmallow Pumpkin Pie recipe is the ultimate fall dessert for anyone who loves pumpkin but hates the fuss of baking. It’s creamy, dreamy, and just the right amount of sweet. I love how easy it is to whip up, especially when I’m short on time but still want to bring something special to the table. Plus, the flavor is so nostalgic—it’s like autumn in every bite.
Give this recipe a try and let me know how you customize it! Whether you stick to the classic version or make it your own, I promise it’ll be a crowd-pleaser. Don’t forget to share your creations and tag me in your photos—I’d love to see your marshmallow pumpkin pie masterpieces. Happy no-baking!
FAQs
Can I use homemade pumpkin puree?
Absolutely! Just make sure it’s well-drained and not too watery to avoid watering down the filling.
How long does this pie need to chill?
It needs at least 4 hours to set, but chilling it overnight will give it the best texture.
Can I make this pie ahead of time?
Yes! This pie is perfect for making the day before. Just store it in the fridge until you’re ready to serve.
What’s the best way to melt the marshmallows?
The easiest method is to melt them on low heat with butter in a saucepan, stirring constantly until smooth.
What’s the best topping for this pie?
Whipped cream and a sprinkle of cinnamon are classic, but you can also add crushed graham crackers, chopped nuts, or even chocolate shavings!
Pin This Recipe!
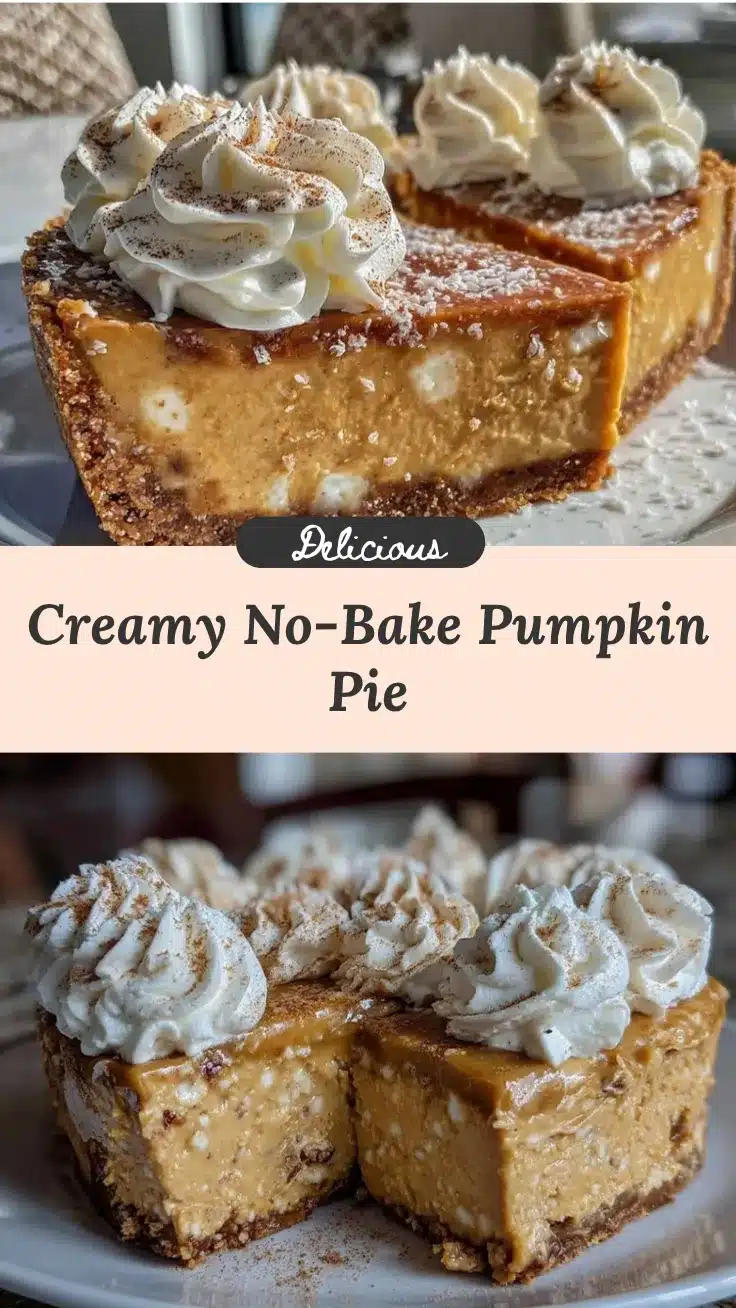
No Bake Marshmallow Pumpkin Pie Recipe Easy & Irresistible

A creamy, no-bake pumpkin pie with a marshmallow base that’s light, fluffy, and packed with cozy fall flavors. Perfect for autumn gatherings or a quick dessert.
- Prep Time: 15 minutes
- Cook Time: 15 minutes
- Total Time: 4 hours 30 minutes
- Yield: 8 servings 1x
- Category: Dessert
- Cuisine: American
Ingredients
- 1 store-bought graham cracker crust
- 3 cups mini marshmallows
- 1 cup pumpkin puree
- 1 teaspoon pumpkin spice
- 1 cup whipped topping (like Cool Whip)
- 2 tablespoons butter
- 1 teaspoon vanilla extract
- Optional toppings: whipped cream, crushed graham crackers, or a sprinkle of cinnamon
Instructions
- Melt the marshmallows: In a medium saucepan over low heat, combine the mini marshmallows and butter. Stir continuously until the marshmallows are completely melted and smooth. Remove from heat.
- Add pumpkin and spices: Stir the pumpkin puree and pumpkin spice into the melted marshmallow mixture. Mix until fully combined and smooth.
- Cool the filling: Let the pumpkin-marshmallow mixture cool to room temperature. This is important so the whipped topping doesn’t melt when added.
- Fold in whipped topping: Once cooled, gently fold the whipped topping into the pumpkin mixture using a rubber spatula. Be careful not to overmix—you want to keep the filling light and airy.
- Assemble the pie: Pour the filling into the graham cracker crust, smoothing the top with your spatula.
- Chill: Refrigerate the pie for at least 4 hours, or until set. Overnight chilling is even better for a firmer texture.
- Garnish & serve: Before serving, add whipped cream, crushed graham crackers, or a sprinkle of cinnamon on top. Slice, serve, and enjoy!
Notes
[‘Don’t rush the cooling process to maintain the fluffiness of the filling.’, ‘Use fresh pumpkin spice for the best flavor.’, ‘Chill the pie overnight for a firmer texture.’, ‘Brush the graham cracker crust lightly with melted butter if it feels too crumbly.’, ‘Customize sweetness by reducing the amount of marshmallows if desired.’]
Nutrition
- Serving Size: 1 slice
- Calories: 280
- Sugar: 25
- Sodium: 150
- Fat: 10
- Saturated Fat: 5
- Carbohydrates: 40
- Fiber: 2
- Protein: 3
Keywords: No Bake, Pumpkin Pie, Marshmallow, Fall Dessert, Thanksgiving Dessert, Easy Recipe



