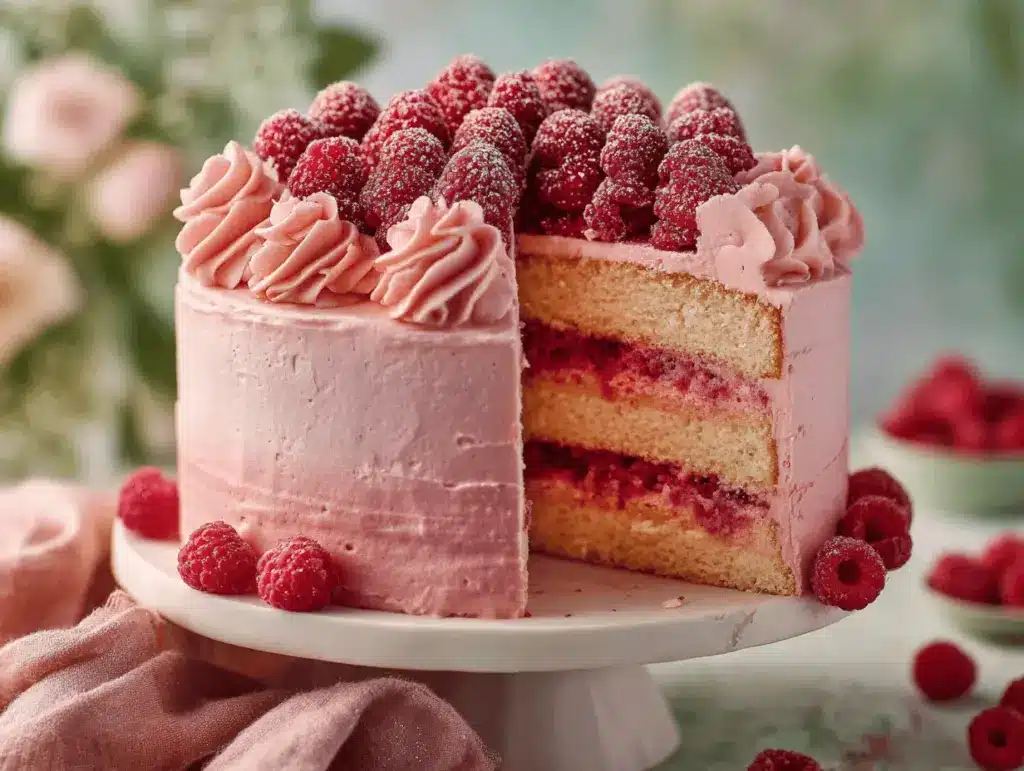
The moment you slice into a towering birthday cake and see those perfect, colorful layers, it just feels like a celebration. There’s something downright magical about a homemade birthday cake—especially one that’s as easy and impressive as this. The first time I baked this birthday cake, it was for my niece’s eighth birthday. She squealed when she saw the sprinkles tumbling out of the first slice (yep, we went full confetti inside and out). Honestly, birthdays are about little joys like this: the smell of vanilla wafting through the kitchen, the anticipation as you frost each layer, and the smiles when the candles are lit.
This easy layered birthday cake recipe is my go-to for special occasions. Over the years, I’ve tinkered with everything from the crumb coat to the buttercream swirl. That’s probably why it’s become a family legend—there’s a bit of tradition and a lot of creativity in every bite. And let’s face it, we all want a cake that’s not just pretty but genuinely delicious. This one checks all the boxes: moist, flavorful, and ready to be customized with your favorite colors or fillings.
What I love most about this birthday cake recipe is how approachable it is for bakers of any level. You don’t need fancy tools or hours of prep. Whether you’re surprising a friend, hosting a kid’s party, or just craving something festive, this cake will make the day feel extra special. Plus, the layered look? It’s seriously Pinterest-worthy. If you’re searching for a birthday cake recipe that’s easy, beautiful, and fun, you’ve just found your new celebration classic. Let’s whip up some creative dessert magic—one irresistible layer at a time!
Why You’ll Love This Birthday Cake Recipe
- Quick & Easy: The batter comes together in under 20 minutes, and the whole cake is ready in about 90 minutes, making it perfect for busy schedules or last-minute parties.
- Simple Ingredients: No need for hard-to-find specialty flours or exotic extracts. You probably have everything right in your pantry.
- Perfect for Any Occasion: Birthdays, baby showers, family gatherings, or “just because”—this cake fits every celebration.
- Crowd-Pleaser: Kids love the colorful layers, and adults appreciate the not-too-sweet, classic vanilla flavor. It’s a favorite from toddlers to grandparents.
- Unbelievably Delicious: Moist, tender crumb with just the right amount of buttery richness and a creamy, dreamy buttercream frosting. It’s nostalgia and comfort in every bite.
What sets this birthday cake recipe apart? Well, after baking dozens of celebration cakes (and more than a few Pinterest fails), I’ve landed on a couple of game-changers. First, the secret is whipping plenty of air into the batter, so you get those tall, fluffy layers. I also use a touch of sour cream for unbeatable moistness—trust me, it makes a difference. And if you’re worried about that classic “homemade” look, don’t be! With a simple crumb coat and easy swirl technique, your cake will look straight out of a bakery.
This isn’t just another birthday cake—it’s the one that makes people ask for seconds (and for the recipe). It’s creative but not complicated, classy but full of fun. Whether you’re going for a rainbow look, pastel layers, or a sophisticated naked cake, you can make this recipe your own. That’s the real magic here: a dessert that’s as joyful to make as it is to eat. So if you’re searching for the ultimate birthday cake recipe, this is the one you’ll want on your celebration table—again and again.
What Ingredients You Will Need
This recipe uses simple, reliable ingredients to create an irresistible birthday cake that steals the show. Most are pantry staples, and a few can be swapped for your favorites or what you have on hand.
- For the Cake Batter:
- 2 1/2 cups (310g) all-purpose flour (I love King Arthur for consistent results)
- 2 1/2 tsp baking powder (gives that beautiful rise)
- 1/2 tsp baking soda
- 1/2 tsp fine salt
- 1 cup (225g) unsalted butter, softened (room temperature for creaming—essential for fluffiness)
- 1 3/4 cups (350g) granulated sugar
- 4 large eggs, room temperature
- 1 tbsp pure vanilla extract (I’m obsessed with Nielsen-Massey for the aroma alone)
- 1 cup (240ml) whole milk, room temperature
- 1/3 cup (80g) sour cream (adds moistness, trust me!)
- Food coloring (gel works best for vibrant layers, optional)
- 1/2 cup rainbow sprinkles (optional, for classic confetti fun)
- For the Buttercream Frosting:
- 1 1/2 cups (340g) unsalted butter, softened
- 6 cups (720g) powdered sugar, sifted
- 1/4 cup (60ml) heavy cream (for a super creamy texture)
- 2 tsp pure vanilla extract
- Pinch of salt
- Food coloring (optional, for colorful frosting layers or decorations)
- Extra sprinkles, edible glitter, or fresh berries for garnish
Ingredient Tips:
- Use room temperature eggs and dairy for a smooth, lump-free batter.
- For gluten-free, swap in a 1:1 baking blend (I like Cup4Cup or Bob’s Red Mill).
- Dairy-free? Substitute plant-based butter and use unsweetened oat or almond milk plus vegan sour cream (I’ve tried this, and it works!).
- No sour cream? Greek yogurt is a perfect stand-in.
- Want a chocolate twist? Replace 1/2 cup of flour with unsweetened cocoa powder for a marbled birthday cake.
Honestly, don’t sweat if you’re missing something—this is a forgiving recipe. The most important thing is the love (and maybe the sprinkles!).
Equipment Needed
- Three 8-inch (20cm) round cake pans (or two 9-inch (23cm) pans for thicker layers)
- Electric mixer (hand or stand mixer—either works, though a stand mixer saves your wrist)
- Mixing bowls (at least two, for batter and frosting)
- Measuring cups and spoons (accuracy makes the layers even and fluffy)
- Rubber spatula (for scraping every bit of batter—don’t waste the good stuff!)
- Offset spatula or butter knife (for easy frosting and swirls)
- Wire cooling rack (helps the layers cool evenly and quickly)
- Kitchen scale (optional, but handy for precise flour and sugar)
- Parchment paper (for lining pans—no sticking!)
- Toothpicks or cake tester (for checking doneness)
If you don’t have three matching cake pans, just bake in batches—no stress. Before I got my third pan, I used to rotate two and it worked fine. If you’re on a budget, look for lightweight aluminum pans at discount stores—they conduct heat well and don’t break the bank. And don’t forget: keeping your mixer and beaters clean means no odd flavors in your buttercream. If you’ve only got a hand whisk, you can still make this cake, though your arms might get a workout!
Preparation Method
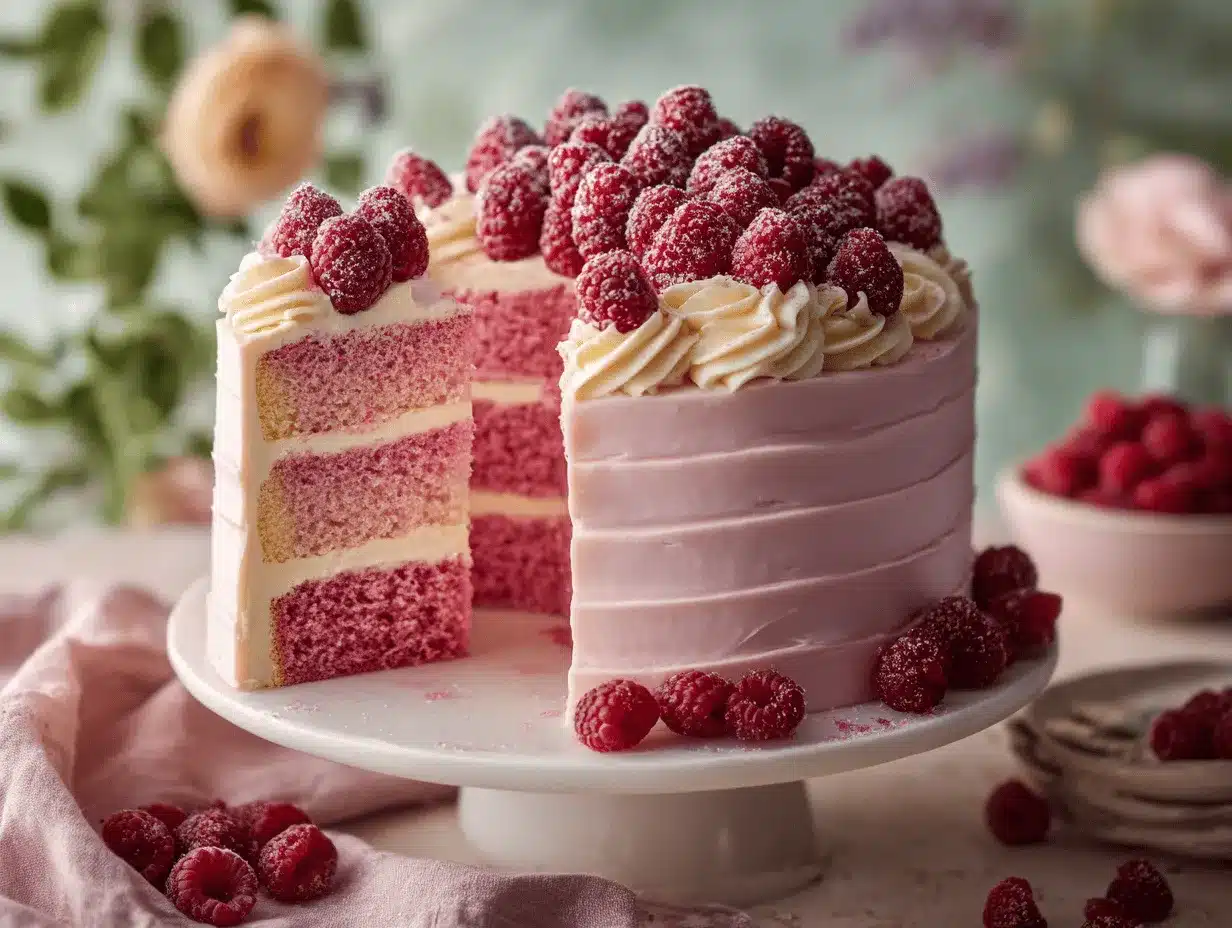
- Prep the Pans and Oven:
- Preheat oven to 350°F (175°C).
- Grease three 8-inch (20cm) cake pans with butter or nonstick spray. Line bottoms with parchment circles. Lightly dust with flour and tap out excess.
- Mix Dry Ingredients:
- In a medium bowl, whisk together 2 1/2 cups (310g) flour, 2 1/2 tsp baking powder, 1/2 tsp baking soda, and 1/2 tsp salt. Set aside.
- Cream Butter and Sugar:
- In a large bowl, beat 1 cup (225g) softened butter and 1 3/4 cups (350g) sugar with an electric mixer on medium-high until pale and fluffy (about 3-4 minutes).
- Scrape the bowl halfway through—this step affects the cake’s final texture!
- Add Eggs and Vanilla:
- Add 4 large eggs, one at a time, mixing well after each. Add 1 tbsp vanilla extract and beat until combined.
- If the mixture looks curdled, don’t worry—once you add flour, it’ll smooth out.
- Combine Wet and Dry:
- Add half the flour mixture to the butter mixture and mix on low until just blended.
- Add 1 cup (240ml) milk and 1/3 cup (80g) sour cream. Mix until combined.
- Add the remaining flour mixture and mix until batter is just smooth—don’t overmix or the cake could turn dense.
- Color the Batter (Optional):
- If making colorful layers, divide batter evenly into separate bowls (one for each color).
- Add a few drops of gel food coloring to each bowl and stir gently until evenly tinted.
- For confetti cake, gently fold in 1/2 cup sprinkles.
- Bake the Cakes:
- Spoon batter evenly into prepared pans. Smooth tops with a spatula.
- Bake on the center rack for 25-30 minutes, or until a toothpick inserted in the center comes out clean.
- Cakes should be golden at the edges and spring back when gently pressed.
- Cool Completely:
- Let cakes cool in pans for 10 minutes, then turn out onto a wire rack to cool fully—don’t rush this or your frosting will melt!
- Make the Buttercream:
- Beat 1 1/2 cups (340g) softened butter on high for 3 minutes until creamy. Gradually add 6 cups (720g) powdered sugar, 1/4 cup (60ml) heavy cream, 2 tsp vanilla, and a pinch of salt.
- Beat on low at first (to avoid a sugar cloud!), then on high for 2 minutes until fluffy.
- Add a little more cream if needed for a spreadable texture. Tint with food coloring as desired.
- Assemble the Cake:
- Level cakes if needed. Place one layer on a serving plate. Spread with a generous cup of frosting.
- Repeat with remaining layers, ending with the top layer.
- Apply a thin “crumb coat” of frosting all over the cake to seal crumbs. Chill for 30 minutes, then frost generously with remaining buttercream.
- Decorate with extra sprinkles, swirls, or edible glitter.
Preparation Tips:
- If your kitchen is warm, chill the frosting between steps to keep it smooth.
- For straight layers, use a serrated knife to trim any domes before stacking.
- If a layer cracks, just patch it with frosting—no one will ever know!
Cooking Tips & Techniques
Baking a birthday cake isn’t just about following a recipe—it’s about a little bit of kitchen magic. Over the years, I’ve picked up a few tricks that make all the difference:
- Room Temperature Is Key: Cold ingredients won’t blend as smoothly. Pull your butter, eggs, and milk out 1 hour beforehand for the fluffiest crumb.
- Don’t Overmix: Once the flour goes in, mix just until you don’t see streaks. Over-mixing activates gluten, which can make the cake dense.
- Use a Scale for Precision: If you want perfectly even layers every time, weigh your batter as you divide it between pans. It’s a little extra, but worth it.
- Chill Between Layers: For super clean layers and easy decorating, chill the stacked, crumb-coated cake for at least 30 minutes before the final frosting.
- Keep Frosting Clean: Wipe your offset spatula on a damp towel as you frost for smooth, bakery-style sides. If the buttercream drags, your cake might be too warm—pop it back in the fridge.
- Watch Your Bake Time: Not all ovens run true. Start checking at 22 minutes. A few minutes too long can dry out the cake.
I’ve definitely had my share of lopsided cakes and runny frosting—don’t let mistakes get you down! Sometimes, the “rustic” look is even more charming. My biggest lesson? There’s almost nothing a handful of sprinkles can’t fix. For multitasking, I usually make the buttercream while the cakes bake. That way, I’m not waiting around. And, if you’re baking in a hot kitchen, keep your frosting cool—it melts fast. Consistency is all about patience and not rushing the cooling steps. Honestly, the process is half the fun. Just enjoy it!
Variations & Adaptations
The beauty of this birthday cake recipe is how easy it is to adapt. Seriously, you can turn it into your signature creation with just a few tweaks. Here are some of my favorite ways to change things up:
- Gluten-Free Version: Swap the all-purpose flour for a 1:1 gluten-free baking blend. I’ve tried Bob’s Red Mill, and it keeps the cake super moist.
- Chocolate Lovers: Replace 1/2 cup (60g) of the flour with unsweetened cocoa powder for a chocolate twist. Or, layer chocolate and vanilla batters for a marble effect.
- Seasonal Flavors: For fall, add 1 tsp ground cinnamon and a pinch of nutmeg to the batter. In the summer, fold in fresh berries or layer with lemon curd between cakes.
- Dairy-Free Adaptation: Use plant-based butter, your favorite non-dairy milk, and vegan sour cream. I’ve made this swap for friends, and it’s honestly just as tasty.
- Allergen-Friendly: For nut allergies, double-check your sprinkles and extracts. You can also skip the sprinkles entirely or use allergy-safe brands.
- Color & Style: Go rainbow with six tinted layers, or keep it classy with pastel ombré. For a naked cake style, just lightly frost the outside so the layers peek through.
One of my personal go-to variations is a “confetti surprise” cake—hollow out a circle in the center of each layer and fill with sprinkles or mini candies. It’s a showstopper every time. The best part? The base recipe is sturdy enough to handle all kinds of fillings, frostings, and new flavors. Don’t be afraid to make it yours!
Serving & Storage Suggestions
This birthday cake is best served at room temperature, where the flavors and textures really shine. I love to present it on a pretty cake stand with a scattering of extra sprinkles or edible flowers. Pair it with a scoop of classic vanilla ice cream or a glass of cold milk for the ultimate party treat. For a more grown-up gathering, coffee or a sparkling dessert wine works beautifully.
To store, cover the cake tightly with plastic wrap or place in an airtight cake dome. It’ll keep on the counter for up to 2 days (unless your kitchen is super warm—then refrigerate). If you need to make it ahead, the layers can be baked and wrapped tightly, then frozen for up to 2 months. Just thaw completely before frosting.
Leftover slices? Pop them in the fridge for up to 5 days. For longer storage, wrap individual slices and freeze—they’re great for impromptu celebrations or midnight cravings. When reheating, leave a slice at room temp for 30 minutes or microwave for 10 seconds. The flavors mellow and deepen after a day, so don’t be surprised if the second-day cake is even better!
Nutritional Information & Benefits
Here’s a quick look at what you’re getting in a typical slice (1/16th of the cake): approximately 430 calories, 22g fat, 54g carbs, and 4g protein. This birthday cake recipe is all about celebration, but it’s also easy to adapt for dietary needs—just follow the gluten-free or dairy-free options above.
Some of its key ingredients bring more than just flavor. Eggs and milk add protein and essential nutrients, while using real butter and sour cream keeps the crumb moist without needing artificial additives. If you choose to add berries or swap in whole-wheat flour for a portion, you’ll sneak in a little extra fiber and antioxidants, too. It does contain eggs, milk, and wheat, so be mindful of allergies. My philosophy? Balance is everything, and a slice of joy is always good for the soul—especially on birthdays.
Conclusion
If you’re looking for a birthday cake recipe that’s easy, gorgeous, and absolutely delicious, this is the one to try. It’s the kind of cake that brings people together—whether you’re celebrating a milestone, a new year, or just an ordinary day that needs a little sparkle. You can personalize it with your favorite colors, fillings, and frostings (or keep it classic—totally up to you).
I love this cake because it never fails to make people smile. There’s just something special about building those layers and seeing how happy it makes everyone. Don’t be afraid to play with flavors or decorations—your version might just become a new family favorite. If you give this recipe a try, share your creations in the comments or tag me on social. Here’s to more birthdays, more cake, and more kitchen memories for all of us!
Frequently Asked Questions
How far ahead can I make this birthday cake?
You can bake the cake layers up to 2 days in advance and store them tightly wrapped at room temperature or freeze them for up to 2 months. Frost the cake the day you plan to serve for best freshness.
Can I use a different size cake pan?
Absolutely! Two 9-inch (23cm) pans work for thicker layers, or you can use a 9×13-inch (23x33cm) pan for a sheet cake version. Just adjust the bake time—sheet cakes usually take a bit longer.
How do I prevent my cake from sticking to the pan?
Grease pans thoroughly, line with parchment circles, and dust lightly with flour. Let cakes cool for 10 minutes before turning out. This combo always works for me!
What’s the best way to get vibrant colored layers?
Use gel food coloring for the brightest hues without thinning the batter. Add a little at a time and stir gently—too much can affect the flavor.
Can I make this recipe dairy-free or gluten-free?
Yes! Substitute with plant-based butter, non-dairy milk, and a 1:1 gluten-free flour blend. I’ve done it several times and it works beautifully—just be sure to check your baking powder and sprinkles for hidden gluten or dairy.
Pin This Recipe!
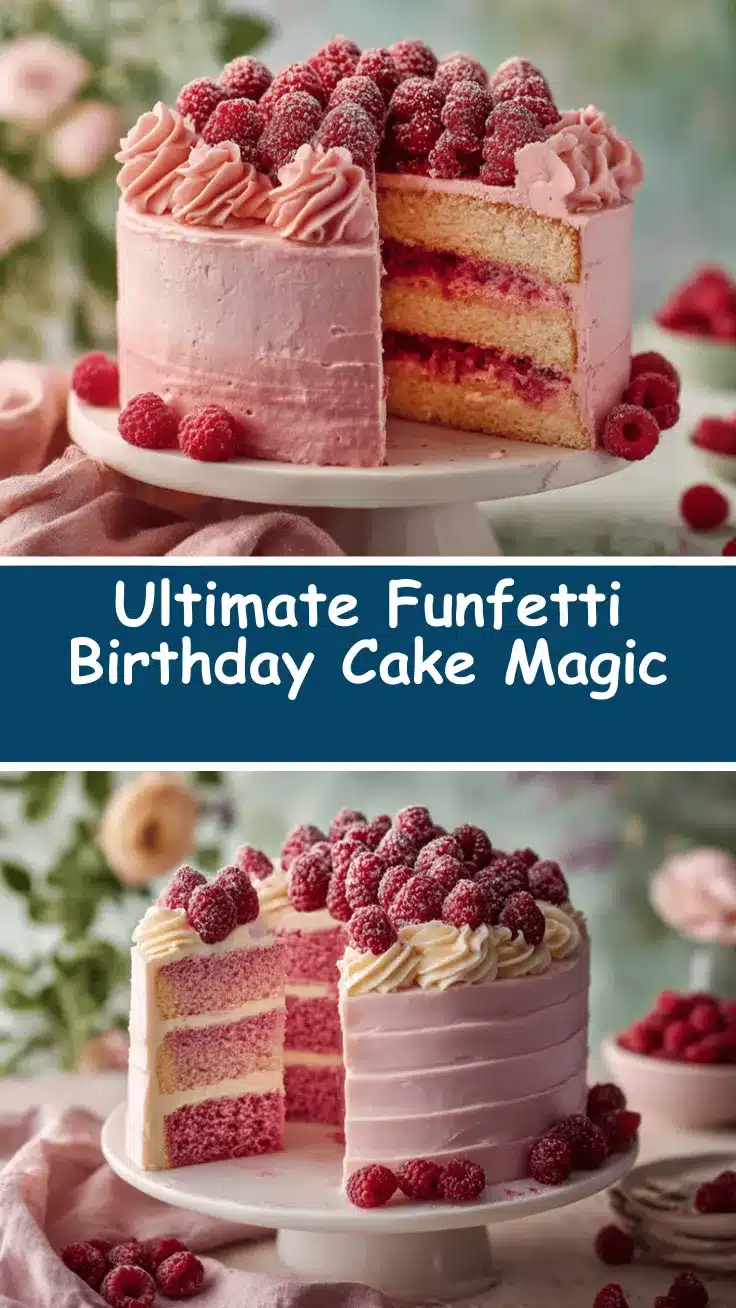
Birthday Cake Recipe Easy Layered Dessert for Special Celebrations

This easy layered birthday cake is a show-stopping, moist, and flavorful dessert perfect for any celebration. With simple ingredients and customizable colors or fillings, it’s approachable for bakers of any level and guaranteed to bring smiles to the party.
- Prep Time: 20 minutes
- Cook Time: 30 minutes
- Total Time: 1 hour 30 minutes
- Yield: 16 servings 1x
- Category: Dessert
- Cuisine: American
Ingredients
- 2 1/2 cups (310g) all-purpose flour
- 2 1/2 tsp baking powder
- 1/2 tsp baking soda
- 1/2 tsp fine salt
- 1 cup (225g) unsalted butter, softened
- 1 3/4 cups (350g) granulated sugar
- 4 large eggs, room temperature
- 1 tbsp pure vanilla extract
- 1 cup (240ml) whole milk, room temperature
- 1/3 cup (80g) sour cream
- Food coloring (gel, optional)
- 1/2 cup rainbow sprinkles (optional)
- 1 1/2 cups (340g) unsalted butter, softened (for frosting)
- 6 cups (720g) powdered sugar, sifted (for frosting)
- 1/4 cup (60ml) heavy cream (for frosting)
- 2 tsp pure vanilla extract (for frosting)
- Pinch of salt (for frosting)
- Food coloring (optional, for frosting)
- Extra sprinkles, edible glitter, or fresh berries for garnish
Instructions
- Preheat oven to 350°F (175°C). Grease three 8-inch cake pans, line with parchment, and dust with flour.
- In a medium bowl, whisk together flour, baking powder, baking soda, and salt. Set aside.
- In a large bowl, beat softened butter and sugar with an electric mixer on medium-high until pale and fluffy (about 3-4 minutes), scraping the bowl halfway.
- Add eggs one at a time, mixing well after each. Add vanilla extract and beat until combined.
- Add half the flour mixture to the butter mixture and mix on low until just blended. Add milk and sour cream, mix until combined. Add remaining flour mixture and mix until just smooth—do not overmix.
- If coloring layers, divide batter into bowls and tint with gel food coloring. For confetti cake, gently fold in sprinkles.
- Spoon batter evenly into prepared pans and smooth tops. Bake for 25-30 minutes, or until a toothpick inserted in the center comes out clean.
- Let cakes cool in pans for 10 minutes, then turn out onto a wire rack to cool completely.
- For the buttercream: Beat softened butter on high for 3 minutes until creamy. Gradually add powdered sugar, heavy cream, vanilla, and salt. Beat on low, then on high for 2 minutes until fluffy. Add more cream if needed and tint with food coloring if desired.
- Level cakes if needed. Place one layer on a serving plate and spread with frosting. Repeat with remaining layers.
- Apply a thin crumb coat of frosting, chill for 30 minutes, then frost generously with remaining buttercream.
- Decorate with sprinkles, swirls, or edible glitter as desired.
Notes
For best results, use room temperature eggs and dairy. Don’t overmix the batter after adding flour. Chill the cake between frosting steps for clean layers. For gluten-free or dairy-free adaptations, use a 1:1 gluten-free flour blend and plant-based dairy substitutes. Store tightly covered at room temperature for up to 2 days or refrigerate for longer freshness. Cake layers can be made ahead and frozen.
Nutrition
- Serving Size: 1 slice (1/16th of cake)
- Calories: 430
- Sugar: 38
- Sodium: 210
- Fat: 22
- Saturated Fat: 13
- Carbohydrates: 54
- Protein: 4
Keywords: birthday cake, easy birthday cake, layered cake, vanilla cake, confetti cake, celebration dessert, homemade cake, buttercream frosting, party cake, kid's birthday cake



