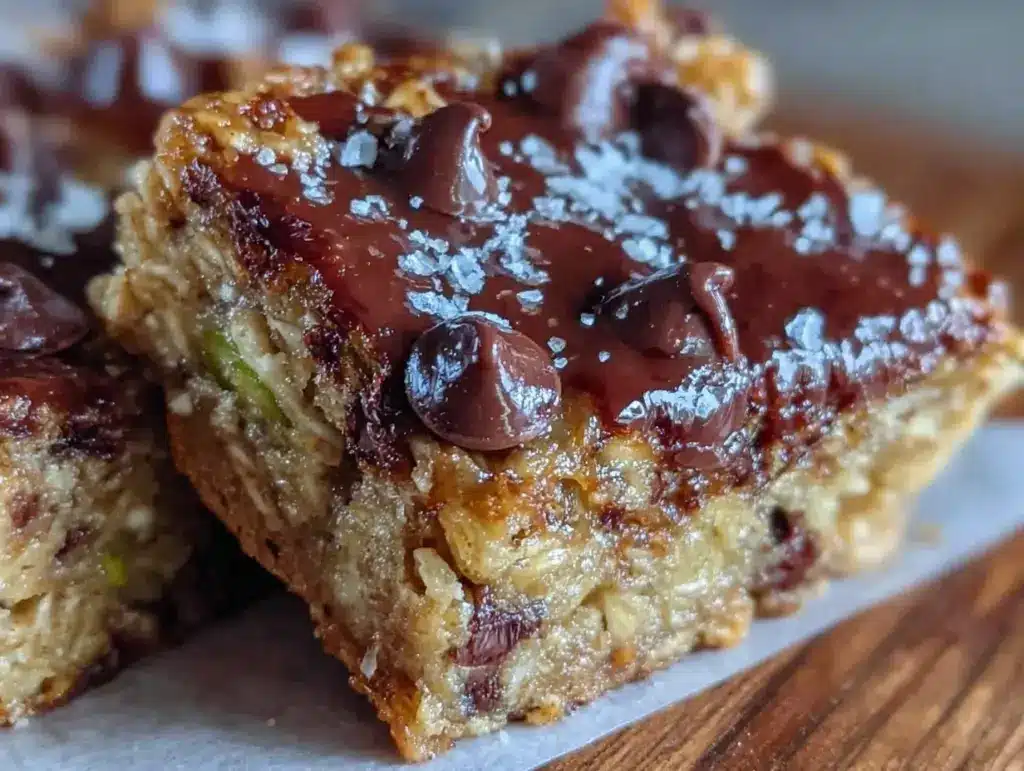
I did not trust brown butter in granola bars. Seriously, it sounded like an unnecessary detour—why mess with a classic granola bar by going all fancy with browned butter? I’ve always leaned on the safe side: oats, honey, chocolate chips, maybe some nuts and dried fruit, baked or pressed into a pan. But then, a rainy afternoon with a pantry half-full of ingredients and a restless craving for a snack pushed me to try it. I browned the butter, the kitchen filled with that nutty, caramel aroma, and honestly, I hesitated for a good five minutes before stirring it in. What if it was too rich? Too odd?
Fast forward to the first bite: chewy texture, but not gummy; deep, toasty brown butter flavor that wasn’t overpowering but just right; pockets of melty chocolate chips hiding in every corner. This recipe stuck with me not because it was flashy, but because it quietly surprised me. It’s the kind of homemade snack that feels indulgent without being fussy or overly sweet. I found myself reaching for these bars more than once, even sharing with friends who usually prefer store-bought granola bars (and who promptly asked for the recipe).
It’s not just about the ingredients, really. It’s about how that brown butter changes the whole vibe, making a humble granola bar something you actually look forward to snacking on. And honestly? That’s why I keep coming back to this recipe—it’s a small tweak with a big payoff that I didn’t expect to love, but now can’t live without.
Why You’ll Love This Chewy Brown Butter Chocolate Chip Granola Bars Recipe
After testing this recipe several times (and yes, eating more than my fair share), here’s why these chewy brown butter chocolate chip granola bars should have a spot in your snack rotation:
- Quick & Easy: Ready in under 30 minutes, these bars are perfect for squeezing in between work calls or late-night cravings.
- Simple Ingredients: No obscure pantry items here—just oats, butter, brown sugar, chocolate chips, and a handful of staples you probably already have.
- Perfect for On-The-Go: Whether for school lunches, hiking snacks, or a grab-and-go breakfast, these bars hold up well without falling apart.
- Crowd-Pleaser: Everyone from picky kids to chocolate lovers gives these bars a thumbs-up—no crumbly mess or bitter aftertaste.
- Unbelievably Delicious: That brown butter adds a toasty richness that makes these bars taste way beyond basic granola.
What makes this recipe stand out? It’s the browned butter trick. Instead of just melting butter, taking the time to brown it brings depth and caramel notes that pair beautifully with melty chocolate chips. Plus, these bars strike the ideal chewy texture balance—not too dry, not too sticky.
Honestly, this recipe is like comfort food in bar form. It’s the kind of snack that makes you pause and savor, then smile because it’s homemade but tastes like an indulgence. It’s also a great way to impress without the stress, similar to the ease and crowd-pleasing vibes of my creamy key lime pie bars—a personal favorite for quick homemade treats.
What Ingredients You Will Need
This recipe uses simple, wholesome ingredients to deliver bold flavor and satisfying texture without the fuss. Most of these are pantry staples, and there’s some wiggle room for substitutions if needed.
- Old-fashioned rolled oats: 2 cups (about 180g)—the base for that chewy granola bar texture. Quick oats won’t give the right chew.
- Unsalted butter: 1/2 cup (113g), browned carefully to bring that deep, nutty flavor. I like using Plugrá when I want a rich, creamy finish.
- Brown sugar: 1/2 cup (100g), packed—for sweetness and moisture.
- Honey: 1/4 cup (85g)—helps bind the bars and adds natural sweetness.
- Vanilla extract: 1 teaspoon—for that warm, inviting aroma.
- Baking soda: 1/2 teaspoon—just a pinch to lighten the texture.
- Salt: 1/4 teaspoon—balances sweetness and enhances flavor.
- Mini chocolate chips: 3/4 cup (135g)—the star chocolate burst in every bite. I recommend Ghirardelli for great melt and flavor.
- Chopped nuts (optional): 1/2 cup (75g) toasted pecans or walnuts add crunch and nuttiness, but you can skip or swap for seeds if preferred.
If you need a gluten-free option, certified gluten-free oats work just fine here. For a dairy-free version, swap the butter with coconut oil browned gently until golden, but the flavor won’t be quite the same (still tasty though!).
Equipment Needed
- Medium saucepan or skillet for browning butter
- Mixing bowl (medium to large)
- Wooden spoon or heat-resistant spatula for stirring
- 8×8 inch (20×20 cm) square baking pan or similar size—lined with parchment paper for easy removal
- Measuring cups and spoons for accuracy
- Cooling rack (optional but helpful for letting bars set evenly)
You don’t need any fancy gadgets here—just the basics. I’ve tried browning butter in both a heavy-bottomed skillet and a small saucepan; both work well but watch carefully to avoid burning. Using parchment paper in the baking pan is a game changer for lifting out the bars without crumbling.
Preparation Method
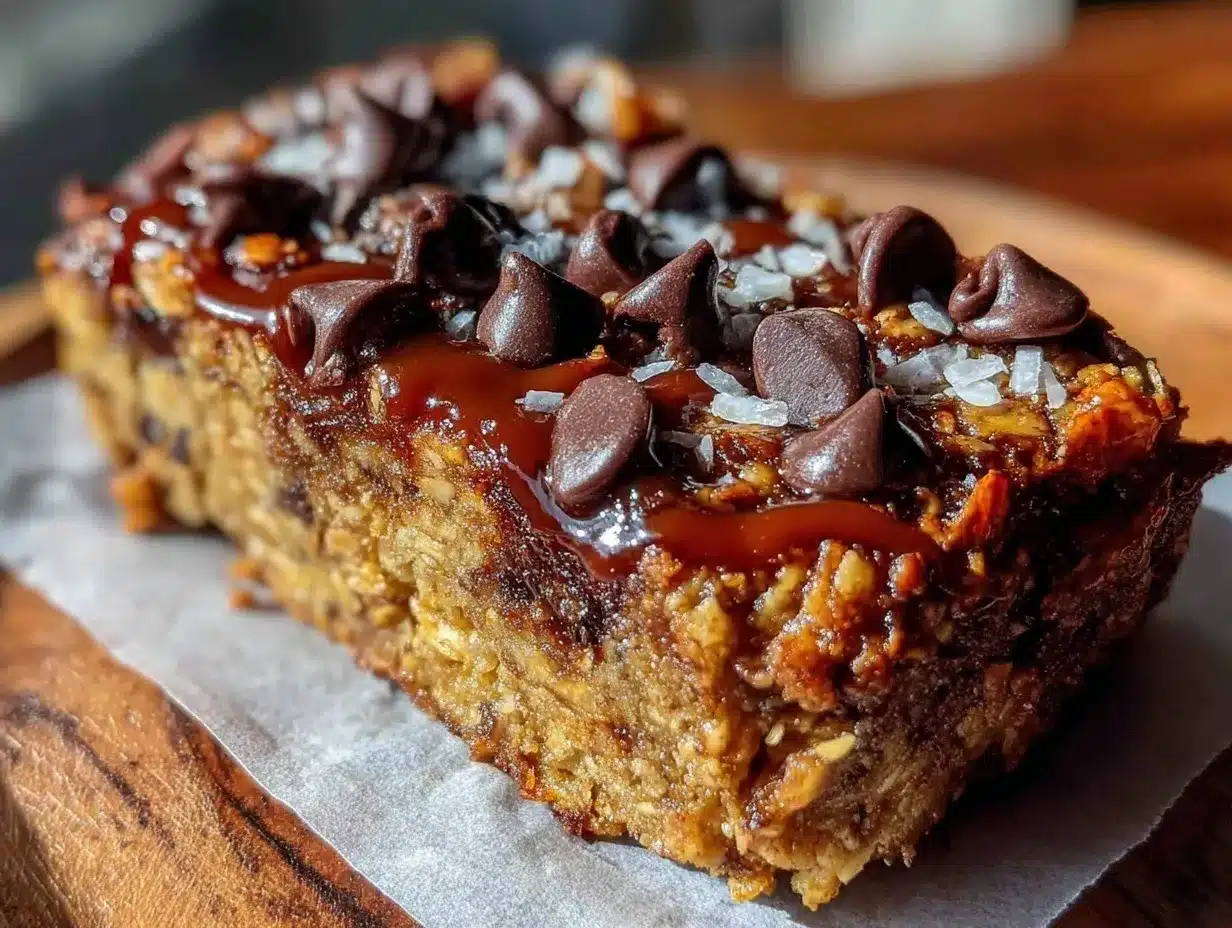
- Brown the butter: In a medium saucepan over medium heat, melt the unsalted butter. Stir constantly as it foams, then turns golden brown with small browned bits forming at the bottom. This takes about 5-7 minutes. Remove from heat immediately and let it cool for 3-4 minutes. Tip: Don’t wander off—brown butter can go from perfect to burnt fast.
- Mix wet ingredients: In your mixing bowl, combine the cooled brown butter with brown sugar and honey. Stir until the sugar dissolves somewhat and the mixture looks smooth. Then add vanilla extract and mix well.
- Combine dry ingredients: In a separate bowl (or add directly), stir together oats, baking soda, salt, and nuts if using. Make sure nuts are toasted for extra flavor—just toss them in a dry skillet for 3-4 minutes until fragrant.
- Bring it all together: Pour the wet mixture over the dry ingredients and stir until everything is evenly coated. The mixture should be sticky but not soupy.
- Add chocolate chips: Fold in the mini chocolate chips gently, trying not to melt them in the warm mixture.
- Press into pan: Line your 8×8 inch pan with parchment paper, leaving an overhang on sides. Transfer the mixture and press firmly and evenly into the pan using a spatula or your hands (lightly greased). Firm pressing helps keep the bars chewy and intact.
- Chill and set: Refrigerate the pan for at least 2 hours, or until bars are firm. For quicker setting, you can freeze for 45 minutes but let sit at room temp 5 minutes before slicing.
- Slice and serve: Use a sharp knife to cut into 12 bars. If bars crumble, chill a bit longer. Store leftovers in an airtight container in the fridge for up to a week.
When pressing the mixture, I usually get my hands slightly damp to avoid sticking. Also, if you prefer a firmer bar, feel free to add a tablespoon or two more honey or brown sugar next time. It’s all about what texture you like best.
Cooking Tips & Techniques
Browning butter is the heart of this recipe, and honestly, it can be intimidating. Here’s the scoop: keep your heat medium or medium-low, stir constantly, and watch for that rich amber color and nutty aroma. It’s worth the watchfulness because burnt butter will ruin the batch with bitterness.
Another trick: use mini chocolate chips instead of regular-sized ones. They distribute more evenly, so you get little pockets of melty chocolate rather than clumps. I’ve learned this the hard way after a couple of too-sweet bars.
Pressing the mixture firmly into the pan is crucial. If you skimp on this, bars will crumble apart. I sometimes press the mixture down, refrigerate briefly, then press again to create a tight structure.
If your bars are too hard after chilling, try warming them slightly at room temperature before eating. The brown butter and honey soften with warmth, making each bite chewy and satisfying.
Multitasking tip: while browning butter, toast your nuts and prep dry ingredients to save time. This little workflow hack keeps the whole process under half an hour without feeling rushed.
Variations & Adaptations
- Nut-free version: Skip the nuts and add extra seeds like pumpkin or sunflower for crunch without allergens.
- Seasonal twist: Swap chocolate chips for dried cranberries or cherries and add a dash of cinnamon for a festive fall flavor, reminiscent of the cozy vibes in my pumpkin spice bread recipe.
- Peanut butter boost: Stir in 1/4 cup (64g) natural peanut butter with the wet ingredients for a rich, nutty depth that pairs beautifully with the brown butter.
- Gluten-free option: Use certified gluten-free rolled oats to keep things safe but still chewy.
- Chocolate overload: Sprinkle a handful of regular-sized dark chocolate chunks on top before chilling for an extra melty topping layer.
One time, I tried adding shredded coconut, which added a nice chewy texture and tropical hint, but it’s definitely a personal preference. Don’t be afraid to tweak ingredients to suit your cravings or pantry!
Serving & Storage Suggestions
These chewy brown butter chocolate chip granola bars shine when served slightly chilled or at room temperature. They’re packed and ready for lunchboxes or to stash in your bag for afternoon hunger pangs.
Pair them with a hot cup of coffee or tea for a cozy snack moment. They also work well alongside fresh fruit or a dollop of yogurt for breakfast or brunch, similar in convenience to my Starbucks-inspired strawberry acai refresher—something refreshing to balance the richness.
Store bars in an airtight container in the refrigerator for up to a week. If you want to keep them longer, wrap individually and freeze for up to 3 months. Thaw overnight in the fridge or at room temperature for 15-20 minutes before eating.
Over time, the flavors meld beautifully, and the bars become even chewier after a day or two. Just a heads-up: if you live in a warm climate, refrigeration is a must to keep the chocolate from melting and the bars from getting too soft.
Nutritional Information & Benefits
Each chewy brown butter chocolate chip granola bar contains approximately:
| Calories | Fat | Carbohydrates | Protein | Fiber |
|---|---|---|---|---|
| 220 kcal | 10g | 30g | 3g | 3g |
The oats provide good fiber for digestion and sustained energy, while the brown butter adds rich flavor plus fat that helps keep you full. Honey offers natural sweetness and antioxidants, making it a better alternative to refined sugars.
This recipe can be gluten-free with the right oats and dairy-free if you substitute butter with coconut oil (although the flavor shifts). It’s a wholesome snack that feels indulgent but avoids artificial ingredients or preservatives found in many store-bought bars.
Conclusion
These chewy brown butter chocolate chip granola bars prove that a small twist—like browning the butter—can turn a humble snack into something unexpectedly delicious and satisfying. I love how easy they are to make, the simple ingredients, and that perfect chewy texture that keeps me coming back.
Feel free to make these bars your own by swapping nuts, adding spices, or adjusting sweetness to your taste. Honestly, once you try this recipe, it’s hard to go back to plain granola bars. If you give it a shot, I’d love to hear how you customize it or which variation becomes your favorite!
Whether you’re meal prepping for the week or looking for a quick homemade treat, these bars have you covered with flavor and convenience. Happy snacking!
Frequently Asked Questions
- Can I use quick oats instead of rolled oats?
Quick oats tend to make the bars mushier and less chewy. Rolled oats are best for texture. - How do I brown butter without burning it?
Use medium heat and stir constantly. Once it turns golden brown and smells nutty, remove it from heat immediately. - Can I make these bars vegan?
Yes, substitute butter with coconut oil and use maple syrup instead of honey for a vegan version. - How should I store leftover bars?
Keep them in an airtight container refrigerated for up to a week or freeze for longer storage. - Is it possible to bake these bars?
This recipe is designed to be no-bake and set in the fridge for chewy texture, but you can experiment with a light bake at 325°F (160°C) for 10-12 minutes if you prefer a firmer bar.
Pin This Recipe!
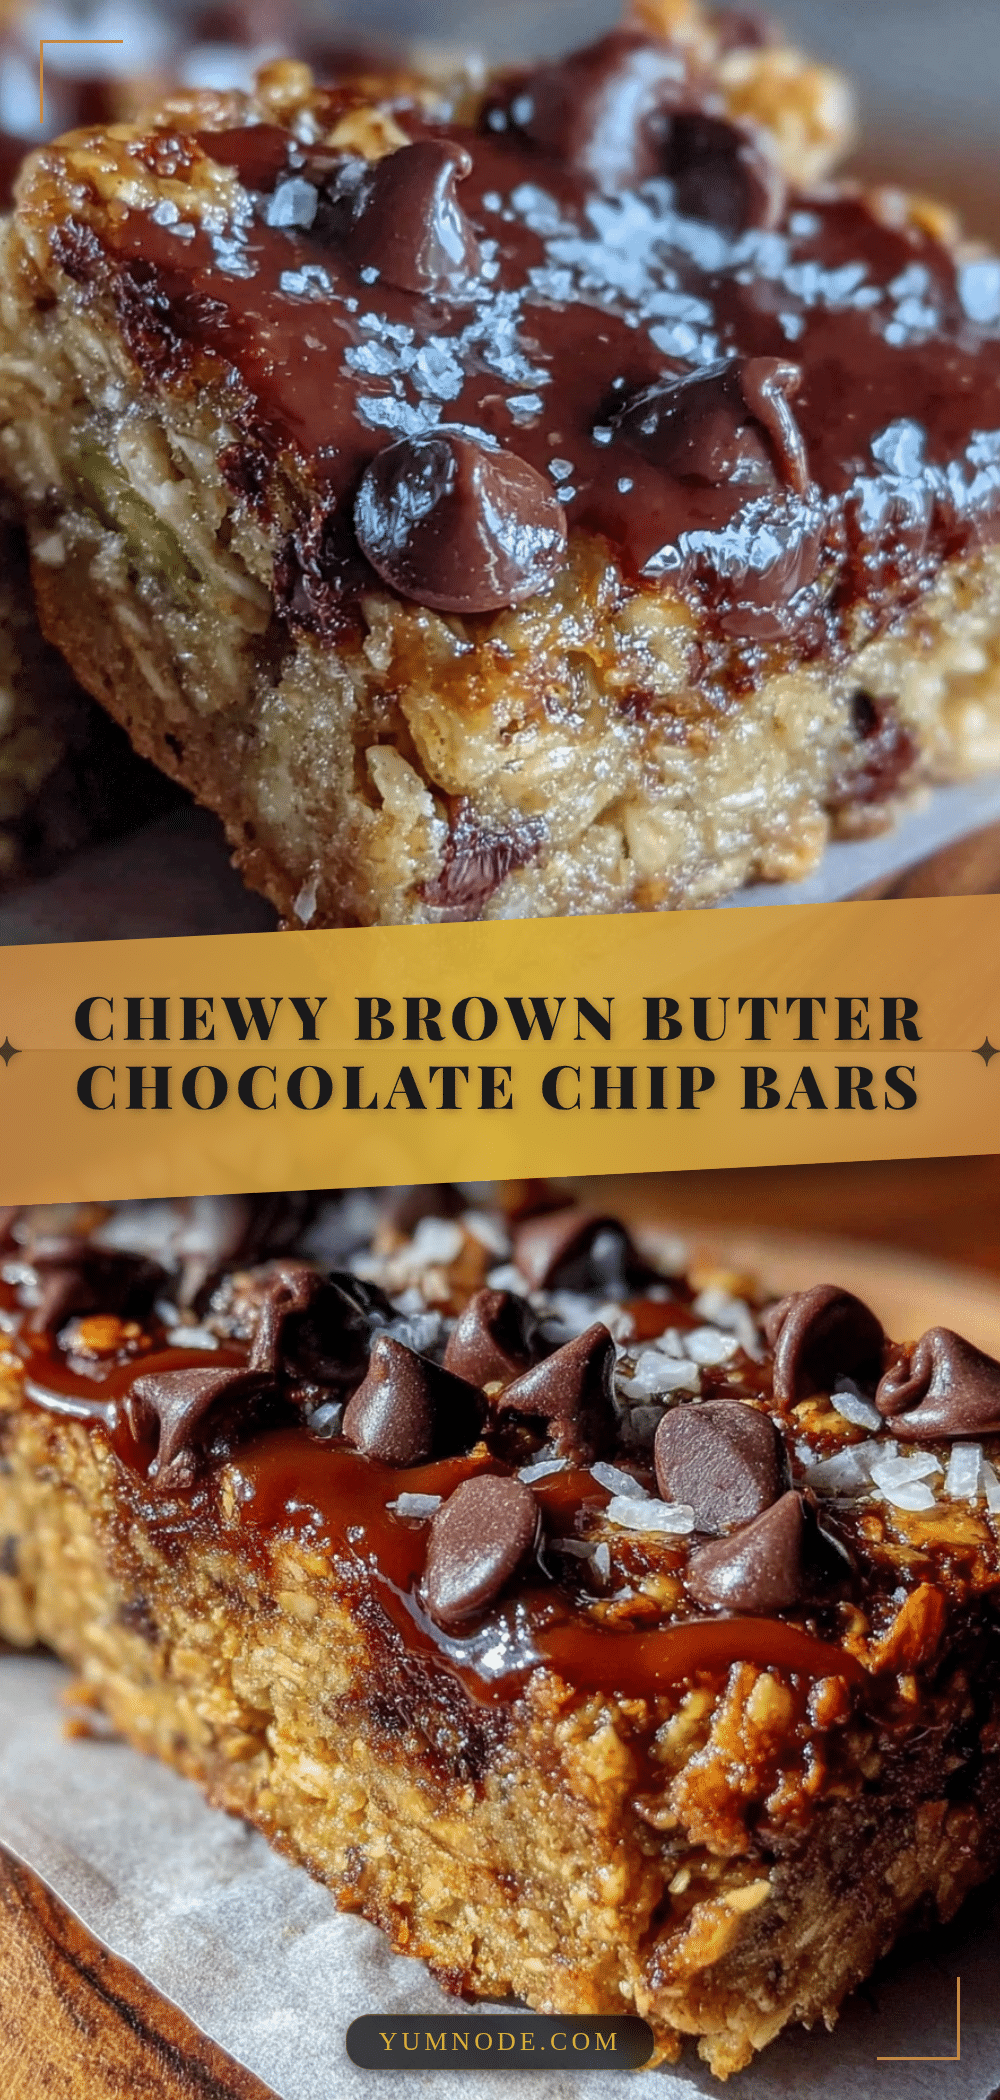
Chewy Brown Butter Chocolate Chip Granola Bars
These chewy granola bars feature a rich, toasty brown butter flavor combined with melty chocolate chips, offering a homemade snack that’s indulgent yet simple and perfect for on-the-go.
- Prep Time: 10 minutes
- Cook Time: 7 minutes
- Total Time: 2 hours 17 minutes
- Yield: 12 bars 1x
- Category: Snack
- Cuisine: American
Ingredients
- 2 cups old-fashioned rolled oats (about 180g)
- 1/2 cup unsalted butter (113g), browned
- 1/2 cup packed brown sugar (100g)
- 1/4 cup honey (85g)
- 1 teaspoon vanilla extract
- 1/2 teaspoon baking soda
- 1/4 teaspoon salt
- 3/4 cup mini chocolate chips (135g)
- 1/2 cup chopped toasted pecans or walnuts (optional, 75g)
Instructions
- Brown the butter: In a medium saucepan over medium heat, melt the unsalted butter. Stir constantly as it foams, then turns golden brown with small browned bits forming at the bottom, about 5-7 minutes. Remove from heat and let cool for 3-4 minutes.
- Mix wet ingredients: In a mixing bowl, combine the cooled brown butter with brown sugar and honey. Stir until sugar dissolves somewhat and mixture looks smooth. Add vanilla extract and mix well.
- Combine dry ingredients: In a separate bowl or directly, stir together oats, baking soda, salt, and nuts if using (toasted for extra flavor).
- Bring it all together: Pour the wet mixture over the dry ingredients and stir until everything is evenly coated and sticky but not soupy.
- Add chocolate chips: Fold in the mini chocolate chips gently, avoiding melting them in the warm mixture.
- Press into pan: Line an 8×8 inch (20×20 cm) baking pan with parchment paper, leaving an overhang. Transfer the mixture and press firmly and evenly into the pan using a spatula or lightly greased hands.
- Chill and set: Refrigerate for at least 2 hours until bars are firm. For quicker setting, freeze for 45 minutes then let sit at room temperature for 5 minutes before slicing.
- Slice and serve: Cut into 12 bars using a sharp knife. Store leftovers in an airtight container in the fridge for up to a week.
Notes
Use medium heat and stir constantly when browning butter to avoid burning. Press mixture firmly into pan to prevent crumbling. Mini chocolate chips distribute better than regular size. For gluten-free, use certified gluten-free oats. For dairy-free, substitute butter with browned coconut oil and honey with maple syrup for vegan version. Bars can be frozen up to 3 months.
Nutrition
- Serving Size: 1 bar
- Calories: 220
- Fat: 10
- Carbohydrates: 30
- Fiber: 3
- Protein: 3
Keywords: brown butter, granola bars, chocolate chip, chewy snack, homemade snack, easy recipe, no bake, healthy snack



