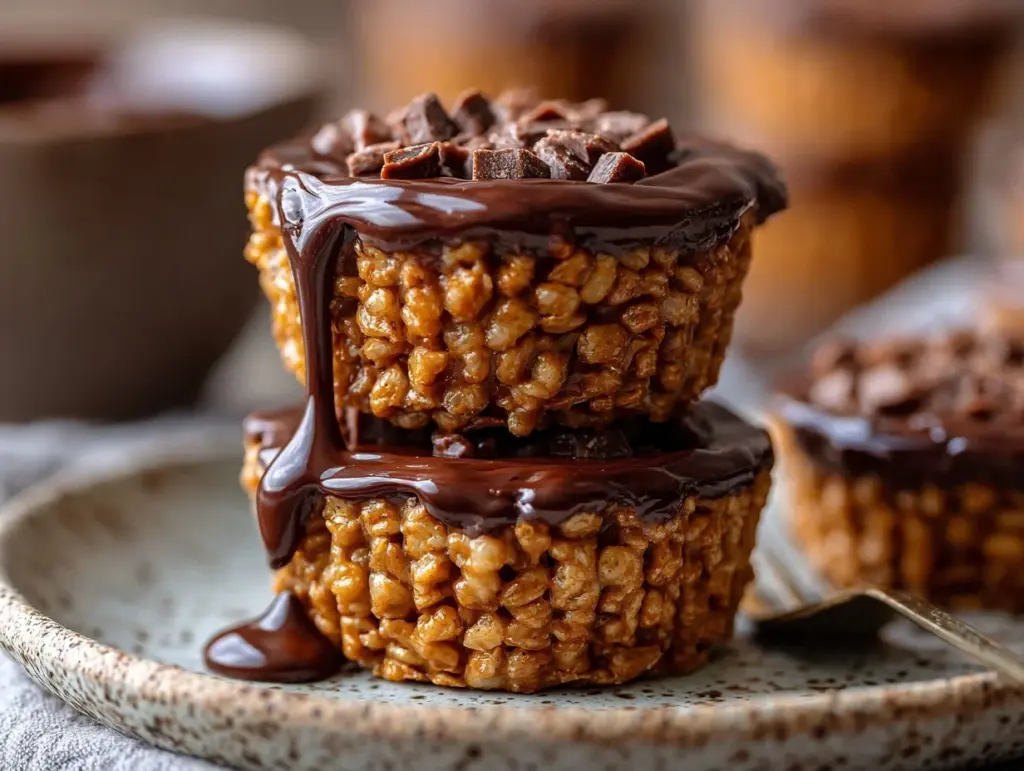
Picture this: a perfectly chewy, chocolatey bite with a hint of creamy peanut butter, all nestled in a crispy rice base that just melts in your mouth. That’s exactly what you’ll get with these irresistible Chocolate Peanut Butter Rice Krispie Cups. Honestly, they’re the kind of treat that disappears faster than you can say “seconds, please!”
I first whipped these up on a rainy afternoon when I needed a quick dessert to satisfy my sweet tooth. They were born out of pantry staples and, let’s face it, a craving for that unbeatable chocolate-peanut butter combo. What makes them even better? No baking required! They’re a simple, no-fuss treat that’s perfect for busy days, lazy weekends, or last-minute party prep.
Whether you’re a seasoned baker or, like me on some days, someone just looking for easy dessert ideas, these Chocolate Peanut Butter Rice Krispie Cups are a must-try. They’re kid-approved, adult-loved, and dangerously addictive. Let’s dive in and make something delicious together!
Why You’ll Love This Recipe
- No-Bake Simplicity: No oven required! These come together in just about 15 minutes.
- Minimal Ingredients: Only six ingredients, most of which you probably already have in your pantry.
- Perfect for Any Occasion: Great for parties, potlucks, or as a quick snack when the cravings hit.
- Kid-Friendly: Little hands can help with the assembly, making it a fun family activity.
- Customizable: You can tweak the recipe to suit your preferences or dietary needs (more on this later).
- Texture Heaven: The crispy rice cereal, smooth peanut butter, and rich chocolate create the ultimate bite.
What sets this recipe apart is the balance of flavors and textures. The peanut butter layer is creamy without being too rich, while the chocolate topping adds just enough decadence. Plus, the crispy rice base gives it that delightful crunch that keeps you coming back for more.
Honestly, this is the kind of treat that makes you feel like a kid again—simple, nostalgic, and oh-so-satisfying!
What Ingredients You Will Need
This recipe is all about keeping things simple with easy-to-find ingredients that pack a punch. Here’s what you’ll need:
- Rice Krispies Cereal: The crispy base that gives these cups their signature crunch. Any puffed rice cereal will work.
- Peanut Butter: Creamy peanut butter works best for that smooth texture, but chunky can add a fun twist.
- Honey: Acts as a natural sweetener and helps bind the cereal together. You can also use maple syrup.
- Dark Chocolate Chips: Melted and spread over the top for that rich, chocolatey layer. Milk or semi-sweet chocolate works too!
- Coconut Oil: Helps the chocolate set with a glossy finish. Butter can be used as an alternative.
- Sea Salt (optional): A sprinkle on top takes these cups to the next level by balancing the sweetness.
That’s it! If you’re missing an ingredient, don’t worry. Check out the variations section below for some easy swaps.
Equipment Needed
- Muffin Tin: A standard 12-cup muffin tin works perfectly for shaping the cups.
- Mixing Bowls: One large and one small for mixing the cereal and melting the chocolate.
- Microwave or Double Boiler: For melting the chocolate and peanut butter.
- Cooking Spoon or Spatula: To mix and press the cereal mixture into the tin.
- Measuring Cups and Spoons: To ensure precise measurements (because balance is everything!).
If you don’t have a muffin tin, you can use silicone molds or even press the mixture into a small baking dish and cut them into squares later.
Preparation Method
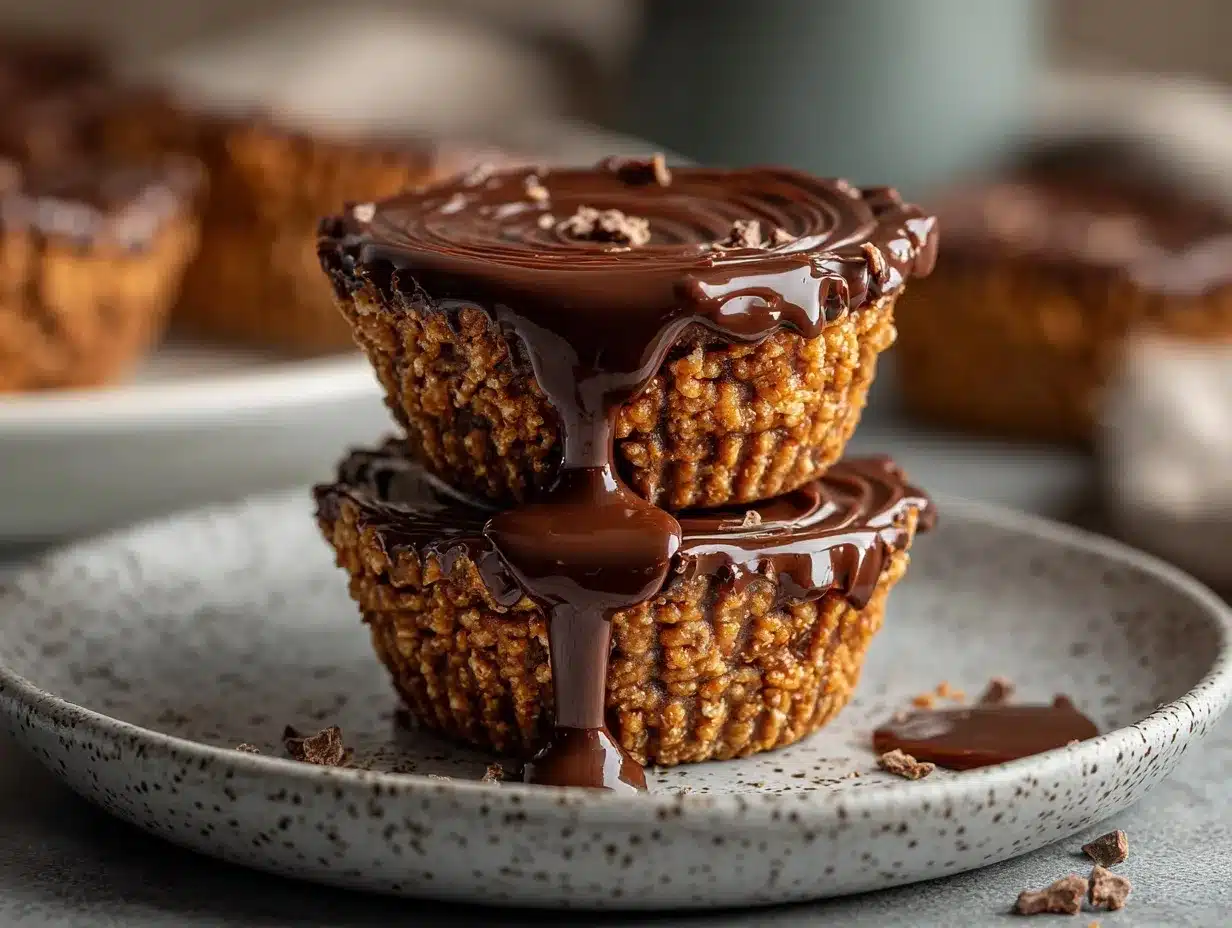
- Prepare the Muffin Tin: Line a 12-cup muffin tin with paper liners or lightly grease it with cooking spray.
- Mix the Base: In a large mixing bowl, combine 3 cups (75g) of Rice Krispies cereal, 1/2 cup (120g) of peanut butter, and 1/4 cup (85g) of honey. Stir until the cereal is evenly coated.
- Press the Mixture: Divide the mixture evenly among the muffin cups, pressing it down firmly to form the base layer. Use a spoon or the back of a measuring cup to flatten it.
- Melt the Chocolate: In a small microwave-safe bowl, combine 1 cup (175g) of dark chocolate chips and 1 tablespoon (15ml) of coconut oil. Microwave in 20-second intervals, stirring in between, until smooth.
- Add the Chocolate Layer: Spoon the melted chocolate over each peanut butter base, spreading it out gently to cover the entire surface.
- Optional Topping: Sprinkle a pinch of sea salt on top of each cup for a sweet-salty finish.
- Chill and Set: Place the muffin tin in the fridge for at least 30 minutes, or until the chocolate is firm.
- Serve and Enjoy: Once set, remove the cups from the tin and enjoy immediately or store for later!
Cooking Tips & Techniques
- Don’t Overheat the Chocolate: Melt it slowly to prevent it from seizing or becoming grainy.
- Press Firmly: Compacting the cereal mixture ensures the base holds together when you remove the cups.
- Work Quickly: Once the chocolate is melted, spread it before it starts to set for a smooth finish.
- Use Room Temperature Peanut Butter: This makes it easier to mix with the cereal and honey.
- Line the Muffin Tin: Paper liners make cleanup a breeze and help the cups release easily.
Trust me, a little patience and precision goes a long way in making these treats picture-perfect!
Variations & Adaptations
- Nut-Free: Swap peanut butter for sunflower seed butter or tahini for an allergen-friendly option.
- Low-Sugar: Use sugar-free chocolate chips and replace honey with a sugar-free syrup.
- Extra Crunch: Add chopped peanuts or mini marshmallows to the cereal mixture.
- Seasonal Twist: Sprinkle festive sprinkles or crushed peppermint on top for holidays.
- Vegan Option: Use dairy-free chocolate chips and maple syrup instead of honey.
Feel free to experiment and make these cups your own. The possibilities are endless!
Serving & Storage Suggestions
These Chocolate Peanut Butter Rice Krispie Cups are best served chilled or at room temperature. They’re perfect for dessert platters, snack boxes, or even as a quick treat with your afternoon coffee.
To store, place them in an airtight container and keep them in the refrigerator for up to a week. For longer storage, freeze them for up to three months. Just let them sit at room temperature for a few minutes before eating.
Pro tip: They’re even better the next day after the flavors have melded together!
Nutritional Information & Benefits
Each cup is approximately 150 calories, making it a guilt-free indulgence. They’re packed with protein from the peanut butter and offer a touch of fiber from the rice cereal.
Dark chocolate adds antioxidants, while honey provides natural sweetness without refined sugar. These treats are a great way to satisfy your sweet tooth without overloading on processed ingredients.
Just be mindful of portion sizes—they’re so good, it’s easy to lose track!
Conclusion
These Chocolate Peanut Butter Rice Krispie Cups are everything you could want in a dessert: simple, delicious, and endlessly customizable. Whether you’re making them for a party or just to treat yourself, they’re guaranteed to impress.
So go ahead, give this recipe a try, and let me know how it turned out! Did you add your own spin? Share your thoughts in the comments below or tag me on social media. I’d love to see your creations!
Happy snacking, friends!
FAQs
Can I use a different nut butter?
Yes! Almond butter, cashew butter, or even tahini can be used as substitutes.
What if I don’t have coconut oil?
You can use butter or omit it entirely. The chocolate layer may not be as glossy but will still taste great.
How do I prevent the cups from sticking?
Use paper liners or silicone molds to ensure easy removal.
Can I make these ahead of time?
Absolutely! These cups store well in the fridge or freezer, making them a perfect make-ahead treat.
Are these gluten-free?
Yes, as long as you use certified gluten-free rice cereal and chocolate chips.
Pin This Recipe!

Chocolate Peanut Butter Rice Krispie Cups

These no-bake Chocolate Peanut Butter Rice Krispie Cups are a quick and easy treat featuring a crispy rice base, creamy peanut butter, and a rich chocolate topping.
- Prep Time: 15 minutes
- Cook Time: 30 minutes (chill time)
- Total Time: 45 minutes
- Yield: 12 servings 1x
- Category: Dessert
- Cuisine: American
Ingredients
- 3 cups (75g) Rice Krispies cereal
- 1/2 cup (120g) peanut butter
- 1/4 cup (85g) honey
- 1 cup (175g) dark chocolate chips
- 1 tablespoon (15ml) coconut oil
- Sea salt (optional)
Instructions
- Prepare the Muffin Tin: Line a 12-cup muffin tin with paper liners or lightly grease it with cooking spray.
- Mix the Base: In a large mixing bowl, combine Rice Krispies cereal, peanut butter, and honey. Stir until the cereal is evenly coated.
- Press the Mixture: Divide the mixture evenly among the muffin cups, pressing it down firmly to form the base layer. Use a spoon or the back of a measuring cup to flatten it.
- Melt the Chocolate: In a small microwave-safe bowl, combine dark chocolate chips and coconut oil. Microwave in 20-second intervals, stirring in between, until smooth.
- Add the Chocolate Layer: Spoon the melted chocolate over each peanut butter base, spreading it out gently to cover the entire surface.
- Optional Topping: Sprinkle a pinch of sea salt on top of each cup for a sweet-salty finish.
- Chill and Set: Place the muffin tin in the fridge for at least 30 minutes, or until the chocolate is firm.
- Serve and Enjoy: Once set, remove the cups from the tin and enjoy immediately or store for later!
Notes
[‘Don’t overheat the chocolate to prevent it from seizing.’, ‘Press the cereal mixture firmly to ensure the base holds together.’, ‘Use room temperature peanut butter for easier mixing.’, ‘Paper liners make cleanup easier and help the cups release easily.’]
Nutrition
- Serving Size: 1 cup
- Calories: 150
- Sugar: 10
- Sodium: 50
- Fat: 9
- Saturated Fat: 4
- Carbohydrates: 15
- Fiber: 1
- Protein: 3
Keywords: Chocolate, Peanut Butter, Rice Krispie, No-Bake, Easy Dessert, Kid-Friendly, Party Treat



