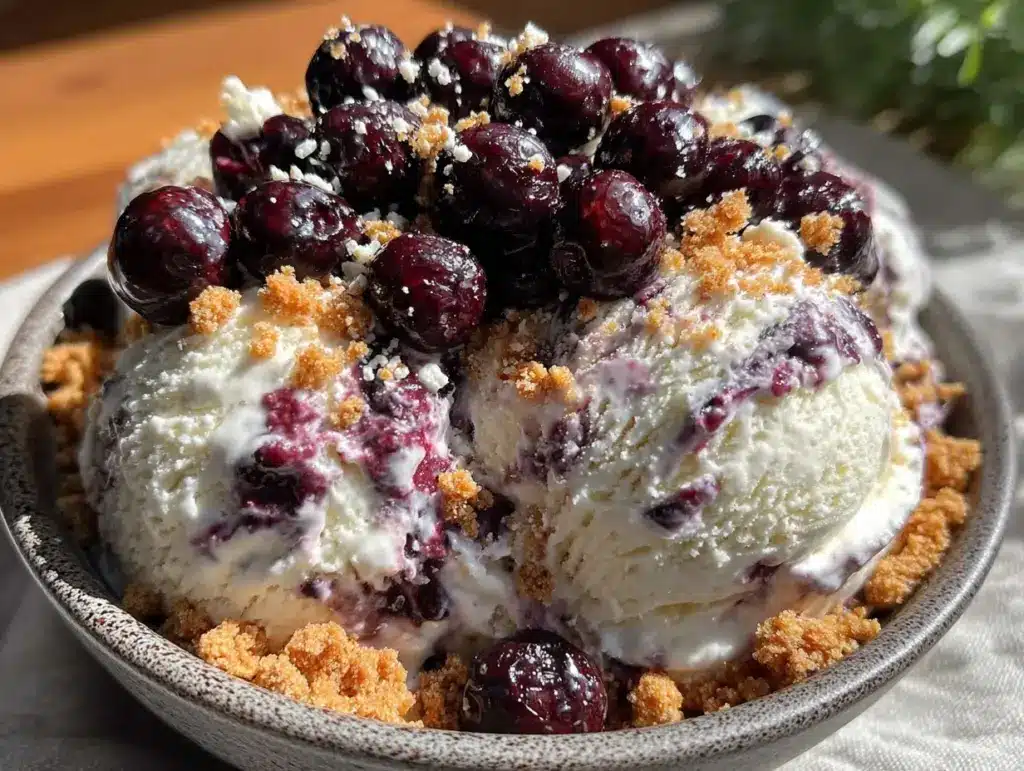
My partner took one spoonful of this creamy huckleberry cheesecake ice cream and immediately asked for seconds—twice in a row without even pausing to think. I was standing nearby, half skeptical about how a no-churn ice cream could taste so rich and indulgent, but watching their eyes light up after that first bite was a quiet revelation. Honestly, I hadn’t expected the tangy-sweet huckleberries swirled through the velvety cheesecake base to meld so perfectly, especially without any fancy ice cream maker or fuss.
That afternoon, the sun was dipping low, casting warm light through the kitchen window. The smell of fresh berries and cream filled the air, mixing with the subtle hint of graham cracker crumbs toasted just right. It wasn’t a grand moment or a fancy dinner party—just a casual dessert after a long day—but the way that ice cream brought a calm, happy pause to our evening was something I hadn’t planned for. You know that feeling when a simple recipe suddenly becomes your go-to comfort treat? Yeah, this is one of those.
Watching someone else enjoy a homemade dessert with such genuine delight made me realize this recipe wasn’t just another frozen treat. It’s the kind of creamy huckleberry cheesecake ice cream no-churn recipe that sticks around in your mind, the one you quietly stash in the freezer for unexpected guests or a little self-care moment. There’s a subtle magic here—a balance between sweet and tangy, creamy and fruity—that feels both nostalgic and fresh.
So, if you’re curious about how to whip up a dreamy, effortless ice cream that tastes like a slice of cheesecake meets wild huckleberry patch, you’re in the right place. Let’s just say this recipe has earned its spot in my rotation, quietly waiting to surprise anyone who tries it.
Why You’ll Love This Recipe
As someone who’s tested countless ice cream recipes (yes, the kitchen has seen many a scoop gone wrong), this creamy huckleberry cheesecake ice cream no-churn recipe stands out for a few reasons:
- Quick & Easy: It comes together in under 15 minutes. No churning means less waiting and no bulky machines taking up space.
- Simple Ingredients: Pantry staples and fresh or frozen huckleberries—nothing fancy or hard to find.
- Perfect for Summer & Year-Round: Whether you’re cooling off on a hot day or craving something sweet after dinner, this recipe fits the bill.
- Crowd-Pleaser: Kids and adults alike love the creamy texture with the tart burst of huckleberries.
- Unbelievably Delicious: The cream cheese adds a subtle tang and richness that really sets this apart from your average berry ice cream.
This isn’t just another berry ice cream recipe—it’s a cheesecake-inspired treat that folds in the wild sweet flavor of huckleberries with a creamy, dreamy base. I found using full-fat cream cheese and whipping the heavy cream just right gives this ice cream a luscious texture that feels homemade in the best way. Plus, the crushed graham cracker crumbs add that satisfying crunch, making it feel like you’re eating a slice of cheesecake without the oven or fuss.
Honestly, the no-churn method makes this a lifesaver on busy days or last-minute dessert plans. If you want a recipe that feels indulgent but isn’t complicated, this one’s your winner. And if you appreciate desserts like the creamy key lime pie bars or the creamy tiramisu icebox cake I’ve shared before, this ice cream will fit right into your dessert repertoire.
What Ingredients You Will Need
This recipe uses simple, wholesome ingredients to deliver bold flavor and satisfying texture without the fuss. Most of these are pantry staples or easy to find fresh or frozen, and swapping some elements won’t hurt the overall deliciousness.
- Huckleberries: 1 cup (fresh or frozen, thawed). If you can’t find huckleberries, wild blueberries are a decent substitute but the unique tartness of huckleberries is worth hunting for.
- Granulated Sugar: 3/4 cup (150g) – balances the tartness and sweetens the cream cheese base.
- Full-fat Cream Cheese: 8 ounces (225g), softened – the creamy heart of the cheesecake flavor. I like using Philadelphia brand for smooth texture.
- Heavy Whipping Cream: 1 1/2 cups (360ml), cold – whipped to soft peaks for that fluffy, creamy texture.
- Vanilla Extract: 1 teaspoon – adds warmth and depth.
- Lemon Juice: 1 tablespoon, fresh – just enough to brighten and enhance the berry flavor.
- Graham Cracker Crumbs: 1 cup (about 100g) – lightly toasted for crunch and that classic cheesecake crust vibe.
- Salt: A pinch – helps balance sweetness and intensifies flavors.
Substitution Tips: If you need a dairy-free option, swap heavy cream for canned coconut cream (chilled), and use a dairy-free cream cheese alternative. For gluten-free, use gluten-free graham cracker crumbs or crushed nuts like almonds.
Look for firm, fresh cream cheese—avoid anything that feels grainy or watery. For the huckleberries, frozen works well if fresh are out of season; just thaw completely and drain excess juice to avoid watery ice cream.
Equipment Needed
- Mixing Bowls: Medium and large bowls for whipping cream and mixing the base.
- Electric Mixer or Stand Mixer: Essential for whipping the cream and cream cheese smooth and fluffy. A handheld mixer works fine too.
- Spatula: For folding ingredients gently without deflating the whipped cream.
- Loaf Pan or Freezer-Safe Container: Where the ice cream will set. A 9×5-inch loaf pan works perfectly.
- Measuring Cups & Spoons: For precision, especially with sugar and lemon juice.
- Food Processor or Rolling Pin: To crush graham crackers unless you buy pre-crumbled.
If you don’t have an electric mixer, whipping cream by hand is possible but takes a bit of muscle and patience. I’ve found a silicone spatula is best for folding to keep the airy texture intact. Also, toast the graham cracker crumbs in a dry skillet or oven to bring out that nutty aroma—trust me, it makes a difference.
Preparation Method
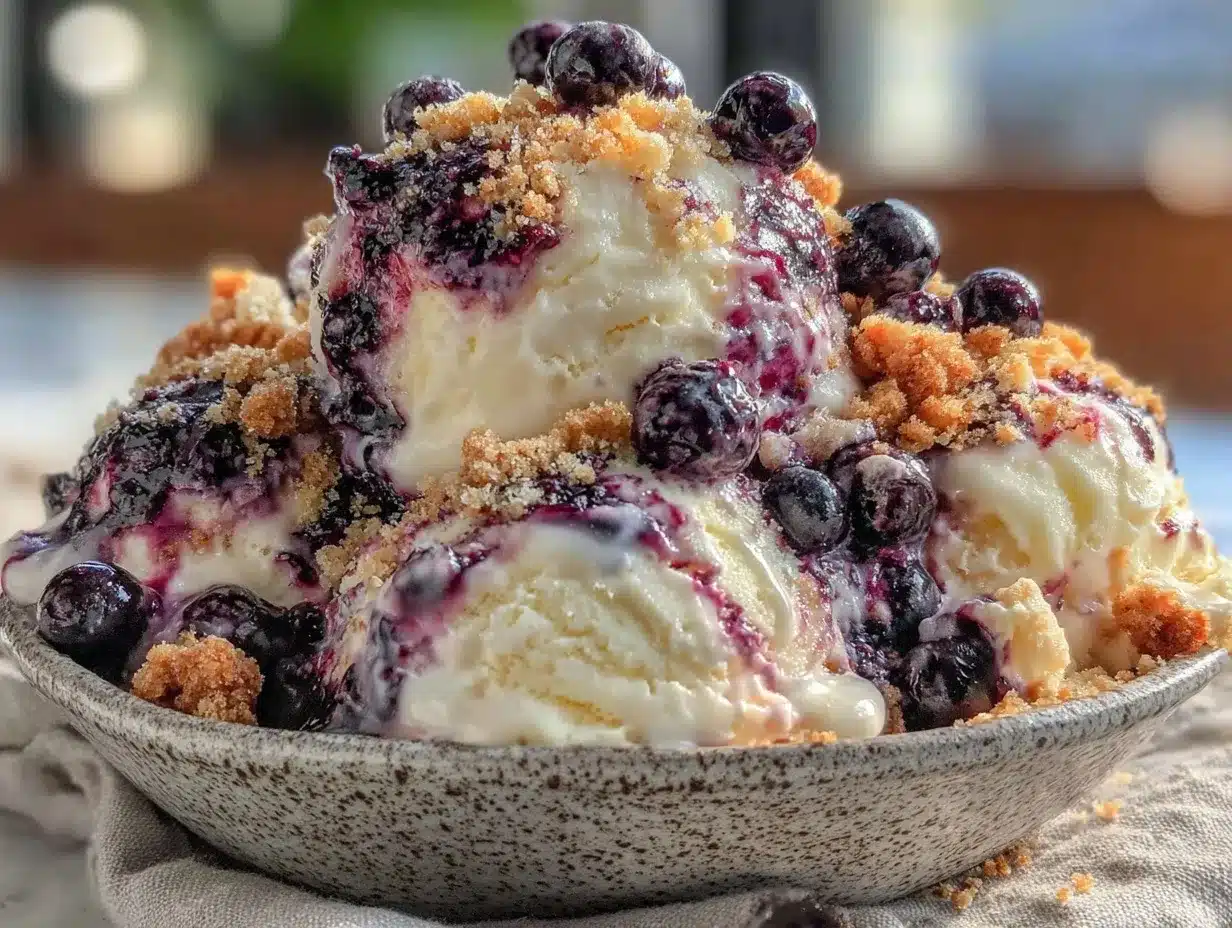
- Toast the Graham Cracker Crumbs: Place 1 cup of graham cracker crumbs in a dry skillet over medium heat. Stir frequently for 3-5 minutes until golden and fragrant. Set aside to cool completely. (This step adds a toasty crunch that really complements the creamy ice cream.)
- Prepare the Huckleberries: If using fresh, rinse and pat dry. For frozen, thaw fully and drain any excess liquid. Place berries in a small bowl with 2 tablespoons of sugar and 1 tablespoon of lemon juice. Let macerate for 10 minutes to bring out juices and soften berries.
- Mix Cream Cheese & Sugar: In a large bowl, beat the softened cream cheese and remaining 1/2 cup sugar with an electric mixer until smooth and creamy, about 2 minutes. Add vanilla extract and mix until combined.
- Whip the Heavy Cream: In a separate bowl, whip the cold heavy cream to soft peaks (the cream should hold gentle peaks when you lift the whisk). Be careful not to overwhip to avoid turning it buttery.
- Fold Whipped Cream into Cream Cheese Mixture: Using a spatula, gently fold the whipped cream into the cream cheese mixture in batches. The goal is to maintain volume and lightness, so fold carefully until no streaks remain.
- Fold in Huckleberries & Graham Cracker Crumbs: Reserve a few berries and crumbs for garnish. Gently fold in the rest along with any juices from the berries. The mixture should be speckled with purple and golden bits throughout.
- Transfer to Container: Pour the mixture into a loaf pan or freezer-safe container. Smooth the top with a spatula and sprinkle reserved berries and crumbs decoratively on top.
- Freeze: Cover with plastic wrap or lid and freeze for at least 6 hours or overnight until firm but scoopable.
- Serve: Let the ice cream sit at room temperature for 5 minutes before scooping for easier serving.
Pro Tip: If you find the mixture too stiff after freezing, a quick 10-minute thaw softens it nicely without losing that creamy texture. Also, stirring gently halfway through freezing isn’t necessary here thanks to the whipped cream but can help if you want to avoid any icy texture.
Cooking Tips & Techniques
Getting the creamy texture right in a no-churn ice cream can be tricky, but a few key things make all the difference:
- Whip the cream properly: Soft peaks hold air and lightness, which makes this ice cream creamy without an ice cream maker. If you overwhip, it turns grainy and buttery, ruining that smooth mouthfeel.
- Room temperature cream cheese: This helps it blend seamlessly into the whipped cream and sugar, avoiding lumps.
- Fold gently: You want to keep as much air in the mixture as possible. Vigorous stirring deflates the whipped cream, leading to a denser, icier product.
- Drain excess berry juice: Too much liquid from berries can cause ice crystals. Macerate, then drain well for best results.
- Toast crumbs: Toasting graham crackers isn’t just for flavor—it also helps them stay crunchy longer in the ice cream.
I learned the hard way that skipping the soft peak stage or rushing the folding results in a frozen block rather than a creamy dessert. Also, using full-fat cream cheese and cream is key—low-fat versions don’t whip or set the same way. If you’re pressed for time, this recipe’s no-churn nature is a lifesaver, but patience during freezing really pays off.
Variations & Adaptations
Sometimes you want to switch things up, and this creamy huckleberry cheesecake ice cream recipe is pretty flexible:
- Berry Swap: Try fresh raspberries, blackberries, or a mixed berry medley instead of huckleberries for different fruity notes.
- Chocolate Chip Addition: Fold in mini dark chocolate chips or white chocolate chunks for a fun texture contrast.
- Gluten-Free: Use gluten-free graham cracker crumbs or substitute with crushed nuts like pecans or almonds for the crust component.
- Dairy-Free Version: Swap heavy cream with chilled coconut cream and use a dairy-free cream cheese alternative. The flavor will be slightly different but still rich and creamy.
- Swirl in Jam: Add a swirl of blueberry or huckleberry jam after pouring the mixture into the pan for an extra burst of fruitiness.
Personally, I once made a batch with lavender-infused cream for a floral twist that was surprisingly delightful—just steep dried culinary lavender in the cream before whipping, then strain out. And if you love combo desserts, this ice cream pairs beautifully with a slice of pumpkin spice bread with cream cheese swirl, making a lovely fall dessert duo.
Serving & Storage Suggestions
This ice cream is best served straight from the freezer after sitting out for about 5 minutes to soften just enough for easy scooping. Serve in bowls or waffle cones with a few fresh huckleberries or a sprinkle of extra graham cracker crumbs for a pretty presentation.
It pairs wonderfully with light desserts or fresh fruit salads, and a drizzle of honey or a mint leaf adds a nice touch. For a grown-up twist, try it alongside a glass of sparkling wine or a cup of strong espresso.
Store leftovers tightly covered in the freezer for up to 2 weeks. Over time, the flavors meld and the texture remains creamy thanks to the whipped cream base. To re-soften, simply let it sit at room temperature for a bit before scooping.
Nutritional Information & Benefits
Here’s a rough estimate per serving (based on 8 servings):
| Calories | 280 |
|---|---|
| Fat | 22g (mostly from cream and cream cheese) |
| Carbohydrates | 18g (includes natural sugars from berries) |
| Protein | 4g |
Huckleberries are packed with antioxidants and vitamin C, adding a nutritional boost to this indulgent treat. The cream cheese provides calcium and protein, while the absence of artificial stabilizers or preservatives makes this a cleaner homemade dessert choice. This frozen dessert is gluten-free if you use gluten-free crumbs and can be adapted for dairy-free diets as mentioned.
Conclusion
This creamy huckleberry cheesecake ice cream no-churn recipe has quietly become one of my favorite homemade desserts, and not just because it’s easy. It strikes that rare balance of being rich and comforting while fresh and fruit-forward. Whether you’re making it for a spontaneous treat or a summer gathering, it offers that little moment of pure joy that homemade ice cream should.
Feel free to tweak the ingredients or mix-ins to match your cravings or pantry. It’s forgiving and fun to customize. Personally, I love how it pairs with other homemade favorites like the million dollar pound cake when I want a real dessert spread.
Give this recipe a try and let the creamy texture and wild berry tang win you over, just like it did for my partner on that quiet afternoon. I’d love to hear how you make it your own or what unexpected pairings you discover!
FAQs About Creamy Huckleberry Cheesecake Ice Cream
Can I use frozen huckleberries instead of fresh?
Yes! Just make sure to thaw them completely and drain any excess juice to keep the ice cream from becoming watery.
Do I really need to toast the graham cracker crumbs?
Toasting isn’t mandatory but it adds a richer flavor and helps keep the crumbs crunchy in the ice cream.
How long does this ice cream need to freeze?
At least 6 hours or overnight for best texture. It should be firm but scoopable.
Can I make this recipe vegan or dairy-free?
Yes. Use full-fat coconut cream instead of heavy cream and a dairy-free cream cheese substitute. The texture and flavor will be slightly different but still delicious.
Is it possible to make this ice cream without an electric mixer?
You can whip the cream by hand, but it will take more time and effort to reach soft peaks. Using a whisk and some patience works in a pinch.
Pin This Recipe!
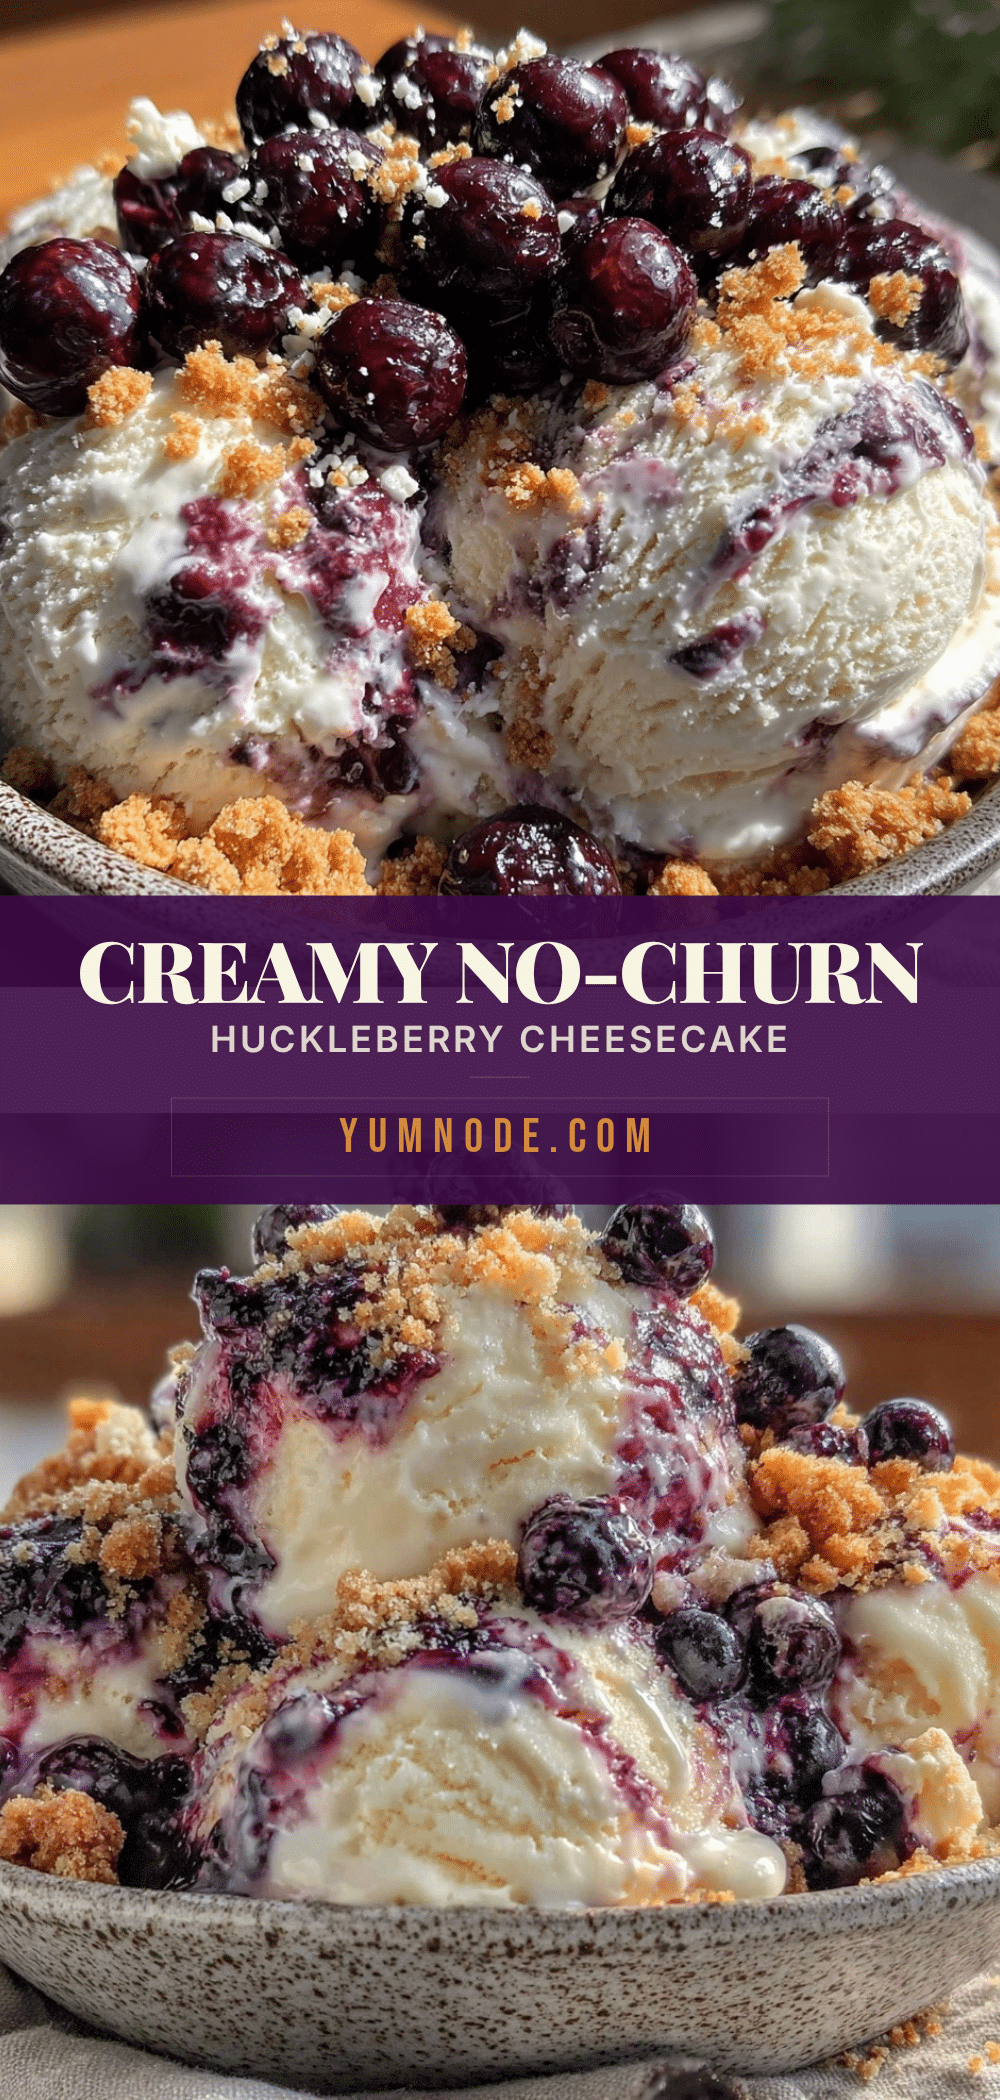
Creamy Huckleberry Cheesecake Ice Cream No-Churn Recipe
A rich and indulgent no-churn ice cream combining tangy-sweet huckleberries with a velvety cheesecake base, perfect for a quick and easy homemade dessert.
- Prep Time: 15 minutes
- Cook Time: 0 minutes
- Total Time: 6 hours 15 minutes
- Yield: 8 servings 1x
- Category: Dessert
- Cuisine: American
Ingredients
- 1 cup huckleberries (fresh or frozen, thawed)
- 3/4 cup granulated sugar (150g)
- 8 ounces full-fat cream cheese, softened (225g)
- 1 1/2 cups heavy whipping cream, cold (360ml)
- 1 teaspoon vanilla extract
- 1 tablespoon fresh lemon juice
- 1 cup graham cracker crumbs (about 100g), lightly toasted
- A pinch of salt
Instructions
- Toast the graham cracker crumbs in a dry skillet over medium heat, stirring frequently for 3-5 minutes until golden and fragrant. Set aside to cool completely.
- If using fresh huckleberries, rinse and pat dry. If frozen, thaw fully and drain any excess liquid. Place berries in a small bowl with 2 tablespoons of sugar and 1 tablespoon of lemon juice. Let macerate for 10 minutes.
- In a large bowl, beat the softened cream cheese and remaining 1/2 cup sugar with an electric mixer until smooth and creamy, about 2 minutes. Add vanilla extract and mix until combined.
- In a separate bowl, whip the cold heavy cream to soft peaks.
- Gently fold the whipped cream into the cream cheese mixture in batches, maintaining volume and lightness.
- Fold in the huckleberries and graham cracker crumbs, reserving a few for garnish.
- Pour the mixture into a loaf pan or freezer-safe container. Smooth the top and sprinkle reserved berries and crumbs on top.
- Cover and freeze for at least 6 hours or overnight until firm but scoopable.
- Let the ice cream sit at room temperature for 5 minutes before scooping.
Notes
Use full-fat cream cheese and heavy cream for best texture. Toast graham cracker crumbs for added flavor and crunch. Drain excess juice from berries to avoid icy texture. If mixture is too stiff after freezing, thaw for 10 minutes before serving. Whip cream to soft peaks to maintain creaminess. Dairy-free and gluten-free substitutions are possible.
Nutrition
- Serving Size: 1/8 of recipe
- Calories: 280
- Fat: 22
- Carbohydrates: 18
- Protein: 4
Keywords: huckleberry ice cream, no-churn ice cream, cheesecake ice cream, homemade dessert, easy ice cream recipe, summer dessert



