“Hey, can you whip up something sweet real quick? No baking, please!” That’s the kind of text I got from a friend on a day when the oven was already screaming from dinner duty. Honestly, I was skeptical—no-bake desserts often feel like a compromise, right? But then I remembered this creamy no-bake banana pudding trifle I’d been playing around with, the one that’s as much about ease as indulgence.
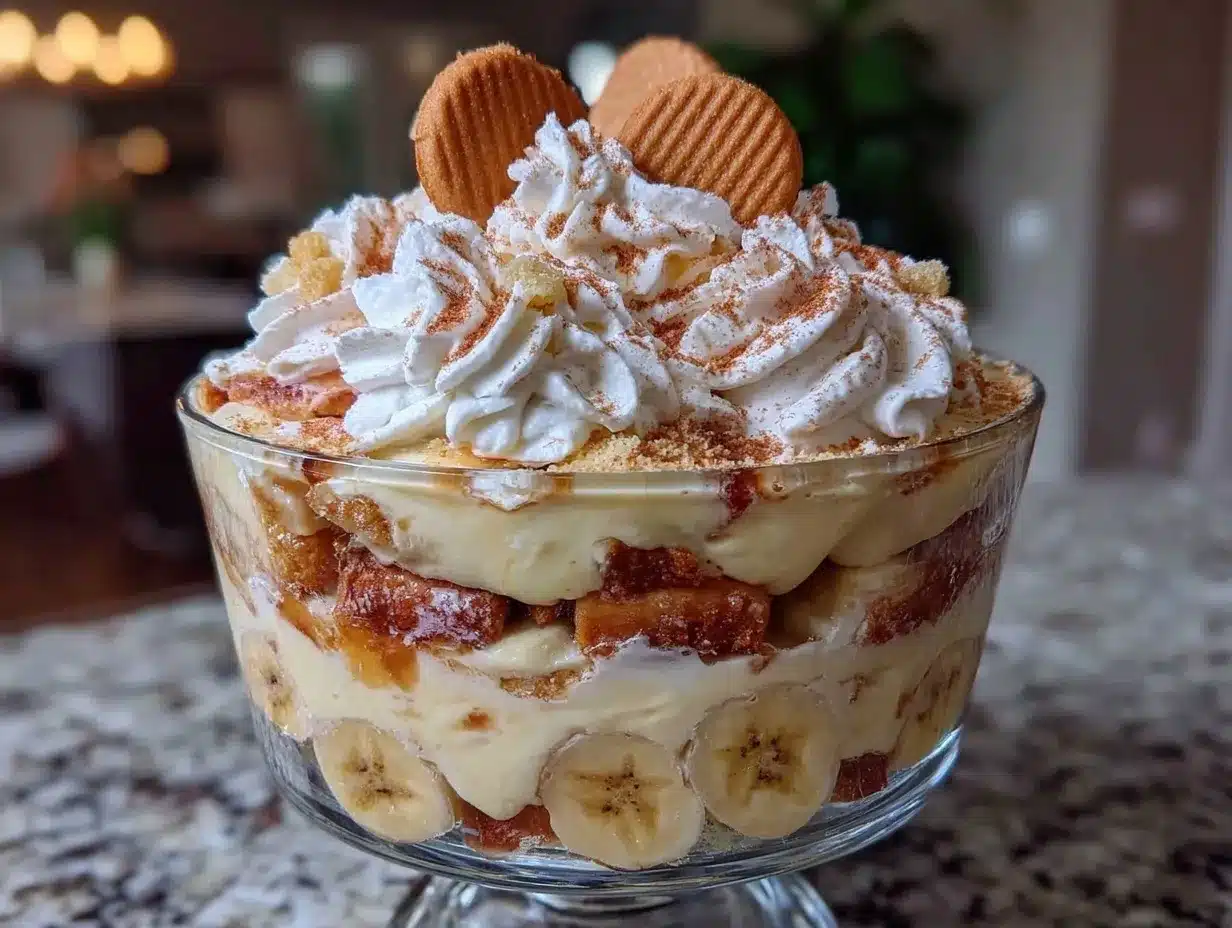
There’s something about layering soft vanilla wafers, ripe banana slices, and that luscious pudding that feels like a little secret joy in every bite. It’s the kind of dessert that doesn’t need to be fancy or fussy—just honest comfort that shows up when you need it most. The first time I tossed it together, I wasn’t expecting much. But the creamy texture and fresh banana flavor won me over so quickly, I ended up making it three times that week (no exaggeration!).
What stuck with me, though, wasn’t just how easy it was to assemble or how it saved the day. It was that quiet moment, spoon in hand, realizing that homemade doesn’t have to be complicated to feel like a treat. Somehow, this no-bake banana pudding trifle manages to bring that warmth and nostalgia with a fresh, light twist. It’s the kind of dessert that invites you to slow down and savor, even if only for a few bites.
Why You’ll Love This Recipe
This creamy no-bake banana pudding trifle isn’t your average banana pudding. After testing countless versions, this one stood out for its simplicity and that perfect creamy indulgence you crave without standing over a hot stove.
- Quick & Easy: Ready in under 20 minutes, making it perfect for busy weeknights or spontaneous get-togethers.
- Simple Ingredients: Uses pantry and fridge staples—no last-minute grocery runs needed.
- Perfect for Any Occasion: Whether it’s a casual family dinner or a potluck, this trifle fits right in.
- Crowd-Pleaser: Kids adore it, and adults ask for seconds (which is always a win).
- Unbelievably Delicious: The creamy pudding layered with fresh bananas and vanilla wafers hits that nostalgic comfort note with a smooth, fresh finish.
What sets this recipe apart is the balance of textures and flavors. The pudding is velvety thanks to a blend of cream cheese and whipped topping, not just plain instant pudding mix. And I love how the vanilla wafers stay slightly crisp, adding that contrast to the soft bananas and creamy layers.
Honestly, it’s this recipe’s approachable nature that makes it memorable. I often find myself reaching for it when I want something that feels indulgent but doesn’t eat up my afternoon. Plus, if you’re into no-bake treats like the creamy tiramisu icebox cake or easy no-bake strawberry pretzel salad, this one will slide right into your dessert rotation.
What Ingredients You Will Need
This recipe uses simple, wholesome ingredients that come together to deliver bold flavor and that satisfying creamy texture without any fuss. Most are pantry staples or easy to find in your local grocery store.
- Vanilla Wafers: About 40 wafers (around 9 ounces or 255 grams) – they add sweetness and crunch. I like using the classic Nilla brand for the perfect snap.
- Ripe Bananas: 4 medium bananas, sliced – ripe but not overly mushy, they bring fresh fruit flavor and natural sweetness.
- Instant Vanilla Pudding Mix: 1 package (3.4 ounces or 96 grams) – this forms the creamy base. You can swap with sugar-free if preferred.
- Cold Whole Milk: 2 cups (480 ml) – for mixing the pudding; whole milk gives richness, but 2% works fine too.
- Cream Cheese: 8 ounces (225 grams), softened – adds tang and creaminess, making the pudding ultra-smooth.
- Powdered Sugar: 1 cup (120 grams) – balances the tang of cream cheese with sweetness.
- Whipped Topping: 2 cups (about 480 ml), thawed – I prefer store-bought frozen whipped topping for ease, but homemade whipped cream is lovely if you have time.
- Vanilla Extract: 1 teaspoon – enhances the vanilla flavor throughout the trifle.
- Lemon Juice: 1 tablespoon – tossed with banana slices to prevent browning and add a slight brightness.
You can easily substitute almond milk for a dairy-free twist or use Greek yogurt in place of some cream cheese for a tangier version. For summer vibes, fresh berries make a nice topping or layering addition instead of or alongside bananas.
Equipment Needed
- Mixing Bowls: One large bowl for pudding and cream cheese mixture, and a smaller one for banana prep.
- Electric Mixer: Handheld or stand mixer for whipping cream cheese and folding in whipped topping smoothly.
- Measuring Cups and Spoons: For precise ingredient amounts—trust me, pudding is picky about measurements.
- Spatula: A flexible silicone spatula for gentle folding without deflating the whipped topping.
- Glass Trifle Bowl or Clear Serving Dish: For layering and showing off the beautiful trifle layers.
- Knife and Cutting Board: For slicing bananas evenly.
If you don’t have a trifle bowl, a large glass bowl or even individual parfait glasses work nicely. For whipping cream from scratch, a chilled metal bowl and whisk or electric beaters are handy. I’ve found that a handheld mixer speeds things up and avoids lumps in the cream cheese layer.
Preparation Method
- Prepare the Bananas: Peel and slice 4 medium bananas into ¼ inch (6 mm) thick rounds. Toss immediately with 1 tablespoon lemon juice in a medium bowl to prevent browning. Set aside.
- Make the Cream Cheese Mixture: In a large bowl, beat 8 ounces (225 g) softened cream cheese with 1 cup (120 g) powdered sugar until smooth and creamy, about 2-3 minutes using an electric mixer.
- Mix Instant Pudding: Whisk the 3.4-ounce (96 g) instant vanilla pudding mix with 2 cups (480 ml) cold whole milk in a separate bowl until thickened, about 2 minutes. Let it sit for 5 minutes to fully set.
- Combine Pudding and Cream Cheese: Gently fold the prepared pudding into the cream cheese mixture until fully combined and smooth. Be careful not to overmix.
- Fold in Whipped Topping: Carefully fold in 2 cups (480 ml) thawed whipped topping using a spatula. The mixture should be light, fluffy, and creamy without lumps.
- Layer the Trifle: In your trifle bowl, start with a layer of vanilla wafers (about 1/3 of the total). Next, add a layer of banana slices, then a generous layer of pudding mixture. Repeat layers twice more, ending with pudding on top.
- Chill: Cover the trifle with plastic wrap and refrigerate for at least 4 hours, or overnight. This allows the wafers to soften slightly and flavors to meld.
- Garnish and Serve: Right before serving, garnish with a few whole vanilla wafers and banana slices for a pretty finish.
If the pudding feels too thick after chilling, a quick fold-in of a bit more whipped topping brightens the texture. Also, if you’re short on time, chilling for 2 hours will still yield a tasty dessert but the layers won’t be quite as melded. Trust me, patience pays off here.
Cooking Tips & Techniques
One trick I learned the hard way: don’t skip the lemon juice on the bananas. Without it, the slices turn brown, and that just kills the fresh vibe of this dessert. Toss them gently but thoroughly so each slice gets coated.
When folding in the whipped topping, use a light hand. You want to keep that fluffy texture, not turn the mixture into a dense blob. I usually fold in thirds, turning the bowl with one hand and gently folding with the other.
Another tip—use room temperature cream cheese. Cold cream cheese is stubborn and often leaves lumps, so plan ahead to soften it on the counter for about 30 minutes.
For the vanilla wafers, don’t crush them; the trifle’s charm is in the bite contrast. Letting them sit in the fridge softens them just enough, but I like when there’s still some texture.
If you want to multitask, assemble the pudding mixture a day ahead and layer everything the next day. This keeps your prep light on serving day.
Variations & Adaptations
Here are a few ways to make this creamy no-bake banana pudding trifle your own:
- Chocolate Banana: Add a layer of chocolate pudding or sprinkle cocoa powder between layers for a richer flavor.
- Gluten-Free: Swap vanilla wafers for gluten-free cookies or crushed gluten-free graham crackers.
- Berry Twist: Mix in fresh strawberries or blueberries between layers for a colorful, seasonal change.
- Dairy-Free: Use coconut cream-based whipped topping, dairy-free cream cheese alternatives, and almond or oat milk for pudding.
- Crunchy Topping: Top with toasted pecans or walnuts for an added nutty crunch that complements the creaminess.
Personally, I once tried swapping the vanilla wafers with chunks of leftover pound cake from my rich million dollar pound cake, and it gave the trifle a denser, buttery texture that was a total hit for a brunch gathering.
Serving & Storage Suggestions
This dessert is best served chilled straight from the fridge. The creamy layers will be set but still soft and luscious. I like to serve it in the trifle dish itself, letting guests scoop their own portions to enjoy the pretty layers.
Pair it with a cup of coffee or a light sparkling wine for a simple yet satisfying finish to any meal. For something fruity and refreshing alongside, the copycat Starbucks strawberry açaí refresher is a perfect match on warmer days.
Store leftover trifle covered in the refrigerator for up to 3 days. The bananas will continue to soften, and the wafers will become more pudding-like but still delicious. Avoid freezing, as the texture will suffer once thawed.
To re-serve, give the trifle a gentle stir or add a fresh banana layer on top to brighten it back up.
Nutritional Information & Benefits
This creamy no-bake banana pudding trifle offers a balanced treat with natural fruit sugars and a creamy protein boost from the cream cheese. A typical serving (about 1 cup or 200 grams) contains roughly:
| Nutrient | Amount |
|---|---|
| Calories | 320 kcal |
| Fat | 16 g |
| Carbohydrates | 40 g |
| Protein | 5 g |
| Sugar | 28 g |
Bananas provide potassium and fiber, which help with digestion and heart health. Cream cheese adds calcium and protein, while whipped topping contributes to the creamy texture but also fat content, so moderation is key.
If you’re watching carbs or sugar, swapping to sugar-free pudding and using a sugar substitute can lighten the dessert without losing that creamy feel.
Conclusion
This creamy no-bake banana pudding trifle is one of those recipes that feels like a little homemade indulgence without the hassle. Its layers of smooth pudding, fresh bananas, and crunchy vanilla wafers come together in a way that’s comforting, nostalgic, and honestly, a bit addictive.
Feel free to tweak it to fit your pantry or dietary needs — that’s part of the fun! I love how this recipe can adapt from a family dessert to a show-stopping potluck centerpiece. It’s become my go-to when I want something homemade but need to keep it simple.
Give it a try, and I’d love to hear how you make it your own—drop your comments or twists below, and let’s keep sharing those easy homemade indulgences!
FAQs
Can I make the banana pudding trifle ahead of time?
Absolutely! In fact, chilling the trifle for at least 4 hours or overnight allows the flavors to meld beautifully. Just cover it tightly and refrigerate until ready to serve.
What if I don’t have instant pudding mix?
You can make a homemade vanilla pudding from scratch using cornstarch, sugar, milk, and vanilla extract, but the instant version saves a lot of time and effort.
How do I prevent the bananas from browning?
Toss sliced bananas with lemon juice right after cutting. This slows oxidation and keeps them looking fresh in the trifle.
Can I use fresh whipped cream instead of store-bought topping?
Yes! Whip heavy cream with a little powdered sugar and vanilla until soft peaks form, then fold it into the pudding mixture for a fresher taste.
Is this recipe suitable for gluten-free diets?
Not as is, since vanilla wafers contain gluten. However, you can substitute gluten-free cookies or crackers to make it safe for gluten-free eaters.
Pin This Recipe!
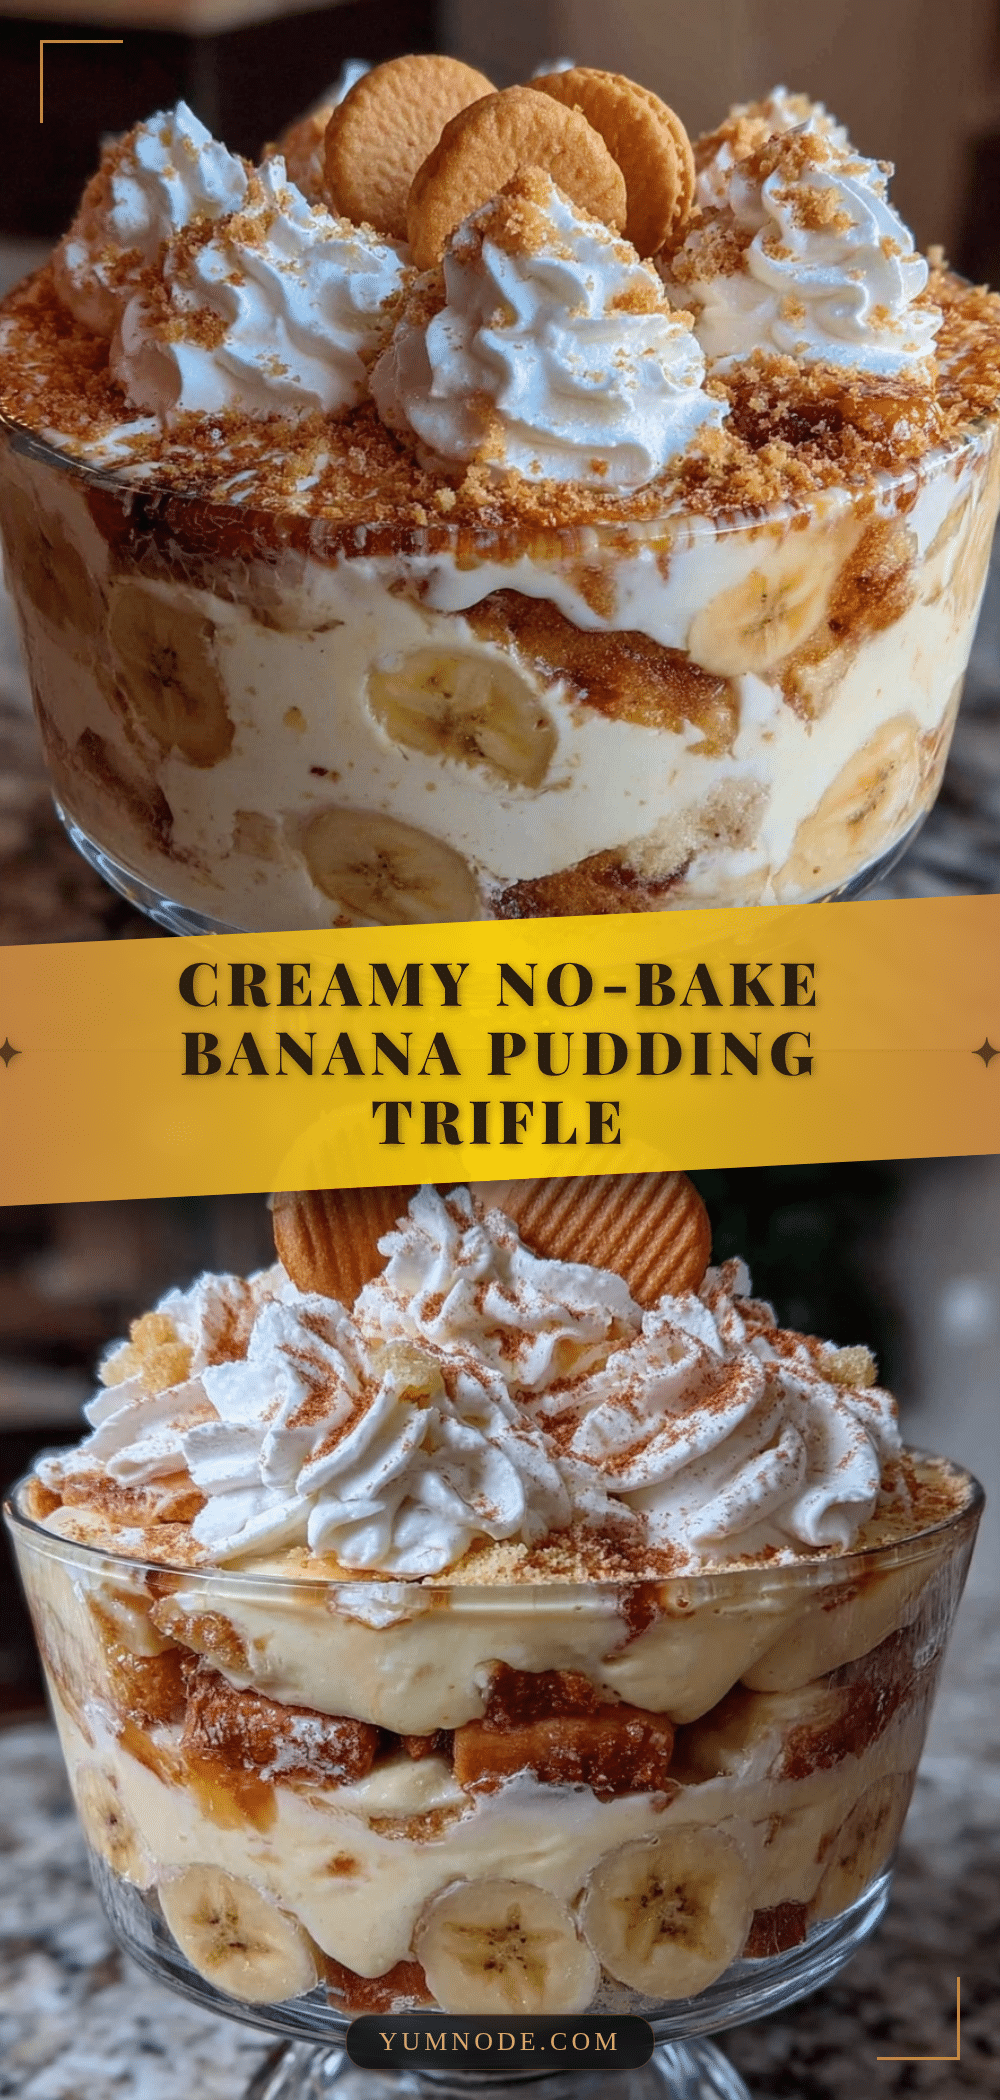
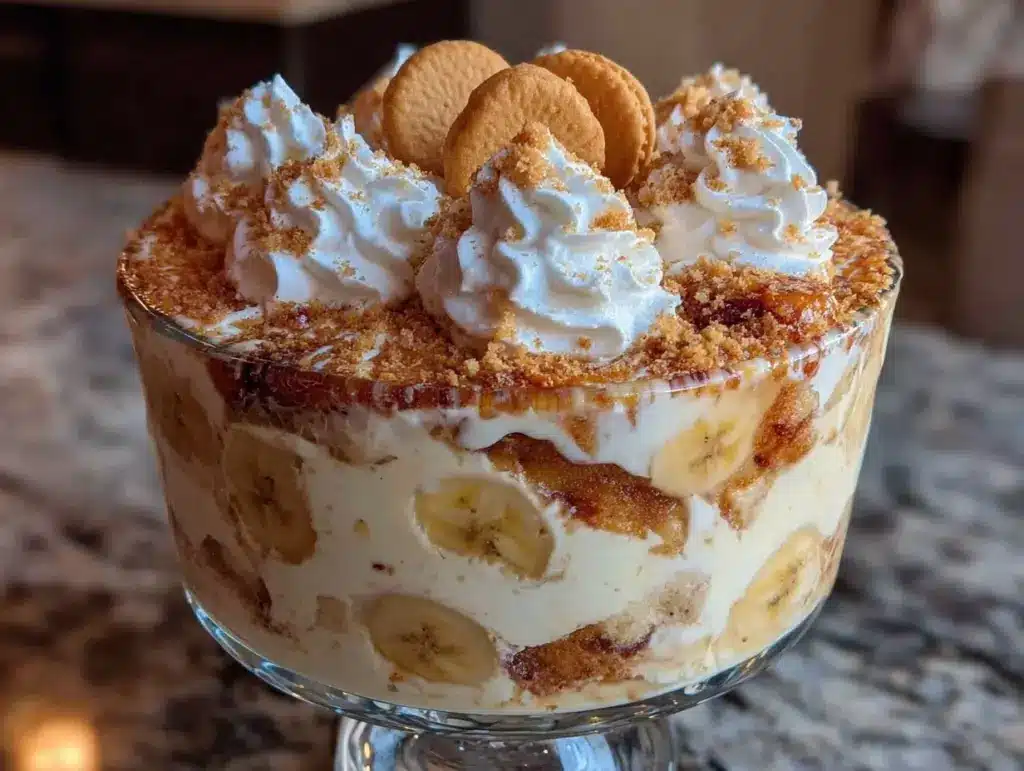
Creamy No-Bake Banana Pudding Trifle

A quick and easy no-bake dessert featuring layers of vanilla wafers, ripe bananas, and a creamy pudding mixture made with cream cheese and whipped topping. Perfect for any occasion and ready in under 20 minutes.
- Prep Time: 15 minutes
- Cook Time: 0 minutes
- Total Time: 4 hours 15 minutes
- Yield: 8 servings 1x
- Category: Dessert
- Cuisine: American
Ingredients
- About 40 vanilla wafers (around 9 ounces or 255 grams)
- 4 medium ripe bananas, sliced
- 1 package (3.4 ounces or 96 grams) instant vanilla pudding mix
- 2 cups (480 ml) cold whole milk
- 8 ounces (225 grams) cream cheese, softened
- 1 cup (120 grams) powdered sugar
- 2 cups (about 480 ml) thawed whipped topping
- 1 teaspoon vanilla extract
- 1 tablespoon lemon juice
Instructions
- Peel and slice 4 medium bananas into 1/4 inch (6 mm) thick rounds. Toss immediately with 1 tablespoon lemon juice in a medium bowl to prevent browning. Set aside.
- In a large bowl, beat 8 ounces (225 g) softened cream cheese with 1 cup (120 g) powdered sugar until smooth and creamy, about 2-3 minutes using an electric mixer.
- Whisk the 3.4-ounce (96 g) instant vanilla pudding mix with 2 cups (480 ml) cold whole milk in a separate bowl until thickened, about 2 minutes. Let it sit for 5 minutes to fully set.
- Gently fold the prepared pudding into the cream cheese mixture until fully combined and smooth. Be careful not to overmix.
- Carefully fold in 2 cups (480 ml) thawed whipped topping using a spatula. The mixture should be light, fluffy, and creamy without lumps.
- In your trifle bowl, start with a layer of vanilla wafers (about 1/3 of the total). Next, add a layer of banana slices, then a generous layer of pudding mixture. Repeat layers twice more, ending with pudding on top.
- Cover the trifle with plastic wrap and refrigerate for at least 4 hours, or overnight. This allows the wafers to soften slightly and flavors to meld.
- Right before serving, garnish with a few whole vanilla wafers and banana slices for a pretty finish.
Notes
Use lemon juice on bananas to prevent browning. Fold whipped topping gently to keep mixture light and fluffy. Use room temperature cream cheese to avoid lumps. Vanilla wafers should not be crushed to maintain texture contrast. Chilling for at least 4 hours is recommended for best flavor melding; 2 hours is acceptable but less optimal. Can substitute almond milk and dairy-free cream cheese for a dairy-free version. Gluten-free cookies can replace vanilla wafers for gluten-free diets.
Nutrition
- Serving Size: About 1 cup (200 gra
- Calories: 320
- Sugar: 28
- Fat: 16
- Carbohydrates: 40
- Protein: 5
Keywords: no-bake, banana pudding, trifle, easy dessert, creamy, vanilla wafers, quick dessert, homemade dessert