It was one of those evenings when I’d promised to bring dessert to a friend’s gathering but realized I hadn’t planned a thing. Honestly, the idea of turning on the oven after a long day sounded like a cruel joke. Then, as I scrolled through my pantry, my eyes landed on that iconic jar of Lotus Biscoff spread—creamy, spiced, and oh-so-inviting. I half-remembered a no-bake cheesecake recipe whispered among friends, and with a shrug, I decided to give it a shot.
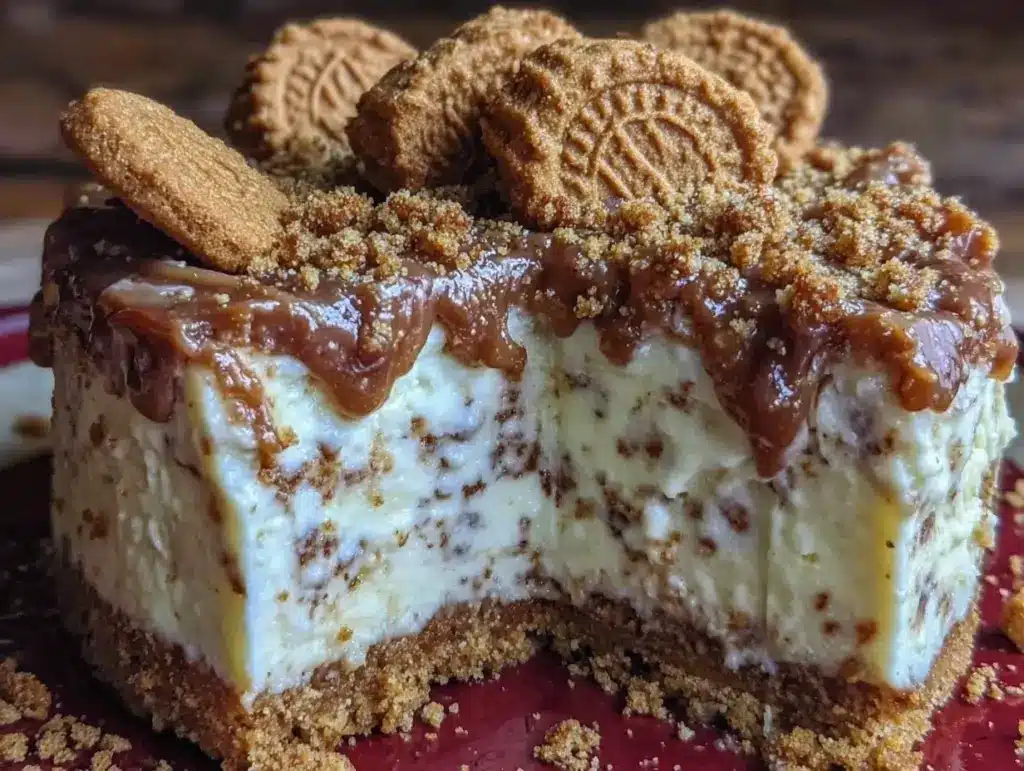
The result? A creamy no-bake Lotus Biscoff cheesecake that somehow managed to impress even the most skeptical dessert lovers at the party. The crust had that perfect crunch with the signature caramelized notes of Biscoff cookies, while the filling was so smooth and luscious it practically melted in your mouth. I was genuinely surprised that something so simple — and oven-free! — could taste this indulgent.
Over the next week, I found myself making this cheesecake multiple times, tweaking the balance between sweet and spice, and honestly, it became my go-to comfort dessert. There’s something quietly satisfying about a no-bake cheesecake that’s as effortless as it is decadent, and the Lotus Biscoff spread adds a nostalgic twist that keeps folks asking for the recipe again and again. I guess it’s true what they say: sometimes the best recipes come from a little bit of improvisation and a lot of love.
So, if you’re looking for a dessert that’s easy to make, requires no oven, and brings that creamy, caramelized magic of Lotus Biscoff to your table — this cheesecake might just become your new favorite too.
Why You’ll Love This Recipe
- Quick & Easy: Comes together in under 20 minutes, making it perfect for busy weeknights or last-minute dessert cravings.
- Simple Ingredients: Uses pantry staples like cream cheese, whipped cream, and the star player—Lotus Biscoff spread—so no need for fancy shopping trips.
- Perfect for Gatherings: Whether it’s a casual get-together or a special occasion, this cheesecake impresses without the stress.
- Crowd-Pleaser: Kids, adults, and even those who usually shy away from sweets love the unique spiced caramel flavor.
- Unbelievably Delicious: The creamy texture combined with the crunchy Biscoff cookie crust creates a harmony that’s just irresistible.
- This isn’t your average no-bake cheesecake — folding in Lotus Biscoff spread gives it a depth of flavor and a silky smoothness you don’t find everywhere.
- It’s that kind of dessert you’ll make repeatedly because it hits all the right notes: effortless, flavorful, and comforting.
What Ingredients You Will Need
This recipe uses simple, wholesome ingredients to deliver bold flavor and satisfying texture without the fuss. Most of these are pantry staples, with the Lotus Biscoff spread bringing that special touch.
- Biscoff Cookies: About 200g (7 oz), crushed finely for a crunchy, caramelized base. I like to use Lotus brand for authentic flavor.
- Unsalted Butter: 100g (7 tablespoons), melted, to bind the crust.
- Cream Cheese: 400g (14 oz), softened to room temperature for a smooth filling.
- Lotus Biscoff Spread: 200g (about 3/4 cup), the creamy spread that infuses the cheesecake with its signature warmth and spice.
- Heavy Whipping Cream: 300ml (1 1/4 cups), chilled, whipped to soft peaks to lighten the filling.
- Powdered Sugar: 100g (3/4 cup), sifted to sweeten the filling without grittiness.
- Vanilla Extract: 1 teaspoon, to round out the flavors.
- Lemon Juice: 1 tablespoon, optional – adds a subtle brightness balancing the sweetness.
Substitution tip: For a dairy-free option, try swapping cream cheese with vegan cream cheese and use coconut cream instead of heavy cream. Almond flour can replace crushed cookies for a gluten-free crust, though you’ll lose that classic Biscoff crunch.
Equipment Needed
- Springform Pan (8-inch / 20 cm): Ideal for easy removal without messing up the sides. If you don’t have one, a regular cake pan lined well with parchment works too.
- Mixing Bowls: At least two – one for the crust and one for the filling.
- Electric Mixer or Stand Mixer: To whip cream and cream cheese until smooth and fluffy. A hand whisk can work but will take extra elbow grease.
- Food Processor or Blender: Helpful for crushing Biscoff cookies finely and evenly, though placing cookies in a sealed bag and rolling with a rolling pin can do the trick.
- Spatula: For folding ingredients gently without deflating the whipped cream.
Personally, I learned that a good-quality springform pan with a tight seal avoids leaks and keeps the crust crisp. Also, a chilled mixing bowl helps whip cream faster and to the perfect texture, which can be a game-changer.
Preparation Method
- Prepare the Crust (10 minutes): Crush the Biscoff cookies finely using a food processor or by placing them in a zip-top bag and crushing with a rolling pin. Transfer to a bowl and pour in the melted butter. Stir until the mixture resembles wet sand.
Press this mixture evenly into the bottom of the greased springform pan. Use the back of a spoon or a flat-bottomed glass to compact it firmly. Pop it into the fridge while you make the filling. - Whip the Cream (5 minutes): In a chilled bowl, whip the heavy cream until soft peaks form. Be careful not to overwhip – you want it light and airy but still smooth enough to fold.
- Mix the Filling (10 minutes): In a separate bowl, beat the softened cream cheese until smooth and creamy. Add the powdered sugar and vanilla extract, mixing until fully combined.
Stir in the Lotus Biscoff spread until the mixture is silky and uniform. Add the lemon juice if using, to brighten the flavor. - Fold in the Whipped Cream (3 minutes): Gently fold the whipped cream into the cream cheese mixture in three parts. Use a spatula and careful strokes to keep the filling light and fluffy without losing volume.
- Assemble & Chill (at least 4 hours): Pour the filling over the chilled crust, smoothing the top with a spatula. Cover with plastic wrap and place in the refrigerator for at least 4 hours, ideally overnight, to set completely.
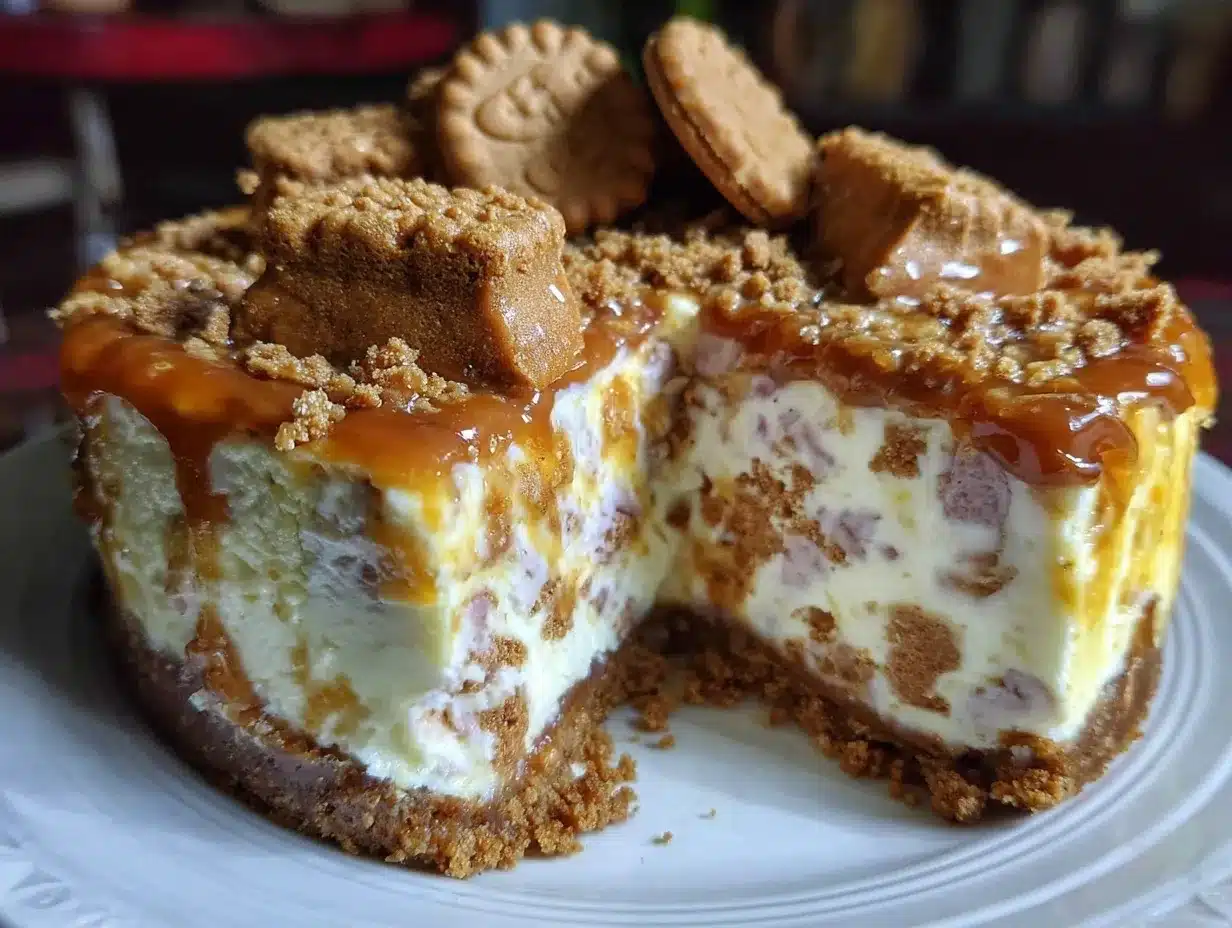
- Serve: Carefully release the cheesecake from the springform pan. For a finishing touch, sprinkle crushed Biscoff crumbs or drizzle extra spread on top before slicing.
Pro Tip: If your cream cheese isn’t softened enough, lumps can form. Give it some extra minutes at room temperature or microwave in short bursts (5 seconds) to soften gently. Also, folding whipped cream too aggressively will deflate your filling; patience here pays off.
Cooking Tips & Techniques
One trick I picked up is always to chill your mixing bowls and beaters before whipping the cream—it whips up faster and holds better. Also, don’t rush the folding process; it’s tempting to mix quickly, but gentle folding keeps the filling airy and light.
Another thing—don’t skip sifting powdered sugar! It prevents graininess in the filling, making every bite silky smooth. And trust me, using room temperature cream cheese is non-negotiable. I once tried tossing cold cream cheese straight from the fridge and ended up with a clumpy mess that took forever to smooth out.
Multi-tasking is your friend here: while the crust chills, whip the cream and prepare the filling. This way, you cut down the overall time without compromising texture. Lastly, if you want an extra firm cheesecake, adding a teaspoon of gelatin dissolved in warm water can help, but honestly, I prefer the lightness without it.
Variations & Adaptations
- Chocolate Biscoff Cheesecake: Swirl in melted dark chocolate into the filling before folding in the whipped cream for a mocha-inspired twist.
- Vegan Version: Use vegan cream cheese and coconut cream whipped until fluffy. Replace butter with coconut oil and choose gluten-free Biscoff-style cookies.
- Seasonal Fruits: Top with fresh berries or poached pears to add a hint of freshness and color contrast.
- Nutty Crunch: Mix chopped toasted pecans or hazelnuts into the crust for added texture and depth.
- Personally, I once added a pinch of cinnamon and a splash of espresso to the filling, which gave it a cozy, café vibe that disappeared in minutes.
Serving & Storage Suggestions
This cheesecake is best served chilled, directly from the fridge. I usually slice it into generous wedges and serve with a dollop of whipped cream or a drizzle of extra Lotus Biscoff spread. It pairs beautifully with a strong cup of coffee or a lightly sweet dessert wine.
Store leftovers in an airtight container in the refrigerator for up to 3 days. For longer storage, wrap tightly and freeze for up to a month. When reheating, just let it thaw overnight in the fridge to preserve that creamy texture.
Interestingly, the flavors deepen a bit after a day, so sometimes it tastes even better the next day—a happy accident worth waiting for.
Nutritional Information & Benefits
Per serving (based on 8 slices), this creamy no-bake Lotus Biscoff cheesecake contains approximately:
| Nutrient | Amount |
|---|---|
| Calories | 350-400 kcal |
| Fat | 25g (mostly from cream cheese and butter) |
| Carbohydrates | 30g (includes sugars from Biscoff and powdered sugar) |
| Protein | 5g |
The cream cheese provides calcium and protein, while the Biscoff spread brings a unique flavor profile from caramelized sugar and cinnamon, though it’s quite sweet, so moderation is key. For those watching gluten intake, gluten-free cookie alternatives can be used.
From a wellness perspective, this dessert offers a satisfying treat that feels indulgent but can be portioned thoughtfully, making it a nice balance between comfort and conscious eating.
Conclusion
This creamy no-bake Lotus Biscoff cheesecake has become my little secret weapon for stress-free dessert that never disappoints. It’s simple enough for beginners and indulgent enough to impress even the pickiest eaters. What I love most is how effortlessly it brings that warm, spiced Biscoff flavor into a silky, luscious cheesecake without firing up the oven.
Feel free to play around with toppings or mix-ins to make it your own — that’s part of the fun. If you give it a try, I’d love to hear how you customize it or any little hacks you discover along the way.
Here’s to sweet moments made simple and shared with good company.
FAQs
Can I make this cheesecake ahead of time?
Absolutely! In fact, it tastes better after chilling overnight, giving the flavors a chance to meld and the texture to set perfectly.
Do I have to use Lotus Biscoff spread, or can I substitute it?
While Lotus Biscoff spread is key for that signature flavor, you can try speculoos or cookie butter spreads from other brands, but the taste might vary slightly.
What if I don’t have a springform pan?
You can use a regular cake pan lined with parchment paper, but removing the cheesecake will be a bit trickier. Chilling well helps keep it firm.
Can I freeze leftover cheesecake?
Yes, wrap it tightly and freeze for up to one month. Thaw in the fridge overnight before serving for best texture.
Is this recipe suitable for gluten-free diets?
It can be! Simply swap out the Biscoff cookies for gluten-free cookies or use almond flour for the crust to make it gluten-free friendly.
Pin This Recipe!
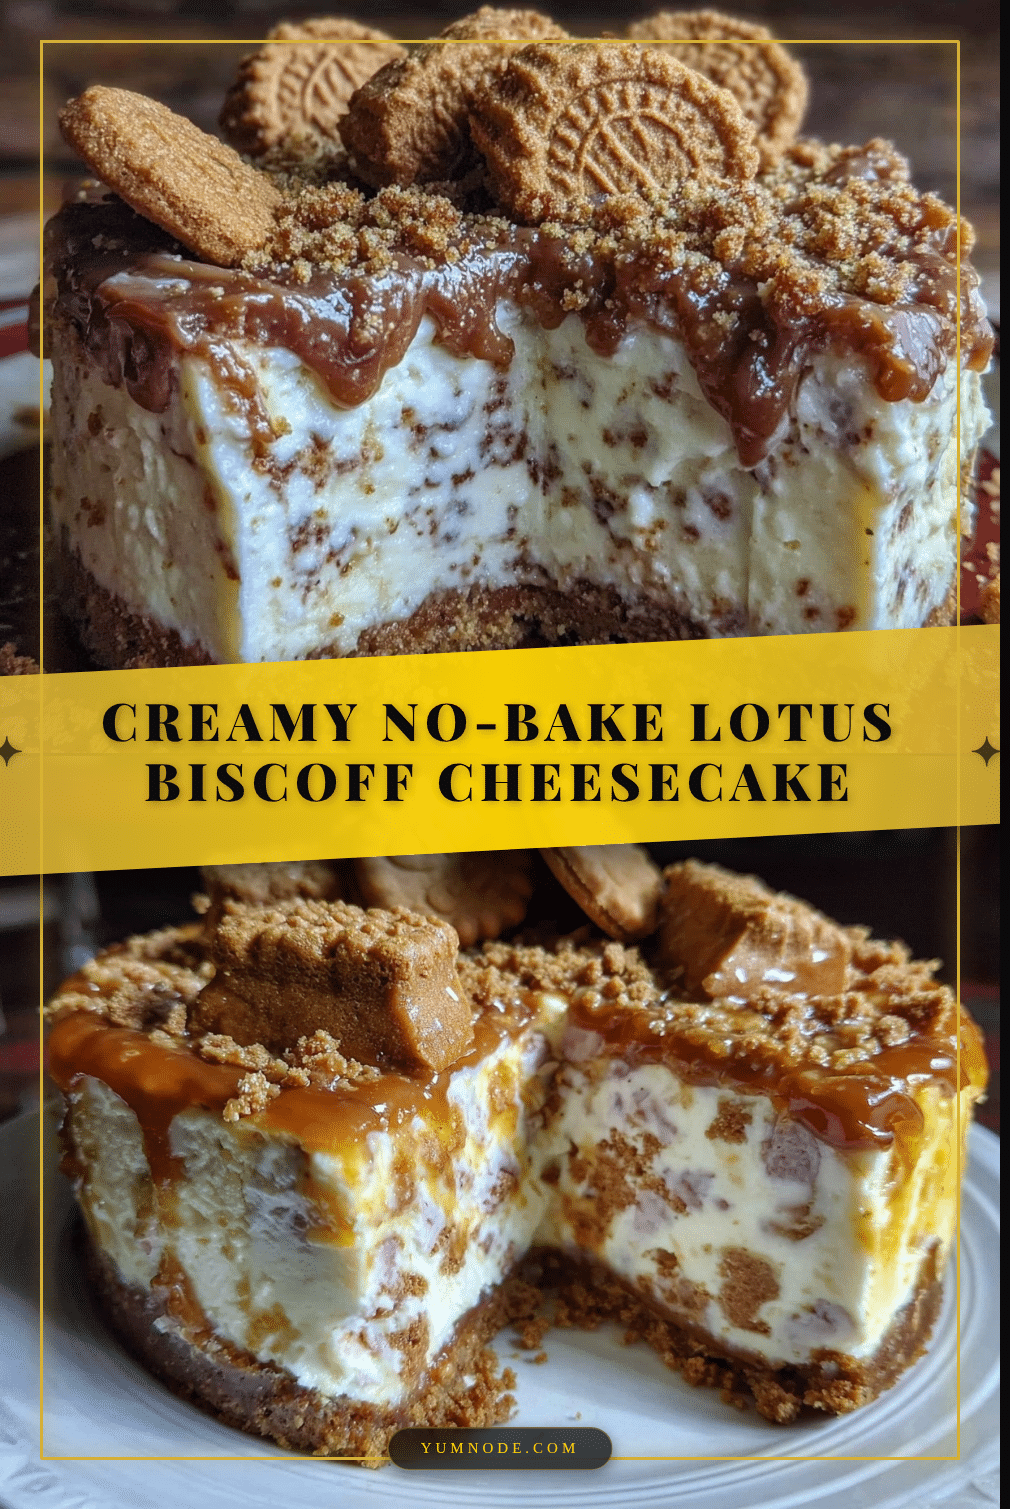
Creamy No-Bake Lotus Biscoff Cheesecake

A creamy no-bake cheesecake featuring a crunchy Lotus Biscoff cookie crust and a luscious, spiced filling. Perfect for beginners and ideal for gatherings, this dessert requires no oven and comes together quickly.
- Prep Time: 20 minutes
- Cook Time: 0 minutes
- Total Time: 4 hours 20 minutes
- Yield: 8 servings 1x
- Category: Dessert
- Cuisine: American
Ingredients
- 200g (7 oz) Biscoff Cookies, crushed finely
- 100g (7 tablespoons) Unsalted Butter, melted
- 400g (14 oz) Cream Cheese, softened to room temperature
- 200g (about 3/4 cup) Lotus Biscoff Spread
- 300ml (1 1/4 cups) Heavy Whipping Cream, chilled and whipped to soft peaks
- 100g (3/4 cup) Powdered Sugar, sifted
- 1 teaspoon Vanilla Extract
- 1 tablespoon Lemon Juice (optional)
Instructions
- Prepare the crust: Crush the Biscoff cookies finely using a food processor or by placing them in a zip-top bag and crushing with a rolling pin. Transfer to a bowl and pour in the melted butter. Stir until the mixture resembles wet sand. Press this mixture evenly into the bottom of the greased springform pan. Use the back of a spoon or a flat-bottomed glass to compact it firmly. Pop it into the fridge while you make the filling.
- Whip the cream: In a chilled bowl, whip the heavy cream until soft peaks form. Be careful not to overwhip – you want it light and airy but still smooth enough to fold.
- Mix the filling: In a separate bowl, beat the softened cream cheese until smooth and creamy. Add the powdered sugar and vanilla extract, mixing until fully combined. Stir in the Lotus Biscoff spread until the mixture is silky and uniform. Add the lemon juice if using, to brighten the flavor.
- Fold in the whipped cream: Gently fold the whipped cream into the cream cheese mixture in three parts. Use a spatula and careful strokes to keep the filling light and fluffy without losing volume.
- Assemble & chill: Pour the filling over the chilled crust, smoothing the top with a spatula. Cover with plastic wrap and place in the refrigerator for at least 4 hours, ideally overnight, to set completely.
- Serve: Carefully release the cheesecake from the springform pan. For a finishing touch, sprinkle crushed Biscoff crumbs or drizzle extra spread on top before slicing.
Notes
Chill mixing bowls and beaters before whipping cream for better texture. Use room temperature cream cheese to avoid lumps. Fold whipped cream gently to keep filling airy. For extra firmness, gelatin can be added but is optional. Store leftovers in airtight container in fridge up to 3 days or freeze up to 1 month.
Nutrition
- Serving Size: 1 slice (1/8 of chee
- Calories: 375
- Sugar: 20
- Sodium: 250
- Fat: 25
- Saturated Fat: 15
- Carbohydrates: 30
- Fiber: 1
- Protein: 5
Keywords: no-bake cheesecake, Lotus Biscoff, easy dessert, creamy cheesecake, no oven dessert, Biscoff spread, quick cheesecake, beginner friendly