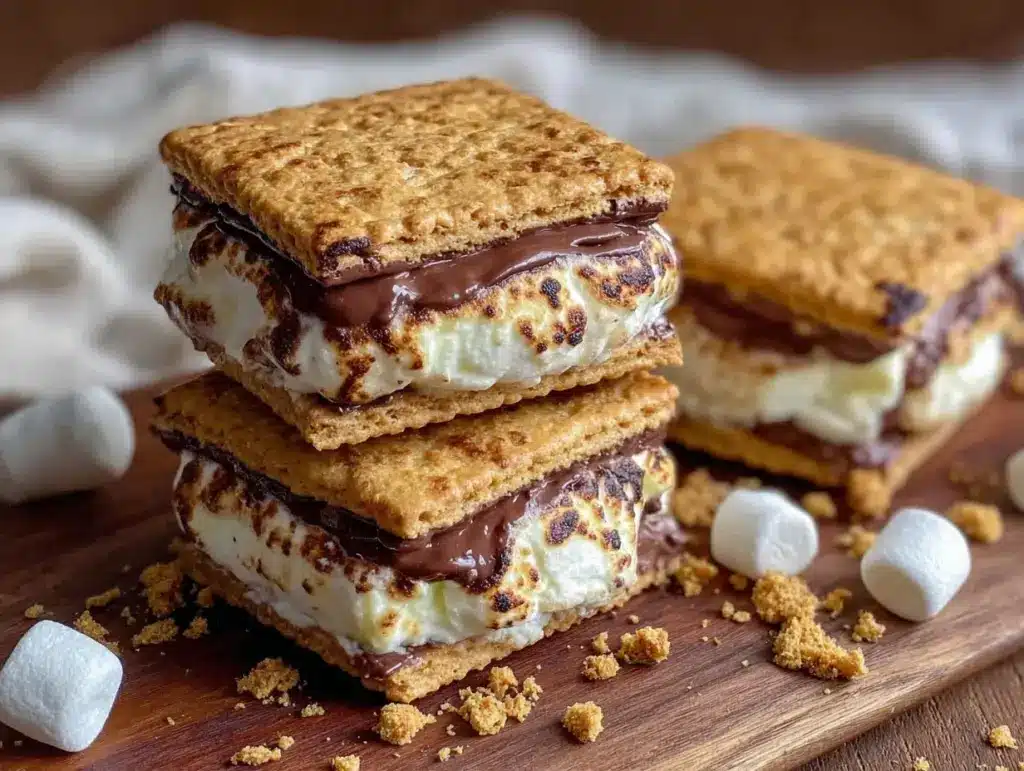
“You want s’mores? But in an ice cream sandwich?” my friend joked over the phone one summer evening. I was skeptical too—who ever thought to mash together that gooey campfire classic with creamy ice cream nestled between soft cookies? Honestly, I had tried making s’mores before, the traditional way, and it was always a sticky, slightly messy affair. But that night, craving something cool and comforting after a grueling day, I threw together what I now call Creamy S’mores Ice Cream Sandwiches.
It started as a low-key experiment—just some chocolate chip cookies, marshmallow fluff, and classic vanilla ice cream. I wasn’t expecting much, but the first bite was a little revelation: the crunch of the cookie, the smooth melt of ice cream, and the toasted marshmallow sweetness all hitting at once. It reminded me of those summer nights around a campfire, the smell of smoky wood in the air, the laughter, and the simple joy of sticky fingers and chocolate on my face.
Since then, I’ve made these ice cream sandwiches more times than I can count. Sometimes with a friend dropping by unexpectedly, sometimes just me savoring a quiet moment after work. It’s become one of those little treats that feels like a hug in dessert form, but without the mess or fuss of building a fire. I figured if you love nostalgic flavors with a creamy twist, this recipe will stick with you too.
There’s something about this combo that makes you pause, close your eyes, and just enjoy. It’s not fancy, but it’s honest and comforting—and that’s why it’s stayed in my rotation, ready whenever I need a little sweet reset.
Why You’ll Love This Recipe
From the first scoop to the final bite, these Creamy S’mores Ice Cream Sandwiches hit all the right notes, and here’s why:
- Quick & Easy: Ready in under 30 minutes, perfect for those spontaneous snack cravings or summer gatherings.
- Simple Ingredients: You probably already have most of these pantry staples—no need for a special trip to the store.
- Perfect for Nostalgic Treats: Great to bring back those childhood memories or to share as a fun twist at your next barbecue.
- Crowd-Pleaser: Kids and adults alike can’t get enough of the gooey marshmallow and chocolate combo with creamy ice cream.
- Unbelievably Delicious: The soft cookies, luscious ice cream, and toasted marshmallow create a texture and flavor harmony that’s pure comfort.
What sets this recipe apart? It’s the layering technique for the marshmallow fluff that keeps it creamy without melting into a sticky mess. Plus, swapping out traditional graham crackers for homemade chocolate chip cookies adds that rich, buttery crunch that makes every bite feel special. I’ve tested it with various ice cream flavors, but classic vanilla keeps the balance just right—nothing too overpowering, just that smooth creaminess to carry the s’mores magic.
Honestly, this recipe isn’t just another ice cream sandwich—it’s the kind you remember, the one you’re eager to make again when the weather warms up or when you want a little nostalgic comfort without the campfire setup.
What Ingredients You Will Need
This recipe uses simple, wholesome ingredients to deliver bold flavor and satisfying texture without the fuss. Most are pantry staples, and substitutions are easy if you want to tweak things.
- For the Cookies:
- 1 cup (226g) unsalted butter, softened (adds richness and softness)
- 1 cup (200g) granulated sugar
- 1 cup (220g) packed brown sugar
- 2 large eggs, room temperature
- 2 tsp vanilla extract (I like Nielsen-Massey for the best flavor)
- 3 cups (375g) all-purpose flour
- 1 tsp baking soda
- 1/2 tsp salt
- 2 cups (340g) semi-sweet chocolate chips
- For the Filling:
- 1 pint (473ml) good-quality vanilla ice cream, slightly softened (I recommend Häagen-Dazs or Breyers for creamy texture)
- 1 cup (240g) marshmallow fluff (keeps the filling light and creamy)
- Optional: pinch of cinnamon or cocoa powder to sprinkle inside for extra warmth
- For Toasting:
- Mini marshmallows or marshmallow fluff, toasted lightly with a kitchen torch or broiler (adds that campfire aroma)
Substitutions: Use almond flour for a gluten-free cookie option, or swap the vanilla ice cream with dairy-free coconut milk ice cream to keep it vegan-friendly. If you don’t have marshmallow fluff, softened marshmallows melted gently work too, but fluff gives the best creamy spread.
Equipment Needed
- Mixing bowls (at least two for wet and dry ingredients)
- Electric mixer or sturdy whisk (makes mixing easier, but hand whisking is doable if you’ve got patience)
- Baking sheets lined with parchment paper (prevents sticking and makes cleanup a breeze)
- Spatula for folding in chocolate chips and marshmallow fluff
- Kitchen torch or broiler for toasting marshmallows (optional, but really adds that authentic roasted flavor)
- Measuring cups and spoons (accuracy helps in baking cookies perfectly)
- Plastic wrap or airtight container for freezing sandwiches
If you don’t have a kitchen torch, toasting marshmallows under the broiler for a minute or two works well—just watch closely so they don’t burn. For those on a budget, a hand mixer works fine, but I find the stand mixer saves my wrists and speeds things up.
Preparation Method
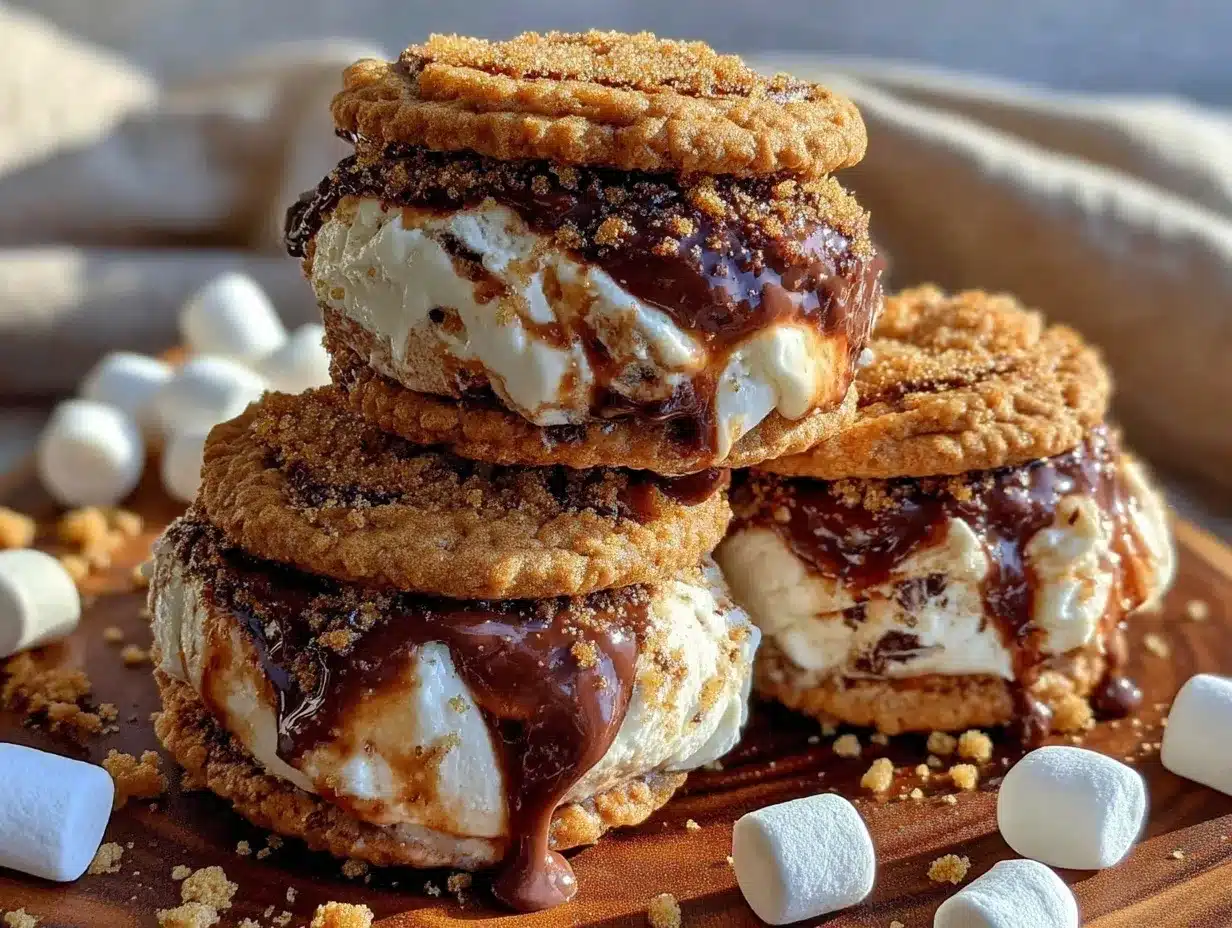
- Make the Cookie Dough: In a large bowl, cream together the softened butter, granulated sugar, and brown sugar until fluffy—about 3-4 minutes with an electric mixer. This step is key for soft, chewy cookies.
- Add Eggs and Vanilla: Beat in the eggs one at a time, then stir in the vanilla extract. The mixture might look a little curdled, but that’s okay.
- Combine Dry Ingredients: In a separate bowl, whisk together the flour, baking soda, and salt. Gradually add this to the wet mixture, mixing on low speed until just combined. Overmixing can make cookies tough.
- Fold in Chocolate Chips: Use a spatula to gently fold in the chocolate chips, making sure they’re evenly distributed.
- Chill Dough: Cover the dough and chill for at least 30 minutes—this helps the cookies keep their shape during baking and enhances flavor.
- Bake Cookies: Preheat oven to 350°F (175°C). Scoop dough into 2-tablespoon-sized balls and place on parchment-lined sheets, about 2 inches apart. Bake for 10-12 minutes or until edges are golden but centers still soft. Let cookies cool completely.
- Prepare Ice Cream Filling: Soften vanilla ice cream slightly for easier spreading. In a bowl, fold marshmallow fluff into the ice cream gently—don’t overmix, you want some fluffiness to remain.
- Assemble Sandwiches: Spread a generous scoop of the marshmallow-ice cream mixture onto the flat side of one cookie. Top with another cookie, pressing gently to spread the filling evenly to the edges.
- Toast the Marshmallow: If using mini marshmallows, sprinkle a few on top of the sandwich and lightly toast with a kitchen torch or under the broiler for 30 seconds to 1 minute. Alternatively, spread a thin layer of marshmallow fluff on the outside and torch it for that signature charred flavor.
- Freeze to Set: Wrap sandwiches individually in plastic wrap and freeze for at least 1 hour before serving to firm up the filling.
Pro tip: Keep a close eye when toasting marshmallows—they go from perfectly golden to burnt in seconds. And if your ice cream softens too much while assembling, pop the sandwiches back into the freezer for a bit before serving.
Cooking Tips & Techniques
Baking cookies for ice cream sandwiches needs a delicate balance—you want them soft enough to bite through easily but sturdy enough to hold the creamy filling. That’s why chilling the dough is a step I never skip; it prevents cookies from spreading too thin.
When mixing marshmallow fluff into the ice cream, fold gently to keep that light and airy texture—stirring too vigorously can make the filling heavy and icy.
Toasting marshmallow on the sandwich’s exterior adds a campfire touch that really brings the nostalgic flavor to life. If you don’t have a torch, the broiler works well but watch carefully to avoid burning. I once left it too long and had a smoky kitchen disaster—lesson learned!
Timing is everything—make the cookies ahead and freeze the assembled sandwiches for at least an hour. This way, they hold their shape, and the flavors meld perfectly. If you want to speed things up, you can freeze the cookies individually and assemble right before serving, but the filling might melt faster.
Variations & Adaptations
- Chocolate Lover’s Dream: Swap vanilla ice cream for chocolate or double chocolate chip ice cream to deepen the cocoa flavor.
- Berry Twist: Add a layer of raspberry jam or fresh berries inside for a tangy contrast to the sweetness—summer vibes all the way.
- Vegan Version: Use dairy-free coconut or almond milk ice cream, vegan marshmallow fluff, and substitute butter with coconut oil or vegan margarine in the cookie dough.
- Peanut Butter S’mores: Mix in a swirl of peanut butter into the ice cream filling for that salty-sweet kick.
- Seasonal Spice: Add a pinch of ground cinnamon or pumpkin pie spice to the cookie dough for a cozy fall flavor.
I once tried a salted caramel drizzle on top before freezing, and it was a game changer—if you like mixing sweet and salty, give it a go!
Serving & Storage Suggestions
Serve these ice cream sandwiches chilled or straight from the freezer. They’re perfect on a warm afternoon or as a sweet finish to a backyard barbecue. For presentation, a sprinkling of crushed graham crackers or a drizzle of melted chocolate adds a nice touch.
Pair with a cold glass of milk or for something more refreshing, a homemade strawberry acai refresher (like the one in this strawberry acai refresher recipe) balances the richness beautifully.
Store leftover sandwiches wrapped individually in plastic wrap or in an airtight container in the freezer. They keep well for up to a week. When ready to enjoy, let thaw for 5-10 minutes at room temperature so the ice cream softens slightly but doesn’t melt completely.
Over time, the flavors meld nicely, and the marshmallow fluff softens into the ice cream for an even creamier bite. Just don’t leave them out too long or they’ll get soggy!
Nutritional Information & Benefits
Each creamy s’mores ice cream sandwich contains approximately 350-400 calories, depending on portion size and specific ingredients. The recipe provides a good balance of carbohydrates and fats, with a touch of protein from eggs and dairy.
Key ingredients like eggs and butter contribute essential fats and vitamins, while chocolate chips provide antioxidants from cocoa. Marshmallow fluff is mostly sugar, so it’s definitely a treat to enjoy in moderation.
For those with dietary restrictions, swapping to gluten-free flour or dairy-free ice cream makes this dessert accessible without losing the nostalgic flavor. Just keep in mind marshmallow fluff contains gelatin, so vegan alternatives might have a different texture.
From a wellness perspective, I like to consider this recipe a joyful indulgence—comfort food that reminds us to savor the small moments (and maybe pair it with a green salad at dinner, like a fresh strawberry spinach salad with creamy poppyseed dressing I love).
Conclusion
This recipe for Creamy S’mores Ice Cream Sandwiches is one of those rare treats that feels homemade yet special, nostalgic yet fresh. It’s the kind of dessert that sparks smiles and gets requested again and again, whether for a casual snack or a mini celebration.
Feel free to make it your own—switch up the cookies, try different ice cream flavors, or add your favorite fillings. I love this recipe because it’s forgiving and fun, perfect for both beginner bakers and seasoned pros alike.
If you try it, I’d love to hear how you customize these sandwiches or what memories it brings back for you. Don’t hesitate to share your thoughts or your own twists on this cozy recipe—you might just inspire others to make their own nostalgic treat.
Remember, sometimes the simplest combos bring the most comfort. Here’s to creamy, gooey, delicious moments that stick with you.
FAQs About Creamy S’mores Ice Cream Sandwiches
Can I make these ice cream sandwiches ahead of time?
Absolutely! Assemble and freeze them for up to a week. Just wrap individually and thaw a few minutes before serving.
What if I don’t have marshmallow fluff?
You can gently melt regular marshmallows or use homemade marshmallow cream as a substitute, though fluff gives the best texture.
How do I prevent the ice cream from melting too fast while assembling?
Work quickly, keep the ice cream slightly firm but spreadable, and assemble on a cold surface if possible. Then freeze immediately.
Can I use other cookie types for the sandwiches?
Yes! Graham crackers, chocolate cookies, or even soft brownies can work—just adjust for sturdiness and sweetness.
Is there a way to toast the marshmallows without a kitchen torch?
Yes, use a broiler on low heat and keep a close eye. Toast for 30 seconds to 1 minute until golden brown, but be careful not to burn them.
Pin This Recipe!
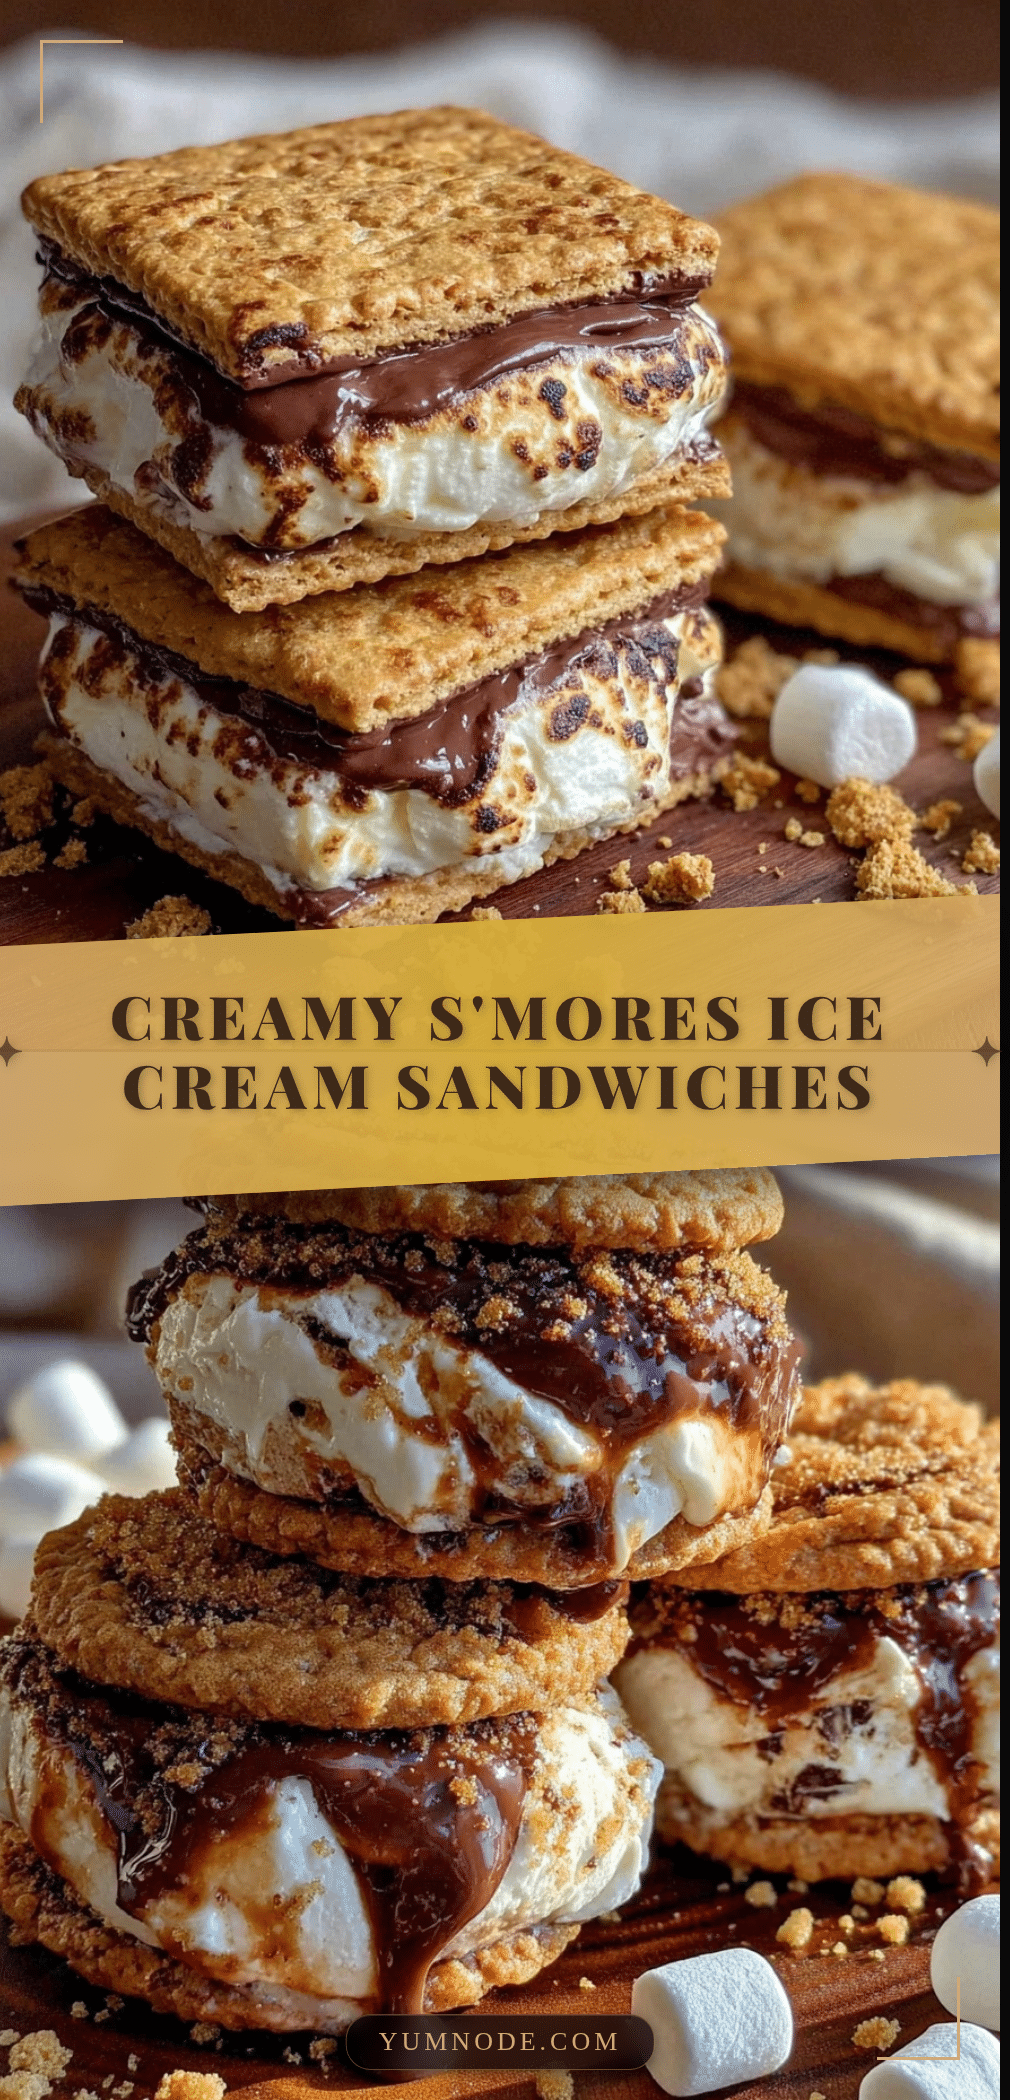
Creamy S’mores Ice Cream Sandwiches

A nostalgic and easy-to-make treat combining soft chocolate chip cookies, creamy vanilla ice cream, and toasted marshmallow fluff for a gooey, comforting dessert.
- Prep Time: 15 minutes
- Cook Time: 12 minutes
- Total Time: 1 hour 27 minutes
- Yield: 12 sandwiches 1x
- Category: Dessert
- Cuisine: American
Ingredients
- 1 cup (226g) unsalted butter, softened
- 1 cup (200g) granulated sugar
- 1 cup (220g) packed brown sugar
- 2 large eggs, room temperature
- 2 tsp vanilla extract
- 3 cups (375g) all-purpose flour
- 1 tsp baking soda
- 1/2 tsp salt
- 2 cups (340g) semi-sweet chocolate chips
- 1 pint (473ml) good-quality vanilla ice cream, slightly softened
- 1 cup (240g) marshmallow fluff
- Optional: pinch of cinnamon or cocoa powder
- Mini marshmallows or marshmallow fluff for toasting
Instructions
- Make the Cookie Dough: In a large bowl, cream together the softened butter, granulated sugar, and brown sugar until fluffy—about 3-4 minutes with an electric mixer.
- Add Eggs and Vanilla: Beat in the eggs one at a time, then stir in the vanilla extract.
- Combine Dry Ingredients: In a separate bowl, whisk together the flour, baking soda, and salt. Gradually add this to the wet mixture, mixing on low speed until just combined.
- Fold in Chocolate Chips: Use a spatula to gently fold in the chocolate chips evenly.
- Chill Dough: Cover the dough and chill for at least 30 minutes.
- Bake Cookies: Preheat oven to 350°F (175°C). Scoop dough into 2-tablespoon-sized balls and place on parchment-lined sheets about 2 inches apart. Bake for 10-12 minutes until edges are golden but centers still soft. Let cool completely.
- Prepare Ice Cream Filling: Soften vanilla ice cream slightly. Fold marshmallow fluff into the ice cream gently.
- Assemble Sandwiches: Spread a generous scoop of the marshmallow-ice cream mixture onto the flat side of one cookie. Top with another cookie and press gently.
- Toast the Marshmallow: Sprinkle mini marshmallows on top and toast with a kitchen torch or under the broiler for 30 seconds to 1 minute, or spread marshmallow fluff on the outside and torch it.
- Freeze to Set: Wrap sandwiches individually in plastic wrap and freeze for at least 1 hour before serving.
Notes
Chill cookie dough before baking to prevent spreading. Fold marshmallow fluff gently into ice cream to keep texture light. Toast marshmallows carefully to avoid burning. Freeze sandwiches for at least 1 hour to set filling. Assemble quickly to prevent ice cream melting.
Nutrition
- Serving Size: 1 ice cream sandwich
- Calories: 375
- Sugar: 30
- Sodium: 180
- Fat: 20
- Saturated Fat: 12
- Carbohydrates: 45
- Fiber: 2
- Protein: 5
Keywords: s'mores, ice cream sandwich, chocolate chip cookies, marshmallow fluff, nostalgic dessert, summer treat, easy dessert