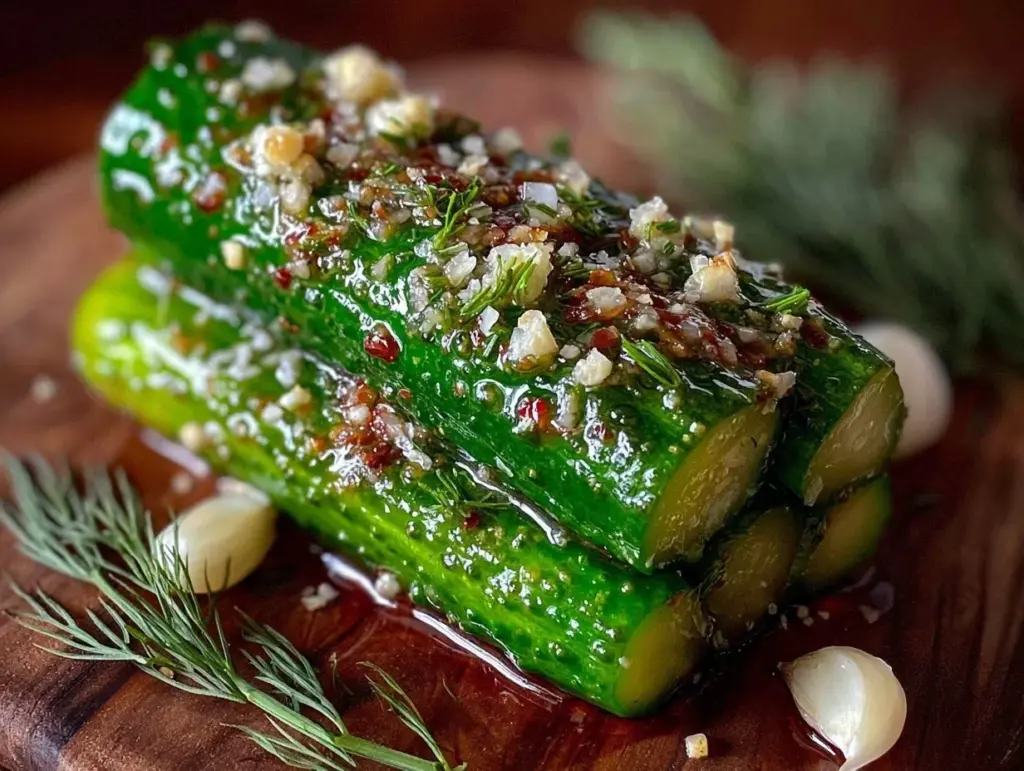
The jar was empty before I even realized it was lunchtime. Not once, but twice that week, someone had snagged the last of my homemade dill garlic refrigerator pickle spears without saying a word. A quick text from my sister later that evening asked for the recipe, and I had to sit back and think about how this simple snack had quietly stolen the show. Honestly, I wasn’t expecting these tangy, crunchy spears to cause such a stir. It all started on a lazy Sunday afternoon when I wanted a quick fix that felt homemade but didn’t demand hours in the kitchen. I grabbed a few cucumbers, some fresh dill from my garden, and a few cloves of garlic (because, you know, garlic makes everything better).
The smell of garlic steeping in the brine and the crisp snap of the pickles after just a couple of days made me realize something: this wasn’t just a quick snack; it was a little celebration of simplicity and flavor that anyone could pull off. And the best part? It doesn’t require a pressure canner or a complicated setup—just a good jar, a few fresh ingredients, and some patience. Every time I open the fridge now, I find myself sneaking a speared pickle, smiling quietly at how something so simple can get everyone’s attention. There’s a comfort in knowing you’ve got a tangy, crisp snack waiting, and that little jar has sort of become my secret weapon for impressing guests or just making an ordinary day a bit brighter.
It’s funny how the best recipes aren’t always the fanciest or most complicated. These dill garlic refrigerator pickle spears are proof that with a handful of ingredients and a bit of time, you can create something that feels special and gets you those “Can I have the recipe?” texts more than once. And honestly, that’s the real win for me.
Why You’ll Love This Recipe
Making your own crisp homemade dill garlic refrigerator pickle spears is honestly one of those satisfying kitchen wins that keeps giving back. I’ve tested this recipe over a few seasons, tweaking the brine ratio and garlic amount until it felt just right—no soggy pickles here. Here’s why this recipe sticks around in my rotation:
- Quick & Easy: Ready to eat in just 48 hours, perfect for those last-minute snack cravings or a quick side for your meals.
- Simple Ingredients: No need for fancy or hard-to-find stuff. Basic cucumbers, fresh garlic, dill, and pantry staples like vinegar and salt.
- Perfect for Snacking or Entertaining: Whether it’s game night, a picnic, or paired with a sandwich, these pickle spears add a zing that everyone loves.
- Crowd-Pleaser: Kids, adults, and even pickly skeptics have given this recipe a thumbs-up after trying it.
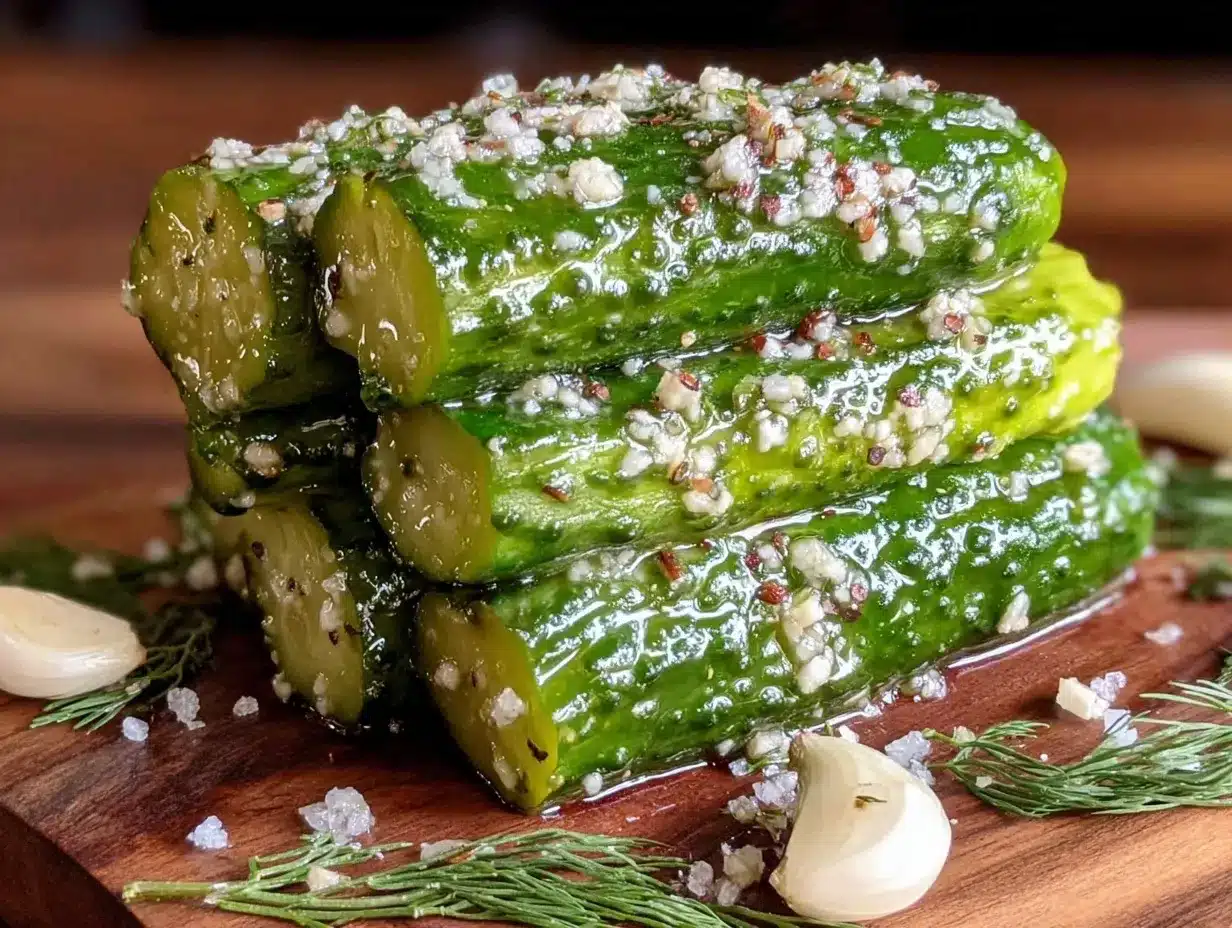
- Unbelievably Delicious: The perfect balance of tangy, garlicky, and fresh dill flavor, with a crispness that feels like a crunchy little reward.
What sets this recipe apart is the no-fuss refrigerator method. There’s no canning stress or long wait times. The garlic is used boldly, giving it a punch without overpowering the natural cucumber flavor. Plus, the dill is fresh and just the right amount, making it feel like a homemade treat instead of a store-bought afterthought. I’ve even swapped in low-sodium vinegar to keep it a little lighter without losing any zip. If you’re looking for an easy way to make pickles that actually taste like they came from a small-town deli, this is the one.
Honestly, every time I bite into one of these pickle spears, it reminds me why I started making my own pickles—to have a snack that’s crunchy, flavorful, and just a little bit addictive. It’s comfort food in its simplest, tangiest form, and that’s why it’s stuck around in my fridge (and my heart) for good.
What Ingredients You Will Need
This recipe uses simple, wholesome ingredients to deliver bold flavor and satisfying texture without the fuss. Most of these are pantry staples or fresh items that you can easily find at your local market. Here’s what you’ll need to make your own crisp homemade dill garlic refrigerator pickle spears:
- Fresh cucumbers: About 4 to 5 medium cucumbers, preferably pickling cucumbers (firm and small), sliced into spears. I like using Kirby cucumbers for their crunch.
- Fresh dill: 4 to 6 sprigs of fresh dill (fronds and stems). If you can’t find fresh, dried dill weed works but fresh really makes a difference.
- Garlic cloves: 3 to 4 large cloves, peeled and smashed. Garlic is the star here, so don’t skimp!
- White vinegar: 2 cups (480 ml). I use distilled white vinegar for its clean, sharp tang.
- Water: 2 cups (480 ml), preferably filtered or bottled.
- Pickling salt or kosher salt: 2 tablespoons (avoid iodized salt, as it can cloud the brine).
- Whole black peppercorns: 1 teaspoon, adds a subtle spice layer.
- Mustard seeds: 1 teaspoon, optional but adds a nice depth to the flavor profile.
- Red pepper flakes: ½ teaspoon, optional if you want a little heat.
- Bay leaf: 1, optional but adds earthiness.
If you’re curious, I usually buy my pickling salt from trusted brands like Diamond Crystal because it dissolves nicely and keeps the brine crystal clear. For a twist, some people like to add a touch of sugar (about 1 teaspoon) to balance the acidity, but I prefer mine purely tangy. In summer, swapping fresh dill for some fresh tarragon or adding a few slices of fresh jalapeño can give a fun seasonal spin. If you need a gluten-free or keto-friendly snack, these pickles fit right in without any modifications.
Equipment Needed
- Glass jars with lids: Quart-sized (1 liter) Mason jars or any airtight glass containers work best to keep the pickles crisp and fresh.
- A sharp knife and cutting board: For slicing your cucumbers into spears.
- Measuring cups and spoons: To get the brine ratios just right.
- A saucepan: To heat the vinegar, water, and salt mixture, although heating is optional if you want a fresher brine.
- Tongs or chopsticks: Handy for packing cucumbers tightly into jars without bruising.
If you don’t have Mason jars, any clean glass container with a tight lid will do. I’ve even used repurposed pickle jars before. Just make sure they seal well to keep your refrigerator pickles tasting fresh. For maintaining your knife sharpness, a quick hone before slicing makes a world of difference in clean cuts and crisp spears. Budget-wise, you don’t need anything fancy—just solid basics you probably already have in your kitchen.
Preparation Method
- Wash and slice cucumbers: Rinse 4 to 5 medium pickling cucumbers under cold water. Cut off the ends (this helps keep them crisp) and slice each cucumber lengthwise into 4 to 6 spears depending on size. Aim for uniform thickness so they pickle evenly (about ½ inch or 1.25 cm thick).
(Prep time: 10 minutes) - Prepare the brine: In a medium saucepan, combine 2 cups (480 ml) white vinegar, 2 cups (480 ml) water, and 2 tablespoons pickling salt. Heat over medium heat, stirring occasionally until the salt dissolves completely. Remove from heat and let it cool to room temperature.
(Prep time: 10 minutes plus cooling) - Pack jars: Place 3 to 4 smashed garlic cloves, 4 to 6 sprigs of fresh dill, 1 teaspoon black peppercorns, 1 teaspoon mustard seeds, ½ teaspoon red pepper flakes (optional), and 1 bay leaf (optional) at the bottom of each clean quart-sized jar. Pack cucumber spears tightly but without crushing them.
Tip: Use a chopstick to gently press cucumbers down to eliminate air pockets.
(Prep time: 10 minutes) - Pour in the brine: Once cooled, pour the brine over the cucumbers in the jars, leaving about ½ inch (1.25 cm) headspace at the top. Make sure cucumbers are fully submerged to keep them crisp and prevent spoilage.
Note: If needed, place a small clean weight or extra dill sprig on top to keep cucumbers submerged. - Seal and refrigerate: Screw on the lids tightly and place the jars in the refrigerator. Let them pickle for at least 48 hours for the best flavor and crispness. The flavor deepens over the first 4 to 7 days.
Important: These are refrigerator pickles — not shelf stable. Keep refrigerated and consume within 3 to 4 weeks. - Enjoy: Grab a spear straight from the jar as a tangy snack, or pair them with sandwiches, burgers, or a charcuterie board. The garlic and dill punch will make your taste buds sing.
Tip: For an extra crunch, you can add a few grape leaves or horseradish leaves to the jar, which helps maintain crispness.
Cooking Tips & Techniques
Making crisp homemade dill garlic refrigerator pickle spears is deceptively simple, but a few tricks can make all the difference in your final crunch and flavor.
- Choose the right cucumber: Pickling cucumbers (like Kirby) are your best bet. They’re firm with fewer seeds and thinner skins, which helps maintain crunch.
- Trim the blossom end: That spot contains enzymes that can make pickles soft. Cutting off about ¼ inch (0.6 cm) from the blossom end helps keep things crisp.
- Salt in the brine: Use pickling or kosher salt, not table salt. Table salt can cloud your brine and add off-flavors.
- Don’t skip the cooling step: Pouring hot brine over cucumbers can cook them slightly, leading to mushy pickles. Let the brine cool to room temperature before pouring.
- Keep cucumbers submerged: Air exposure causes softening and spoilage. Press cucumbers down with a weight or additional herb sprigs if needed.
- Patience pays off: At least 48 hours in the fridge is minimum, but letting them sit 4-7 days results in a deeper flavor and better texture.
- Don’t overcrowd jars: Packing too tightly can bruise cucumbers and lead to uneven pickling.
- Experiment with garlic intensity: I once overdid it and ended up with a bite so garlicky it nearly knocked me out. Start moderate and adjust next time based on your personal love for garlic.
From personal experience, timing is key. I learned the hard way that rushing to eat these pickles after just one day leads to disappointment. Waiting those extra days transforms those plain cucumbers into a tangy, crisp delight. Also, if you want to multitask in the kitchen, prepping these while the oven’s warming up for something like a cozy pumpkin spice bread or a creamy key lime pie bars is a perfect combo.
Variations & Adaptations
This recipe is wonderfully forgiving and lends itself to several tasty tweaks based on your preferences, dietary needs, or what’s in your pantry.
- Spicy Dill Pickles: Add more red pepper flakes or a few slices of fresh jalapeño for a fiery kick that pairs beautifully with the garlic and dill.
- Low Sodium Version: Cut down salt in the brine by 25% or swap to a low-sodium vinegar. Just keep in mind that salt is a key player for texture and preservation.
- Herbal Twist: Swap some of the dill for fresh tarragon, fresh thyme, or rosemary. Each herb brings a unique note that can make your pickles stand out.
- Vegan & Allergy Friendly: This recipe is naturally vegan and gluten-free. For those sensitive to garlic, reduce the cloves or substitute with sliced shallots for a milder aroma.
- Quick Pickle Variation: For a faster option, slice cucumbers thinly and let them sit in the brine for just 24 hours. Texture won’t be quite as crisp but still delicious.
One fun experiment I tried was adding a bit of smoked paprika to the brine for a subtle smoky undertone—unexpected, but surprisingly good! You might also try using apple cider vinegar instead of white vinegar for a slightly sweeter, fruitier note.
Serving & Storage Suggestions
These crisp homemade dill garlic refrigerator pickle spears are best served cold right out of the fridge. They make a fantastic snack on their own or a crunchy contrast on the side of a sandwich or burger. I love them paired with rich or creamy dishes, like a classic potato salad or alongside crispy baked chicken tenders for a refreshing bite.
Store your pickles in the refrigerator in their brine, tightly sealed. They keep well for up to 3 to 4 weeks, but honestly, they rarely last that long around my house. When reheating meals that include these pickles, keep them separate until serving to preserve their crispness and tang.
Over time, the flavors deepen and meld together—garlic becomes mellow, dill infuses more thoroughly, and the cucumbers soak up that perfect tang. If you like, you can slice some spears thinner to toss into salads or grain bowls for a punch of acidity.
Nutritional Information & Benefits
These dill garlic refrigerator pickle spears are a low-calorie, low-carb snack that offers some nice nutritional perks. Here’s a rough estimate per serving (about 3 spears):
- Calories: 10–15
- Carbohydrates: 2 grams
- Fiber: 1 gram
- Sodium: 400–500 mg (varies with salt used)
- Vitamin K: from fresh dill
Pickles can also contribute probiotics if naturally fermented, but since these are quick refrigerator pickles, they don’t develop the same bacteria. Still, the cucumbers and dill bring antioxidants, and garlic adds immune-boosting compounds. Ideal for those following gluten-free, keto, or paleo diets, they’re a guilt-free way to enjoy a crunchy snack that’s not loaded with sugar or additives.
Conclusion
Making crisp homemade dill garlic refrigerator pickle spears is one of those simple kitchen pleasures that quietly wins people over. This recipe is straightforward, approachable, and delivers a tangy, crunchy snack that feels fresh and homemade every time. Whether you’re looking to impress guests without fuss or just want a reliable, tasty snack in your fridge, these pickles fit the bill.
I love this recipe because it’s flexible and forgiving—easy enough for a beginner but satisfying enough to keep coming back for more. And honestly, if the empty jar and the “Send me the recipe!” texts are any indication, you’ll probably find yourself making these again and again too. So give it a try, make it your own, and enjoy that perfect pickle crunch whenever the craving hits.
Frequently Asked Questions
How long do refrigerator pickles last?
Stored properly in a sealed jar in the fridge, refrigerator pickles should stay good for 3 to 4 weeks. After that, their texture and flavor may start to decline.
Can I use regular cucumbers instead of pickling cucumbers?
While you can, regular slicing cucumbers tend to have more water and seeds, which may make your pickles less crisp. Pickling cucumbers like Kirby are ideal for best results.
Do I need to boil the brine?
Boiling the brine helps dissolve the salt and meld flavors but is optional. Just make sure the brine cools to room temperature before pouring over cucumbers to avoid sogginess.
Can I make these pickles spicy?
Absolutely! Adding red pepper flakes or fresh jalapeño slices to the jar will give your pickles a nice spicy kick without overpowering the dill and garlic.
What’s the difference between refrigerator pickles and canned pickles?
Refrigerator pickles are quick, no-heat processed, and need to be kept cold to stay fresh. Canned pickles are heat-processed in jars for long-term shelf storage. Refrigerator pickles have a fresher flavor and crunch but shorter shelf life.
Pin This Recipe!
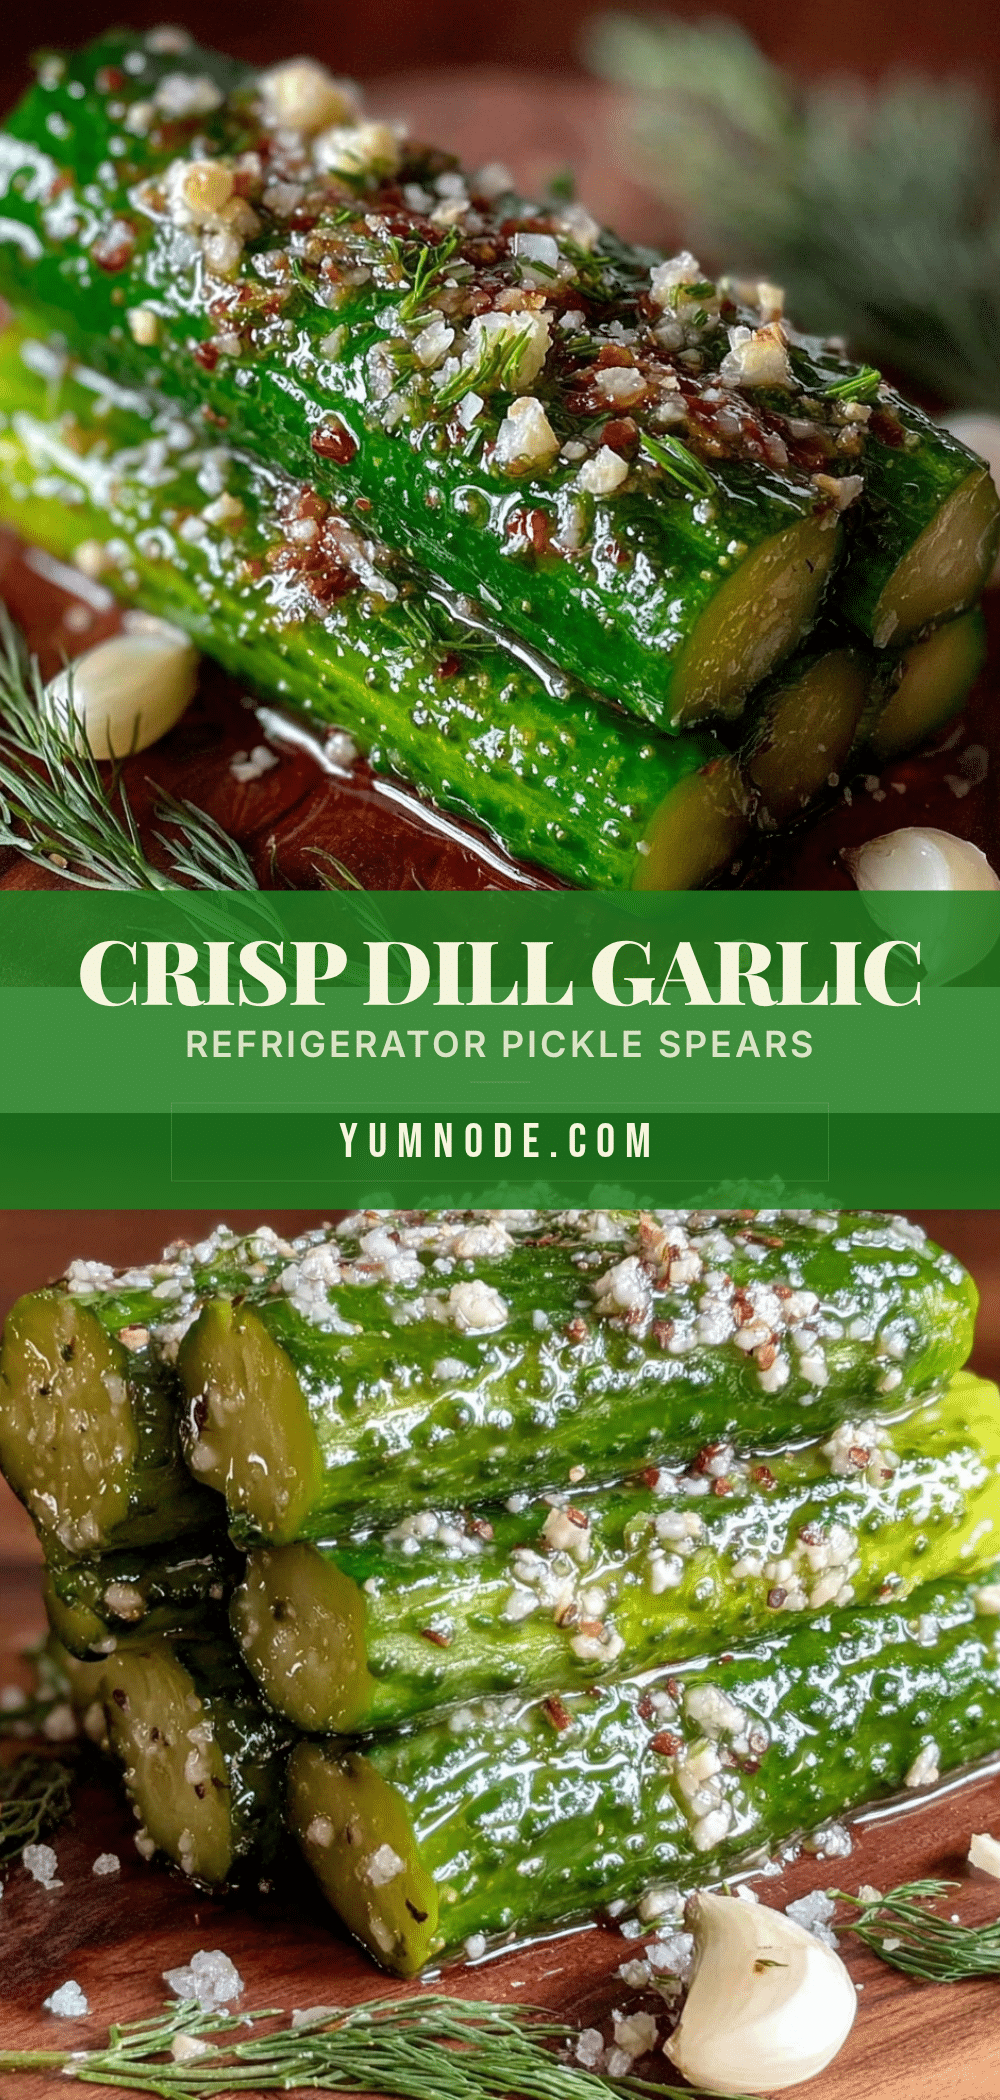
Crisp Homemade Dill Garlic Refrigerator Pickle Spears

A quick and easy recipe for tangy, crunchy dill garlic refrigerator pickle spears that are ready in 48 hours and perfect for snacking or entertaining.
- Prep Time: 30 minutes
- Cook Time: 0 minutes
- Total Time: 2 days 30 minutes
- Yield: 4 servings 1x
- Category: Snack
- Cuisine: American
Ingredients
- 4 to 5 medium pickling cucumbers (Kirby cucumbers preferred), sliced into spears
- 4 to 6 sprigs fresh dill (fronds and stems)
- 3 to 4 large garlic cloves, peeled and smashed
- 2 cups (480 ml) distilled white vinegar
- 2 cups (480 ml) water (filtered or bottled preferred)
- 2 tablespoons pickling salt or kosher salt (avoid iodized salt)
- 1 teaspoon whole black peppercorns
- 1 teaspoon mustard seeds (optional)
- ½ teaspoon red pepper flakes (optional)
- 1 bay leaf (optional)
Instructions
- Wash and slice cucumbers: Rinse 4 to 5 medium pickling cucumbers under cold water. Cut off the ends and slice each cucumber lengthwise into 4 to 6 spears about ½ inch thick.
- Prepare the brine: In a medium saucepan, combine 2 cups white vinegar, 2 cups water, and 2 tablespoons pickling salt. Heat over medium heat, stirring occasionally until the salt dissolves. Remove from heat and let cool to room temperature.
- Pack jars: Place 3 to 4 smashed garlic cloves, 4 to 6 sprigs fresh dill, 1 teaspoon black peppercorns, 1 teaspoon mustard seeds, ½ teaspoon red pepper flakes (if using), and 1 bay leaf (if using) at the bottom of each clean quart-sized jar. Pack cucumber spears tightly without crushing them.
- Pour in the brine: Once cooled, pour the brine over the cucumbers in the jars, leaving about ½ inch headspace. Ensure cucumbers are fully submerged; use a small weight or extra dill sprig if needed.
- Seal and refrigerate: Screw on lids tightly and place jars in the refrigerator. Let pickle for at least 48 hours for best flavor and crispness. Flavor deepens over 4 to 7 days.
- Enjoy: Serve cold straight from the jar as a tangy snack or with sandwiches, burgers, or charcuterie boards.
Notes
Use pickling or kosher salt to avoid cloudy brine. Let brine cool before pouring to keep pickles crisp. Keep cucumbers submerged to prevent spoilage. Patience is key: at least 48 hours refrigeration, 4-7 days for best flavor. Optional additions include mustard seeds, red pepper flakes, bay leaf, or herbs like tarragon for variation. Store refrigerated and consume within 3 to 4 weeks.
Nutrition
- Serving Size: About 3 pickle spear
- Calories: 1015
- Sodium: 400500
- Carbohydrates: 2
- Fiber: 1
Keywords: dill pickles, refrigerator pickles, garlic pickles, quick pickles, homemade pickles, tangy snack, crunchy pickles