Introduction
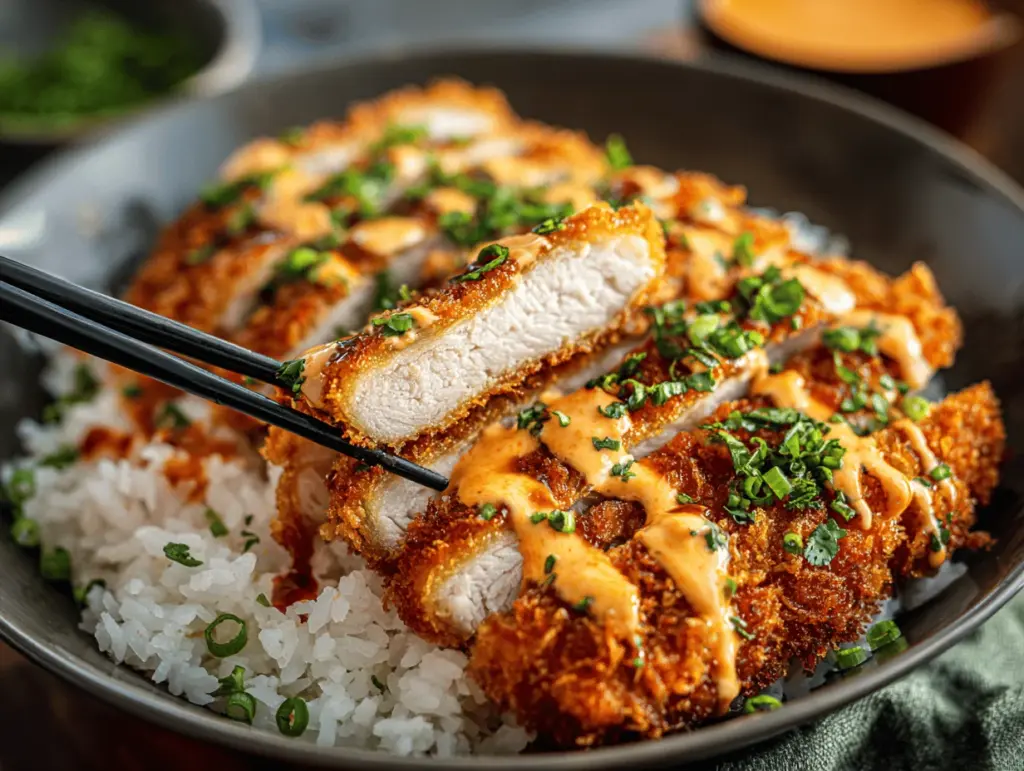
Golden, crunchy chicken cutlets, steamy rice, and a luscious drizzle of creamy sriracha mayo—just thinking about chicken katsu bowls makes my mouth water! The first time I made this recipe, I was on a hunt for a weeknight dinner that could spark some excitement (let’s face it, grilled chicken gets old fast). I remember standing in my kitchen, craving something crisp and comforting, but also loaded with flavor. That’s when chicken katsu bowls came into play, and honestly, they haven’t left my table since.
I grew up loving crispy breaded chicken, so when I stumbled upon Japanese chicken katsu, it was game over. The magic happens when you layer that shatteringly crisp cutlet over warm rice and spoon on a zippy, creamy sriracha mayo. It’s just the kind of meal that brings everyone running to the table (even picky eaters—trust me, my kids never say no to this one). And if you’re anything like me, you know the struggle of finding dinners that are both crave-worthy and simple to pull off on a busy weeknight. That’s why this recipe is always top of my list.
I’ve tested these chicken katsu bowls more times than I can count, tweaking the breading for extra crunch and perfecting the sauce for that ideal kick. It’s a recipe that’s earned its place in my regular rotation, and I’m excited to share all my best tips (and a few mishaps too) so you can get the same delicious results. Whether you’re cooking for family, meal prepping for the week, or just treating yourself, this chicken katsu bowl brings both comfort and excitement to your dinner table. Let’s jump in and see why this should be your next weeknight favorite!
Why You’ll Love This Crispy Chicken Katsu Bowls Recipe
- Quick & Easy: You can have these chicken katsu bowls on the table in under 40 minutes. Perfect for those “I forgot to plan dinner” nights.
- Simple Ingredients: Everything needed is probably already in your pantry and fridge—no need for a last-minute grocery run.
- Perfect for Weeknight Dinners: This dish is hearty enough for a hungry family but feels special enough for a cozy weekend treat.
- Crowd-Pleaser: Crispy chicken and creamy sriracha mayo? Kids gobble it up, adults sneak seconds. It’s one of those meals that disappears fast.
- Unbelievably Delicious: The crunch of the panko breading, the tang of the sauce, and the fluffiness of the rice come together for pure comfort food.
Now, what sets my chicken katsu bowls apart is the way I prepare the breading. Instead of just dipping in flour and egg, I double-dip with panko for that extra crispy shell. Plus, the creamy sriracha mayo adds a rich, spicy twist that you won’t find in traditional katsu. I’ve tried shortcuts (like air frying instead of deep frying) and tested different sauces, but this combo is hands-down the best.
This isn’t just another chicken katsu recipe—it’s the bowl that makes you sigh with satisfaction after the first bite. It’s the meal you’ll crave when you need a pick-me-up or want to impress friends without breaking a sweat. I’ve made these for potlucks, last-minute guests, and even packed them for lunch. The best part? It tastes just as good reheated. If you’re looking for a dinner that’s easy, comforting, and absolutely irresistible, this chicken katsu bowl is it!
What Ingredients You Will Need
This recipe uses simple, wholesome ingredients to deliver bold flavor and satisfying texture without the fuss. Most of these are pantry staples, and there’s plenty of room for easy swaps if you’re missing something (I’ve had to improvise more than once!). Let’s break it down:
- For the Chicken Katsu:
- Boneless skinless chicken breasts (about 1 lb / 450g; thighs work too for extra juiciness)
- Salt and pepper (to season the chicken)
- All-purpose flour (1/2 cup / 60g; helps the breading stick)
- Large eggs (2; beaten for dipping)
- Panko breadcrumbs (1 1/2 cups / 90g; Japanese style for maximum crunch—look for Kikkoman brand if possible)
- Vegetable oil or canola oil (for frying; about 2 cups / 480ml, enough to shallow fry)
- For the Bowls:
- Steamed white rice (about 3 cups / 540g cooked; sushi rice or jasmine rice both work great)
- Shredded green cabbage (1 cup / 70g; adds crunch and freshness)
- Sliced cucumber (1/2 cup / 50g; optional, but refreshing)
- Thinly sliced green onions (2; for garnish)
- For the Creamy Sriracha Mayo:
- Mayonnaise (1/2 cup / 120g; use Kewpie for extra richness if you can find it)
- Sriracha sauce (2-3 tablespoons / 30-45ml; adjust to taste)
- Rice vinegar (1 teaspoon / 5ml; brightens up the sauce)
- Sugar (1/2 teaspoon; balances the heat)
- Optional Toppings:
- Toasted sesame seeds (for a nutty flavor)
- Pickled ginger (adds zing—especially good if you’re a sushi fan)
- Extra sriracha for drizzling
If you need to keep it gluten-free, swap the flour for rice flour and use gluten-free panko. For dairy-free folks, just double-check your mayo brand. I’ve also made this with chicken thighs for more flavor, and it’s hard to go wrong. And when cabbage isn’t in season, swapping in shredded lettuce works just fine. Don’t stress if you’re missing a veggie—this bowl is all about the crispy chicken katsu and that creamy sriracha mayo anyway!
Equipment Needed
- Cutting board: For prepping chicken and veggies. If you have a dedicated meat board, even better!
- Sharp chef’s knife: To slice chicken evenly (uneven pieces cook unevenly—learned that the hard way).
- Mixing bowls: At least three (for flour, egg, and panko stations).
- Large skillet or frying pan: Heavy-bottomed works best for even browning. Cast iron is my go-to, but nonstick is fine.
- Wire rack or paper towels: For draining cooked katsu and keeping it crispy.
- Measuring cups and spoons: For precise amounts (especially for the sauce).
- Tongs or a spatula: For flipping the chicken safely.
- Rice cooker or saucepan: For perfect fluffy rice. If you don’t have a rice cooker, a basic pot will do.
If you’re short on frying pans, you can shallow fry in a deep saucepan. And if you don’t have wire racks, just use paper towels on a plate. For slicing veggies, a mandoline is nice but definitely not required. When I started making chicken katsu bowls, I used whatever I had—sometimes even a basic steak knife. Maintenance tip: Keep your pans clean by soaking right after frying; oil can get sticky fast. Budget-wise, a good skillet and sharp knife are the most important investments.
Preparation Method
- Prep the chicken: Pat the chicken breasts dry with paper towels. Slice each breast horizontally to create thinner cutlets (about 1/2 inch thick or 1.25 cm). Season both sides with salt and pepper. Tip: If your chicken is uneven, pound gently with a meat mallet for uniform cooking.
- Set up breading stations: Place flour (1/2 cup / 60g) in one bowl, beaten eggs (2) in another, and panko breadcrumbs (1 1/2 cups / 90g) in a third. Make sure bowls are wide enough for easy dipping.
- Bread the chicken: Dredge each piece in flour, shaking off excess. Dip into the egg, then press into panko, coating evenly. For extra crunch, I like to press panko firmly onto the chicken. If you want ultra-crispy katsu, repeat the egg and panko step—a double coat never hurts!
- Heat the oil: Pour vegetable oil (about 2 cups / 480ml) into your skillet, enough to cover the bottom by 1/2 inch (1.25 cm). Heat over medium-high until shimmering (350°F / 175°C). Test by dropping a breadcrumb—it should sizzle instantly.
- Fry the chicken: Carefully add breaded cutlets to the hot oil, working in batches if needed. Fry for 3-4 minutes per side until golden brown and cooked through (internal temp should reach 165°F / 74°C). If your oil is too hot, the breading burns before the chicken cooks—keep an eye on it!
- Drain and rest: Transfer cooked katsu to a wire rack or paper-towel-lined plate. This keeps them crisp—stacking will make them soggy.
- Make the sriracha mayo: In a small bowl, combine mayonnaise (1/2 cup / 120g), sriracha (2-3 tbsp / 30-45ml), rice vinegar (1 tsp / 5ml), and sugar (1/2 tsp). Mix until smooth and creamy. Taste and adjust heat level if you like it spicier.
- Prepare rice & veggies: While chicken is resting, fluff your steamed rice and slice cabbage, cucumber, and green onions. Fresh veggies add crunch and balance to the bowl.
- Assemble the bowls: Scoop rice into bowls, top with shredded cabbage and cucumber. Slice chicken katsu into strips and arrange over veggies. Drizzle generously with creamy sriracha mayo. Sprinkle with green onions, sesame seeds, and any extra toppings you like.
- Serve: Serve immediately while the chicken is hot and crispy. If prepping ahead, keep chicken and sauce separate until ready to eat.
Troubleshooting: If your breading falls off, make sure chicken is dry before starting and don’t skip the flour. If oil splatters, use a splatter guard or lower the heat a touch. For batch frying, keep cooked katsu warm in a low oven (200°F / 95°C) until ready to serve.
The sensory cues are everything: listen for that sizzle, look for deep golden color, and enjoy the smell of freshly fried chicken. Clean as you go for a smoother finish—trust me, that’s a tip born from experience!
Cooking Tips & Techniques
- Double-coat for crunch: Pressing the panko in firmly and doubling up on the breading makes a huge difference. The extra layer stays crisper, especially if you’re reheating leftovers.
- Oil temperature matters: If the oil is too cool, chicken soaks it up and gets greasy. Too hot, and the breading burns. I use a candy thermometer now, but sticking a wooden spoon in the oil and watching for bubbles works too.
- Batch frying: Don’t overcrowd the pan—chicken cooks unevenly and breading can peel off. If you’re making a double batch, keep finished pieces warm in a low oven.
- Don’t skip the rack: Draining on a wire rack keeps that katsu crispy. I used to stack them on a plate and wondered why they lost their crunch—lesson learned!
- Customize the sauce: Start with less sriracha and add more until you hit your perfect spice level. The mayo cools it down, but it can still sneak up on you!
- Rice matters: Sushi rice or jasmine rice gives the best texture for bowls. If your rice is dry, a splash of water while reheating helps.
- Multitask: While chicken is frying, prep your veggies and mix the sauce. It saves time and keeps everything fresh.
I’ve had soggy katsu, bland sauce, and overcooked chicken—all fixable with these tips. Cooking chicken katsu bowls is all about balancing crispy, juicy, and creamy. If anything goes sideways, a little extra sauce and fresh veggies usually save the day!
Variations & Adaptations
- Gluten-Free Version: Use rice flour and gluten-free panko. I’ve made this swap for a friend, and it’s just as crunchy and satisfying!
- Air Fryer Method: Spray breaded chicken lightly with oil and air fry at 400°F (200°C) for 12-15 minutes, flipping halfway. It’s healthier, and while not as golden as deep frying, it’s still delicious.
- Vegetarian Option: Substitute firm tofu for chicken. Slice into slabs, press dry, and bread just like chicken. It absorbs flavor and stays crispy—my vegetarian sister swears by it.
- Spicy Twist: Add a dash of cayenne or hot paprika to the panko for extra heat. This is my go-to when I want a little kick.
- Seasonal Veggies: Swap cabbage for shredded carrots, radishes, or even baby spinach in spring and summer. The bowl adapts easily to whatever’s in season.
- Low-Carb: Serve over cauliflower rice instead of white rice. I tried this during a keto phase, and it works great with the creamy sriracha mayo.
One of my favorites is the air fryer variation—less mess, and my kitchen doesn’t smell like oil for hours. Don’t be afraid to mix it up; chicken katsu bowls are forgiving and perfect for experimenting!
Serving & Storage Suggestions
Serve chicken katsu bowls warm, right after frying for the ultimate crunch. I love presenting them in wide bowls so you can see all the layers—rice, veggies, golden chicken, and that gorgeous drizzle of creamy sriracha mayo. Garnish with green onions, sesame seeds, or a little pickled ginger for color and flavor.
If you’re planning ahead, you can store cooked chicken katsu in an airtight container in the fridge for up to 3 days. To freeze, cool completely and wrap tightly; it’ll keep for 2 months. For reheating, pop in the oven at 350°F (175°C) for 10-15 minutes, or air fry for a few minutes to restore the crunch. Avoid microwaving if possible—the breading gets soft.
The creamy sriracha mayo keeps well in the fridge for up to a week. I like to prep extra rice and veggies and assemble bowls fresh. The flavors deepen overnight, so leftovers are surprisingly tasty. Pair with iced green tea, miso soup, or a light cucumber salad for a complete meal!
Nutritional Information & Benefits
Each chicken katsu bowl (with rice and veggies) provides roughly 650 calories, 30g protein, 22g fat, and 75g carbs. The chicken offers lean protein, while the cabbage and cucumber add fiber and vitamins. Panko keeps the breading light, and the creamy sriracha mayo brings healthy fats from mayo (especially if you use avocado oil mayo).
For gluten-free or low-carb diets, swap ingredients accordingly. Allergens to watch for: eggs, wheat, and soy (in some mayos or sauces). I love that this recipe balances indulgence and nutrition—it’s filling but not heavy, and you can tweak it for your needs. As someone who watches protein intake, chicken katsu bowls are a tasty way to power through busy days without feeling weighed down.
Conclusion
So there you have it—crispy chicken katsu bowls with creamy sriracha mayo, an easy weeknight dinner that everyone can get excited about. It’s crunchy, creamy, and totally satisfying, with flavors that keep you coming back for more. Whether you stick with the classic version or try a fun variation, you’ll love how versatile and comforting this dish is.
If you’re new to making chicken katsu, don’t stress—imperfections just mean you’re learning, and each batch gets better. I keep making this recipe because it’s reliable, adaptable, and always puts smiles on faces (including my own!).
Give these bowls a try, and let me know your favorite twists in the comments below! Share with friends, pin for later, or tag me if you put your own spin on it. Happy cooking—and enjoy every crispy, creamy bite!
FAQs
Can I make chicken katsu bowls ahead of time?
Yes! Cook the chicken katsu and store it separately from the rice and veggies. Reheat in the oven or air fryer for the best crunch, then assemble bowls when ready to eat.
What’s the best way to keep chicken katsu crispy?
Drain the fried chicken on a wire rack instead of paper towels. If you’re storing for later, reheat in the oven or air fryer—skip the microwave to avoid sogginess.
Can I use chicken thighs instead of breasts?
Absolutely! Chicken thighs are juicier and stay moist. Just slice thinly and bread as usual—the cooking time is the same.
How spicy is the creamy sriracha mayo?
It’s mildly spicy, but you can adjust the heat by adding more or less sriracha. Taste as you go and find your perfect balance.
Is this recipe gluten-free?
Not by default, but you can make it gluten-free by using rice flour and gluten-free panko breadcrumbs. Double-check all sauces and mayo for hidden gluten!
Pin This Recipe!
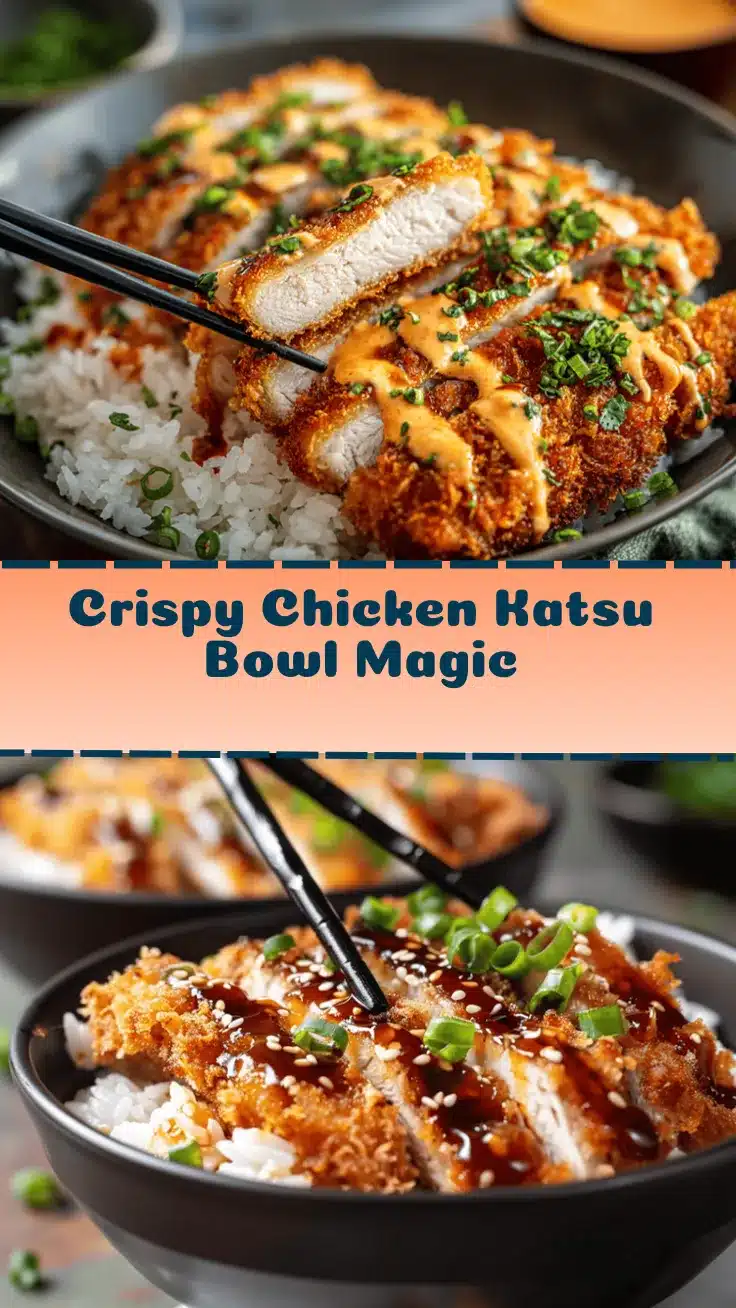
Crispy Chicken Katsu Bowls with Creamy Sriracha Mayo

Golden, crunchy chicken cutlets served over steamy rice and topped with a luscious creamy sriracha mayo. This easy weeknight dinner is comforting, flavorful, and sure to please the whole family.
- Prep Time: 15 minutes
- Cook Time: 20 minutes
- Total Time: 35 minutes
- Yield: 4 servings 1x
- Category: Main Course
- Cuisine: Japanese
Ingredients
- 1 lb boneless skinless chicken breasts (or thighs)
- Salt and pepper, to taste
- 1/2 cup all-purpose flour
- 2 large eggs, beaten
- 1 1/2 cups panko breadcrumbs
- 2 cups vegetable or canola oil (for frying)
- 3 cups steamed white rice (sushi or jasmine rice)
- 1 cup shredded green cabbage
- 1/2 cup sliced cucumber (optional)
- 2 green onions, thinly sliced
- 1/2 cup mayonnaise (preferably Kewpie)
- 2–3 tablespoons sriracha sauce (to taste)
- 1 teaspoon rice vinegar
- 1/2 teaspoon sugar
- Toasted sesame seeds (optional, for topping)
- Pickled ginger (optional, for topping)
- Extra sriracha (optional, for drizzling)
Instructions
- Pat chicken breasts dry and slice horizontally to create thinner cutlets (about 1/2 inch thick). Season both sides with salt and pepper. Pound gently if needed for even thickness.
- Set up three breading stations: one bowl with flour, one with beaten eggs, and one with panko breadcrumbs.
- Dredge each chicken piece in flour, shake off excess, dip in egg, then press into panko to coat. For extra crunch, repeat egg and panko step for a double coat.
- Pour oil into a large skillet to cover the bottom by 1/2 inch. Heat over medium-high until shimmering (about 350°F).
- Fry breaded chicken cutlets in batches for 3-4 minutes per side, until golden brown and cooked through (internal temp 165°F).
- Transfer cooked katsu to a wire rack or paper-towel-lined plate to drain and stay crispy.
- In a small bowl, mix mayonnaise, sriracha, rice vinegar, and sugar until smooth. Adjust sriracha to taste.
- Fluff steamed rice and prepare veggies: shred cabbage, slice cucumber, and chop green onions.
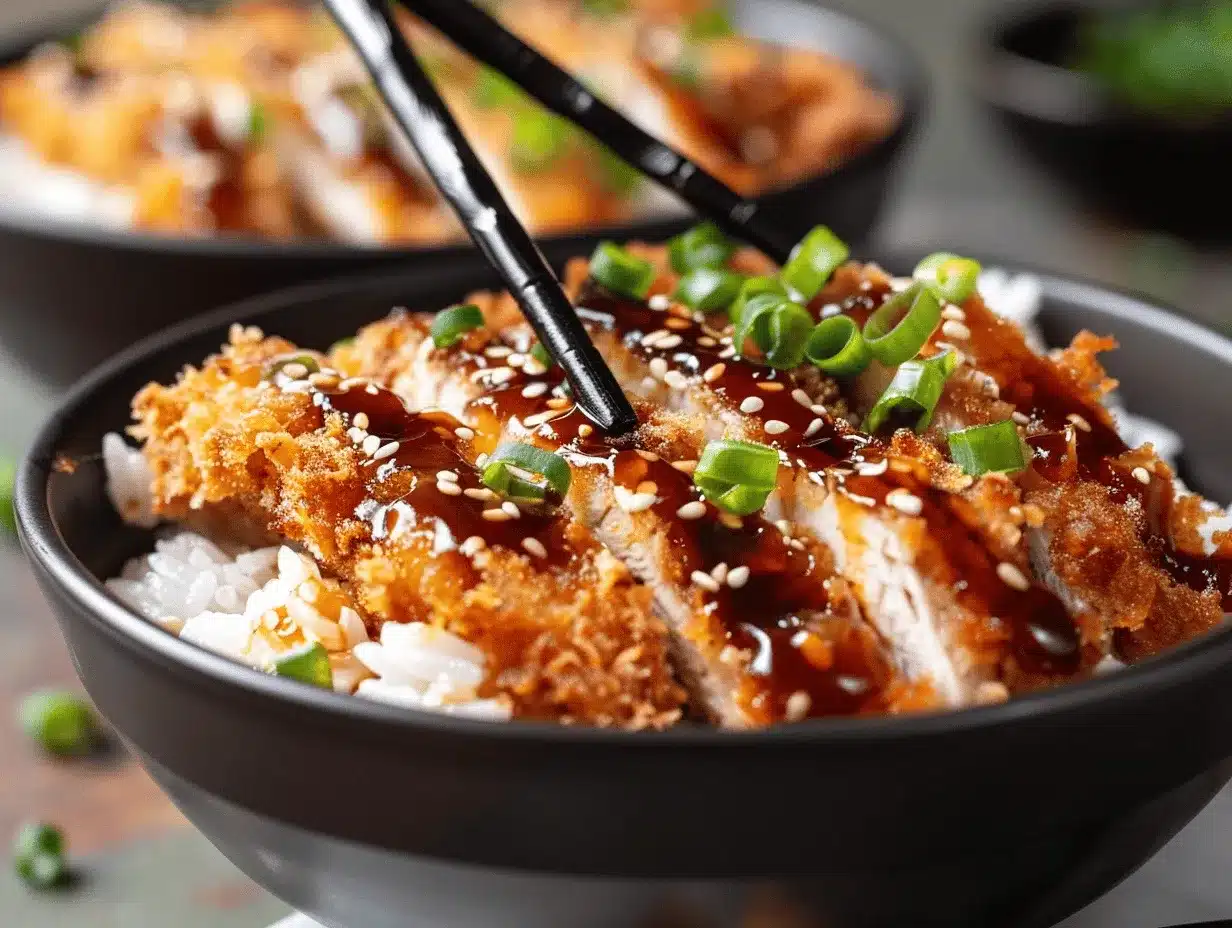
- Assemble bowls: add rice, top with cabbage and cucumber, slice chicken katsu and arrange on top. Drizzle with sriracha mayo and garnish with green onions, sesame seeds, and pickled ginger if desired.
- Serve immediately while chicken is hot and crispy.
Notes
Double-coat the chicken in panko for extra crunch. Drain fried chicken on a wire rack to keep it crispy. Adjust sriracha in the mayo to your spice preference. For gluten-free, use rice flour and gluten-free panko. Chicken thighs can be used for juicier katsu. Leftovers reheat best in the oven or air fryer.
Nutrition
- Serving Size: 1 bowl (about 1/4 of recipe)
- Calories: 650
- Sugar: 6
- Sodium: 950
- Fat: 22
- Saturated Fat: 4
- Carbohydrates: 75
- Fiber: 3
- Protein: 30
Keywords: chicken katsu, katsu bowl, sriracha mayo, Japanese chicken, crispy chicken, weeknight dinner, easy chicken recipe, rice bowl, comfort food



