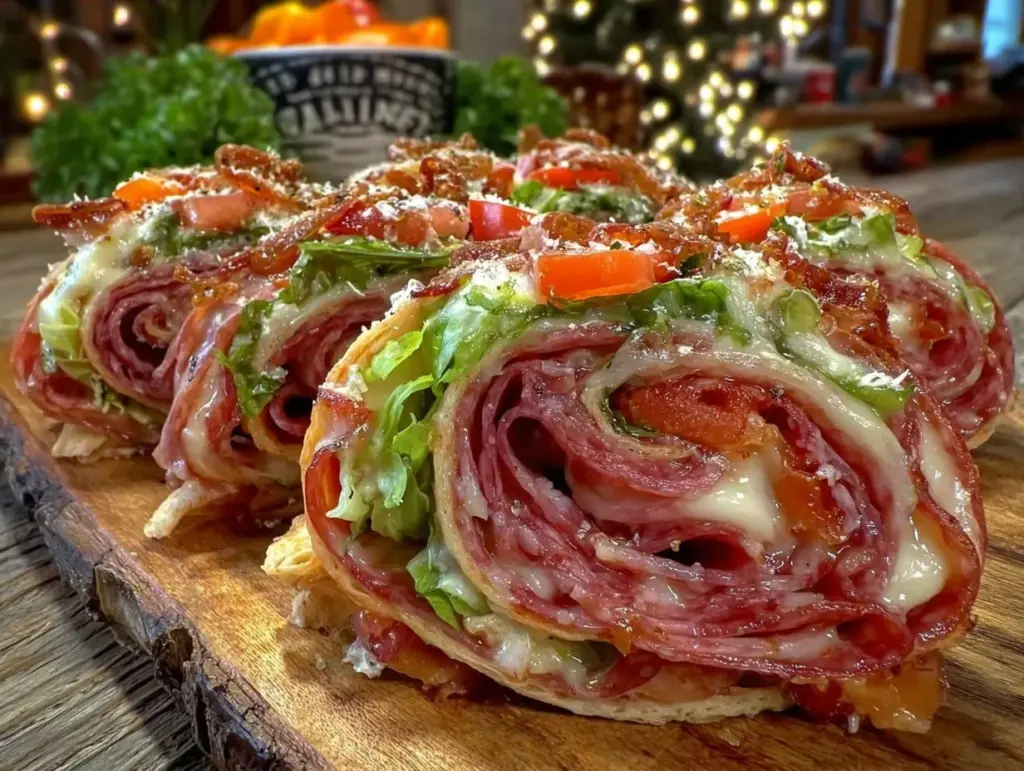
“You have to try these roll-ups!” my coworker insisted one hectic afternoon, sliding a little container across the break room table. Honestly, I was skeptical—how good could bite-sized sandwich spirals really be? But as I bit into the Easy Italian Sub Pinwheel Roll-Ups, the mix of savory meats, tangy cheese, and that subtle Italian herb kick hit just right. It was like a mini flavor explosion that didn’t require a knife and fork, and best of all, it came together in a snap. From that moment on, these pinwheel roll-ups became my go-to for when I needed a quick snack that felt a bit special but didn’t steal time from a busy day.
What really stuck with me was how these roll-ups brought back memories of deli lunches but with a fresh, handheld twist. They’re perfect for those moments when you want something more exciting than chips but don’t want to fuss with heavy prep. Plus, they’re great for unexpected guests or last-minute gatherings when you want to look like you made an effort without actually sweating it. I keep thinking about how simple ingredients—just a few staple deli items and a tortilla—can turn into something so satisfying. Honestly, it’s the kind of snack that makes you pause and appreciate the little things, like a good balance of flavors wrapped up in a neat package. If you ever find yourself staring blankly into the fridge wondering what to snack on, these roll-ups might just be the answer.
Why You’ll Love This Easy Italian Sub Pinwheel Roll-Ups Recipe
After making these pinwheel roll-ups more times than I can count (seriously, I once whipped them up three days straight), I’m confident they’re a keeper. Here’s why they’ve earned a permanent spot in my snack arsenal:
- Quick & Easy: Ready in under 15 minutes, they’re perfect for busy afternoons or sudden cravings.
- Simple Ingredients: No exotic items here—just deli meats, cheeses, and tortillas you likely have on hand.
- Perfect for Any Occasion: Whether you’re hosting a casual get-together or packing lunchboxes, these roll-ups fit right in.
- Crowd-Pleaser: Kids, adults, picky eaters—they all love these bite-sized snacks.
- Unbelievably Delicious: The combination of Italian seasonings, provolone, and savory meats creates a flavor that’s anything but boring.
What sets this recipe apart? It’s all about layering the ingredients just right and using a quick spread of Italian dressing to add moisture and tang. I’m not one to fuss over complicated sandwich assembly, so this method keeps it straightforward but never bland. Plus, swapping out the usual sandwich bread for soft flour tortillas makes these roll-ups portable and mess-free. It’s a twist on the classic Italian sub that’s easier to eat and just as satisfying. Honestly, after trying this recipe, you might find yourself making them more often than you thought possible—it’s comfort food, with a fresh, fuss-free vibe.
What Ingredients You Will Need
This recipe uses simple, wholesome ingredients to deliver bold flavor and satisfying texture without the fuss. Most of these are pantry or fridge staples, and swapping is easy if you need to customize.
- Flour Tortillas (10-inch size is ideal for rolling; soft and pliable)
- Italian Deli Meats: Thinly sliced salami, ham, and pepperoni (I prefer Boar’s Head for a good balance of flavor and quality)
- Provolone Cheese slices (adds creaminess and mild tang)
- Shredded Lettuce (iceberg or romaine for crunch)
- Tomato slices, thinly cut (fresh and juicy)
- Red Onion slices, very thin (optional but adds a nice bite)
- Italian Dressing (a little drizzle for tang and moisture; homemade or store-bought like Ken’s Steakhouse Italian works well)
- Black Pepper, freshly cracked (to taste)
- Optional Extras: Sliced pepperoncini or banana peppers for a little heat and zing
If you need substitutions: gluten-free wraps work fine, and you can swap provolone for mozzarella or Swiss if preferred. For a vegetarian spin, replace meats with grilled vegetables or marinated tofu slices.
Equipment Needed
- Sharp Knife: Essential for thinly slicing meats, vegetables, and cutting the roll-ups into pinwheels.
- Cutting Board: A clean surface for prepping all the ingredients.
- Mixing Bowl: Handy if you want to toss lettuce and tomatoes lightly with dressing before assembling.
- Plastic Wrap or Parchment Paper: Useful for wrapping the rolled tortillas tightly to chill before slicing.
- Serving Platter or Plate: For presenting the pinwheels nicely, especially if serving guests.
These tools are pretty standard in most kitchens. If you don’t have a sharp knife handy, a serrated one works well for cutting through the roll-ups without squishing them. I usually chill the wrapped rolls for about 20 minutes before slicing to get cleaner pinwheel shapes—makes serving a breeze. Budget tip: You don’t need fancy gadgets here; just good sharp knives and fresh ingredients will do the trick.
Preparation Method
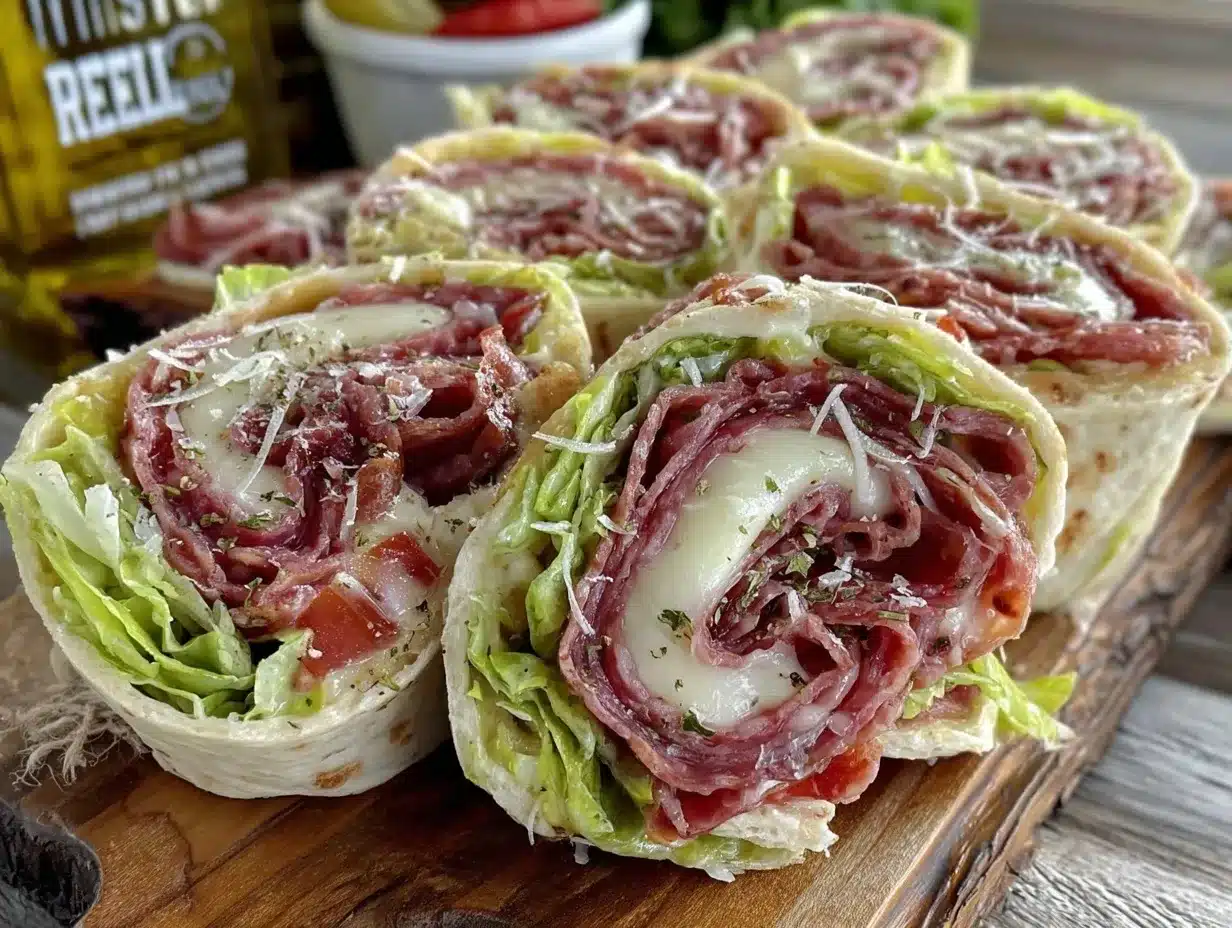
- Lay Out the Tortilla
Place one 10-inch flour tortilla flat on a clean surface. Make sure it’s soft and flexible to avoid cracking when rolling. - Drizzle the Italian Dressing
Lightly brush or drizzle about 1 tablespoon (15 ml) of Italian dressing evenly over the tortilla, leaving about a ½ inch border to prevent sogginess. - Layer the Meats
Place 2 slices of salami, 2 slices of ham, and 2 slices of pepperoni evenly over the tortilla. Use about 3 ounces (85 g) of deli meats total per roll-up for a good balance. - Add Cheese
Lay 2 slices of provolone cheese on top of the meats, slightly overlapping for full coverage. - Add Fresh Veggies
Evenly distribute a handful (about ½ cup or 30 g) of shredded lettuce, 2-3 thin slices of tomato, and a few rings of red onion if using. Season lightly with freshly cracked black pepper. - Optional Peppers
Add a few slices of pepperoncini or banana peppers for a mild kick—skip if you prefer it mild. - Roll It Up
Starting at one edge, tightly roll the tortilla into a log shape, keeping the filling snug inside. Use your fingers to tuck in as you roll to prevent gaps. - Wrap and Chill
Wrap the rolled tortilla tightly in plastic wrap or parchment paper. Place it in the fridge for at least 20 minutes to firm up—this makes slicing cleaner and easier. - Slice into Pinwheels
Remove from fridge and unwrap. Using a sharp serrated knife, cut the roll into 1-inch (2.5 cm) pinwheels. Arrange on a platter for serving.
Tip: If the roll-ups feel loose, pressing gently after rolling but before wrapping helps keep everything in place. You’ll notice the flavors meld beautifully after chilling—the tang of the dressing melds with the savory meats and fresh veggies for that perfect bite every time.
Cooking Tips & Techniques
Let me share a few things I learned the hard way while perfecting these roll-ups:
- Don’t Overload the Filling: Too much stuffing can make rolling tricky and cause the roll to burst open. Keep the layers balanced and spread evenly.
- Chill Before Slicing: This step is key. It firms up the roll and helps you get those neat, uniform pinwheels instead of a messy slice.
- Use a Serrated Knife: A serrated bread knife cuts through the roll without squishing it, unlike a smooth blade.
- Choose Soft Tortillas: If the tortilla is too dry or stiff, it’ll crack when you roll. If yours feel dry, warming them slightly in the microwave wrapped in a damp paper towel for 10 seconds helps.
- Layer Order Matters: Putting the dressing first helps the tortilla absorb some moisture and flavor, but keeping a border dry helps avoid sogginess—trust me, it’s a balance worth testing.
- Prep Ahead: These roll-ups hold well in the fridge for up to 24 hours, making them perfect for prepping snacks or lunchbox treats in advance.
I once skipped the chilling step, and the whole thing fell apart when slicing—lesson learned! Also, mixing up the meats or cheeses can change the flavor profile dramatically, so feel free to experiment with your favorites. These little tweaks can make the difference between a “meh” snack and one people keep asking for.
Variations & Adaptations
This recipe is pretty flexible, so here are a few ways I’ve changed it up depending on mood, season, or dietary needs:
- Vegetarian Version: Replace deli meats with grilled zucchini, roasted red peppers, and marinated artichokes. Add a spread of basil pesto in place of Italian dressing for extra flavor.
- Gluten-Free: Use gluten-free tortillas or large lettuce leaves (like butter lettuce) to wrap the fillings. The texture changes but the flavors still shine.
- Spicy Kick: Add a layer of spicy giardiniera or swap mild salami for spicy soppressata. A sprinkle of crushed red pepper flakes can also do the trick.
- Mini Pinwheels: Use smaller tortillas and cut into bite-sized ½ inch pinwheels—perfect for party trays or kids’ snacks.
- Cheese Swap: Try smoked provolone or pepper jack for a different cheese profile that adds complexity.
One personal favorite is adding a thin smear of sun-dried tomato spread under the meats for an extra tangy pop. It’s a small change but really lifts the whole roll-up. And if you like, these roll-ups pair beautifully with a fresh summer salad like the fresh strawberry spinach salad from the site for a light, balanced snack or lunch.
Serving & Storage Suggestions
Serve these pinwheel roll-ups chilled or at room temperature. They make a lovely finger food for snack plates, lunchboxes, or casual entertaining. I like arranging them on a platter with toothpicks for easy grabbing.
Pair them with simple sides like crunchy pickles, marinated olives, or a crisp green salad. For drinks, a sparkling lemonade or iced tea complements the Italian flavors nicely.
To store, wrap the roll-ups tightly in plastic wrap and refrigerate. They keep well for up to 24 hours but are best enjoyed the same day for freshness. If you want to prepare ahead, slice just before serving to avoid drying out the edges.
Reheating isn’t really necessary, but if you prefer warm pinwheels, pop them in a preheated oven at 350°F (175°C) for 5-7 minutes wrapped in foil to keep moist. The flavors meld even more with gentle warming, but I personally enjoy them cold as a refreshing snack.
Nutritional Information & Benefits
Each pinwheel roll-up contains approximately:
| Calories | 180-220 kcal per 2 pinwheels |
|---|---|
| Protein | 10-12 grams |
| Fat | 12-15 grams (mostly from cheese and meats) |
| Carbohydrates | 10-15 grams (from tortilla and veggies) |
The deli meats provide a good source of protein and iron, while provolone cheese adds calcium and a creamy texture. The fresh vegetables contribute fiber and vitamins, making this snack more balanced than your typical salty chips or processed snacks. Using whole wheat or gluten-free tortillas can add dietary fiber or accommodate gluten sensitivities.
For those watching sodium intake, consider lower-sodium deli meats or rinsing the meats briefly to reduce salt. Overall, these roll-ups offer a satisfying snack that can fit into many eating plans without sacrificing flavor or convenience.
Conclusion
If you’re after a quick snack that feels thoughtfully made but is anything but complicated, these Easy Italian Sub Pinwheel Roll-Ups fit the bill perfectly. They bring together familiar deli flavors in a fun, portable form that’s easy to customize and satisfyingly tasty. Whether you’re feeding a crowd or just grabbing a bite between errands, these roll-ups are a handy go-to I love keeping in my recipe rotation. Honestly, the simplicity combined with that fresh, tangy zip from Italian dressing is the kind of combo that keeps me coming back for more.
Give these a try and tweak the fillings to match your favorite Italian sub ingredients or pantry finds. I’d love to hear how you make them your own—drop a comment below with your variations or snack-time stories! Here’s to quick bites that hit all the right notes without the fuss.
FAQs About Easy Italian Sub Pinwheel Roll-Ups
Can I make these roll-ups ahead of time?
Yes! They actually benefit from chilling for at least 20 minutes before slicing to help the roll hold together. You can prepare them up to a day in advance and keep them wrapped in the fridge.
What other breads or wraps can I use?
Flour tortillas work best for pliability, but you can use gluten-free wraps or even large lettuce leaves for a low-carb option. Just make sure the wrap is flexible enough to roll without cracking.
Can I freeze the pinwheel roll-ups?
Freezing isn’t recommended, as the fresh veggies and tortilla texture don’t hold up well. They’re best enjoyed fresh or within 24 hours refrigerated.
How do I keep the roll-ups from getting soggy?
Leave a small border around the tortilla when adding dressing to prevent sogginess. Also, chilling the rolled wraps before slicing helps maintain structure and texture.
What if I don’t have Italian dressing?
You can substitute with a light drizzle of olive oil mixed with a splash of vinegar and Italian seasoning. Even a smear of pesto or mayonnaise can work depending on your flavor preference.
For more delicious easy snacks and quick bites, you might enjoy the crispy pigs in a blanket with everything seasoning or these crispy mozzarella sticks with marinara dip for your next snack craving.
Pin This Recipe!
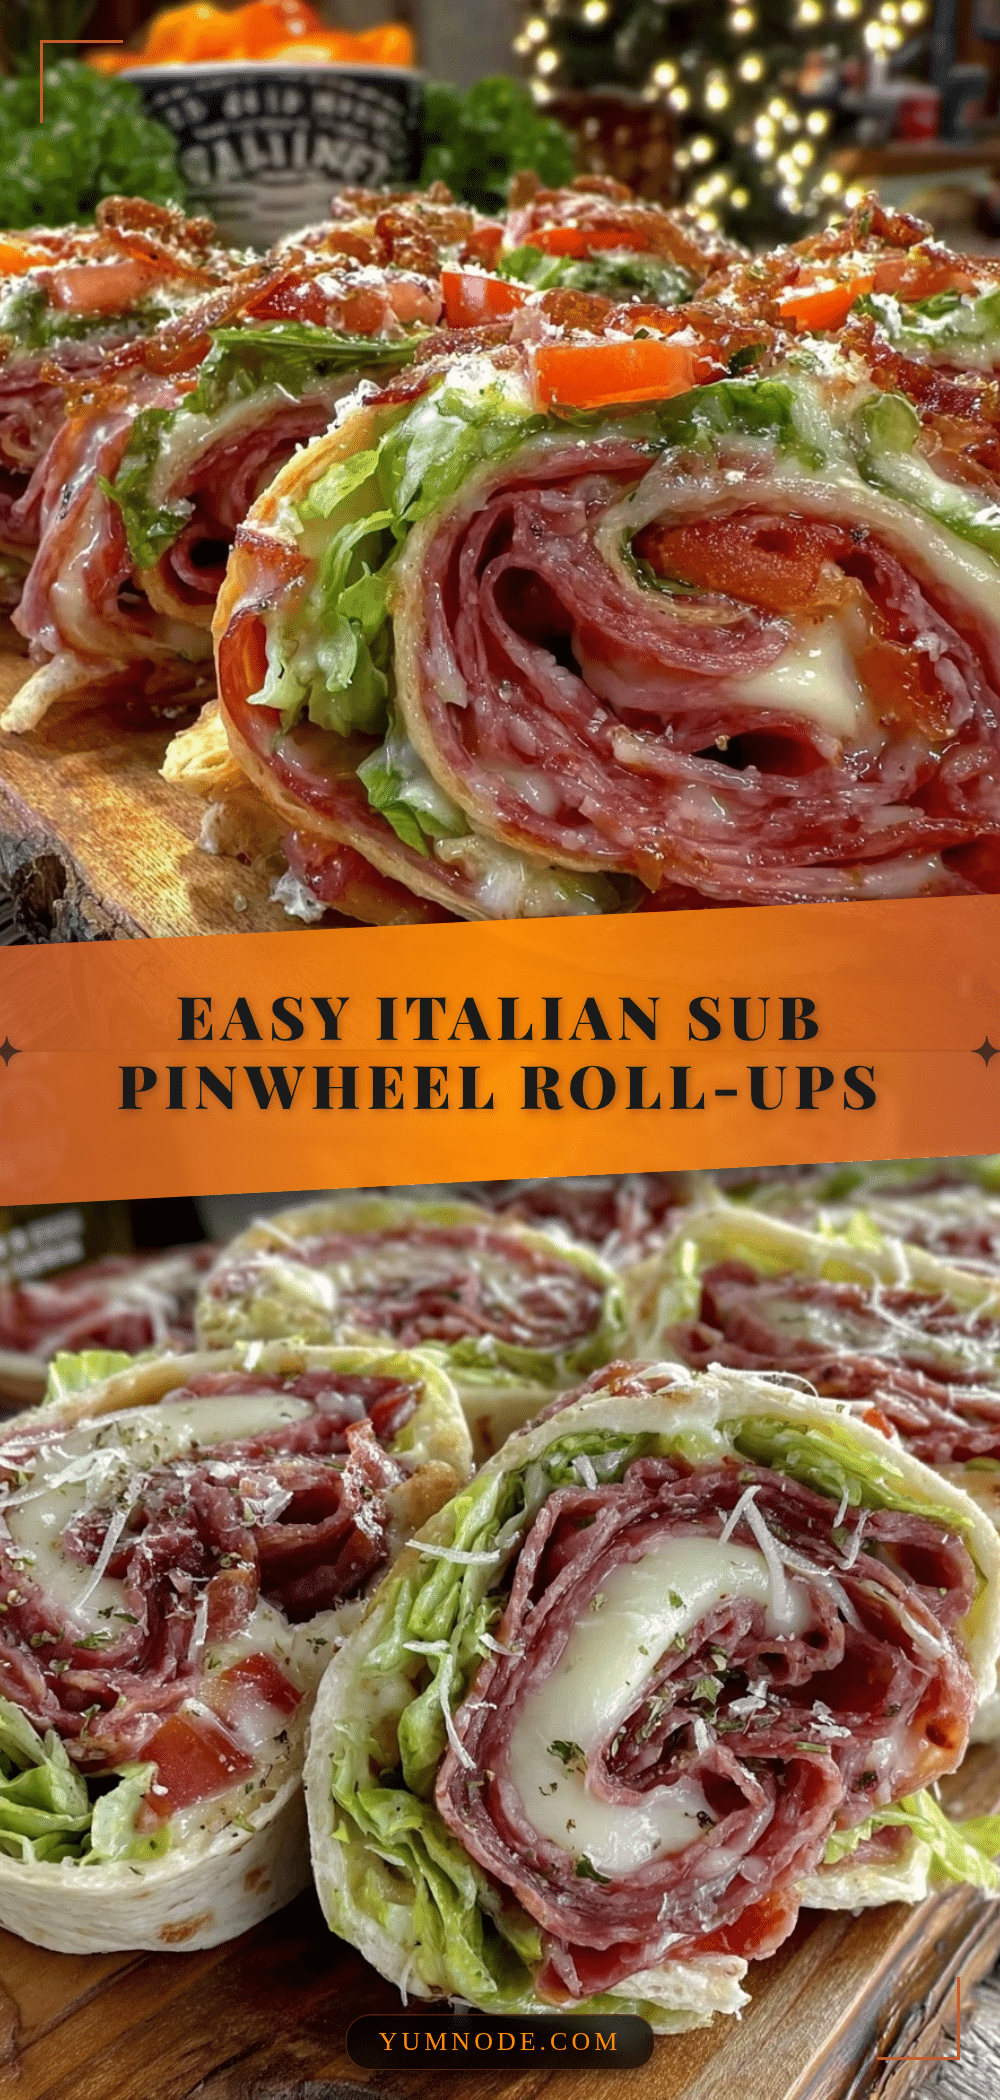
Easy Italian Sub Pinwheel Roll-Ups

These bite-sized sandwich spirals combine savory Italian deli meats, provolone cheese, fresh veggies, and Italian dressing wrapped in soft flour tortillas for a quick, tasty snack perfect for any occasion.
- Prep Time: 10 minutes
- Cook Time: 0 minutes
- Total Time: 30 minutes
- Yield: 4 servings 1x
- Category: Snack
- Cuisine: Italian
Ingredients
- 10-inch flour tortillas (soft and pliable)
- 2 slices salami per roll-up
- 2 slices ham per roll-up
- 2 slices pepperoni per roll-up
- 2 slices provolone cheese per roll-up
- ½ cup shredded lettuce (iceberg or romaine)
- 2–3 thin slices tomato
- Thin slices red onion (optional)
- 1 tablespoon Italian dressing per tortilla
- Freshly cracked black pepper to taste
- Optional: sliced pepperoncini or banana peppers
Instructions
- Place one 10-inch flour tortilla flat on a clean surface, ensuring it is soft and flexible.
- Lightly brush or drizzle about 1 tablespoon of Italian dressing evenly over the tortilla, leaving about a ½ inch border.
- Layer 2 slices each of salami, ham, and pepperoni evenly over the tortilla (about 3 ounces total).
- Lay 2 slices of provolone cheese on top of the meats, slightly overlapping.
- Evenly distribute ½ cup shredded lettuce, 2-3 thin tomato slices, and a few rings of red onion if using. Season lightly with freshly cracked black pepper.
- Add a few slices of pepperoncini or banana peppers if desired.
- Starting at one edge, tightly roll the tortilla into a log shape, tucking in the filling as you roll.
- Wrap the rolled tortilla tightly in plastic wrap or parchment paper and refrigerate for at least 20 minutes to firm up.
- Remove from fridge, unwrap, and using a sharp serrated knife, cut the roll into 1-inch pinwheels.
- Arrange pinwheels on a platter for serving.
Notes
Chilling the roll-ups for at least 20 minutes before slicing helps maintain shape and makes cleaner pinwheels. Use a serrated knife to cut without squishing. If tortillas feel dry, warm slightly wrapped in a damp paper towel for 10 seconds. Avoid overfilling to prevent bursting. Can be prepared up to 24 hours ahead and stored refrigerated.
Nutrition
- Serving Size: 2 pinwheels
- Calories: 200
- Sugar: 2
- Sodium: 550
- Fat: 13.5
- Saturated Fat: 5
- Carbohydrates: 12.5
- Fiber: 1.5
- Protein: 11
Keywords: Italian sub, pinwheel roll-ups, quick snack, deli meats, provolone cheese, Italian dressing, easy appetizer



