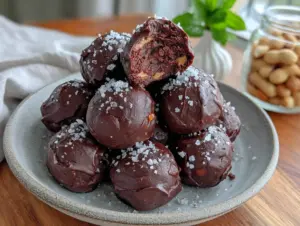
I burned my tongue on the first batch of these no-bake protein balls. Not from heat, obviously—they’re no-bake. From impatience. I scooped a spoonful of the mixture before it had set, and the peanut butter was still warm from the food processor, and I just couldn’t wait. That was three years ago, and I’ve made a version of these every single week since. The burned tongue was worth it, honestly, because that first messy taste told me I was onto something.
The thing is, I wasn’t even trying to make a snack. I was trying to use up the last of a jar of peanut butter that had been sitting in my pantry for two months. You know the one—the jar that’s got maybe two tablespoons left, not enough for a sandwich but too much to throw away. I had some old-fashioned oats, a sad-looking chocolate bar from Halloween, and a container of vanilla protein powder that tasted like cardboard when mixed with water. I figured I’d mash it all together and see what happened. What happened was a snack that got me through the 3 PM slump without reaching for the vending machine. What happened was a recipe I still make today, even when I’m not trying to clean out the pantry.
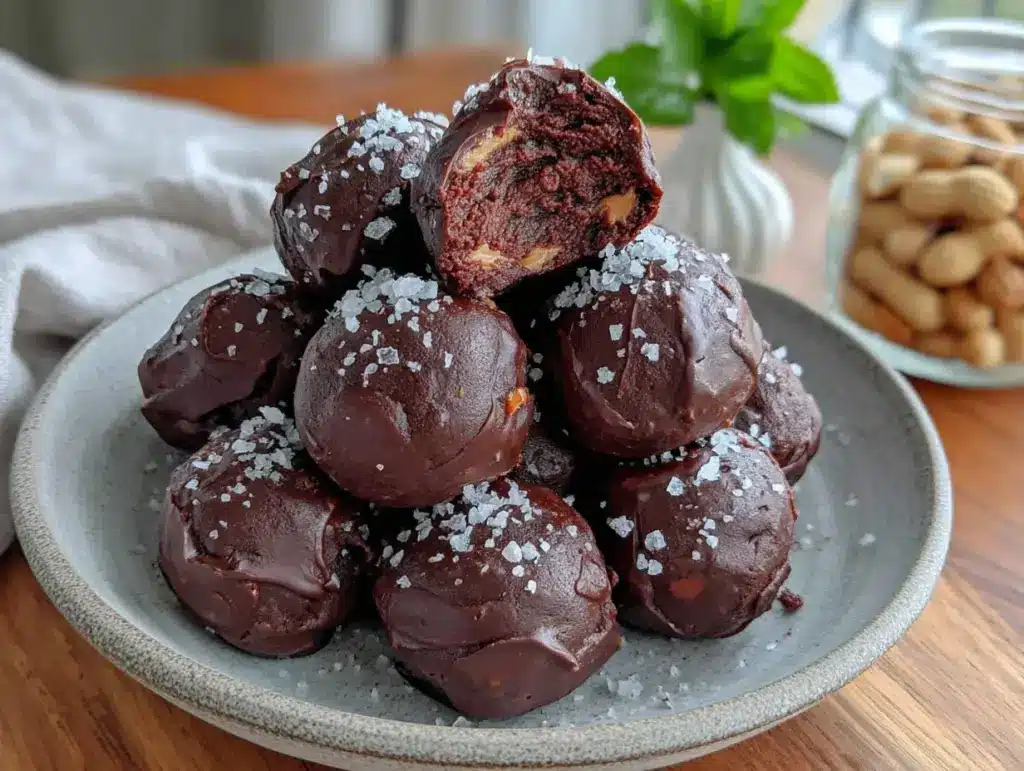
These easy no-bake chocolate peanut butter protein balls aren’t fancy. They’re not photogenic in that perfectly-rolled, Instagram-perfect way. They’re a little rustic, a little uneven, and completely forgiving. That’s why they work. You don’t need a stand mixer or a baking sheet or any patience whatsoever. You need a bowl, a spoon, and about ten minutes. And honestly? That’s the kind of recipe I actually make, not just bookmark and forget about.
Why You’ll Love This Recipe
I’ve tested this recipe about a dozen times to get the texture just right. Too dry and they crumble when you bite into them. Too sticky and they’re impossible to roll. The version I’m sharing today hits that sweet spot—firm enough to hold their shape, soft enough to be satisfying, and packed with enough chocolate and peanut butter that you forget they’re actually good for you.
- Quick & Easy: Ten minutes from start to finish. No oven, no stovetop, no complicated steps. Just mix, roll, and refrigerate.
- Simple Ingredients: You probably have most of these in your kitchen right now. Oats, peanut butter, honey, chocolate chips. The only “special” ingredient is protein powder, and you can skip it if you want.
- Perfect for Meal Prep: Make a batch on Sunday and grab one every afternoon. They keep for two weeks in the fridge and freeze beautifully.
- Crowd-Pleaser: I’ve brought these to potlucks, picnics, and even a work meeting. People who swear they don’t like protein balls end up asking for the recipe.
- Customizable: Don’t like peanut butter? Use almond butter. Want more protein? Add an extra scoop. Craving crunch? Throw in some chopped nuts.
What makes these different from every other protein ball recipe online? It’s the texture. Most recipes end up either too dry (tasting like sawdust) or too sticky (a mess to roll). I spent weeks tweaking the ratios—adding a touch more honey, using creamy peanut butter instead of crunchy, letting the mixture rest before rolling. The result is a protein ball that actually tastes good, not just “good for a protein ball.” It’s the kind of snack that makes you close your eyes after the first bite, even if you’re standing in front of the fridge at 10 PM.
What Ingredients You Will Need
This recipe uses simple, wholesome ingredients that come together to create something genuinely delicious. No weird health food store finds, no obscure superfood powders. Just real food that happens to be good for you.
- Rolled Oats (1 cup / 90g) — Use old-fashioned rolled oats, not instant. They give the protein balls structure and a pleasant chewy texture. Quick oats will work in a pinch, but the texture will be softer and less defined.
- Creamy Peanut Butter (½ cup / 130g) — Natural peanut butter works best here, the kind that’s just peanuts and salt. Stir it well before measuring. If you use the sugary commercial stuff, the balls will be too sweet and might not hold together as well.
- Chocolate Protein Powder (¼ cup / 30g) — I use chocolate whey protein, but plant-based works too. Vanilla protein powder also works—just know the chocolate flavor will be milder. If you skip the protein powder entirely, add an extra ¼ cup of oats.
- Honey or Maple Syrup (3 tablespoons / 60ml) — Honey gives a slightly floral sweetness and helps bind everything together. Maple syrup works too, but the mixture will be a touch stickier. For a vegan version, use maple syrup.
- Mini Chocolate Chips (¼ cup / 45g) — I use semi-sweet mini chips because they distribute evenly and give little pockets of chocolate in every bite. Dark chocolate chips work beautifully too. If you’re not a chocolate person (are you okay?), you can leave them out.
- Flaxseed Meal (2 tablespoons / 14g) — This is optional but highly recommended. It adds fiber, omega-3s, and helps bind the mixture. You can substitute chia seeds or just leave it out entirely.
- Pinch of Sea Salt — Don’t skip this. Salt makes the chocolate and peanut butter taste more like themselves. It’s the difference between “good” and “I can’t stop eating these.”
I recommend using a brand like Justin’s for the peanut butter or Kirkland for the rolled oats. For protein powder, I’ve had great results with Optimum Nutrition Gold Standard in chocolate—it mixes in smoothly without clumping. If you’re using a plant-based protein powder, expect the mixture to be a bit drier; you might need an extra tablespoon of honey to compensate.
Equipment Needed
One of the best things about this recipe is how little equipment it requires. No food processor, no blender, no stand mixer. Just a few basic tools you already own.
- Large Mixing Bowl — Any bowl works, but a wide, shallow bowl makes mixing easier. I use my grandmother’s old ceramic mixing bowl, but a stainless steel one works just as well.
- Wooden Spoon or Rubber Spatula — A sturdy spoon is all you need. I prefer a rubber spatula because it scrapes the sides clean, but a wooden spoon has more leverage for the initial mixing.
- Measuring Cups and Spoons — For accuracy. I’ve made this recipe enough times that I can eyeball it now, but measuring is important the first time.
- Cookie Scoop or Tablespoon — A 1-tablespoon cookie scoop makes perfectly uniform balls. If you don’t have one, just use a regular tablespoon and your hands.
- Parchment Paper or Silicone Mat — For rolling and storing. The balls won’t stick to parchment, and cleanup is a breeze.
- Baking Sheet or Large Plate — To hold the balls while they chill. A baking sheet fits perfectly in the fridge.
If you don’t have a cookie scoop, don’t worry. I actually prefer rolling them by hand—it gives them a more rustic, homemade look. Just lightly wet your hands first to keep the mixture from sticking to your palms. A silicone mat is a nice luxury, but parchment paper is cheaper and works just as well.
Preparation Method
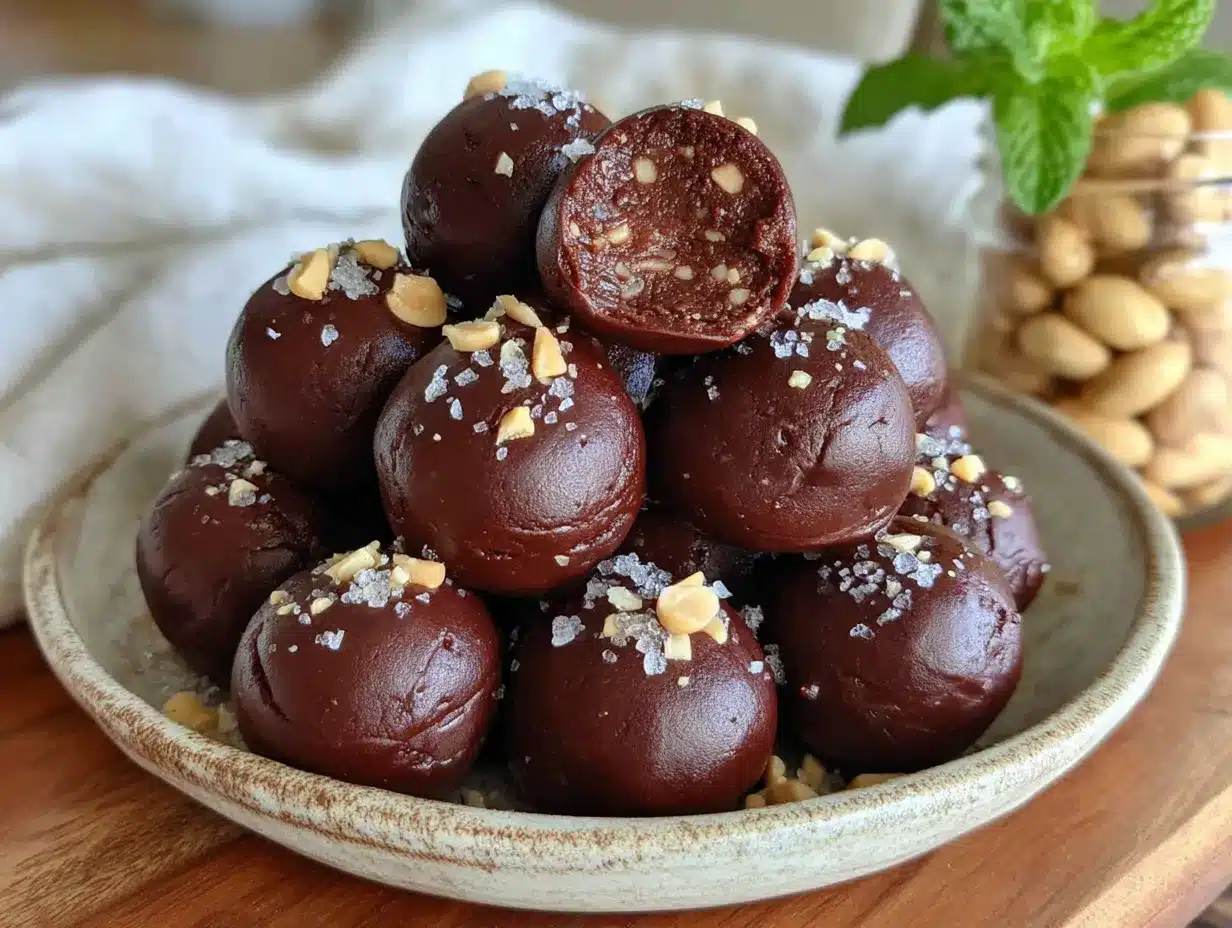
This is the easiest part. No baking, no waiting for butter to soften, no preheating. Just ten minutes of active work and then the fridge does the rest.
- Combine the dry ingredients. In a large mixing bowl, add the rolled oats, chocolate protein powder, flaxseed meal (if using), and a pinch of sea salt. Whisk them together with a fork until evenly distributed. This step ensures the protein powder doesn’t clump later.
- Add the wet ingredients. Spoon the creamy peanut butter and honey (or maple syrup) into the bowl. Don’t worry if the peanut butter is stiff—it’ll loosen up as you mix. Start stirring with your wooden spoon or spatula, pressing the peanut butter against the sides of the bowl to soften it.
- Mix thoroughly. Keep stirring until no dry patches remain. The mixture should look like a thick, slightly sticky dough. If it seems too dry and crumbly, add a teaspoon of honey or a splash of milk. If it seems too wet and sticky, add a tablespoon of oats. This is where experience comes in—the texture should hold together when you squeeze a small amount in your palm.
- Fold in the chocolate chips. Sprinkle the mini chocolate chips over the mixture and fold them in gently. Make sure they’re evenly distributed so every ball gets a few chocolate pockets. If you’re adding chopped nuts, dried fruit, or coconut flakes, fold them in now too.
- Let the mixture rest. This is the step most people skip, and it makes a difference. Cover the bowl and let it sit at room temperature for 5-10 minutes. This gives the oats time to absorb some moisture and the flaxseed to gel slightly. The mixture will firm up and become much easier to roll.
- Roll into balls. Using a 1-tablespoon cookie scoop or a regular spoon, portion out the mixture. Roll each portion between your palms until smooth and round. If the mixture sticks to your hands, lightly wet your palms or rub a tiny bit of coconut oil on them. You should get about 14-16 balls, depending on size.
- Chill. Place the rolled balls on a parchment-lined baking sheet or plate. Refrigerate for at least 30 minutes before eating. This sets the texture and makes them firm enough to hold their shape. I know it’s tempting to eat one immediately, but trust me—the texture is much better after chilling.
A quick note about texture: the mixture should feel like slightly stiff cookie dough. If it’s too dry and won’t hold together, add another tablespoon of peanut butter. If it’s too sticky to roll, add another tablespoon of oats. Humidity affects how the oats absorb moisture, so don’t be afraid to adjust. I’ve made this recipe in both humid summers and dry winters, and I always tweak it slightly.
Cooking Tips & Techniques
After making these protein balls weekly for three years, I’ve learned a few things the hard way. Here are my best tips for perfect results every time.
Use room temperature peanut butter. Cold peanut butter is stiff and hard to mix evenly. If your peanut butter has been in the fridge, let it sit on the counter for 15 minutes before starting. Or microwave it for 10 seconds to soften it slightly. This one change makes mixing infinitely easier.
Don’t overmix. Once the ingredients are combined, stop. Overmixing can make the protein balls dense and tough. You want them to be tender and slightly crumbly, not compacted. Mix until just combined, then let the oats do their thing during the resting period.
Chill before rolling. I learned this after making a batch that was too sticky to handle. If your mixture is sticky, pop the bowl in the fridge for 15-20 minutes before rolling. The cold firms up the peanut butter and makes the mixture much easier to work with. This is especially helpful in warm weather.
Wet hands, not sticky balls. Keep a small bowl of water nearby while rolling. Dip your fingertips in the water before rolling each ball. The water creates a barrier between your skin and the sticky mixture, preventing it from clinging to your hands. It’s a game-changer.
Make them uniform. Use a cookie scoop for consistent sizing. Even-sized balls chill at the same rate and look more professional. If you’re giving them as gifts or storing them for meal prep, uniform size matters. For everyday snacking, I’m less fussy.
Taste and adjust. Before rolling all the balls, taste a small piece of the mixture. Is it sweet enough? Does it need more salt? More chocolate chips? This is your chance to adjust before committing to the full batch. I’ve added an extra pinch of salt more times than I can count.
Variations & Adaptations
This recipe is incredibly forgiving and adaptable. Here are some of my favorite variations, all tested and approved.
Peanut Butter and Jelly. Swap half the chocolate chips for dried cranberries or chopped dried strawberries. The tart fruit cuts through the richness of the peanut butter beautifully. I made this version for a road trip and ate half the batch before we reached the highway.
Almond Joy. Use almond butter instead of peanut butter, add ¼ cup unsweetened shredded coconut, and use dark chocolate chips. The combination of almond, coconut, and dark chocolate is dangerously good. My husband calls these “dessert that pretends to be healthy.”
Vegan Option. Use maple syrup instead of honey and a plant-based chocolate protein powder. Make sure your chocolate chips are dairy-free (most dark chocolate chips are). The texture is slightly different—a bit softer—but just as delicious.
Gluten-Free. Use certified gluten-free rolled oats. That’s literally the only change. Everything else is naturally gluten-free. I’ve made these for friends with celiac disease, and they always ask for more.
Extra Crunch. Add 2 tablespoons of chopped peanuts, almonds, or walnuts. You could also add 1 tablespoon of chia seeds or hemp hearts for a nutritional boost. The crunch makes them more satisfying to eat.
Lower Sugar. Use unsweetened peanut butter, skip the honey, and use sugar-free chocolate chips. The protein powder provides enough sweetness on its own. This version is less sweet but still satisfying—more of an adult snack.
I once made a batch with cashew butter, dried cherries, and white chocolate chips. It was a happy accident—I was out of peanut butter and desperate. It turned out so well that it’s now my second-favorite variation. Don’t be afraid to experiment. The worst that happens is you end up with a weird batch of snacks, and honestly, weird snacks are still snacks.
Serving & Storage Suggestions
These protein balls are best served cold, straight from the fridge. The texture is firmer, the chocolate chips are snappy, and the peanut butter flavor is more pronounced. At room temperature, they soften and become a bit sticky—still delicious, but less satisfying in texture.
For serving, I like to arrange them on a small plate or in a mason jar for a grab-and-go snack. They’re perfect for lunchboxes, post-workout refueling, or afternoon cravings. Pair them with a glass of cold milk or a cup of coffee for the ultimate snack experience. If you’re feeling fancy, drizzle a little melted chocolate on top and sprinkle with flaky sea salt before chilling.
Refrigerator Storage: Store in an airtight container in the fridge for up to 2 weeks. Layer them between sheets of parchment paper to prevent sticking. I use a glass container with a tight lid, and they stay fresh for the full two weeks—though they rarely last that long in my house.
Freezer Storage: These freeze beautifully. Place the rolled balls on a baking sheet and freeze until solid (about 1 hour), then transfer to a freezer-safe bag or container. They’ll keep for up to 3 months. Thaw in the fridge overnight, or eat them straight from the freezer—they’re like little protein-packed ice cream bites.
Room Temperature: If you’re taking them on a hike or packing them in a lunchbox, they’ll hold up at room temperature for about 4-6 hours. After that, they start to soften and lose their shape. I’ve taken them on day hikes and camping trips with no issues, as long as I keep them in a cool pack.
A note on flavor development: these actually taste better after a day or two in the fridge. The flavors meld together, the oats soften slightly, and everything becomes more cohesive. I always try to make them a day ahead if I’m serving them to guests.
Nutritional Information & Benefits
Per ball (based on 15 balls per batch):
- Calories: 145
- Protein: 7g
- Fat: 8g
- Carbohydrates: 14g
- Fiber: 3g
- Sugar: 8g
These numbers will vary based on your specific ingredients and portion sizes. If you use a different protein powder or nut butter, the nutritional profile will shift slightly.
The health benefits here are real. Rolled oats provide slow-release energy and soluble fiber, which helps keep you full and supports heart health. Peanut butter offers healthy monounsaturated fats and plant-based protein. Flaxseed meal adds omega-3 fatty acids and extra fiber. And the chocolate? Dark chocolate contains antioxidants called flavonoids. It’s not health food, but it’s a heck of a lot better than a candy bar.
These protein balls are naturally gluten-free (if you use certified GF oats) and can be made vegan with a simple swap. They’re nut-free if you use sunflower seed butter instead of peanut butter. The main allergen to watch is peanuts, obviously, and the oats if you’re serving someone with celiac disease who requires certified gluten-free oats.
Conclusion
These easy no-bake chocolate peanut butter protein balls have become a staple in my kitchen for a simple reason: they actually work. They’re not a compromise snack that you eat because you “should.” They’re a genuinely good snack that happens to have protein and fiber and all those good things. I’ve made them for myself on lazy Sunday afternoons, for friends who needed a pick-me-up, and for road trips where the snack options were limited to gas station chips. Every time, they deliver.
I want you to make these your own. Use a different nut butter. Add dried fruit instead of chocolate chips. Roll them in cocoa powder or shredded coconut. The recipe is a starting point, not a rulebook. The first time I made these, I used a random combination of ingredients I had on hand. That happy accident turned into something I still make three years later. Your version might be even better.
If you try this recipe, I’d love to hear about it. Leave a comment below and tell me what variations you tried, or tag me in your photos if you share them online. Did you add coconut? Use almond butter? Make them with your kids? I read every comment, and your adaptations often inspire my next batch. Happy snacking!
Frequently Asked Questions
Can I make these without protein powder?
Absolutely. Just replace the ¼ cup of protein powder with an additional ¼ cup of rolled oats. The texture will be slightly different—a bit more oat-forward and less dense—but they’ll still hold together and taste great. You could also add 2 tablespoons of almond flour or coconut flour as a substitute.
Why are my protein balls too dry and crumbly?
This usually happens when the peanut butter is too stiff or the oats are too dry. Try adding an extra tablespoon of honey or peanut butter to the mixture. Letting the mixture rest for 10 minutes before rolling also helps the oats absorb moisture and bind together better.
Why are my protein balls too sticky to roll?
Too much liquid or not enough oats. Add a tablespoon of oats at a time until the mixture firms up. You can also chill the mixture in the fridge for 15-20 minutes before rolling—the cold will solidify the peanut butter and make it less sticky. Wetting your hands slightly while rolling also helps.
How long do these protein balls last in the fridge?
They’ll stay fresh in an airtight container in the refrigerator for up to 2 weeks. I’ve kept them for 3 weeks before and they were still fine, but the texture starts to degrade after the 2-week mark. If you need them to last longer, freeze them for up to 3 months.
Can I use crunchy peanut butter instead of creamy?
Yes, but the texture will be different. Crunchy peanut butter has less binding power because the peanut pieces create gaps in the mixture. You might need to add an extra tablespoon of honey to help everything stick together. I personally prefer creamy for this recipe, but crunchy works in a pinch.
Pin This Recipe!
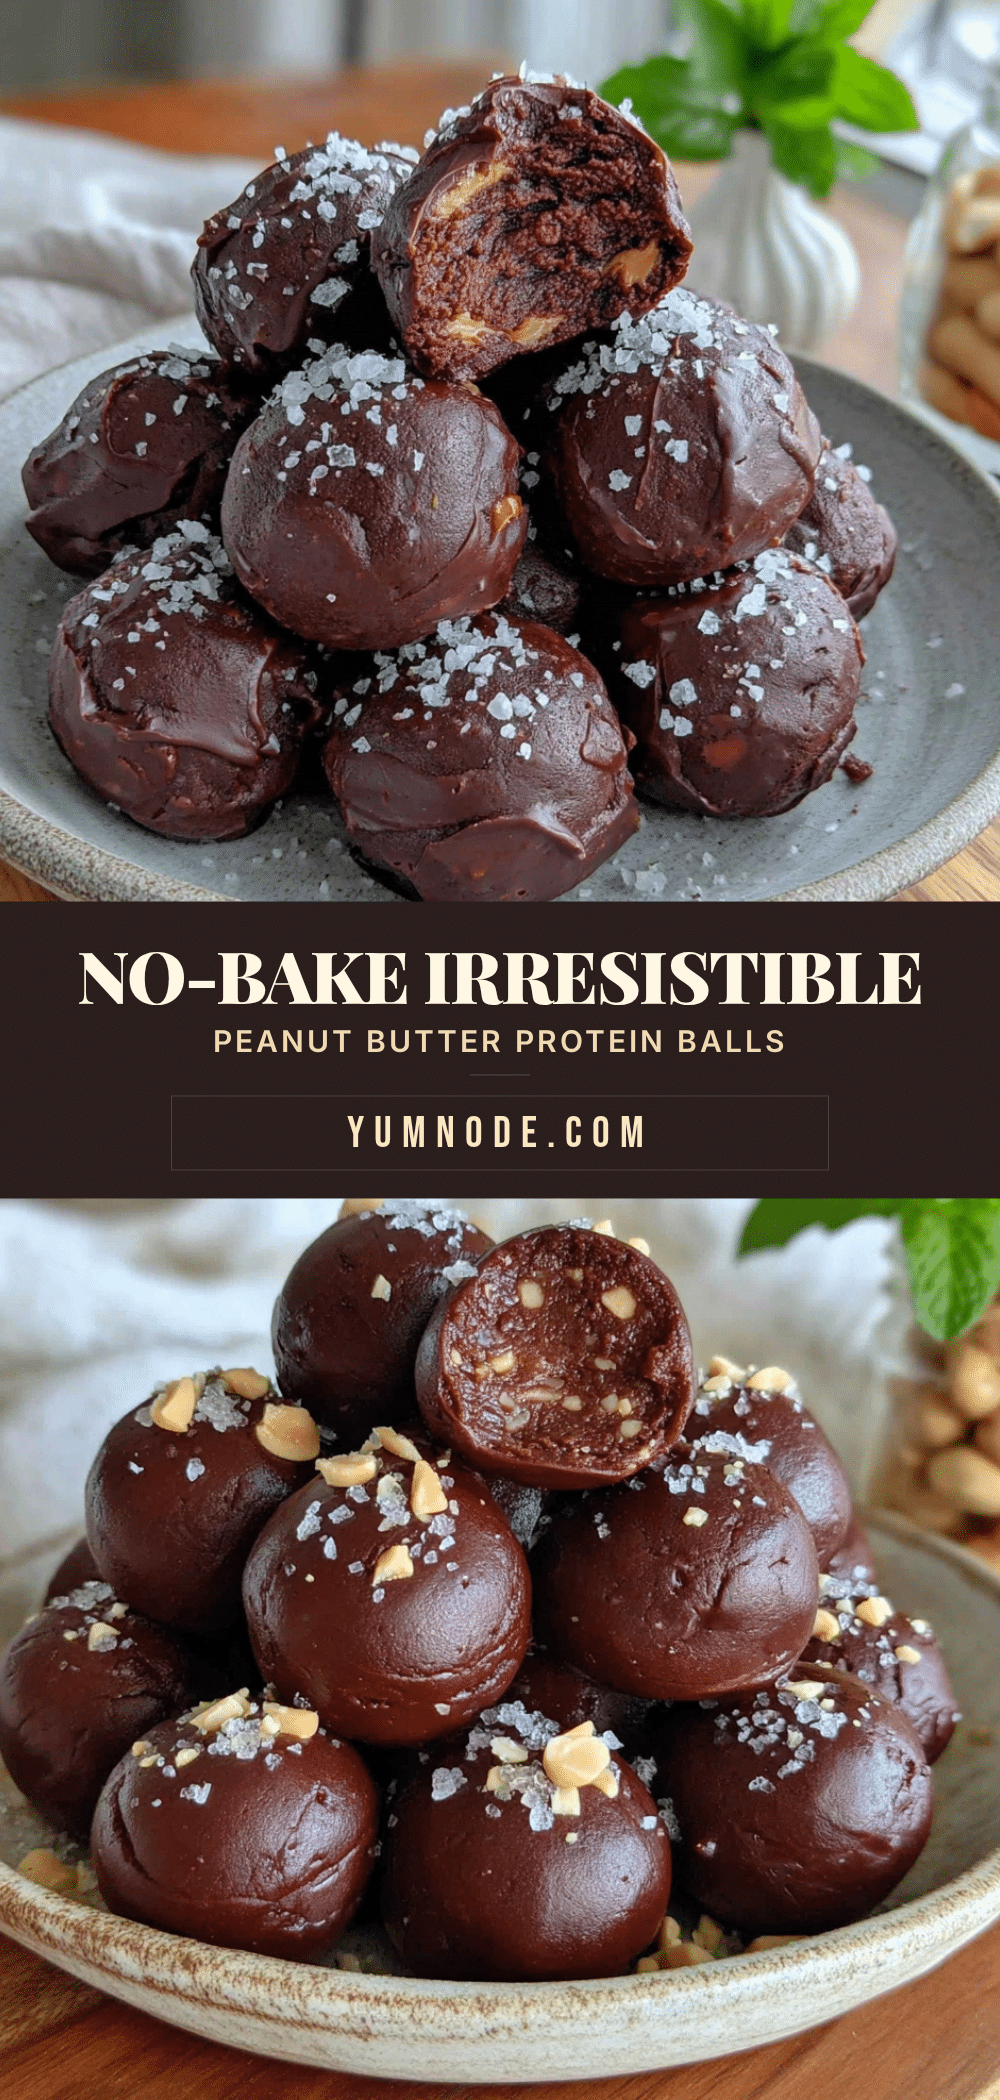
Easy No-Bake Chocolate Peanut Butter Protein Balls (Best 10-Minute Recipe)

These easy no-bake chocolate peanut butter protein balls are a quick, healthy snack made with simple ingredients like oats, peanut butter, and chocolate chips. Ready in just 10 minutes, they’re perfect for meal prep and customizable to your taste.
- Prep Time: 10 minutes
- Cook Time: 0 minutes
- Total Time: 10 minutes
- Yield: 14-16 balls 1x
- Category: Snack
- Cuisine: American
Ingredients
- 1 cup (90g) rolled oats
- ½ cup (130g) creamy peanut butter
- ¼ cup (30g) chocolate protein powder
- 3 tablespoons (60ml) honey or maple syrup
- ¼ cup (45g) mini chocolate chips
- 2 tablespoons (14g) flaxseed meal (optional)
- Pinch of sea salt
Instructions
- Combine the dry ingredients: In a large mixing bowl, add the rolled oats, chocolate protein powder, flaxseed meal (if using), and a pinch of sea salt. Whisk together with a fork until evenly distributed.
- Add the wet ingredients: Spoon the creamy peanut butter and honey (or maple syrup) into the bowl. Stir with a wooden spoon or rubber spatula, pressing the peanut butter against the sides of the bowl to soften it.
- Mix thoroughly: Keep stirring until no dry patches remain. The mixture should look like a thick, slightly sticky dough. If too dry, add a teaspoon of honey or a splash of milk. If too wet, add a tablespoon of oats.
- Fold in the chocolate chips: Sprinkle the mini chocolate chips over the mixture and fold them in gently until evenly distributed.
- Let the mixture rest: Cover the bowl and let it sit at room temperature for 5-10 minutes. This allows the oats to absorb moisture and the flaxseed to gel, making the mixture easier to roll.
- Roll into balls: Using a 1-tablespoon cookie scoop or a regular spoon, portion out the mixture. Roll each portion between your palms until smooth and round. If sticky, lightly wet your hands or rub a tiny bit of coconut oil on them. You should get about 14-16 balls.
- Chill: Place the rolled balls on a parchment-lined baking sheet or plate. Refrigerate for at least 30 minutes before eating to set the texture.
Notes
Use room temperature peanut butter for easier mixing. Let the mixture rest before rolling for better texture. Wet hands slightly to prevent sticking. These taste even better after a day in the fridge. For vegan version, use maple syrup and plant-based protein powder. For gluten-free, use certified gluten-free oats.
Nutrition
- Serving Size: 1 ball
- Calories: 145
- Sugar: 8
- Sodium: 80
- Fat: 8
- Saturated Fat: 2
- Carbohydrates: 14
- Fiber: 3
- Protein: 7
Keywords: no-bake protein balls, chocolate peanut butter protein balls, healthy snack, easy protein balls, meal prep snack