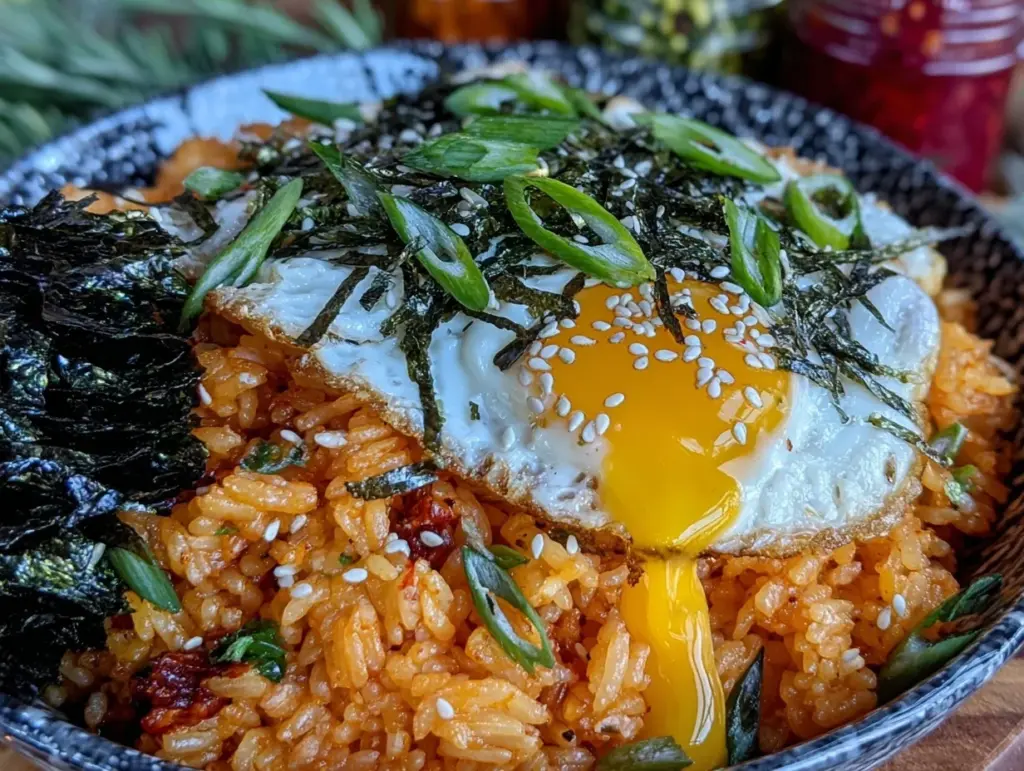
“You want kimchi fried rice? Just toss whatever’s in the fridge,” my friend joked over a late-night text. Honestly, I was skeptical. Kimchi fried rice sounded like one of those “easy” dishes that turned out bland or messy. But that night, with a fridge half-empty and patience running thin, I gave it a whirl. What came out was unexpectedly comforting—a spicy, tangy, slightly crunchy fried rice crowned with a perfectly runny egg, all finished with a drizzle of nutty sesame oil. The simple ingredients came together like a warm, flavorful hug after a long day.
The magic, I realized, was in the balance: the punchy kimchi, the caramelized rice bits, and the silkiness of the egg yolk melting over everything. I’ve made this recipe probably a dozen times since then—sometimes as a quick solo dinner, other times to impress unplanned guests who somehow always ask for seconds. It’s become my go-to for those evenings when cooking feels like a chore but hunger won’t wait.
What’s stuck with me, beyond the taste, is how this dish turns humble leftovers into something vibrant and satisfying. It’s not just food; it’s a quiet reminder that good meals don’t have to be complicated to be memorable.
Why You’ll Love This Recipe
After testing this flavorful kimchi fried rice with runny egg and sesame oil multiple times, I can confidently say it’s a dish that checks all the boxes for busy cooks and flavor seekers alike.
- Quick & Easy: Ready in under 20 minutes—perfect for weeknight dinners or when you’re craving something warm and filling without fuss.
- Simple Ingredients: No specialty groceries needed; most are pantry staples or easy to find at any market.
- Perfect for Any Occasion: Whether it’s a solo meal, casual dinner with friends, or a laid-back brunch, this dish fits right in.
- Crowd-Pleaser: The combination of spicy kimchi and creamy egg yolk always wins over both kids and adults.
- Unbelievably Delicious: The toasted rice and sesame oil create a warm, nutty backdrop for the tangy fermented flavors—comfort food that feels fresh and exciting.
This isn’t just another fried rice recipe. The trick? Using day-old rice for that perfect chew and toasty texture, plus carefully cooking the egg so the yolk stays lusciously runny. Toss in a splash of sesame oil at the end, and you’ve got a dish that’s simple but layered with flavor. It’s the kind of meal that makes you close your eyes after the first bite—satisfying, soul-soothing, and honestly, a little addictive.
If you’re in the mood for other cozy, easy recipes that bring comfort without stress, you might enjoy my cozy pumpkin spice bread with cream cheese swirl or the easy honey mustard baked chicken thighs—both favorites when I want fuss-free but impressive dishes.
What Ingredients You Will Need
This recipe uses straightforward, wholesome ingredients that come together to pack a punch of flavor and texture without overcomplicating things. Most of these are pantry staples or fresh items you can grab easily, and substitutions are simple if you need them.
- Cooked rice: 3 cups day-old white rice, preferably short-grain or medium-grain (using leftover rice is key for the right texture)
- Kimchi: 1 cup chopped, well-fermented kimchi with some juice (the star ingredient that brings that signature tang and spice)
- Vegetable oil: 1 tablespoon, for stir-frying (neutral oils like canola or grapeseed work well)
- Sesame oil: 1 teaspoon, for finishing (adds a toasty, nutty aroma that’s essential here)
- Garlic: 2 cloves, minced (for a little savory depth)
- Green onions: 2 stalks, thinly sliced (adds freshness and crunch)
- Soy sauce: 1 tablespoon (use low sodium if preferred)
- Gochujang (Korean chili paste): 1 teaspoon, optional but recommended for a subtle heat boost
- Eggs: 2 large, preferably at room temperature (for topping, cooked sunny-side up to keep that glorious runny yolk)
- Salt and black pepper: to taste
Ingredient tips: Look for firm, crunchy kimchi for the best texture—soft or overly wet kimchi can make the rice soggy. If you want a gluten-free version, swap soy sauce for tamari. And if dairy is a concern, this recipe is naturally dairy-free.
Equipment Needed
- Large non-stick skillet or wok: Essential for evenly frying the rice without sticking. A wok is ideal for tossing ingredients quickly, but a sturdy skillet works just as well.
- Spatula or wooden spoon: For stirring and scraping the rice off the pan surface.
- Small bowl: To beat eggs or hold prepped ingredients.
- Knife and cutting board: For chopping kimchi and slicing green onions.
- Measuring spoons: To get your soy sauce and gochujang just right.
If you don’t have a wok, no worries—just make sure your skillet is big enough to give the rice room to fry rather than steam. I’ve found that a cast iron skillet holds heat beautifully and gives a nice crust on the rice, but non-stick pans are easier to clean if you’re in a rush.
Preparation Method
- Prep the rice: Break up any clumps of day-old rice with your fingers or a fork so it’s loose and easy to fry. This usually takes about 2-3 minutes.
- Heat the oil: Place your skillet or wok over medium-high heat and add 1 tablespoon of vegetable oil. Let it warm until it shimmers—this helps prevent sticking.
- Sauté garlic and green onions: Add minced garlic and most of the green onions (reserve some for garnish). Stir for about 30 seconds until fragrant but not browned.
- Add kimchi: Toss in the chopped kimchi and stir-fry for 2-3 minutes until it softens slightly and the aroma deepens. This step brings out the kimchi’s complexity.
- Mix rice and seasonings: Add the rice to the pan, stirring well to combine with the kimchi mixture. Pour in soy sauce and gochujang (if using), stirring constantly for 4-5 minutes. You’re aiming to get some crispy bits on the bottom—those are the best!
- Season and finish: Taste and season with salt and black pepper as needed. Drizzle the sesame oil over the fried rice and give it one last quick toss to distribute that nutty flavor evenly.
- Cook the eggs: In a separate small non-stick pan, heat a tiny bit of oil over medium heat. Crack in the eggs carefully and cook sunny-side up until whites are set but yolks still runny (about 2-3 minutes). If you prefer, cover the pan briefly to cook the whites through without flipping.
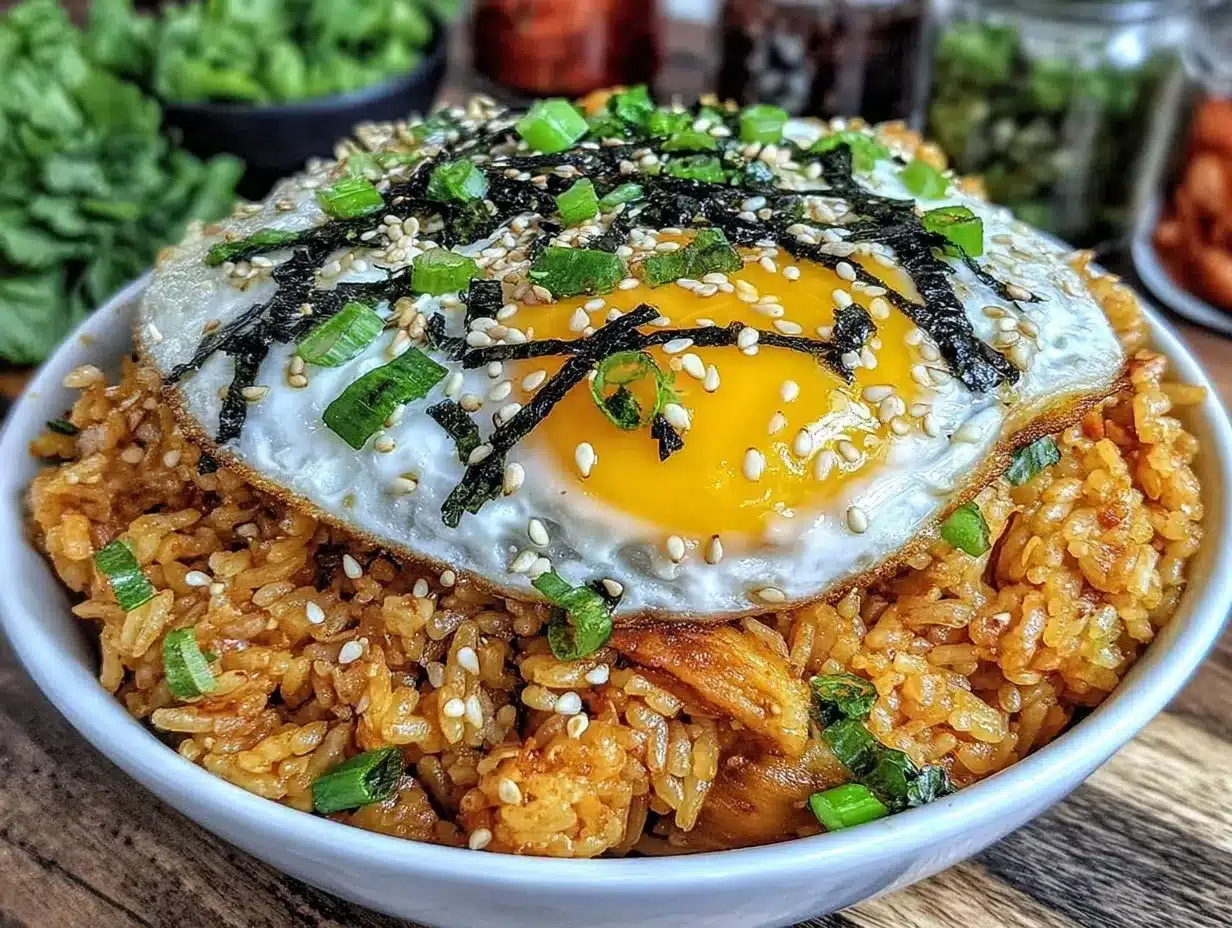
- Plate and garnish: Serve the kimchi fried rice hot, topped with the runny egg and sprinkled with the reserved green onions. Optionally, add a few sesame seeds or a drizzle more of sesame oil for extra flair.
Pro tip: Keep the heat high enough to brown the rice but not so high that it burns. Stir frequently but let bits crisp up for texture. If your kimchi is very juicy, you might want to drain some of the juice to avoid sogginess.
Cooking Tips & Techniques
Getting that perfect kimchi fried rice with runny egg is about balancing heat, texture, and timing. Here’s what I’ve learned:
- Use day-old rice: Freshly cooked rice is too soft and sticky. Leftover rice dries out a bit, so it fries up crisp and separated, which is crucial for this dish’s texture.
- Don’t overcrowd the pan: Fry in batches if needed. Crowding traps steam, making the rice mushy rather than toasted.
- Control your heat: Medium-high is best. Too low, and you’ll just steam the ingredients; too high, and you risk burning the garlic or kimchi.
- Cook the egg separately: This lets you focus on getting the rice just right without overcooking the egg. Plus, that runny yolk is what ties everything together.
- Toss in sesame oil at the end: Adding it too early will lose the aroma. A finishing drizzle gives that perfect nutty note.
Once, I tried mixing the egg into the rice while cooking—big mistake. It turned into a mushy scramble that lost the creamy richness of the runny yolk. Lesson learned: keep the egg as a topping to get that luscious texture contrast.
Variations & Adaptations
This recipe is wonderfully flexible, so feel free to make it your own:
- Vegetarian option: Skip any meat and add diced tofu or sautéed mushrooms for extra protein and umami.
- Spice it up: If you like it hotter, add more gochujang, a dash of chili flakes, or a drizzle of your favorite hot sauce.
- Low-carb twist: Substitute rice with cauliflower rice—just reduce cooking time since cauliflower softens quickly.
- Seasonal veggies: Toss in chopped carrots, peas, or bell peppers for color and crunch.
- Different protein: Swap the egg for sliced grilled chicken or shrimp if you’re not into runny yolks.
Personally, I once tried adding a splash of soy sauce to the egg before frying, which gave it a savory depth. Not traditional, but a fun twist to try if you want something a bit different.
Serving & Storage Suggestions
This kimchi fried rice is best served immediately while the rice is hot and the egg yolk is still runny. The contrast of textures and temperatures is what makes it so satisfying. I like to plate it simply with a sprinkle of fresh green onions and sometimes a few toasted sesame seeds on top.
It pairs beautifully with a crisp cucumber salad or a light broth soup like Greek lemon chicken soup to balance the spicy tang of kimchi.
For leftovers, store the fried rice in an airtight container in the refrigerator for up to 3 days. Reheat gently in a skillet over medium heat with a splash of water to loosen the rice. I don’t recommend reheating the runny egg—best to cook fresh eggs when serving leftovers.
Over time, the flavors deepen, but the rice might lose some crispness. A quick re-toast in a hot pan helps bring back that desirable texture.
Nutritional Information & Benefits
This kimchi fried rice is a hearty, balanced meal that packs a punch of probiotics, vitamins, and satisfying carbs. Here’s a rough estimate per serving (makes 2 servings):
- Calories: ~450
- Protein: 14g (mainly from eggs and rice)
- Carbohydrates: 60g
- Fat: 12g (mostly from sesame oil and egg yolk)
- Fiber: 3g
Kimchi is fermented, so it provides beneficial probiotics that support gut health. Plus, garlic and sesame oil offer antioxidants and anti-inflammatory compounds. This dish is naturally gluten-free if you choose gluten-free soy sauce and dairy-free by nature.
From a wellness perspective, it’s a satisfying meal that doesn’t feel heavy or greasy but still comforts with bold, savory flavors.
Conclusion
Flavorful kimchi fried rice with runny egg and sesame oil is one of those dishes that proves simple cooking can be incredibly rewarding. Whether you’re cooking for yourself after a busy day or sharing with friends, this recipe brings warmth, spice, and that little bit of soul food magic.
Feel free to tweak the spice level, add your favorite veggies, or swap proteins to make it truly yours. I love how this dish always feels like a small celebration of leftovers done right—quick, tasty, and deeply satisfying.
If you try this recipe, I’d love to hear how you made it your own or what sides you served it with. Sharing kitchen wins and tweaks is what makes cooking fun!
Happy cooking and savor every bite.
FAQs
Can I use fresh rice instead of day-old rice for kimchi fried rice?
Fresh rice tends to be too soft and sticky, which can make the fried rice mushy. It’s best to use day-old rice that’s been refrigerated to get the right texture and crispiness.
How do I get the egg yolk perfectly runny?
Cook the egg sunny-side up over medium heat and avoid flipping it. Covering the pan briefly helps set the whites while keeping the yolk soft—usually about 2-3 minutes does the trick.
Is there a substitute for gochujang if I don’t have it?
You can substitute gochujang with a mixture of miso paste and chili paste or even a small amount of sriracha for heat, though the flavor won’t be exactly the same.
Can I make this recipe vegan?
Yes! Skip the egg and swap sesame oil for a neutral oil if you prefer. Adding tofu or tempeh can boost protein and keep it hearty.
What should I serve with kimchi fried rice?
This dish pairs well with simple sides like a fresh cucumber salad, steamed greens, or a light soup like Greek lemon chicken soup to balance the spicy richness.
Pin This Recipe!
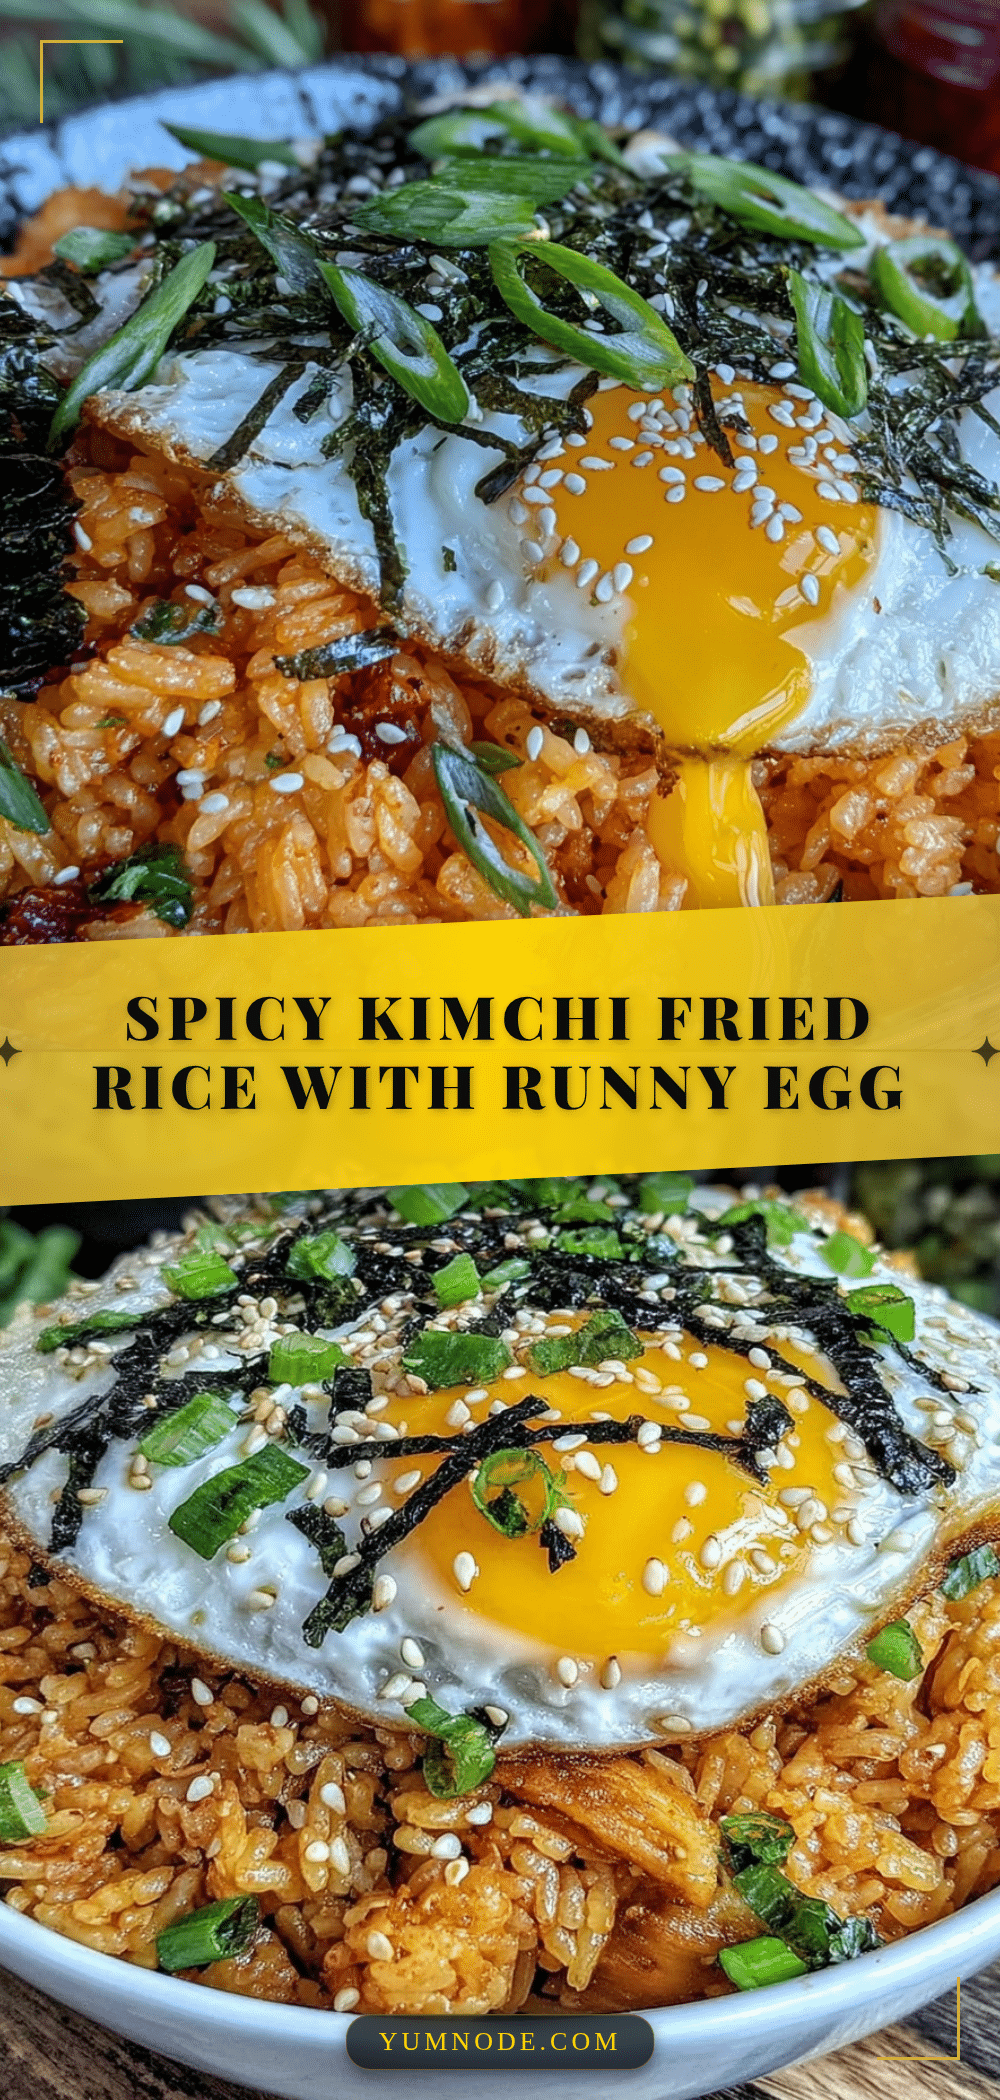
Flavorful Kimchi Fried Rice Recipe with Runny Egg Easy Homemade Meal

A quick and easy kimchi fried rice with a perfectly runny egg and a drizzle of nutty sesame oil, combining spicy, tangy, and crunchy textures for a comforting meal.
- Prep Time: 5 minutes
- Cook Time: 15 minutes
- Total Time: 20 minutes
- Yield: 2 servings 1x
- Category: Main Course
- Cuisine: Korean
Ingredients
- 3 cups day-old white rice, preferably short-grain or medium-grain
- 1 cup chopped, well-fermented kimchi with some juice
- 1 tablespoon vegetable oil (canola or grapeseed recommended)
- 1 teaspoon sesame oil
- 2 cloves garlic, minced
- 2 stalks green onions, thinly sliced
- 1 tablespoon soy sauce (low sodium preferred)
- 1 teaspoon gochujang (Korean chili paste), optional
- 2 large eggs, preferably at room temperature
- Salt and black pepper to taste
Instructions
- Break up any clumps of day-old rice with your fingers or a fork so it’s loose and easy to fry (2-3 minutes).
- Heat 1 tablespoon vegetable oil in a large non-stick skillet or wok over medium-high heat until shimmering.
- Add minced garlic and most of the green onions (reserve some for garnish). Stir for about 30 seconds until fragrant but not browned.
- Add chopped kimchi and stir-fry for 2-3 minutes until it softens slightly and aroma deepens.
- Add rice to the pan, stirring well to combine with kimchi mixture. Pour in soy sauce and gochujang (if using), stirring constantly for 4-5 minutes to get some crispy bits on the bottom.
- Season with salt and black pepper to taste. Drizzle sesame oil over the fried rice and toss quickly to distribute flavor.
- In a separate small non-stick pan, heat a tiny bit of oil over medium heat. Crack in eggs and cook sunny-side up until whites are set but yolks remain runny (about 2-3 minutes). Cover briefly if needed.
- Serve kimchi fried rice hot, topped with the runny eggs and sprinkled with reserved green onions. Optionally add sesame seeds or extra sesame oil.
Notes
Use day-old rice for best texture. Cook eggs separately sunny-side up to keep yolks runny. Add sesame oil at the end for aroma. Avoid overcrowding the pan to prevent mushy rice. Drain excess kimchi juice if too wet.
Nutrition
- Serving Size: 1 serving (half of t
- Calories: 450
- Fat: 12
- Carbohydrates: 60
- Fiber: 3
- Protein: 14
Keywords: kimchi fried rice, runny egg, sesame oil, quick dinner, easy recipe, Korean food, leftover rice, spicy fried rice



