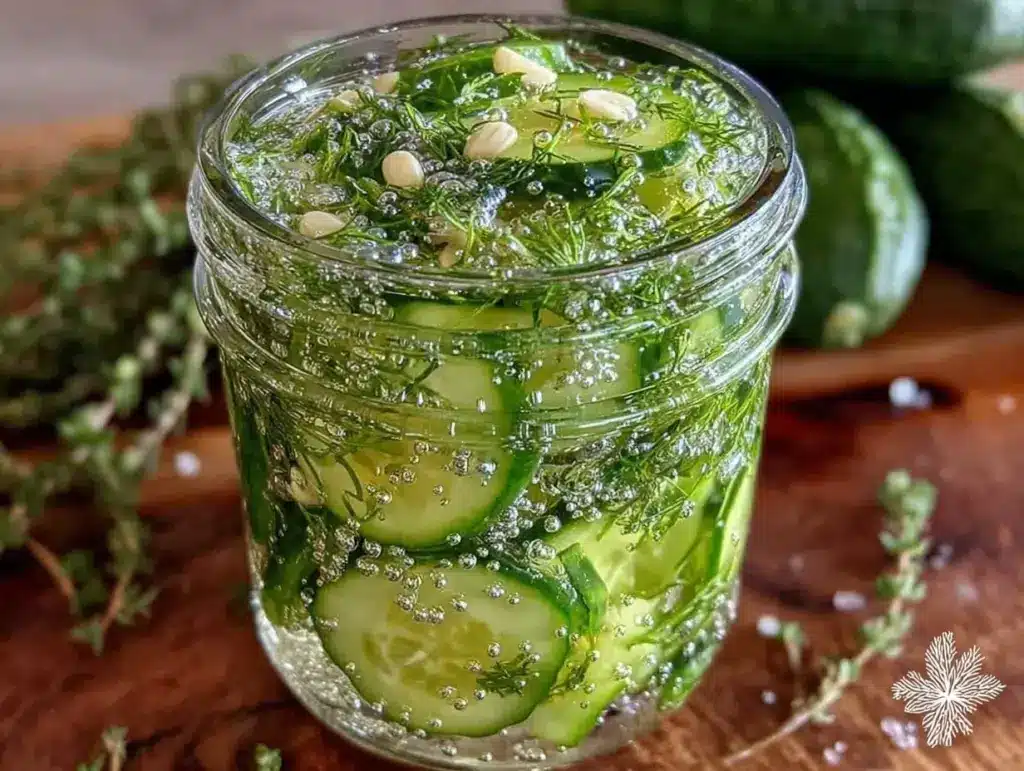
For a long time, I just accepted that refrigerator pickles wouldn’t taste quite right—never crisp enough, or too vinegary, or just missing that punch of fresh garlic and dill I craved. I remember staring at jars of store-bought pickles, hoping for that freshly made crunch and flavor but settling for something a little dull and lifeless instead. The problem wasn’t just the flavor; it was that homemade pickles seemed complicated or needed weeks to develop that perfect snap. Honestly, I never thought easy, fresh, and crunchy could all happen in the same jar without a fuss.
One afternoon, fiddling in the kitchen with some leftover cucumbers and an over-enthusiastic handful of garlic, I set out to craft a quick batch of dill pickles that would actually satisfy that craving. The smell of crushed garlic mingling with bright dill and just enough tartness filled the air, and I realized something: this was the kind of pickle I’d been missing all along. Not fancy or complicated, just honest, fresh, and perfectly crunchy.
The magic wasn’t in a secret ingredient, but in the balance of simple things—the right ratio of garlic, dill, vinegar, and a pinch of sugar. And the best part? No waiting weeks in the pantry. These pickles come together in a jar, ready to brighten sandwiches, salads, and snacks in just a day or two.
It’s quietly satisfying to know you can make something so crisp and flavorful at home with little effort, and it stuck with me because it felt like a small victory against the endless rows of mediocre pickles. If you’ve ever wanted to make refrigerator pickles that actually taste fresh and crunchy without a lot of fuss, this recipe might just become your quiet little kitchen companion—no fanfare, just good pickles.
Why You’ll Love This Recipe
Having tried plenty of pickle recipes over the years, this one stands out quietly but firmly for a few reasons. It’s not about flashy ingredients or complicated steps—just straightforward, kitchen-tested goodness that delivers every time.
- Quick & Easy: Ready to enjoy in as little as 48 hours, perfect for when you want a crunchy snack without the long wait.
- Simple Ingredients: Uses pantry staples like distilled white vinegar, fresh dill, and garlic—you probably already have everything on hand.
- Perfect for Summer: Great for picnics, BBQs, or adding a crisp contrast to heavier meals, especially when cucumbers are at their peak freshness.
- Crowd-Pleaser: The mild tang combined with fresh garlic and herbaceous dill is a hit with all ages—kids and adults alike.
- Unbelievably Delicious: The pickles have a great crunch and a bright, balanced flavor that’s neither too sour nor too bland.
- What Makes It Different: The secret is in the fresh garlic cloves smashed just enough to release their flavor without overpowering, plus a gentle touch of sugar to round out the acidity—a contrast to the overly sharp, one-note pickles you often find.
This recipe isn’t just about making pickles; it’s about having that perfect crunch you can grab from the fridge any time, fresh and lively. It’s comfort food in a jar, but with a fresh twist that feels homemade and honest, like a little kitchen win you can rely on again and again.
What Ingredients You Will Need
This recipe uses simple, wholesome ingredients to deliver bold flavor and satisfying texture without the fuss. Most are pantry staples or fresh garden finds, and you can swap a few to suit your taste or dietary needs.
- Cucumbers: 4-5 medium Kirby cucumbers (about 2 pounds / 900 grams), sliced into ¼-inch thick rounds or spears. Kirby cucumbers are firm and ideal for pickling.
- Fresh Dill: 3-4 sprigs of fresh dill (or about 2 tablespoons of dill seeds if fresh isn’t available). Dill is essential for that classic pickle aroma and flavor.
- Garlic Cloves: 4-5 large fresh garlic cloves, lightly smashed (releases flavor without becoming overwhelming).
- White Vinegar: 1 cup (240 ml) distilled white vinegar — the clean acidity keeps the pickles crisp and bright.
- Water: 1 cup (240 ml) filtered or distilled water to balance the vinegar.
- Pickling Salt: 1 tablespoon (use kosher salt or pickling salt, avoid iodized table salt as it can cloud the brine).
- Sugar: 1 teaspoon granulated sugar (balances the tartness and enhances the overall flavor).
- Black Peppercorns: 1 teaspoon whole peppercorns for a mild spice note.
- Optional: ¼ teaspoon red pepper flakes for a little heat, or 1 bay leaf for added aroma.
For best results, I recommend sourcing firm, unblemished cucumbers and fresh dill from local markets or your garden. If you prefer a gluten-free or low-carb option, this recipe fits perfectly as it’s naturally free of both. Also, if you want to experiment, try swapping the white vinegar for apple cider vinegar for a slightly fruitier note.
Equipment Needed
- Glass Mason Jar or Pickling Jar: A quart-sized (1-liter) jar with a tight-fitting lid is ideal. Glass keeps flavors pure and won’t react with the vinegar.
- Mixing Bowl: For combining the brine ingredients and cucumbers before packing the jar.
- Saucepan: To briefly heat the brine ingredients (optional but helps dissolve salt and sugar).
- Measuring Cups and Spoons: For precise measurements, which make a difference in pickling.
- Knife and Cutting Board: For slicing cucumbers and prepping garlic.
If you don’t have a pickling jar, any clean glass container with a lid works fine. I’ve used old jam jars before with success. For keeping the garlic fresh and the dill from floating too much, sometimes I like to tuck the herbs and cloves between the cucumber slices for even flavor distribution.
Maintenance tip: Always sterilize your jars with boiling water or dishwasher heat to avoid any unwanted bacteria. I learned this the hard way when a batch didn’t set right and ended up off-flavor (lesson learned!).
Preparation Method
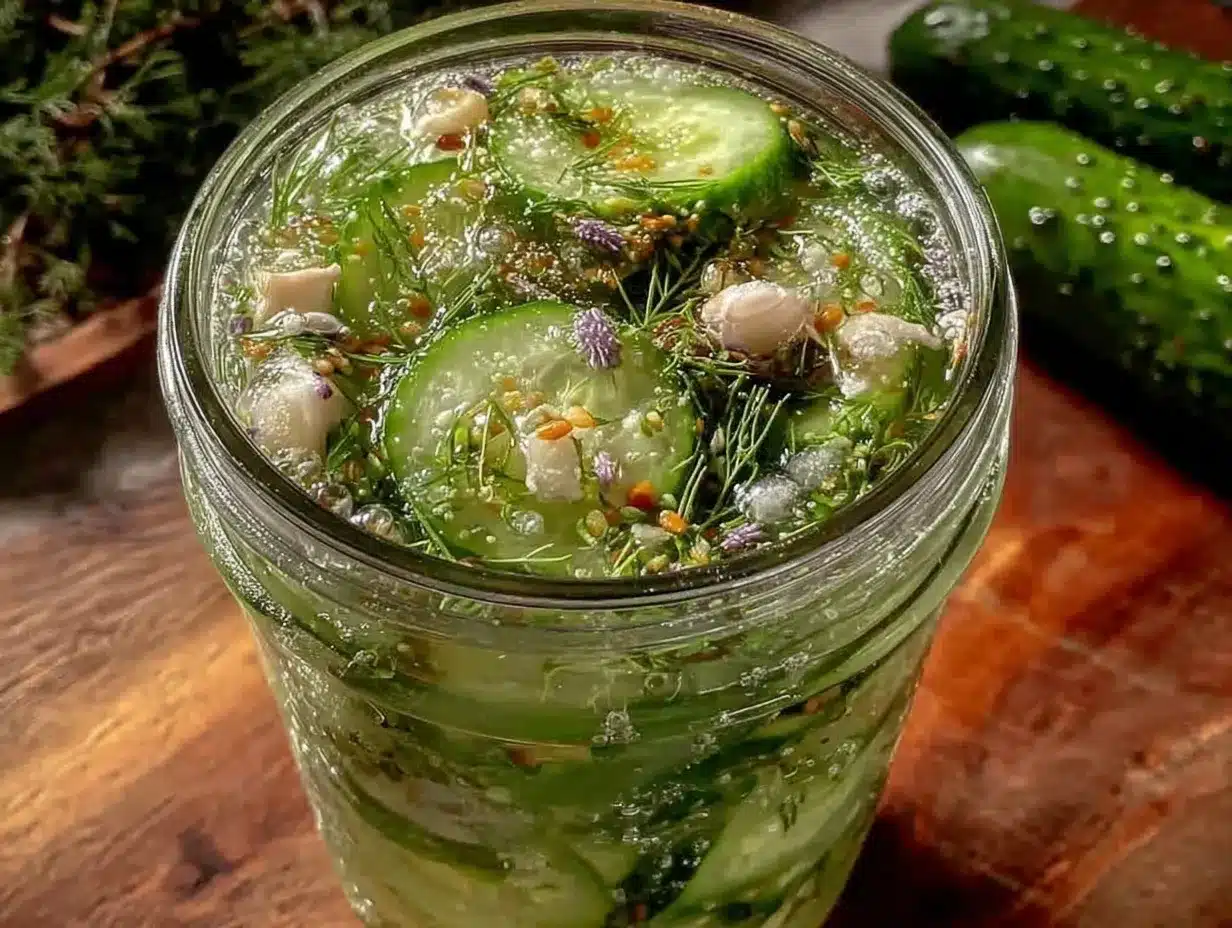
- Prepare the Cucumbers: Rinse the cucumbers well under cold water. Slice them into your preferred shape—either rounds about ¼-inch thick or spears. The key is uniform thickness for even pickling. This step takes about 10 minutes.
- Smash the Garlic: Lightly crush the garlic cloves with the flat side of a knife to release flavor without pulverizing them. You want the aroma, not raw garlic bite. Set aside.
- Make the Brine: In a small saucepan, combine the vinegar, water, pickling salt, and sugar. Warm gently over medium heat, stirring until the salt and sugar dissolve completely (about 3-5 minutes). It doesn’t need to boil—just warm enough to dissolve. Let the brine cool to room temperature before pouring.
- Pack the Jar: In your sterilized jar, layer the cucumber slices or spears with the smashed garlic cloves, fresh dill sprigs, and black peppercorns. If using, add red pepper flakes or bay leaf now. Pack tightly but without crushing the cucumbers.
- Pour Brine Over: Pour the cooled brine into the jar, covering the cucumbers completely. Leave about ½ inch (1.3 cm) of headspace at the top. Seal the jar tightly with the lid.
- Refrigerate: Place the jar in the fridge for at least 48 hours before tasting. The flavor improves up to a week. The cucumbers stay crisp because the brine has the right balance of salt and acid.
- Enjoy: Use the pickles as a crunchy snack, sandwich topping, or salad addition. Keep refrigerated and consume within 3-4 weeks for best quality.
Pro tip: If you notice the pickles getting too soft, try cutting the cucumbers thicker next time or add a few grape leaves to the jar—they contain tannins that help maintain crispness. Also, always use fresh cucumbers—older ones tend to turn mushy faster.
Cooking Tips & Techniques
Getting those fresh garlic dill refrigerator pickles just right is a bit of an art, but I’ve picked up a few tricks over time that really help.
- Use Fresh Ingredients: Fresh dill and garlic make a world of difference. Dried herbs just don’t deliver the same bright aroma, and old garlic can be bitter.
- Don’t Overdo the Garlic: Crushing garlic slightly rather than mincing helps prevent overpowering the pickles with a harsh garlic bite.
- Salt Matters: Pickling salt dissolves cleanly and does not cloud the brine. Avoid iodized salt to keep your pickle color clear.
- Keep It Cool: This is a refrigerator pickle—don’t leave it out at room temperature. The fridge slows fermentation and keeps the crunch.
- Layering Flavors: Tucking in dill and garlic throughout the jar rather than just at the bottom makes sure every bite is flavorful.
- Patience Pays Off: Even though these pickles are quick, letting them rest 48 hours or more helps the flavors meld and the crunch settle in.
One time, I skipped warming the brine and the salt didn’t dissolve properly, resulting in uneven seasoning. Heating is a small step but worth the few minutes. And when it comes to slicing cucumbers, I’ve learned the hard way that irregular cuts lead to some slices being mushy while others are crisp.
Variations & Adaptations
This fresh garlic dill refrigerator pickles recipe is flexible, so you can easily tweak it to suit your taste or dietary preferences.
- Spicy Kick: Add ½ teaspoon of red chili flakes or a sliced jalapeño pepper to the jar for heat that grows with time.
- Low Sodium: Reduce the salt slightly and add a splash more vinegar for tang. Keep in mind it may affect the crunch a bit.
- Herb Swap: If dill isn’t your thing, try replacing it with fresh tarragon or fresh thyme for a different herbal note.
- Different Vinegar: Apple cider vinegar gives a milder, fruity flavor that softens the tartness—great for those who find white vinegar too sharp.
- Quick Pickle Variation: Slice cucumbers thinner and refrigerate for 24 hours for quick pickles that are still crunchy but lighter on the bite.
For a personal twist, I once tossed in a few mustard seeds and a bay leaf, which gave the pickles a subtle complexity that worked beautifully with a garlic herb pull-apart bread for an easy appetizer spread. It’s a simple way to make your pickles uniquely yours.
Serving & Storage Suggestions
These refrigerator pickles are best served chilled straight from the jar, offering that satisfying crunch and fresh garlic-dill zing. They’re perfect alongside sandwiches, burgers, or charcuterie boards. I often serve them with cold dishes like a creamy potato salad or even tucked into a crisp lemon asparagus pasta for a bright contrast.
Store the pickles in their sealed jar in the refrigerator for up to 3-4 weeks. Over time, the flavor deepens and the cucumbers soften a bit, so if you like maximum crunch, enjoy them within the first week. Reheating isn’t needed—these are best cold or at room temperature.
If you notice the brine level dropping, simply top it off with a little more vinegar-water mix (1:1 ratio with salt dissolved). This helps keep the pickles submerged and fresh.
Nutritional Information & Benefits
These fresh garlic dill refrigerator pickles are low in calories (about 10-15 calories per serving) and naturally gluten-free, making them a light, flavorful snack or condiment. Garlic adds immune-boosting properties, while dill contains antioxidants and supports digestion.
The vinegar used is known for its potential benefits in blood sugar regulation and appetite control. Since this recipe keeps added sugar to a minimum, it fits well into low-carb and keto-friendly diets. Just watch the sodium content if you’re on a salt-restricted plan.
Overall, these pickles provide a crunchy, tangy bite with a healthful edge, perfect when paired with nutrient-dense meals or as a guilt-free snack.
Conclusion
Fresh garlic dill refrigerator pickles are a simple recipe that quietly solves the problem of crunchy, flavorful homemade pickles without the fuss or long wait. They bring just the right balance of garlic, dill, and tang with a satisfying snap you can enjoy anytime. I love how they brighten everyday meals and how easy it is to customize them to your taste.
If you’re someone who appreciates straightforward cooking that delivers, this recipe is worth keeping in your kitchen rotation. Change up the heat, swap herbs, or pair them with something like a rich pumpkin spice bread for a unique snack experience. I’d be curious to hear how you make these pickles your own.
Give them a try, and maybe you’ll find yourself reaching for homemade pickles over store-bought from now on—just like I do.
FAQs About Fresh Garlic Dill Refrigerator Pickles
How long do refrigerator pickles take to develop flavor?
They usually start tasting good after 48 hours in the fridge, but the flavor deepens over 3-7 days. For best crunch, enjoy within the first week.
Can I use regular cucumbers instead of Kirby cucumbers?
Yes, but Kirby cucumbers are preferred for their firmness and crunch. Regular slicing cucumbers may become softer faster.
Do I have to heat the brine before pouring it over the cucumbers?
Heating the brine helps dissolve salt and sugar evenly, but you can skip this if you stir well and are patient with dissolving.
Can I make these pickles without fresh dill?
Fresh dill gives the classic flavor, but dried dill or other herbs like tarragon can be substituted in a pinch, though flavor will vary.
How should I store leftover pickles?
Keep them sealed in the refrigerator, submerged in brine, and consume within 3-4 weeks for best quality and safety.
Pin This Recipe!
Fresh Garlic Dill Refrigerator Pickles Recipe for Easy Homemade Crunch
A quick and easy refrigerator pickle recipe featuring fresh garlic and dill for a perfectly crunchy and flavorful homemade pickle ready in just 48 hours.
- Prep Time: 15 minutes
- Cook Time: 5 minutes
- Total Time: 2 days 20 minutes
- Yield: 4 servings 1x
- Category: Condiment
- Cuisine: American
Ingredients
- 4–5 medium Kirby cucumbers (about 2 pounds / 900 grams), sliced into ¼-inch thick rounds or spears
- 3–4 sprigs fresh dill (or about 2 tablespoons dill seeds)
- 4–5 large fresh garlic cloves, lightly smashed
- 1 cup (240 ml) distilled white vinegar
- 1 cup (240 ml) filtered or distilled water
- 1 tablespoon pickling salt (kosher salt or pickling salt, avoid iodized table salt)
- 1 teaspoon granulated sugar
- 1 teaspoon whole black peppercorns
- Optional: ¼ teaspoon red pepper flakes
- Optional: 1 bay leaf
Instructions
- Rinse the cucumbers well under cold water. Slice into ¼-inch thick rounds or spears, ensuring uniform thickness.
- Lightly crush the garlic cloves with the flat side of a knife to release flavor without pulverizing.
- In a small saucepan, combine vinegar, water, pickling salt, and sugar. Warm gently over medium heat, stirring until salt and sugar dissolve (3-5 minutes). Let brine cool to room temperature.
- In a sterilized quart-sized glass jar, layer cucumber slices or spears with smashed garlic cloves, fresh dill sprigs, and black peppercorns. Add red pepper flakes or bay leaf if using. Pack tightly without crushing cucumbers.
- Pour the cooled brine over the cucumbers, covering completely and leaving about ½ inch of headspace. Seal jar tightly.
- Refrigerate for at least 48 hours before tasting. Flavor improves up to a week.
- Use pickles as a crunchy snack, sandwich topping, or salad addition. Keep refrigerated and consume within 3-4 weeks.
Notes
Use fresh cucumbers and dill for best flavor and crunch. Lightly smash garlic cloves to avoid overpowering taste. Warm brine to dissolve salt and sugar fully but do not boil. Store pickles in the refrigerator and consume within 3-4 weeks. For extra crispness, add grape leaves or cut cucumbers thicker. Avoid iodized salt to keep brine clear.
Nutrition
- Serving Size: About ½ cup pickles
- Calories: 15
- Sugar: 1
- Sodium: 600
- Carbohydrates: 3
- Fiber: 0.5
- Protein: 0.5
Keywords: refrigerator pickles, garlic dill pickles, easy pickles, homemade pickles, quick pickles, crunchy pickles, dill pickles, fresh garlic pickles



