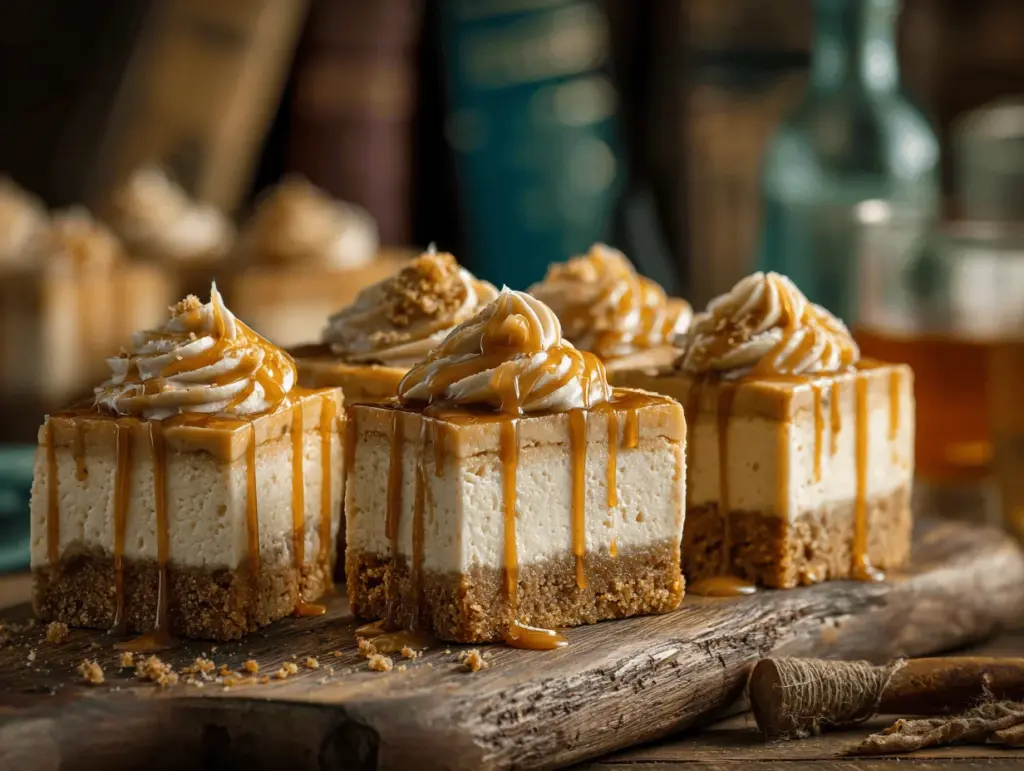
The first time I tasted butterbeer at Universal Studios, I felt like I’d stepped right into the pages of Harry Potter. The sweet, creamy, butterscotch flavor lingered long after the last sip—honestly, I wanted to bottle it up and take it home. So, you can imagine my excitement when I decided to bake up something that would bring that magical taste into my kitchen: Harry Potter Butterbeer Cupcake Cheesecake Bars.
This recipe is all about layers—think moist cupcake base, silky cheesecake swirled with butterscotch, and a gooey butterbeer drizzle on top. It’s the kind of dessert that’s perfect for Potterhead parties, cozy movie nights, or just when you need a pick-me-up that feels like a warm hug from Hagrid. I’ve tested these bars more times than I care to admit (okay, maybe not enough!) and every batch gets me a little closer to that perfect slice of wizarding world nostalgia.
If you’ve got kids obsessed with Harry Potter, or you’re planning a magical birthday bash, these Butterbeer Cupcake Cheesecake Bars will be the star of your table. And let’s face it, adults love them too—there’s just something irresistible about the butterscotch flavor, the creamy cheesecake layer, and the soft cupcake base. I use trusted ingredients and a couple of secret tricks to make sure the texture is spot-on, every time. You don’t need a spellbook, just a mixing bowl and a bit of patience.
As a longtime baker and self-confessed Potterhead, I can guarantee these bars are worth the effort. They’re sweet, a little whimsical, and totally crave-worthy. Ready for a magical dessert adventure? Let’s get baking!
Why You’ll Love These Harry Potter Butterbeer Cupcake Cheesecake Bars
- Quick & Easy: You don’t need fancy skills—just a few bowls, some mixing, and a bit of layering. They’re ready in under 90 minutes (including cooling time).
- Simple Ingredients: The core ingredients are all pantry staples. You probably have most of them already—flour, sugar, cream cheese, butter, and butterscotch chips.
- Perfect for Potter Parties: These bars always steal the show at Harry Potter-themed events, birthdays, and even book club nights. Kids and adults will both ask for seconds!
- Crowd-Pleaser: There hasn’t been a single batch that didn’t disappear in record time. I’ve even caught my husband sneaking a bar for breakfast (no judgment here).
- Unbelievably Delicious: The layers are soft, creamy, and bursting with butterscotch flavor. The cupcake base is moist, the cheesecake is rich, and the butterbeer drizzle is the “magic” that ties it all together.
What makes these Harry Potter Butterbeer Cupcake Cheesecake Bars different from the rest? For starters, the cupcake base is lighter than your typical cookie crust, so each bite feels like a tiny cloud. I blend butterscotch pudding mix into the cheesecake layer for extra flavor—no bland cheesecake here! And that butterbeer drizzle? It’s a quick stovetop caramel with a hint of cream soda, just like the real thing.
This isn’t just a dessert—it’s a whole mood. Whether you’re curled up with a book or binge-watching the movies (again), these bars deliver the ultimate comfort. They’re impressive enough for guests but easy enough for weekday cravings. I love how they bring people together—everyone has their own favorite layer, and there’s always a debate about which is best. Honestly, you’ll want to make a double batch!
What Ingredients You Will Need
This magical recipe uses everyday ingredients to create layers of flavor and texture. Each component plays a special role, and you can easily swap a few things if needed. Here’s what you’ll need:
- For the Cupcake Base:
- 1 cup (120g) all-purpose flour
- 1/2 cup (100g) granulated sugar
- 1/4 cup (56g) unsalted butter, softened (adds richness)
- 1 large egg, room temperature
- 1/4 cup (60ml) cream soda (for true butterbeer flavor—regular works if needed)
- 1/2 tsp baking powder
- 1/4 tsp salt
- 1/2 tsp vanilla extract
- 1/2 tsp butterscotch extract (optional but recommended!)
- For the Cheesecake Layer:
- 8 oz (225g) cream cheese, softened
- 1/4 cup (50g) granulated sugar
- 1 large egg
- 1/2 cup (120ml) sour cream (or Greek yogurt for extra tang)
- 1/4 cup (30g) instant butterscotch pudding mix (I always use Jell-O brand)
- 1/2 tsp vanilla extract
- For the Butterbeer Drizzle:
- 1/2 cup (90g) butterscotch chips
- 2 tbsp (28g) unsalted butter
- 2 tbsp (30ml) cream soda
- Pinch of sea salt
- Optional Toppings:
- Whipped cream (store-bought or homemade)
- Extra butterscotch chips
- Sprinkles in your Hogwarts house colors!
If you want to make them gluten-free, swap in a 1:1 gluten-free flour blend. For dairy-free, use vegan cream cheese, plant butter, and coconut yogurt. You can skip the butterscotch extract if you can’t find it—just up the vanilla a touch for flavor. I always suggest using real cream soda for the most authentic butterbeer taste (A&W or Sprecher are my go-tos), but any brand will work.
For the pudding mix, make sure it’s instant—not cook-and-serve. It helps set the cheesecake and gives it that classic golden color. If you can’t find butterscotch pudding, vanilla works in a pinch, though the bars won’t have quite the same magical kick.
Don’t worry if you’re missing a topping or two—the bars are still delicious plain. But, in my experience, the whipped cream and a sprinkle of butterscotch chips turn them into true party food! Trust me, these ingredients are simple but they really come together in a special way.
Equipment Needed
- 8×8-inch (20x20cm) baking pan (I use glass for even baking, but metal works too)
- Mixing bowls (at least two—one for cupcake batter, one for cheesecake)
- Electric mixer or handheld whisk (stand mixer is a luxury, not a necessity)
- Rubber spatula (makes spreading layers easy)
- Parchment paper (for easy removal and less mess)
- Measuring cups and spoons (standard US and metric)
- Small saucepan (for butterbeer drizzle)
If you don’t have an electric mixer, a sturdy whisk and some elbow grease will do. I’ve tried both methods—honestly, the mixer does make the cheesecake smoother, but whisking by hand gives a more rustic texture. For the baking pan, I’ve used both glass and metal; glass tends to give a softer crust, while metal can crisp the edges a bit more. Either way, line the pan with parchment so you can lift the bars out in one piece!
If you’re on a budget, skip the fancy stand mixer. The only non-negotiable is the parchment paper—it’s the difference between perfect slices and a sticky mess. For maintenance, always wash your mixer attachments right after using anything sticky (like the cheesecake layer or drizzle). Also, keep your saucepan at low heat for the butterbeer drizzle—high heat can scorch the butterscotch chips. Trust me, I learned that the hard way!
Preparation Method
- Prep the pan:
Line your 8×8-inch (20x20cm) pan with parchment paper, leaving some overhang for easy removal. Preheat your oven to 350°F (175°C). - Make the cupcake base:
In a mixing bowl, cream together 1/4 cup (56g) softened butter and 1/2 cup (100g) sugar until fluffy (about 2-3 minutes with an electric mixer). Beat in 1 egg, 1/4 cup (60ml) cream soda, 1/2 tsp vanilla, and 1/2 tsp butterscotch extract. In a separate bowl, whisk 1 cup (120g) flour, 1/2 tsp baking powder, and 1/4 tsp salt. Fold dry into wet until just combined. The batter will be thick and pale golden. Spread evenly in your prepared pan. - Prepare the cheesecake layer:
Using a clean bowl, beat 8 oz (225g) softened cream cheese until smooth. Mix in 1/4 cup (50g) sugar, 1/2 cup (120ml) sour cream, 1/4 cup (30g) instant butterscotch pudding mix, 1 egg, and 1/2 tsp vanilla. Beat until everything is just combined—don’t overmix or it’ll get runny. Pour the cheesecake mixture over the cupcake base and smooth with a spatula. - Bake:
Place the pan in the preheated oven and bake for 30-35 minutes. The edges should look set, and the center just barely jiggles. If the top browns too quickly, cover loosely with foil halfway. Let cool in the pan for 15 minutes, then transfer to the fridge for at least 1 hour (overnight is best for clean slices). - Make the butterbeer drizzle:
In a small saucepan over low heat, melt 1/2 cup (90g) butterscotch chips and 2 tbsp (28g) butter. Stir constantly until smooth, then add 2 tbsp (30ml) cream soda and a pinch of sea salt. Cook for 1-2 minutes until glossy. Remove from heat. If drizzle thickens, rewarm gently. - Assemble and serve:
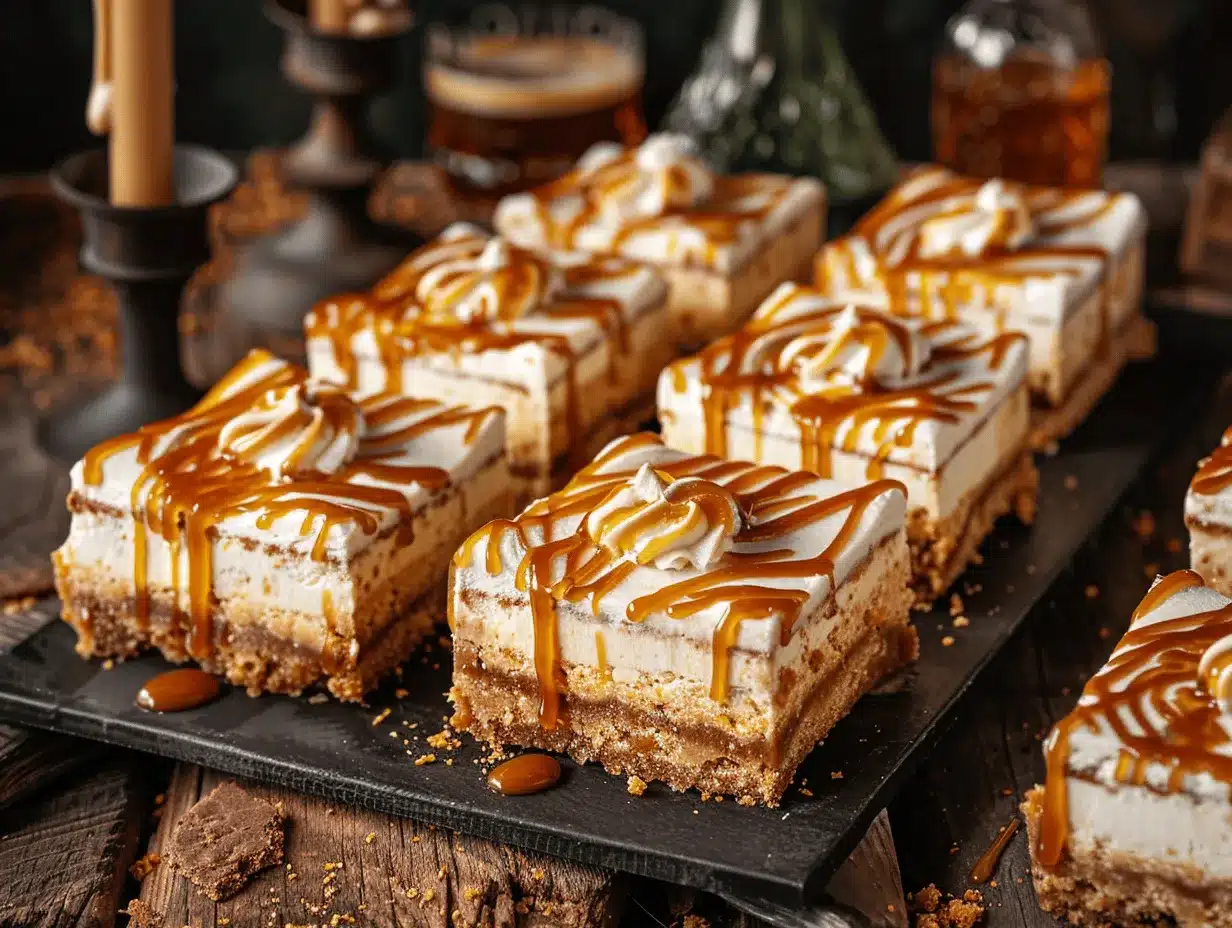
Lift chilled bars from the pan using the parchment overhang. Slice into 12 squares. Drizzle each bar with butterbeer sauce, add whipped cream, extra butterscotch chips, and sprinkles if you’re feeling festive.
Troubleshooting tips: If the cheesecake layer cracks, don’t stress—it’ll be covered with drizzle and toppings. If your base seems dry, check oven temp with an oven thermometer (mine always runs hot, so I learned to reduce bake time by 3 minutes). For the drizzle, keep heat low—high heat will cause the chips to seize. If your bars fall apart when slicing, let them chill longer.
Sensory cues: The cupcake layer should smell sweet and buttery as it bakes (seriously, your kitchen will smell like the Three Broomsticks!). The cheesecake layer turns pale golden and just sets at the edges. The drizzle is fragrant and caramel-like, with a hint of cream soda. And when you eat one, the layers should be soft, creamy, and melt-in-your-mouth magical.
Efficiency tip: Make the sauce while the bars chill—less standing around, more dessert magic! And use a sharp knife for slicing, cleaning between cuts for picture-perfect bars.
Cooking Tips & Techniques
Let’s be real—sometimes even magical recipes have their quirks. Here’s what I’ve learned after a few wonky batches and plenty of taste tests:
- Room temperature ingredients: Always let cream cheese and eggs sit out for at least 30 minutes. Cold cream cheese makes for lumpy cheesecake—trust me, I learned that the hard way.
- Don’t overmix: Especially with the cheesecake layer. Overbeating introduces air and can cause cracks or a weird texture. Mix just until smooth.
- Layering matters: Spread the cupcake base evenly and smooth the cheesecake gently. If the base isn’t level, the layers will bake unevenly.
- Watch the bake time: Ovens vary. I always start checking at 28 minutes. The center should barely jiggle—don’t wait until it’s solid or you’ll lose that creamy magic.
- Chill for clean slices: A rushed slice is a messy slice. Let the bars chill for at least an hour in the fridge, overnight for best texture.
- Drizzle timing: Add the butterbeer sauce just before serving for maximum gooeyness. If you pour it on hot bars, it’ll soak in and get sticky.
- Multitasking: Mix the drizzle while the bars bake, whip up toppings as they cool. It makes the process feel simple, even if you’re short on time.
- Consistency tip: Measure flour by spooning and leveling—not scooping. Otherwise, your cupcake base might be dense.
I once forgot the salt in the base and, wow, did that make a difference. Don’t skip the pinch—it balances out the sweetness. Also, if you’re making a double batch, stagger the layers so you don’t overload the pan. Little touches like cleaning your knife between slices keep the bars looking as magical as they taste.
Variations & Adaptations
- Gluten-Free: Use a 1:1 gluten-free all-purpose flour blend (like King Arthur or Bob’s Red Mill) for the cupcake base. Everything else stays the same.
- Dairy-Free: Swap in vegan cream cheese (Violife is my pick), plant-based butter, and coconut yogurt for the cheesecake layer. Use dairy-free whipped topping and vegan butterscotch chips for the drizzle.
- Seasonal Twist: For autumn, add 1/2 tsp cinnamon and a sprinkle of nutmeg to the cupcake base. For spring, fold in a handful of mini marshmallows on top for a “Honeydukes” feel.
- Flavor Boost: Stir in 1/4 cup (40g) mini chocolate chips to the cupcake base, or a splash of dark rum to the drizzle for a grown-up version.
- Microwave Method: If you’re in a rush, you can microwave the butterbeer sauce instead of using a saucepan. Heat in 15-second bursts, stirring each time, until smooth.
- Nut-Free: All ingredients are naturally nut-free, but always check labels if allergies are a concern.
My favorite personal variation? Swapping the cream soda for root beer in the base and drizzle—adds a deeper, spicy note that’s surprisingly good. You can also use a graham cracker crust instead of cupcake base if you want a crunchier texture. And for the truly adventurous, try adding a dash of edible gold shimmer to the drizzle for a “Gringotts” touch!
Serving & Storage Suggestions
Butterbeer Cupcake Cheesecake Bars are best served chilled, straight from the fridge. The layers hold together and the drizzle stays glossy. For parties, arrange bars on a platter, add a swirl of whipped cream, and finish with sprinkles in your favorite Hogwarts house colors—everyone loves picking their “house” slice!
Pair these bars with hot butterbeer, a mug of English breakfast tea, or even a fizzy cream soda for full Harry Potter vibes. They’re also perfect alongside fresh fruit or a scoop of vanilla ice cream if you want to go all out.
Storage: Keep bars in an airtight container in the fridge for up to 5 days. The flavors actually get better after a day or two—the butterscotch and cream soda meld together for a richer taste. For longer storage, freeze bars (without drizzle) for up to 2 months. Thaw overnight in the fridge, then add drizzle before serving.
If reheating, use the microwave in 10-second bursts—just enough to soften, not melt. The drizzle can be rewarmed separately and spooned over each bar as needed. Honestly, these bars are even better the next day!
Nutritional Information & Benefits
| Nutrition (per bar, approx.) | Value |
|---|---|
| Calories | 240 |
| Protein | 4g |
| Fat | 12g |
| Carbs | 28g |
| Fiber | 0.5g |
| Sugar | 18g |
Health benefits: Cream cheese adds a little calcium and protein, while real cream soda keeps the flavor light and nostalgic. Using Greek yogurt instead of sour cream boosts protein and lowers fat. If you opt for gluten-free or dairy-free ingredients, these bars fit a wider range of diets.
Potential allergens: Contains dairy, eggs, and gluten (unless adapted). Always check labels for butterscotch chips—they sometimes contain traces of nuts or soy.
For me, these bars are a treat, but I like knowing they aren’t over-the-top in sugar and fat compared to most cakes. They’re indulgent, but not too heavy, making them perfect for sharing at parties or as a special after-dinner dessert.
Conclusion: Your Magical Dessert Awaits
Harry Potter Butterbeer Cupcake Cheesecake Bars are pure joy in every bite. They blend nostalgia, comfort, and a little baking magic into one irresistible treat. Whether you’re making them for a party, a movie marathon, or just to satisfy a craving, these bars are sure to bring smiles all around.
Don’t be afraid to tweak the recipe—add your own twist, pick your favorite toppings, or swap ingredients to fit your needs. Honestly, the best part is seeing how everyone chooses their own “perfect” slice. I love these bars because they turn ordinary moments into celebrations, and every batch reminds me of why I started baking in the first place.
So, what are you waiting for? Grab your wand (or spatula), bake a batch, and let the magic happen. I’d love to hear your thoughts, see your creations, and chat about your favorite Harry Potter treats! Leave a comment, share your photos, or tell me how you made the recipe your own—let’s spread a little more magic together.
Wishing you all the delicious, wizarding world fun—happy baking!
FAQs About Harry Potter Butterbeer Cupcake Cheesecake Bars
Can I make these bars ahead of time?
Absolutely! They’re actually better if made a day in advance, as the flavors meld together. Just keep them chilled and add the drizzle before serving.
What’s the best way to get clean slices?
Chill the bars for at least an hour, use a sharp knife, and wipe the blade between each cut. Parchment paper helps lift them out without breaking.
Can I freeze leftover bars?
Yes, just freeze them (without the drizzle) in an airtight container for up to 2 months. Thaw overnight in the fridge and add the butterbeer sauce before serving.
What if I can’t find butterscotch pudding mix?
Vanilla pudding mix works in a pinch. Add a few extra butterscotch chips to the cheesecake layer for more flavor.
Do these bars taste like the real butterbeer from Harry Potter?
They come pretty close! The cream soda and butterscotch combo is spot-on, and the cheesecake adds a rich, creamy twist. If you’re nostalgic for the theme park treat, you’ll love these bars.
Pin This Recipe!
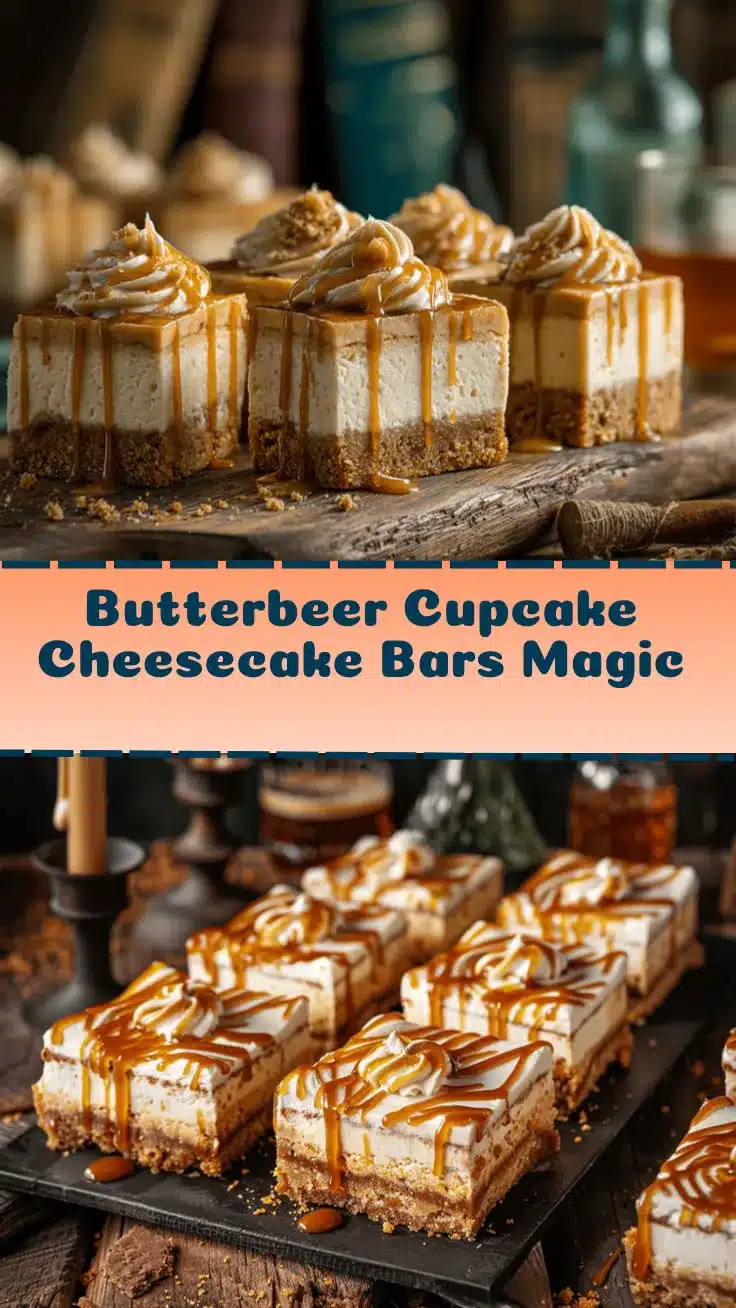
Harry Potter Butterbeer Cupcake Cheesecake Bars

These magical dessert bars feature a moist cupcake base, creamy butterscotch cheesecake layer, and a gooey butterbeer drizzle. Perfect for Harry Potter parties, cozy movie nights, or whenever you crave a whimsical, nostalgic treat.
- Prep Time: 20 minutes
- Cook Time: 35 minutes
- Total Time: 1 hour 30 minutes
- Yield: 12 bars 1x
- Category: Dessert
- Cuisine: American
Ingredients
- 1 cup (120g) all-purpose flour
- 1/2 cup (100g) granulated sugar
- 1/4 cup (56g) unsalted butter, softened
- 1 large egg, room temperature
- 1/4 cup (60ml) cream soda
- 1/2 tsp baking powder
- 1/4 tsp salt
- 1/2 tsp vanilla extract
- 1/2 tsp butterscotch extract (optional)
- 8 oz (225g) cream cheese, softened
- 1/4 cup (50g) granulated sugar
- 1 large egg
- 1/2 cup (120ml) sour cream (or Greek yogurt)
- 1/4 cup (30g) instant butterscotch pudding mix
- 1/2 tsp vanilla extract
- 1/2 cup (90g) butterscotch chips
- 2 tbsp (28g) unsalted butter
- 2 tbsp (30ml) cream soda
- Pinch of sea salt
- Whipped cream (optional topping)
- Extra butterscotch chips (optional topping)
- Sprinkles (optional topping)
Instructions
- Line an 8×8-inch (20x20cm) baking pan with parchment paper, leaving overhang for easy removal. Preheat oven to 350°F (175°C).
- In a mixing bowl, cream together 1/4 cup softened butter and 1/2 cup sugar until fluffy (2-3 minutes). Beat in 1 egg, 1/4 cup cream soda, 1/2 tsp vanilla, and 1/2 tsp butterscotch extract.
- In a separate bowl, whisk 1 cup flour, 1/2 tsp baking powder, and 1/4 tsp salt. Fold dry ingredients into wet until just combined. Spread batter evenly in prepared pan.
- For the cheesecake layer, beat 8 oz softened cream cheese until smooth. Mix in 1/4 cup sugar, 1/2 cup sour cream, 1/4 cup instant butterscotch pudding mix, 1 egg, and 1/2 tsp vanilla. Beat until just combined. Pour over cupcake base and smooth.
- Bake for 30-35 minutes, until edges are set and center just jiggles. If top browns too quickly, cover loosely with foil. Cool in pan for 15 minutes, then refrigerate at least 1 hour (overnight for best slices).
- For the butterbeer drizzle, melt 1/2 cup butterscotch chips and 2 tbsp butter in a small saucepan over low heat, stirring constantly. Add 2 tbsp cream soda and a pinch of sea salt. Cook 1-2 minutes until glossy. Remove from heat. If thickens, rewarm gently.
- Lift chilled bars from pan using parchment. Slice into 12 squares. Drizzle each bar with butterbeer sauce, add whipped cream, extra butterscotch chips, and sprinkles as desired.
Notes
For best results, use room temperature cream cheese and eggs. Don’t overmix the cheesecake layer. Chill bars thoroughly before slicing for clean cuts. Add the butterbeer drizzle just before serving for maximum gooeyness. Bars can be made gluten-free or dairy-free with appropriate substitutions. Store in the fridge for up to 5 days or freeze (without drizzle) for up to 2 months.
Nutrition
- Serving Size: 1 bar
- Calories: 240
- Sugar: 18
- Sodium: 180
- Fat: 12
- Saturated Fat: 7
- Carbohydrates: 28
- Fiber: 0.5
- Protein: 4
Keywords: Harry Potter, butterbeer, cheesecake bars, cupcake bars, butterscotch, party dessert, magical dessert, movie night, cream soda, easy bars



