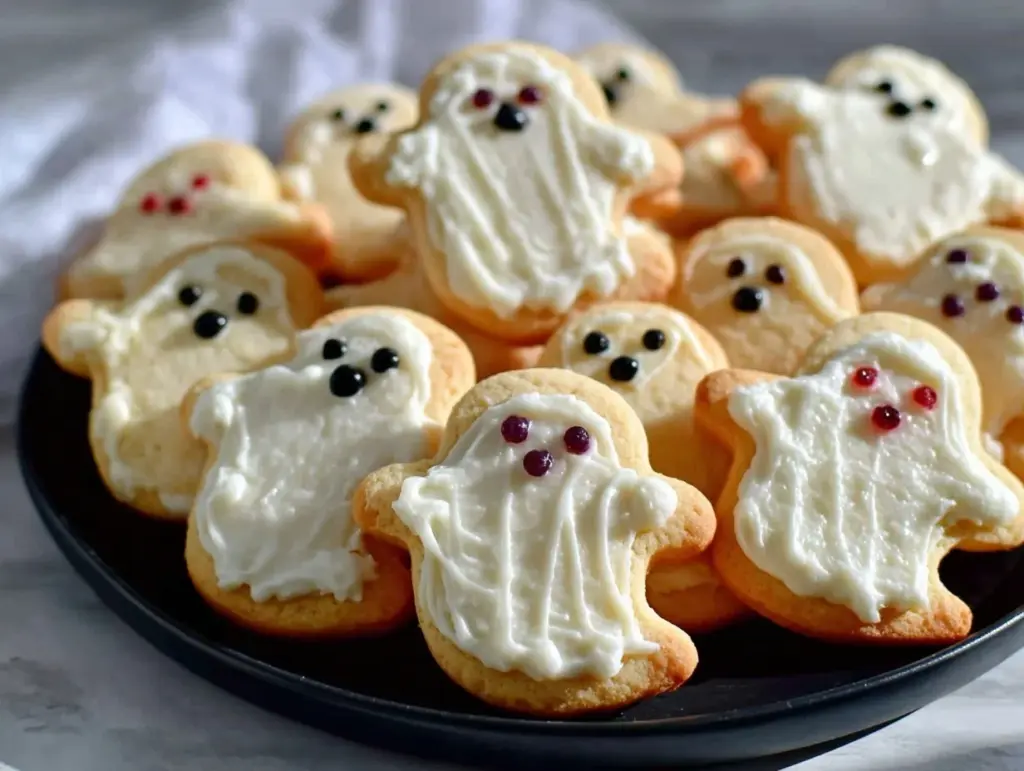
Nothing says Halloween like adorable ghost cookies! These sweet treats are spooky, charming, and oh-so-delicious. Whether you’re hosting a Halloween party, baking with your little ones, or just looking for a festive snack to share, these ghost cookies are sure to steal the spotlight. The best part? You don’t need to be a professional baker to make them. With a few simple ingredients and easy techniques, you’ll have a tray full of ghostly goodness in no time.
I first made these ghost cookies years ago for a Halloween potluck, and let me tell you, they were an instant hit. Watching everyone’s faces light up as they admired the cute design made my heart so happy. Plus, they’re great for all ages—kids love the playful look, and adults can’t resist the buttery, melt-in-your-mouth texture. So grab your apron, and let’s make some magic happen in the kitchen!
Why You’ll Love This Recipe
- Easy to Make: No complicated techniques or fancy equipment required. These cookies come together in under an hour!
- Perfectly Festive: These ghost cookies scream Halloween fun and are guaranteed to wow your guests.
- Kid-Friendly: A great recipe to get your little ones involved in the kitchen. Decorating the ghosts is half the fun!
- Deliciously Sweet: Soft, buttery cookies topped with sweet icing—perfect for indulging your sweet tooth.
- Customizable: Use your favorite cookie dough recipe or add a spooky twist with different decorations.
What makes these ghost cookies stand out is their simplicity and charm. They don’t just look good—they taste amazing too! Whether you’re a seasoned baker or just starting out, this recipe is approachable and foolproof. Plus, they’re a fantastic way to add a personal touch to your Halloween festivities. Trust me, once you make these, you’ll want them to become a yearly tradition.
What Ingredients You Will Need
This recipe uses basic pantry staples and a few fun extras for decoration. Feel free to get creative with substitutions or add your own twist!
- Unsalted butter, softened: Essential for rich, melt-in-your-mouth cookies.
- Granulated sugar: For sweetness and a bit of crunch.
- Egg: Helps bind the dough together.
- Vanilla extract: Adds a warm, comforting flavor to the cookies.
- All-purpose flour: The foundation of your cookie dough.
- Baking powder: Ensures your cookies rise perfectly.
- Salt: A pinch to balance the sweetness.
- Powdered sugar: For the ghostly white icing that makes these cookies shine.
- Milk: Just a splash to achieve the perfect icing consistency.
- Black food gel or edible marker: To draw adorable ghost faces.
If you’re gluten-free, try swapping the all-purpose flour for a gluten-free baking mix. You can also use almond extract instead of vanilla for a slightly nutty flavor. The possibilities are endless!
Equipment Needed
- Mixing bowls: For combining your ingredients.
- Electric mixer: Makes creaming the butter and sugar a breeze.
- Rolling pin: To flatten your cookie dough evenly.
- Ghost-shaped cookie cutters: The star of the show! If you don’t have these, try freehanding ghost shapes with a knife.
- Baking sheets: Non-stick or lined with parchment paper for easy cleanup.
- Wire rack: For cooling your cookies completely before decorating.
- Piping bags or small zip-top bags: Perfect for icing application.
If you don’t have ghost-shaped cookie cutters, don’t worry! You can cut out ghost shapes by hand or use other Halloween-themed cutters and adapt the decorations accordingly.
Preparation Method
- Preheat your oven to 350°F (175°C). Line two baking sheets with parchment paper and set aside.
- In a large mixing bowl, cream together 1 cup (226g) of softened unsalted butter and 1 cup (200g) of granulated sugar until light and fluffy, about 2 minutes.
- Add 1 large egg and 2 teaspoons (10ml) of vanilla extract. Mix until well combined.
- In a separate bowl, whisk together 3 cups (375g) of all-purpose flour, 1 teaspoon (4g) of baking powder, and a pinch of salt.
- Gradually add the dry ingredients to the wet ingredients, mixing until a soft dough forms. If the dough feels too sticky, add a tablespoon of flour at a time until it’s easier to handle.
- Roll out the dough on a lightly floured surface to about 1/4-inch thick. Use your ghost-shaped cookie cutter to cut out shapes and transfer them to the prepared baking sheets.
- Bake in the preheated oven for 10-12 minutes, or until the edges are just starting to turn golden. Keep an eye on them—they bake quickly!
- Remove the cookies from the oven and allow them to cool on the baking sheets for 5 minutes before transferring to a wire rack to cool completely.
- While the cookies cool, prepare the icing. In a small bowl, whisk together 2 cups (240g) of powdered sugar and 2-3 tablespoons (30-45ml) of milk until smooth. Adjust the milk quantity for your desired consistency.
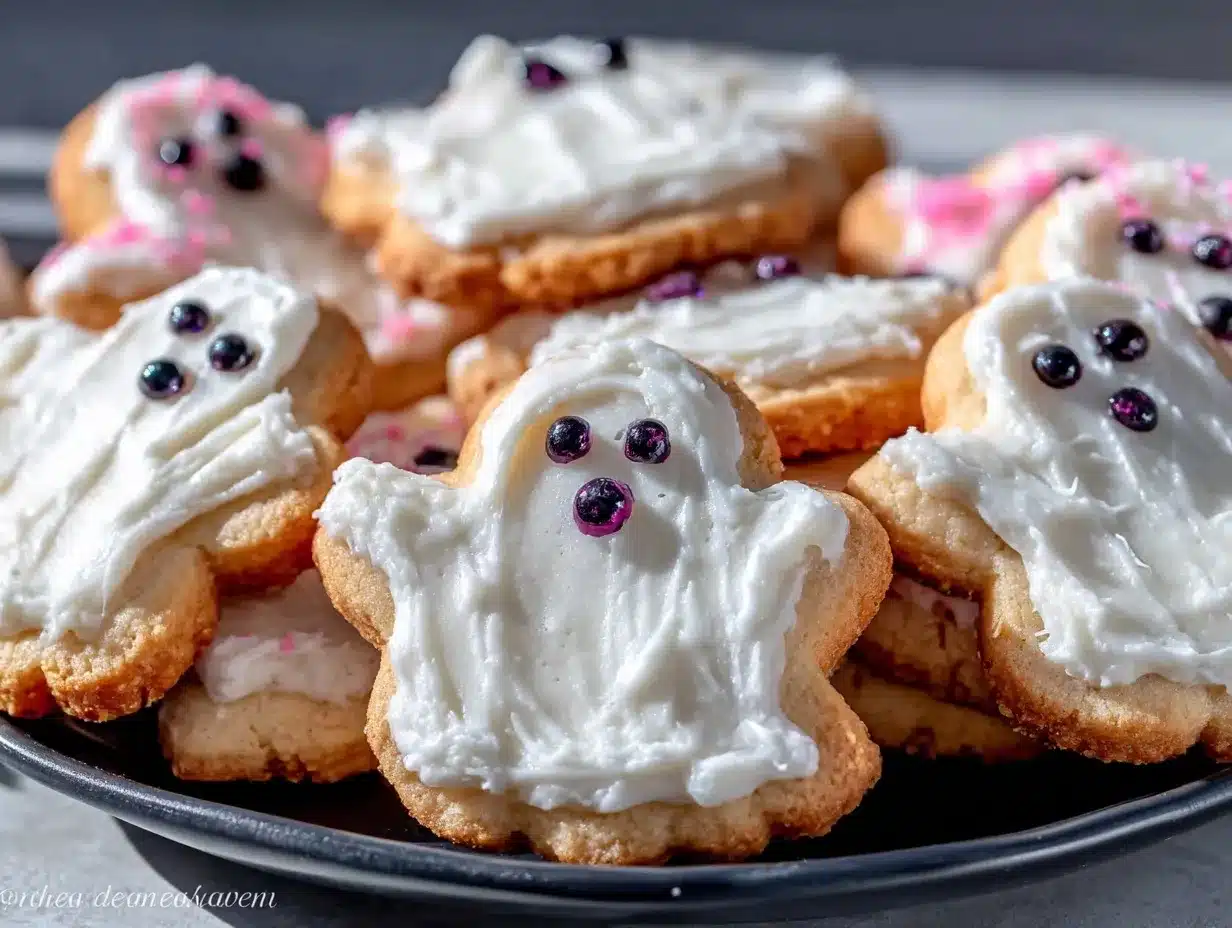
- Use a piping bag or zip-top bag to pipe the icing onto the cookies, leaving room for the ghost’s face. Let the icing set for about 30 minutes.
- Draw ghost faces using black food gel or edible markers. Get creative with expressions—spooky, silly, or surprised!
And there you have it—adorable ghost cookies ready to steal the show at your Halloween festivities!
Cooking Tips & Techniques
- Chill the Dough: If your dough feels too soft, pop it in the fridge for 15-20 minutes before rolling. This makes it easier to handle.
- Don’t Overmix: Mix just until the ingredients are combined to avoid tough cookies.
- Use Room Temperature Ingredients: Butter and eggs at room temperature blend more smoothly for a better texture.
- Be Mindful of Oven Temperature: If you’re baking multiple trays, rotate them halfway through for even baking.
- Test Icing Consistency: If your icing is too runny, add more powdered sugar. If it’s too thick, add milk a teaspoon at a time.
The key to perfect ghost cookies is patience. Take your time with the decorations, and don’t rush the cooling process—your cookies will look and taste amazing!
Variations & Adaptations
- Chocolate Ghosts: Add 2 tablespoons of cocoa powder to the dough for a chocolaty twist.
- Gluten-Free Option: Use a 1:1 gluten-free flour substitute to cater to dietary needs without sacrificing taste.
- Colorful Ghosts: Add food coloring to the icing to create pastel or neon ghosts for a fun twist.
- Vegan Adaptation: Substitute butter with a plant-based alternative and use flaxseed meal instead of eggs.
- Spooky Shapes: Try bats, pumpkins, or witch hats for extra Halloween variety!
Feel free to experiment with different flavors and decorations to make these cookies uniquely yours. My kids love adding candy eyes for extra spooky vibes!
Serving & Storage Suggestions
Ghost cookies are best served at room temperature with a glass of milk or a cup of hot cocoa. Arrange them on a festive platter or tiered tray for a show-stopping display.
If you have leftovers, store them in an airtight container at room temperature for up to 5 days. For longer storage, freeze undecorated cookies in a freezer-safe bag for up to 2 months. When ready to enjoy, allow them to thaw and decorate as needed.
Reheat cookies briefly in the microwave (10-15 seconds) if you prefer a warm treat, but avoid heating the decorated ones as the icing may melt.
Nutritional Information & Benefits
Each ghost cookie contains approximately:
- Calories: 120
- Carbohydrates: 18g
- Fat: 5g
- Protein: 1g
- Sugar: 12g
These cookies are a fun way to celebrate Halloween without going overboard on guilt. They’re a sweet indulgence that’s perfect for sharing. While they’re not exactly health food, you can make them with high-quality ingredients for a cleaner treat.
Conclusion
Irresistible ghost cookies are the ultimate Halloween treat. They’re sweet, festive, and a ton of fun to make, especially if you have little ones eager to help with the decorating. I love this recipe because it’s simple yet impressive—perfect for spooky season celebrations or just a cozy night in.
If you try making these ghost cookies, be sure to leave a comment below and let me know how they turned out. I’d love to hear your creative ideas for decorating them! Don’t forget to share the recipe with your friends and family—it’s one they’ll thank you for.
Happy baking, and have a spooktacular Halloween!
FAQs
Can I make the dough ahead of time?
Absolutely! You can prepare the dough and store it in the refrigerator for up to 2 days. Just make sure to wrap it tightly in plastic wrap.
What if I don’t have ghost cookie cutters?
No problem! You can freehand ghost shapes using a knife or use oval or teardrop-shaped cutters as a substitute.
Can I use royal icing instead of the powdered sugar icing?
Yes, royal icing works well if you prefer a firmer texture. It’s perfect for detailed decorations and sets quickly.
What’s the best way to make the faces on the ghost cookies?
Using black food gel or edible markers is the easiest way to create spooky faces. You can also use melted chocolate and a toothpick!
Can I double the recipe for a larger batch?
Definitely! Just be sure to mix the ingredients thoroughly and chill the dough in smaller portions for easier handling.
Pin This Recipe!
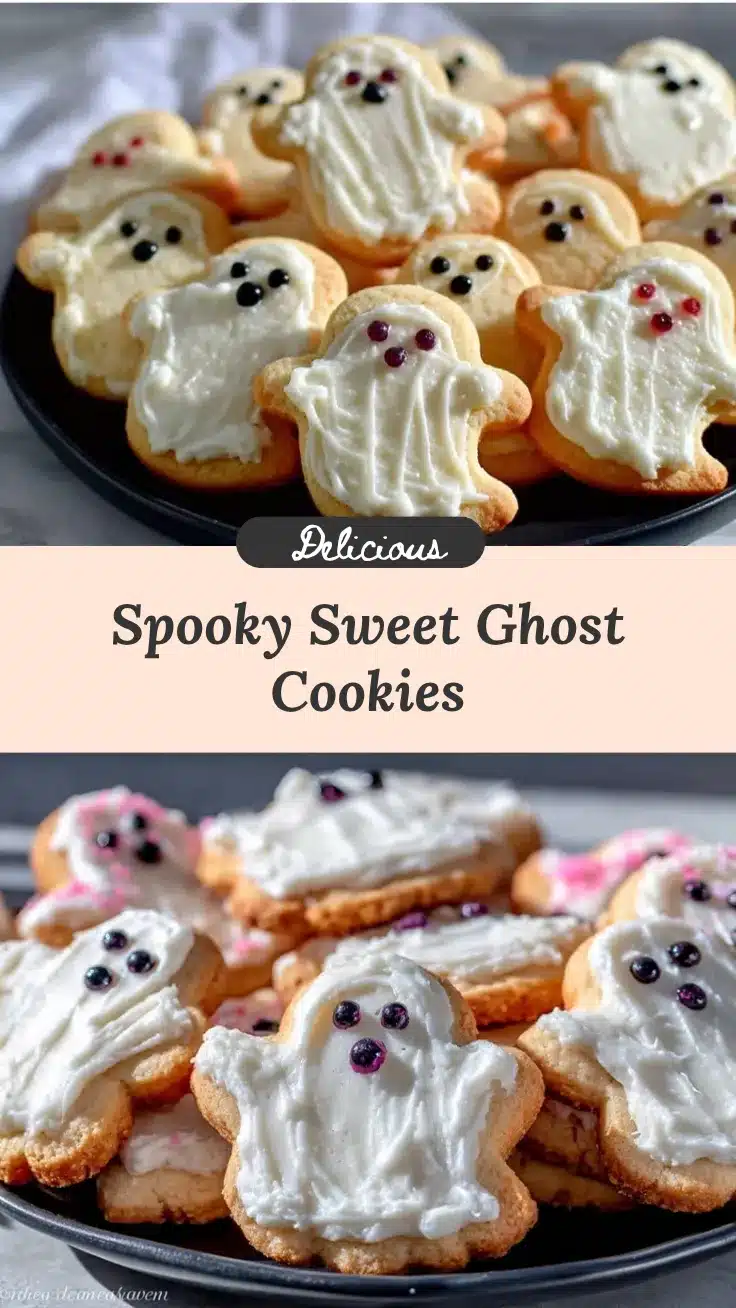
Irresistible Ghost Cookies Recipe Perfect for Halloween Treats

These adorable ghost cookies are spooky, charming, and delicious—perfect for Halloween parties, baking with kids, or festive snacking.
- Prep Time: 20 minutes
- Cook Time: 12 minutes
- Total Time: 1 hour
- Yield: 24 cookies 1x
- Category: Dessert
- Cuisine: American
Ingredients
- 1 cup (226g) unsalted butter, softened
- 1 cup (200g) granulated sugar
- 1 large egg
- 2 teaspoons (10ml) vanilla extract
- 3 cups (375g) all-purpose flour
- 1 teaspoon (4g) baking powder
- Pinch of salt
- 2 cups (240g) powdered sugar
- 2–3 tablespoons (30-45ml) milk
- Black food gel or edible marker
Instructions
- Preheat your oven to 350°F (175°C). Line two baking sheets with parchment paper and set aside.
- In a large mixing bowl, cream together 1 cup (226g) of softened unsalted butter and 1 cup (200g) of granulated sugar until light and fluffy, about 2 minutes.
- Add 1 large egg and 2 teaspoons (10ml) of vanilla extract. Mix until well combined.
- In a separate bowl, whisk together 3 cups (375g) of all-purpose flour, 1 teaspoon (4g) of baking powder, and a pinch of salt.
- Gradually add the dry ingredients to the wet ingredients, mixing until a soft dough forms. If the dough feels too sticky, add a tablespoon of flour at a time until it’s easier to handle.
- Roll out the dough on a lightly floured surface to about 1/4-inch thick. Use your ghost-shaped cookie cutter to cut out shapes and transfer them to the prepared baking sheets.
- Bake in the preheated oven for 10-12 minutes, or until the edges are just starting to turn golden. Keep an eye on them—they bake quickly!
- Remove the cookies from the oven and allow them to cool on the baking sheets for 5 minutes before transferring to a wire rack to cool completely.
- While the cookies cool, prepare the icing. In a small bowl, whisk together 2 cups (240g) of powdered sugar and 2-3 tablespoons (30-45ml) of milk until smooth. Adjust the milk quantity for your desired consistency.
- Use a piping bag or zip-top bag to pipe the icing onto the cookies, leaving room for the ghost’s face. Let the icing set for about 30 minutes.
- Draw ghost faces using black food gel or edible markers. Get creative with expressions—spooky, silly, or surprised!
Notes
[‘Chill the dough for 15-20 minutes if it feels too soft.’, ‘Avoid overmixing the dough to prevent tough cookies.’, ‘Use room temperature butter and eggs for better texture.’, ‘Rotate baking trays halfway through for even baking.’, ‘Adjust icing consistency by adding more powdered sugar or milk as needed.’]
Nutrition
- Serving Size: 1 cookie
- Calories: 120
- Sugar: 12
- Sodium: 50
- Fat: 5
- Saturated Fat: 3
- Carbohydrates: 18
- Protein: 1
Keywords: Halloween, ghost cookies, festive treats, Halloween cookies, spooky snacks



