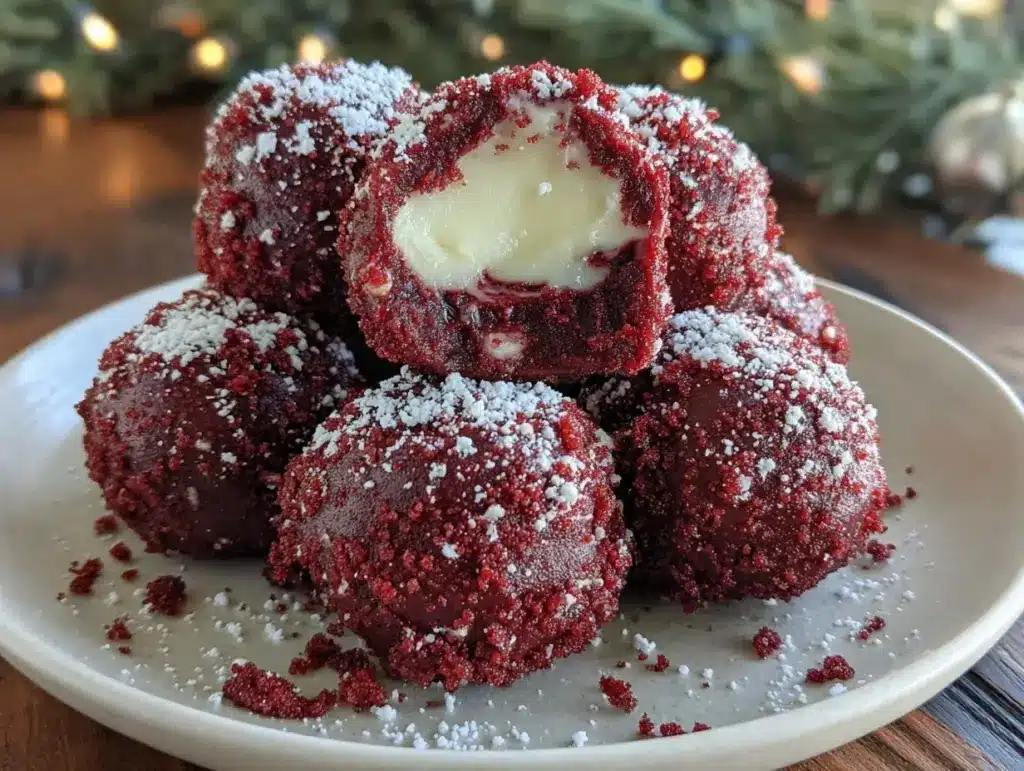
The rich aroma of cocoa and the vibrant hue of red velvet—these truffles are pure indulgence wrapped up in bite-sized pieces. I still remember the first time I made them for a holiday party; they vanished within minutes, leaving guests clamoring for the recipe. If you love red velvet cake, these truffles will become your new obsession. They’re creamy, chocolatey, and perfectly balanced with just the right amount of sweetness. Plus, they’re ridiculously easy to make, making them perfect for entertaining or gifting during the holidays.
This recipe is close to my heart because it combines two of my favorite things: dessert and simplicity. Whether you’re a seasoned baker or a newbie in the kitchen, these irresistible red velvet truffles are a foolproof way to impress your family and friends. Let’s dive into the details so you can whip up a batch of these beauties today!
Why You’ll Love This Recipe
- Simple Ingredients: You don’t need anything fancy or hard to find—everything is available at your local grocery store.
- Quick to Make: With minimal prep and no baking required, you’ll be done in under an hour.
- Perfect for Holidays: Their festive red color and decadent flavor make them a showstopper for Christmas, Valentine’s Day, or any special occasion.
- Customizable: From coatings to fillings, there are endless ways to make these truffles your own.
- Irresistibly Delicious: The combination of rich cream cheese, velvety cake crumbs, and chocolate coating will have everyone asking for seconds.
What makes these red velvet truffles stand out is their melt-in-your-mouth texture and the balance of flavors. They’re sweet but not overly so, with a hint of tanginess from the cream cheese. Plus, they’re so darn pretty—each one is like a little edible jewel. Trust me, once you try them, they’ll become your go-to treat for special occasions.
What Ingredients You Will Need
This recipe uses basic ingredients that come together to create something magical. Here’s what you’ll need:
- Red Velvet Cake: You can make this from scratch or use a boxed mix for convenience. Either way, make sure the cake is fully cooled before crumbling.
- Cream Cheese: Softened to room temperature for easy mixing—this is the secret to how decadent these truffles taste.
- Powdered Sugar: Adds just the right amount of sweetness to the filling.
- Vanilla Extract: For that extra hint of depth and flavor.
- White Chocolate Chips: Melted for the perfect outer coating. You can also use dark chocolate or semi-sweet chocolate if you prefer.
- Sprinkles: Optional, but they add a festive touch that makes these truffles pop.
Feel free to swap out the white chocolate for dark chocolate if you’re looking for a richer flavor. And if you want to add a surprise element, think about incorporating a bit of raspberry jam into the center of your truffles!
Equipment Needed
- Mixing Bowls: You’ll need at least two—one for the cake crumbs and one for melting the chocolate.
- Electric Mixer: For combining the cake crumbs and cream cheese with ease.
- Baking Sheet: Lined with parchment paper for easy cleanup.
- Microwave-Safe Bowl: To melt your chocolate coating.
- Fork or Dipping Tool: To coat the truffles evenly.
If you don’t have an electric mixer, a sturdy spoon and some elbow grease will do the trick. For melting chocolate, a double boiler works just as well as a microwave-safe bowl.
Preparation Method
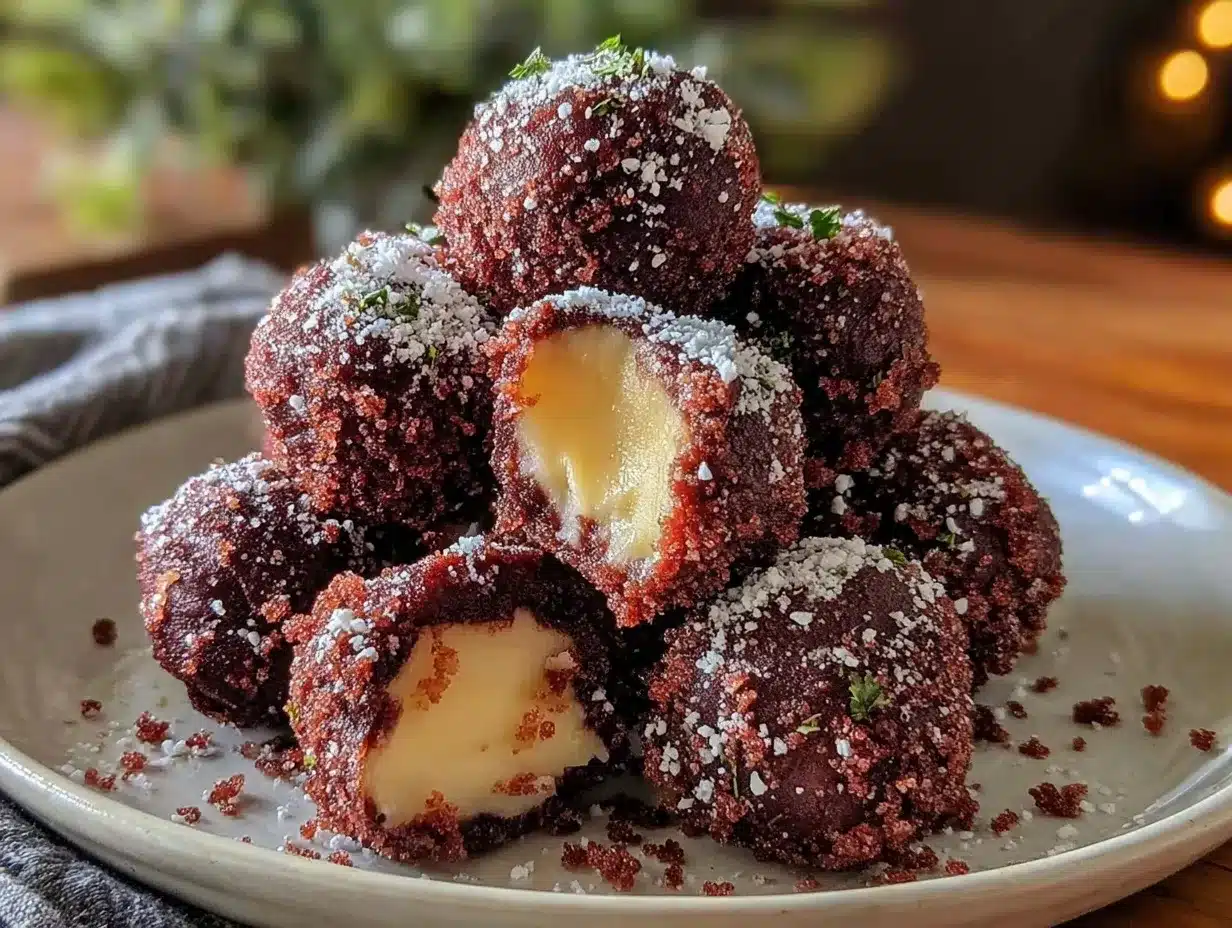
- Begin by preparing your red velvet cake. If using a boxed mix, follow the package instructions. Let the cake cool completely before moving to the next step.
- In a large mixing bowl, crumble the cooled cake into fine crumbs. You want the texture to be even, without any large chunks.
- Add softened cream cheese to the cake crumbs. Using an electric mixer or a sturdy spoon, mix until the mixture forms a thick, dough-like consistency.
- Fold in powdered sugar and vanilla extract, mixing thoroughly. Taste the mixture and adjust sweetness if needed.
- Using a tablespoon or a small cookie scoop, portion out the mixture and roll it into balls. Place the balls on a parchment-lined baking sheet.
- Pop the baking sheet into the freezer for about 15-20 minutes. This will firm up the truffles and make them easier to coat.
- While the truffles are chilling, melt your white chocolate chips in a microwave-safe bowl. Heat in 20-second intervals, stirring in between, until smooth. Be careful not to overheat, as chocolate can seize.
- Remove the truffles from the freezer and dip each one into the melted chocolate. Use a fork or dipping tool to coat them evenly, then place them back on the parchment paper.
- While the chocolate is still wet, sprinkle your favorite decorations on top. Let the truffles set at room temperature or refrigerate for faster results.
- Once the chocolate has hardened completely, transfer the truffles to an airtight container. Store in the fridge until ready to serve.
Pro Tip: If your chocolate is too thick for dipping, add a teaspoon of coconut oil or shortening to thin it out. This will give you that glossy, smooth finish.
Cooking Tips & Techniques
If you’re looking for perfect red velvet truffles every time, these tips will help:
- Cool Your Cake Completely: Warm cake crumbs can make your truffle mixture too soft, so patience is key!
- Don’t Overmix: It’s important to mix the cream cheese and cake crumbs just until combined to maintain the ideal texture.
- Chill Before Dipping: Cold truffles are easier to coat, and they prevent the chocolate from sliding off.
- Use Quality Chocolate: High-quality chocolate melts better and tastes richer, giving your truffles that gourmet touch.
- Decorate Quickly: Add your sprinkles or toppings immediately after dipping, while the chocolate is still wet.
And if you run into trouble with your chocolate seizing, don’t panic—just add a tiny bit of oil and stir until it smooths out.
Variations & Adaptations
- Gluten-Free Option: Use gluten-free red velvet cake mix to make this recipe suitable for dietary restrictions.
- Dairy-Free Version: Swap cream cheese with a dairy-free alternative and use vegan chocolate for coating.
- Flavor Twist: Experiment with adding a teaspoon of espresso powder to your cake batter for a mocha-red velvet combo.
- Seasonal Flair: For summer, try adding lemon zest to the filling for a refreshing citrus touch.
- Nutty Addition: Roll the truffles in crushed pecans or almonds after dipping them for added crunch.
One of my favorite variations is to add a dollop of salted caramel in the center of each truffle before rolling them into balls. It’s a heavenly blend of salty and sweet!
Serving & Storage Suggestions
These red velvet truffles are best served chilled, directly from the refrigerator. Arrange them on a decorative platter for a festive touch. Pair them with a glass of bubbly or a cup of coffee for the ultimate treat.
To store, keep the truffles in an airtight container in the fridge for up to 5 days. They also freeze beautifully—just make sure they’re in a freezer-safe container and they’ll last for up to 3 months. To thaw, simply transfer them to the fridge overnight.
Reheat? Not necessary! These truffles are meant to be enjoyed cold, straight from the fridge or freezer.
Nutritional Information & Benefits
While these truffles are a decadent treat, they’re made with simple ingredients. Here’s an estimate of their nutritional values:
- Calories: Approximately 90-100 per truffle, depending on size.
- Protein: A small boost from the cream cheese.
- Sugar: A sweet indulgence, but you can adjust the sweetness to your preference.
Red velvet truffles are perfect for satisfying sweet cravings in moderation. For those with dietary restrictions, the gluten-free or dairy-free adaptations ensure everyone can enjoy these delicious bites.
Conclusion
Whether you’re hosting a holiday party or just looking for a sweet treat to brighten your day, these irresistible red velvet truffles are the answer. They’re quick, easy, and absolutely delicious. Plus, with all the customization options, you can make them uniquely yours.
I love these truffles not just for their flavor but for the joy they bring to every occasion. There’s something magical about sharing them with loved ones and watching their faces light up with every bite.
If you try this recipe, I’d love to hear how it went! Drop a comment below or share your creations on social media—don’t forget to tag me. Happy truffle-making!
FAQs
Can I make these truffles ahead of time?
Absolutely! They’re perfect for making ahead. Store them in the fridge for up to 5 days or freeze for up to 3 months.
Can I use store-bought red velvet cake?
Yes, you can use store-bought cake to save time. Just crumble it up and follow the recipe as usual.
What’s the best way to melt chocolate?
Using a microwave in short intervals works well, but a double boiler is great to prevent overheating the chocolate.
Can I make these truffles without cream cheese?
Yes, you can substitute cream cheese with mascarpone or a vegan cream cheese alternative for a similar texture.
How do I prevent the chocolate coating from cracking?
Make sure the truffles aren’t too cold when dipping, and avoid sudden temperature changes to keep the coating smooth.
Pin This Recipe!

Irresistible Red Velvet Truffles Recipe Perfect for Holidays

These creamy, chocolatey red velvet truffles are easy to make and perfect for entertaining or gifting during the holidays.
- Prep Time: 20 minutes
- Cook Time: 20 minutes
- Total Time: 40 minutes
- Yield: 24 truffles 1x
- Category: Dessert
- Cuisine: American
Ingredients
- Red Velvet Cake (homemade or boxed mix, fully cooled)
- 8 oz Cream Cheese, softened
- 1 cup Powdered Sugar
- 1 tsp Vanilla Extract
- 2 cups White Chocolate Chips, melted
- Sprinkles (optional)
Instructions
- Prepare your red velvet cake. If using a boxed mix, follow the package instructions. Let the cake cool completely.
- Crumble the cooled cake into fine crumbs in a large mixing bowl.
- Add softened cream cheese to the cake crumbs and mix until a thick, dough-like consistency forms.
- Fold in powdered sugar and vanilla extract, mixing thoroughly. Adjust sweetness if needed.
- Portion out the mixture using a tablespoon or small cookie scoop and roll into balls. Place on a parchment-lined baking sheet.
- Freeze the truffles for 15-20 minutes to firm them up.
- Melt white chocolate chips in a microwave-safe bowl, heating in 20-second intervals and stirring until smooth.
- Dip each truffle into the melted chocolate using a fork or dipping tool, coating evenly. Place back on the parchment paper.
- Decorate with sprinkles while the chocolate is still wet. Let the truffles set at room temperature or refrigerate.
- Once the chocolate has hardened, transfer the truffles to an airtight container and store in the fridge until ready to serve.
Notes
Cool your cake completely before crumbling to avoid a soft mixture. Use high-quality chocolate for a better finish. Add coconut oil to melted chocolate if it’s too thick for dipping.
Nutrition
- Serving Size: 1 truffle
- Calories: 90100
- Sugar: 8
- Sodium: 50
- Fat: 5
- Saturated Fat: 3
- Carbohydrates: 10
- Protein: 1
Keywords: Red Velvet, Truffles, Holiday Dessert, Easy Recipe, Chocolate, Cream Cheese, No Bake



