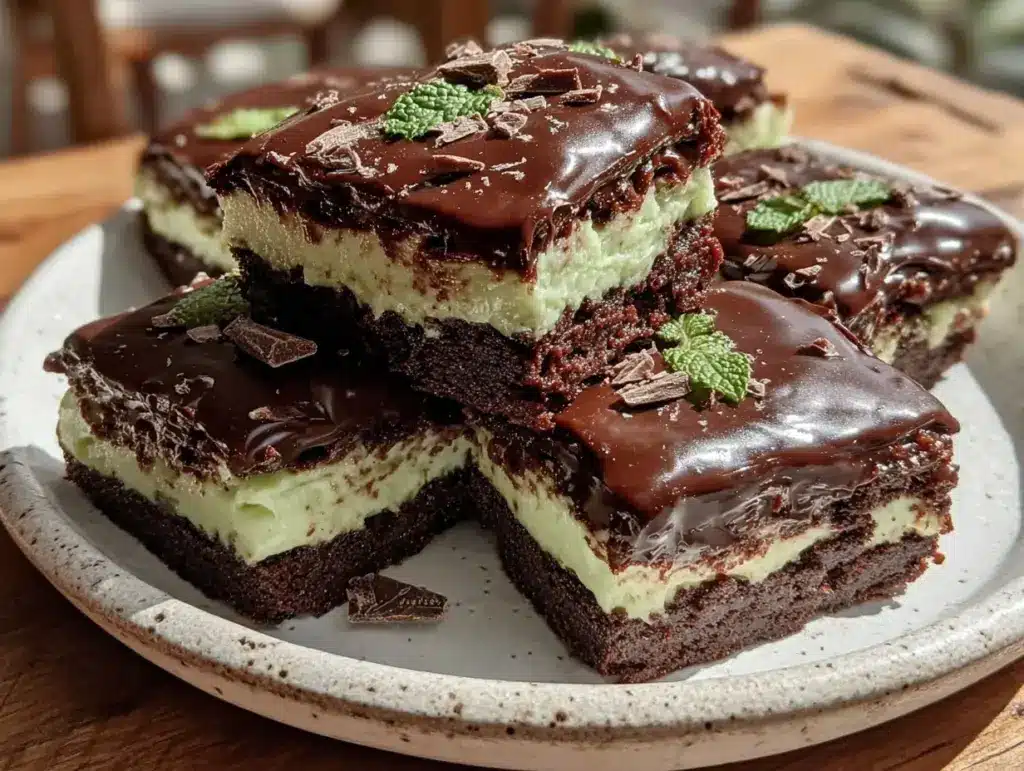
The moment you catch a whiff of these St. Patrick’s mint brownie layer squares baking, you just know something magical is happening in the kitchen. Honestly, the combination of rich, fudgy brownies layered with cool mint frosting and a sprinkle of festive green makes it impossible to resist grabbing a second piece. I first whipped up this recipe during a last-minute St. Patrick’s Day party, and it quickly became the star of the show — everyone asked for the recipe, and I’ve been making it ever since.
What I love most about these irresistible St. Patrick’s mint brownie layer squares is how they bring together the comforting texture of homemade brownies with a refreshing minty twist that feels both celebratory and comforting. It’s perfect for anyone who adores the classic mint-and-chocolate combo but wants something a little more special for the holiday. Plus, this recipe has been tested over multiple occasions, including family get-togethers and casual weekend treats, so I can confidently say it never disappoints.
Whether you’re baking for a festive crowd or just craving a sweet minty treat, these mint brownie layer squares will quickly become a favorite. The way the layers meld together is just dreamy, and I promise, once you try this, your St. Patrick’s Day dessert game will be on point!
Why You’ll Love This Recipe
- Quick & Easy: Comes together in under an hour, perfect when you need a festive treat without fuss.
- Simple Ingredients: Most are pantry staples, and you probably already have mint extract and chocolate chips on hand.
- Perfect for St. Patrick’s Day: A festive and fun dessert that adds a pop of green and loads of flavor to your celebration.
- Crowd-Pleaser: Kids, adults, and even the pickiest eaters can’t get enough of these mint-infused squares.
- Unbelievably Delicious: The fudgy brownie base paired with creamy mint frosting and a chocolate drizzle offers next-level indulgence.
This isn’t just any brownie recipe thrown together with mint. The secret lies in layering — the brownie’s dense, chewy texture contrasts perfectly with the light, whipped mint frosting spread on top. Plus, a sprinkle of crushed peppermint candies adds that little festive crunch that makes it stand out.
Honestly, the first time I made these, I thought, “Could mint brownies really be this good?” Spoiler alert: yes, yes they can. It’s comfort food reimagined for a holiday that calls for green but demands indulgence at the same time.
What Ingredients You Will Need
This recipe uses straightforward ingredients that come together to create a bold flavor and satisfying texture, without any complicated steps. Most are easy to find year-round, but feel free to swap in seasonal touches if you want to get creative.
- For the Brownie Base:
- 1 cup (225g) unsalted butter, melted (adds richness)
- 2 cups (400g) granulated sugar
- 4 large eggs, room temperature
- 1 teaspoon pure vanilla extract
- 1 cup (85g) unsweetened cocoa powder (I recommend Ghirardelli for deep chocolate flavor)
- 1 cup (125g) all-purpose flour
- ½ teaspoon salt
- ½ teaspoon baking powder
- 1 cup (175g) semi-sweet chocolate chips (for melty pockets of chocolate)
- For the Mint Frosting:
- 1 cup (230g) unsalted butter, softened
- 3-4 cups (360-480g) powdered sugar, sifted
- 2 teaspoons peppermint extract (adjust to taste)
- 2-3 tablespoons whole milk or cream (use dairy-free milk if needed)
- Green food coloring (optional, just a few drops for that festive hue)
- For the Topping:
- ½ cup crushed peppermint candies or candy canes (adds festive crunch)
- ¼ cup (40g) mini chocolate chips or chocolate drizzle (optional)
For a gluten-free twist, you can swap the all-purpose flour with a cup-for-cup gluten-free baking flour. I’ve also played around with using vegan butter and coconut milk in the frosting, which works surprisingly well for dairy-free needs.
Equipment Needed
- 9×13 inch (23×33 cm) baking pan — I usually line mine with parchment paper for easy lifting.
- Mixing bowls — one large for brownie batter, one medium for frosting.
- Electric mixer or stand mixer — this makes whipping the frosting a breeze, but a sturdy whisk works if you’re patient.
- Measuring cups and spoons — precise measurements are key for brownies.
- Spatula — for folding chocolate chips and spreading frosting evenly.
- Cooling rack — helps brownies cool evenly and prevents sogginess.
If you don’t have a stand mixer, no worries! Just mix the frosting by hand, but beat thoroughly to get it light and fluffy. For the baking pan, you can substitute with two 9×9 inch square pans if that’s what you have on hand.
Detailed Preparation Method

- Preheat your oven to 350°F (175°C). Line your 9×13 inch pan with parchment paper or grease it well to prevent sticking.
- Prepare the brownie batter: In a large bowl, whisk together the melted butter and granulated sugar until smooth and glossy, about 2 minutes. This step helps the sugar dissolve and creates a shiny crust.
- Add the eggs one at a time, beating well after each addition to incorporate air and help with the brownie’s texture. Stir in the vanilla extract.
- Sift together the cocoa powder, flour, salt, and baking powder. Gradually fold the dry ingredients into the wet mixture using a spatula — don’t overmix here! The batter should look thick and fudgy.
- Fold in the chocolate chips
- Pour the batter into the prepared pan,
- Allow brownies to cool completely on a wire rack. This is crucial — frosting warm brownies will cause melting and sliding layers.
- Prepare the mint frosting: Beat the softened butter on medium speed until creamy, about 2 minutes. Gradually add powdered sugar, one cup at a time, mixing well after each addition.
- Add the peppermint extract, milk, and green food coloring, then beat on high speed for 2-3 minutes until fluffy and light. Adjust consistency with more milk or powdered sugar as needed.
- Spread the mint frosting evenly over the cooled brownies. Use an offset spatula or the back of a spoon for smooth coverage.
- Sprinkle crushed peppermint candies and mini chocolate chips
- Chill the squares for at least 30 minutes
- Serve and enjoy! Store leftovers in an airtight container in the fridge for up to 5 days.
Pro tip: If you want cleaner cuts, dip your knife in hot water and wipe it dry before slicing each row. It helps prevent the frosting from sticking and tearing.
Cooking Tips & Techniques
Fudgy brownies and fluffy frosting can be tricky, but a few tricks make all the difference. First, don’t skip sifting the cocoa and flour — it prevents lumps and keeps the batter smooth. Also, mixing melted butter with sugar before adding eggs helps create a shiny crust and tender crumb.
When beating the frosting, soft room-temperature butter is key. Too cold, and it won’t whip properly; too warm, and it’ll be greasy. I usually leave my butter out for about an hour before starting. Also, adding the peppermint extract gradually lets you control how minty the frosting gets — I’m all about that punch of flavor!
One mistake I made early on was frosting warm brownies — the frosting slid right off! Waiting until they’re fully cooled prevents that mess. Also, chilling the finished squares before slicing keeps everything neat and makes them easier to handle.
Lastly, multitask by prepping the frosting while brownies cool. This way, you won’t be caught waiting and can assemble quickly once the brownies are ready.
Variations & Adaptations
If you want to mix things up or accommodate different tastes, here are some ideas:
- Chocolate Peppermint Crunch: Add a layer of crushed peppermint bark between the brownie and frosting for extra texture.
- Gluten-Free Version: Swap the flour for a gluten-free blend and use dairy-free butter to make these squares allergy-friendly.
- Double Chocolate Mint: Stir cocoa powder into the frosting for a chocolate-mint combo that’s a chocoholic’s dream.
- Vegan Adaptation: Use flax eggs (1 tablespoon ground flaxseed + 3 tablespoons water per egg) and vegan butter, plus a plant-based milk for frosting.
- Seasonal Twist: Replace peppermint extract with orange extract and sprinkle orange zest on top for a festive citrus flair.
I once made a batch swapping out the peppermint with spearmint extract — it was refreshing and less intense, perfect for those who find peppermint too overpowering. Experimenting with your favorite mint flavor can make this recipe feel brand new every time!
Serving & Storage Suggestions
These mint brownie layer squares are best served chilled or at room temperature. I like to bring them out about 20 minutes before serving to let the flavors mellow and the frosting soften slightly. For a pretty presentation, arrange the squares on a festive platter and garnish with a few extra crushed peppermint candies or a sprig of fresh mint.
They pair beautifully with a cup of hot coffee or a minty Irish cream latte if you’re feeling fancy. For a party, serve alongside whipped cream or vanilla ice cream to turn it into an indulgent dessert experience.
Store leftovers in an airtight container in the refrigerator for up to 5 days. You can also freeze them for up to 3 months — just wrap tightly in plastic wrap and foil. When ready to eat, thaw in the fridge overnight and bring to room temperature before serving.
Fun fact: letting the squares sit overnight actually helps the mint flavor intensify and the brownie soften just right. So if you can wait that long (I rarely do), it’s worth the patience!
Nutritional Information & Benefits
Each serving of these mint brownie layer squares packs approximately 280 calories, with 15g of fat, 35g of carbohydrates, and 3g of protein per square (based on 24 servings). The main indulgence comes from butter and sugar, balanced by the antioxidants found in cocoa powder.
Using real peppermint extract adds a refreshing flavor without extra calories, and peppermint is known for aiding digestion — a nice bonus after a rich dessert. For those watching gluten, the recipe can easily be adapted to gluten-free by swapping the flour, making it accessible for many diets.
While these squares are a treat, they can absolutely fit into a balanced diet when enjoyed in moderation. I like to think of them as a festive reward after a day of healthy meals and movement!
Conclusion
If you’re looking for a St. Patrick’s Day dessert that’s both show-stopping and surprisingly easy, these irresistible mint brownie layer squares have got you covered. They bring that perfect balance of fudgy chocolate and refreshing mint with a festive flair that’s hard to beat.
Feel free to tweak the mint intensity or swap toppings to make them your own — that’s part of the fun! Personally, this recipe holds a special place in my heart because it’s been a crowd favorite every time I’ve brought it out, and it really makes the holiday feel cozy and sweet.
Give these squares a try and let me know how they turned out! Drop a comment, share your variations, or tell me what you paired them with. Here’s to good food, good company, and a little minty magic on your plate.
FAQs
Can I make these mint brownie layer squares ahead of time?
Absolutely! They can be baked and frosted a day in advance and stored in the fridge. Just bring them to room temperature before serving for the best flavor and texture.
What if I don’t have peppermint extract?
You can substitute with spearmint extract or even a few drops of mint-flavored liqueur. Just start with a small amount and adjust to taste.
Can I use boxed brownie mix for this recipe?
Sure, if you’re short on time. Bake the brownies according to the box instructions, then cool and top with the mint frosting and crushed candies as directed.
How do I get clean cuts when slicing these squares?
Dip your knife in hot water and wipe it dry before each cut. This prevents frosting from sticking and helps you get neat, pretty squares.
Are these squares suitable for kids?
Yes! They’re a fun, festive treat loved by kids and adults alike. Just note that peppermint extract can be strong, so you might want to use a little less if making for younger children.
Pin This Recipe!
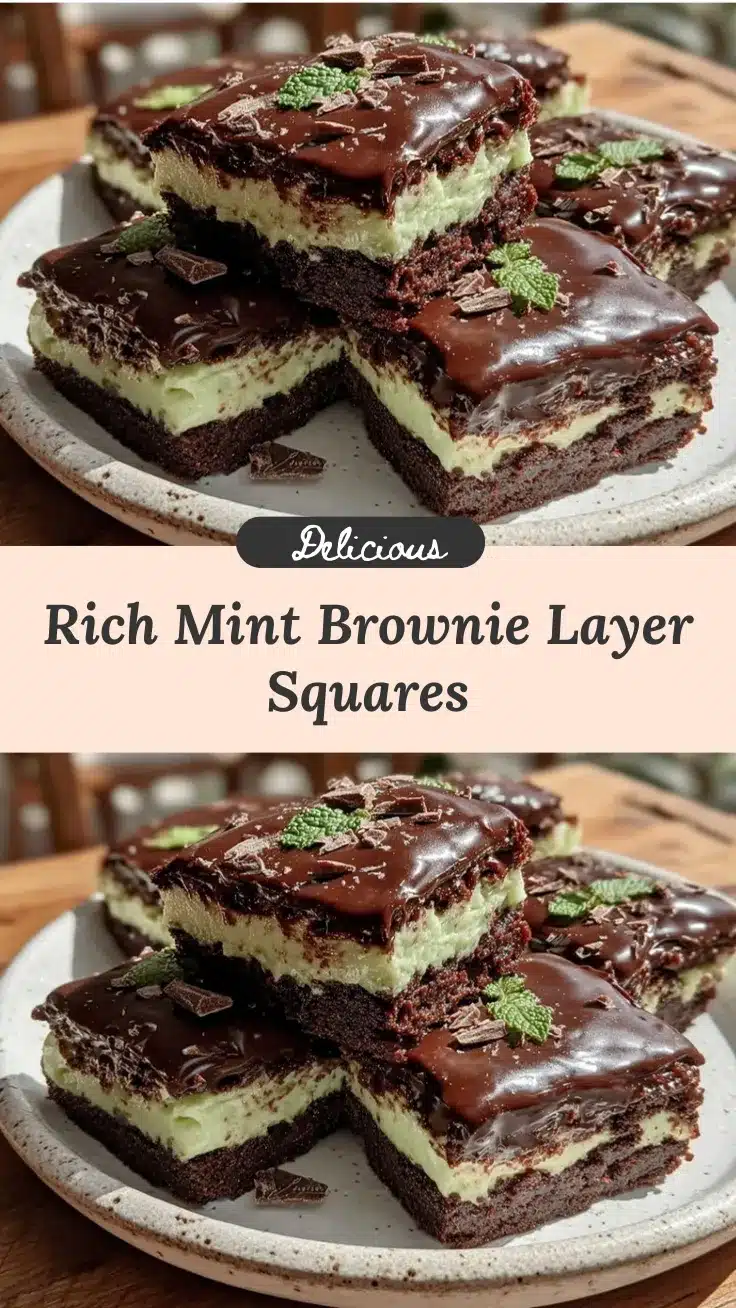
Irresistible St. Patrick’s Mint Brownie Layer Squares

These mint brownie layer squares combine rich, fudgy brownies with a refreshing mint frosting and festive crushed peppermint topping, perfect for St. Patrick’s Day celebrations.
- Prep Time: 20 minutes
- Cook Time: 30-35 minutes
- Total Time: 55-60 minutes
- Yield: 24 squares 1x
- Category: Dessert
- Cuisine: American
Ingredients
- 1 cup (225g) unsalted butter, melted
- 2 cups (400g) granulated sugar
- 4 large eggs, room temperature
- 1 teaspoon pure vanilla extract
- 1 cup (85g) unsweetened cocoa powder
- 1 cup (125g) all-purpose flour
- ½ teaspoon salt
- ½ teaspoon baking powder
- 1 cup (175g) semi-sweet chocolate chips
- 1 cup (230g) unsalted butter, softened (for frosting)
- 3–4 cups (360-480g) powdered sugar, sifted
- 2 teaspoons peppermint extract
- 2–3 tablespoons whole milk or cream
- Green food coloring (optional)
- ½ cup crushed peppermint candies or candy canes
- ¼ cup (40g) mini chocolate chips or chocolate drizzle (optional)
Instructions
- Preheat your oven to 350°F (175°C). Line a 9×13 inch pan with parchment paper or grease it well.
- In a large bowl, whisk together melted butter and granulated sugar until smooth and glossy, about 2 minutes.
- Add eggs one at a time, beating well after each addition. Stir in vanilla extract.
- Sift together cocoa powder, flour, salt, and baking powder. Gradually fold dry ingredients into wet mixture using a spatula without overmixing.
- Fold in semi-sweet chocolate chips gently.
- Pour batter into prepared pan and smooth the top. Bake for 30-35 minutes or until a toothpick inserted comes out with a few moist crumbs.
- Allow brownies to cool completely on a wire rack.
- Prepare the mint frosting by beating softened butter on medium speed until creamy, about 2 minutes.
- Gradually add powdered sugar, one cup at a time, mixing well after each addition.
- Add peppermint extract, milk, and green food coloring, then beat on high speed for 2-3 minutes until fluffy. Adjust consistency as needed.
- Spread mint frosting evenly over cooled brownies.
- Sprinkle crushed peppermint candies and mini chocolate chips over the top.
- Chill the squares for at least 30 minutes before slicing into 24 squares.
- Serve and enjoy! Store leftovers in an airtight container in the fridge for up to 5 days.
Notes
For cleaner cuts, dip your knife in hot water and wipe dry before slicing. Allow brownies to cool completely before frosting to prevent melting. Chilling the squares before slicing helps the frosting set and makes cutting cleaner. Gluten-free and vegan adaptations are possible by swapping ingredients as noted.
Nutrition
- Serving Size: 1 square (1/24th of
- Calories: 280
- Fat: 15
- Carbohydrates: 35
- Protein: 3
Keywords: St. Patrick’s Day, mint brownies, brownie layer squares, mint frosting, festive dessert, chocolate mint dessert