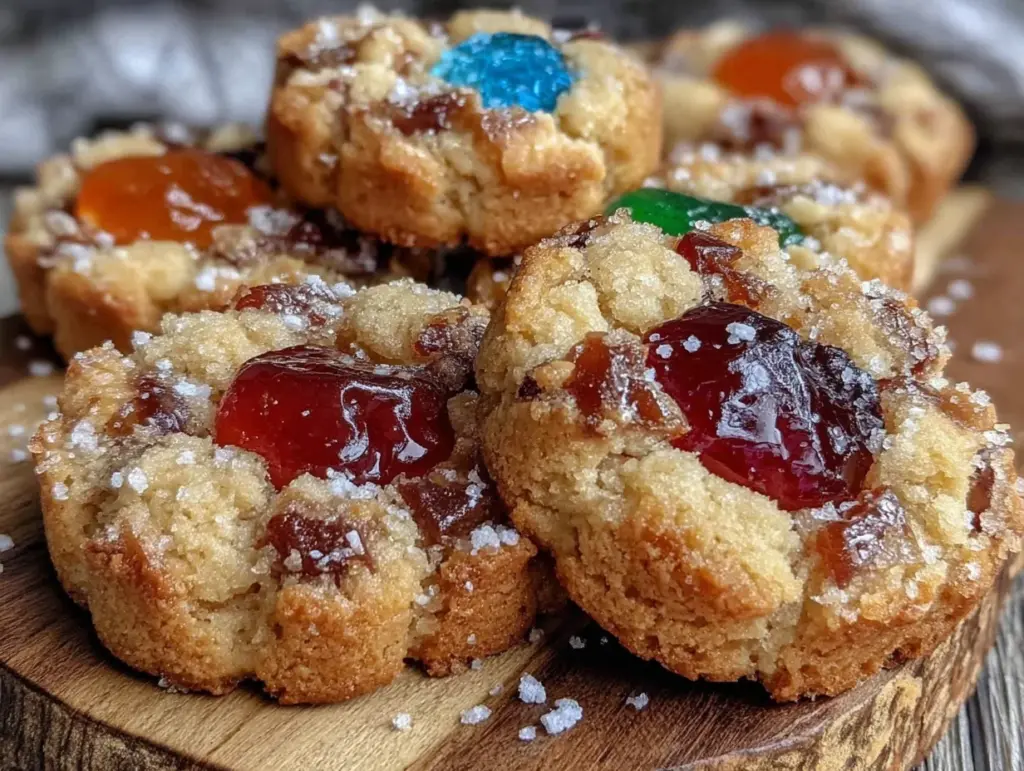
The sparkle of colorful, translucent candy shining through delicate cookie dough is something that never fails to catch my eye. Honestly, the first time I made stained glass window cookies, I was mesmerized by those jewel-like centers glowing in the afternoon sun. It’s like edible art that tastes just as magical as it looks. I’ve baked these charming beauties countless times, tweaking the balance of sweetness and the crispness of the cookie to get that perfect bite. If you’ve ever loved the idea of cookies that double as little stained glass masterpieces, this recipe is going to be your new go-to.
What really sells these stained glass window cookies for me is how they bring that nostalgic feel of holiday baking but with a fun, crafty twist that’s perfect year-round. And you know, they’re surprisingly simple to make, even if you’re not a seasoned baker. I first started making these during a holiday party, and now they’re a staple for birthdays, gift-giving, and anytime I want to impress with minimal effort. Plus, the kids love helping break the candy for the “glass” pieces — it’s a total win for family baking sessions.
So, if you’re ready to create cookies that look like little gems while tasting buttery and sweet with that perfect crunch, you’re in the right place. This irresistible stained glass window cookies recipe will have you baking with joy, no matter the occasion.
Why You’ll Love This Irresistible Stained Glass Window Cookies Recipe
- Quick & Easy: You’ll have these ready in under an hour — perfect for last-minute cookie cravings or holiday prep.
- Simple Ingredients: No fancy store runs needed; most of these are pantry staples you probably already have on hand.
- Perfect for Festive Occasions: Whether it’s Christmas, Easter, or a birthday bash, these cookies add a pop of color and charm.
- Crowd-Pleaser: Adults love the buttery cookie base, and kids adore the colorful candy “windows” that sparkle in the light.
- Unbelievably Delicious: The buttery dough with a crisp edge contrasts beautifully with the smooth, sweet candy center — it’s cookie heaven in every bite.
This isn’t your average sugar cookie. The stained glass effect is created by using crushed hard candies melted into the cookie cutouts, which gives it that gorgeous translucent look. I’ve tested different candies and found that clear or brightly colored hard candies work best for that vibrant glass-like shine. Plus, the dough recipe is crafted to hold its shape well and bake up with a tender but crisp texture. Honestly, this recipe hits that sweet spot between fun and finesse, making it a standout in any cookie lineup.
After making these over several holidays and parties, I can tell you this recipe balances ease and wow-factor perfectly. It’s a recipe you’ll come back to again and again, especially when you want cookies that look like they belong in a bakery window display.
What Ingredients You Will Need
This stained glass window cookies recipe uses straightforward pantry ingredients that come together for a buttery, tender cookie base and a colorful, shiny candy glass effect. Here’s what you’ll gather:
- Unsalted butter, softened (about 1 cup or 227g) – I prefer using European-style butter for richer flavor
- Granulated sugar (3/4 cup or 150g) – balances sweetness without overpowering
- Large egg (room temperature) – helps bind the dough
- Pure vanilla extract (1 teaspoon) – adds warmth and depth
- All-purpose flour (2 1/2 cups or 312g) – forms the sturdy cookie base
- Baking powder (1 teaspoon) – provides just enough lift for a tender crumb
- Salt (1/4 teaspoon) – balances flavors
- Hard candies (about 2 cups crushed) – use clear or brightly colored candies like Jolly Ranchers or Life Savers for the stained glass effect
For crushing the candies, I’ve found it’s best to place them in a sealed plastic bag and gently tap with a rolling pin. Avoid grinding them too fine so they melt evenly without burning. Pro tip: avoid candies with fillings or chocolate centers, as these won’t melt properly and can ruin the “glass” look.
If you’re feeling adventurous, you can swap white sugar with coconut sugar for a subtle caramel hint, but it might slightly darken the cookie edges. Also, if you want a gluten-free version, try using a 1:1 gluten-free baking flour blend — just keep in mind the texture might be a bit different but still delicious.
Equipment Needed
- Mixing bowls: One large bowl for creaming butter and sugar, and another for dry ingredients.
- Hand mixer or stand mixer: Makes creaming the butter and sugar easier and more consistent. I personally use a stand mixer but a hand mixer works just fine.
- Rolling pin: For rolling out the dough evenly.
- Cookie cutters: Choose shapes with interior cutouts (like stars, hearts, or snowflakes) to create the stained glass windows. I recommend metal cutters for sharp edges.
- Baking sheets: Non-stick or lined with parchment paper to prevent sticking and promote even baking.
- Plastic bags or ziplock bags: For crushing the hard candies safely.
- Cooling rack: Essential for letting cookies cool without getting soggy bottoms.
If you don’t have cookie cutters with interior cutouts, you can gently carve out windows with a small knife after cutting the cookie shape, but be careful not to tear the dough. Also, parchment paper is a baker’s best friend here — it helps the cookies slide off easily and keeps your sheets clean.
Detailed Preparation Method
- Preheat your oven to 350°F (175°C). Line two baking sheets with parchment paper to keep those cookies happy and prevent sticking.
- Cream the butter and sugar: In a large bowl, beat 1 cup (227g) softened unsalted butter with 3/4 cup (150g) granulated sugar until light and fluffy — about 3 to 4 minutes using a mixer on medium speed. You’ll notice the mixture turn pale and smooth, which is your sign it’s ready.
- Add the egg and vanilla: Crack in one large room-temperature egg and add 1 teaspoon pure vanilla extract. Beat again until everything is fully combined.
- Mix dry ingredients separately: In another bowl, whisk together 2 1/2 cups (312g) all-purpose flour, 1 teaspoon baking powder, and 1/4 teaspoon salt.
- Combine wet and dry: Gradually add the dry ingredients to the butter mixture, mixing on low speed just until a soft dough forms. Don’t overmix — you want a tender cookie, not tough.
- Divide and chill: Split the dough into two discs, wrap each in plastic wrap, and refrigerate for at least 30 minutes. This helps prevent spreading and makes rolling easier.
- Prepare your candy: While the dough chills, crush about 2 cups of hard candies. Place them in a sealed plastic bag and gently tap with a rolling pin until you have small chunks (not powder). Set aside.
- Roll out the dough: After chilling, take one disc and roll it on a lightly floured surface to about 1/4-inch (6mm) thickness. If it’s too soft, pop it back in the fridge for 10 minutes.
- Cut shapes: Use your cookie cutters to cut out shapes. For each cookie, cut the outer shape and then cut out the window in the center. Transfer cookies carefully to the baking sheets.
- Fill the windows: Spoon or sprinkle crushed candy into the cut-out centers. Don’t overfill—about a teaspoon per window is perfect.
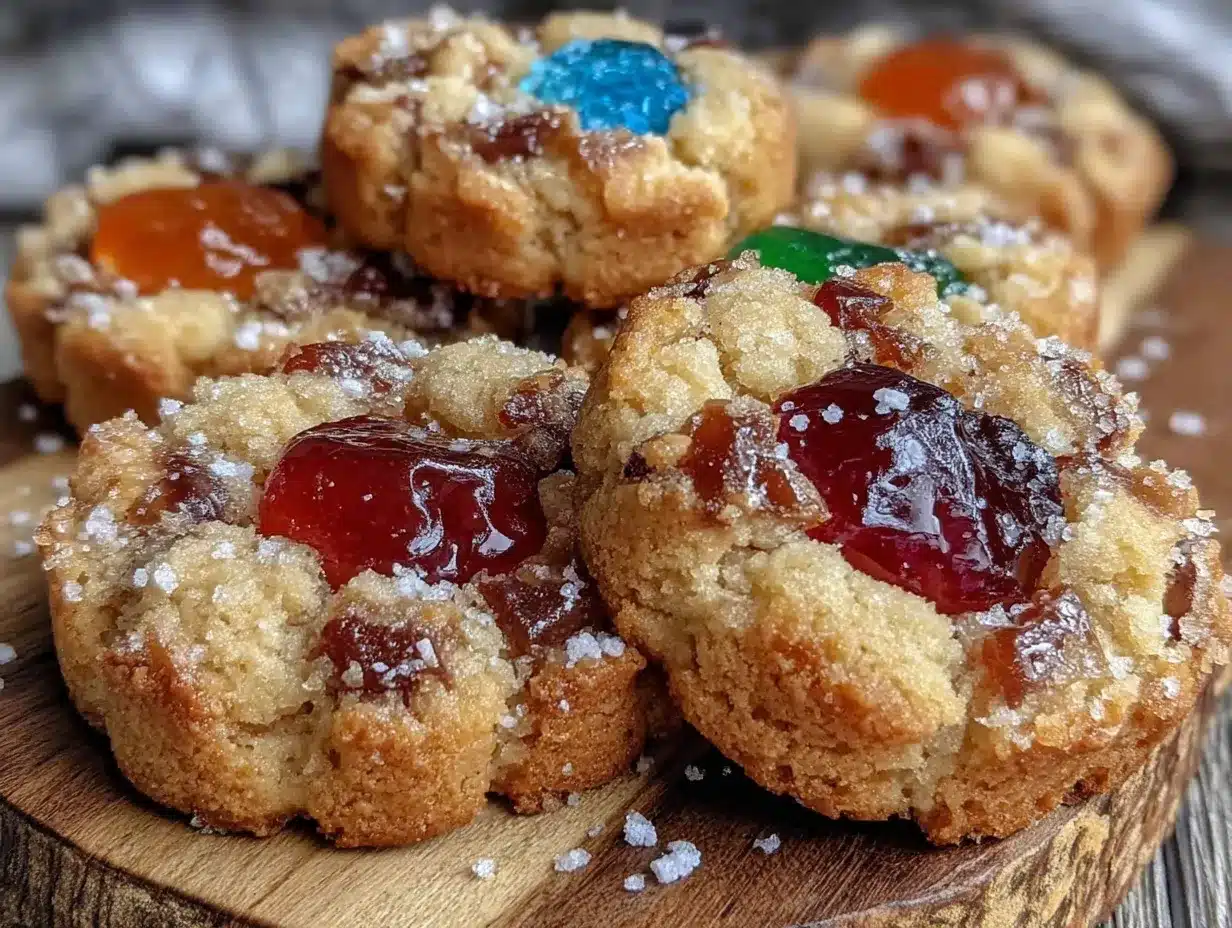
- Bake: Place the baking sheets in the oven and bake for 10-12 minutes. You’ll see the candy melt and fill the window spaces, becoming glossy and glass-like. The cookie edges should be just starting to turn golden.
- Cool completely: Allow cookies to cool on the baking sheet for 5 minutes before transferring to a cooling rack. The candy will harden as they cool, creating that irresistible stained glass effect.
- Repeat: Roll out the second dough disc and repeat the process for more cookies.
Tip: If your candy starts to burn, lower the oven temperature a bit or reduce bake time by a minute or two. Also, don’t try to remove the cookies from the baking sheet too soon; the candy needs those few minutes to solidify or it might crack or stick.
Cooking Tips & Techniques
Let me share some lessons I picked up along the way making these stained glass window cookies. First, chilling the dough is non-negotiable — trust me, it keeps your shapes sharp and prevents the cookies from spreading into sad blobs. I’ve learned the hard way that skipping this step results in less distinct windows.
When crushing hard candies, keep the chunks chunky enough to melt evenly without burning or bubbling over. Fine powder tends to burn quickly and can ruin the glossy look. Also, never use candies with fillings or chocolate centers — they just don’t behave well in the oven.
Rolling dough between two sheets of parchment paper helps keep cleanup easy and stops dough from sticking to your surfaces or rolling pin. If your dough warms up and gets sticky, a quick chill in the fridge solves that problem fast.
Another tip: keep an eye on your cookies as they bake. Every oven is a bit different, and those beautiful candy windows can go from perfect to burnt in a blink. I usually start checking at the 9-minute mark to catch that sweet spot.
Lastly, patience is key for cooling. Let the cookies cool fully on the baking sheet before moving them. Moving them too soon can cause the melted candy to crack or stick to the tray.
Variations & Adaptations
- Dietary swaps: For a gluten-free version, substitute all-purpose flour with a 1:1 gluten-free baking blend. The texture changes slightly but the cookies still hold their shape beautifully.
- Flavor twists: Add a teaspoon of almond extract instead of vanilla for a nutty note, or mix in finely grated citrus zest for a fresh zing.
- Seasonal candies: Use holiday-themed hard candies — peppermint for Christmas, fruity flavors for summer parties, or even sour candies for a fun adult twist.
- Baking method: If you want to try a quicker method, you can roll the dough thinner and bake for 8-10 minutes, but watch carefully as the candy may melt faster.
- Personal fave: I once swapped out half the sugar for brown sugar to add a caramel depth — the result was a softer cookie with a richer flavor that my family adored.
Serving & Storage Suggestions
These stained glass window cookies are best served at room temperature so you can admire their shiny candy centers and enjoy the perfect crisp-tender texture. They make a stunning addition to cookie platters or festive dessert tables, especially when paired with hot cocoa or a spiced tea.
For storage, place cookies in an airtight container at room temperature for up to 5 days. If you want to keep them longer, freeze the baked cookies in a single layer on a baking sheet until solid, then transfer to a freezer-safe bag for up to 3 months. Thaw at room temperature before serving.
When reheating, avoid the microwave as it can soften the candy windows too much. A quick 2-3 minute warm-up in a preheated 300°F (150°C) oven does the trick to refresh their crispness.
One neat thing I’ve noticed is that the candy centers stay beautifully glossy for days, but the flavors mellow and blend more with time, giving a lovely, subtle sweetness that makes leftover cookies even more enjoyable.
Nutritional Information & Benefits
On average, each stained glass window cookie contains approximately 120-140 calories, with around 7g fat, 18g carbohydrates, and 1-2g protein, depending on cookie size. The recipe uses real butter, providing a source of natural fats that add richness and satisfy hunger.
While these cookies are a sweet treat, they’re made with simple ingredients and no artificial additives, which I appreciate when baking for my family. The crushed candy centers add sweetness and color, but if you want to reduce sugar, try using sugar-free hard candies — just be mindful of how they melt.
This recipe is naturally gluten-containing but can be adapted for gluten-free diets using appropriate flour blends. It contains egg and dairy, so it’s not suitable for those with those allergies unless substitutions are made.
From a wellness standpoint, baking these at home means you control ingredients and portion sizes, which I find helps balance indulgence with mindful eating.
Conclusion
So there you have it — a truly irresistible stained glass window cookies recipe that’s as fun to make as it is to eat. Whether you’re baking for the holidays, a party, or just because, these cookies bring that wow factor with minimal fuss. I love how they look like little edible jewels, and honestly, the buttery cookie with a crisp candy window is a match made in dessert heaven.
Feel free to personalize this recipe to suit your tastes — swap flavors, try different candies, or shape the cookies to fit any occasion. I’m always excited to hear how you make this recipe your own, so don’t hesitate to share your variations and baking stories in the comments.
Happy baking, and may your kitchen be filled with the sweet sparkle of stained glass window cookies!
FAQs About Stained Glass Window Cookies
What kind of candy is best for stained glass window cookies?
Hard candies like Jolly Ranchers or Life Savers work best. Avoid filled or chocolate-centered candies since they won’t melt properly and can ruin the glass effect.
Can I make these cookies ahead of time?
Yes! You can prepare the dough in advance and chill it for up to 2 days or freeze it for a month. Baked cookies store well for several days in an airtight container.
How do I prevent the candy from burning while baking?
Keep an eye on your cookies and bake at 350°F (175°C). If you notice the candy burning, try lowering the temperature slightly or reducing bake time by a minute or two.
Can I use cookie cutters without window cutouts?
You can, but you’ll need to carefully carve out the windows yourself. Using cutters with interior shapes is easier and gives cleaner, more defined “stained glass” windows.
Are stained glass window cookies gluten-free?
Traditional recipes use all-purpose flour, which contains gluten. However, you can substitute with a gluten-free baking flour blend to make them gluten-free, though texture may vary slightly.
Pin This Recipe!
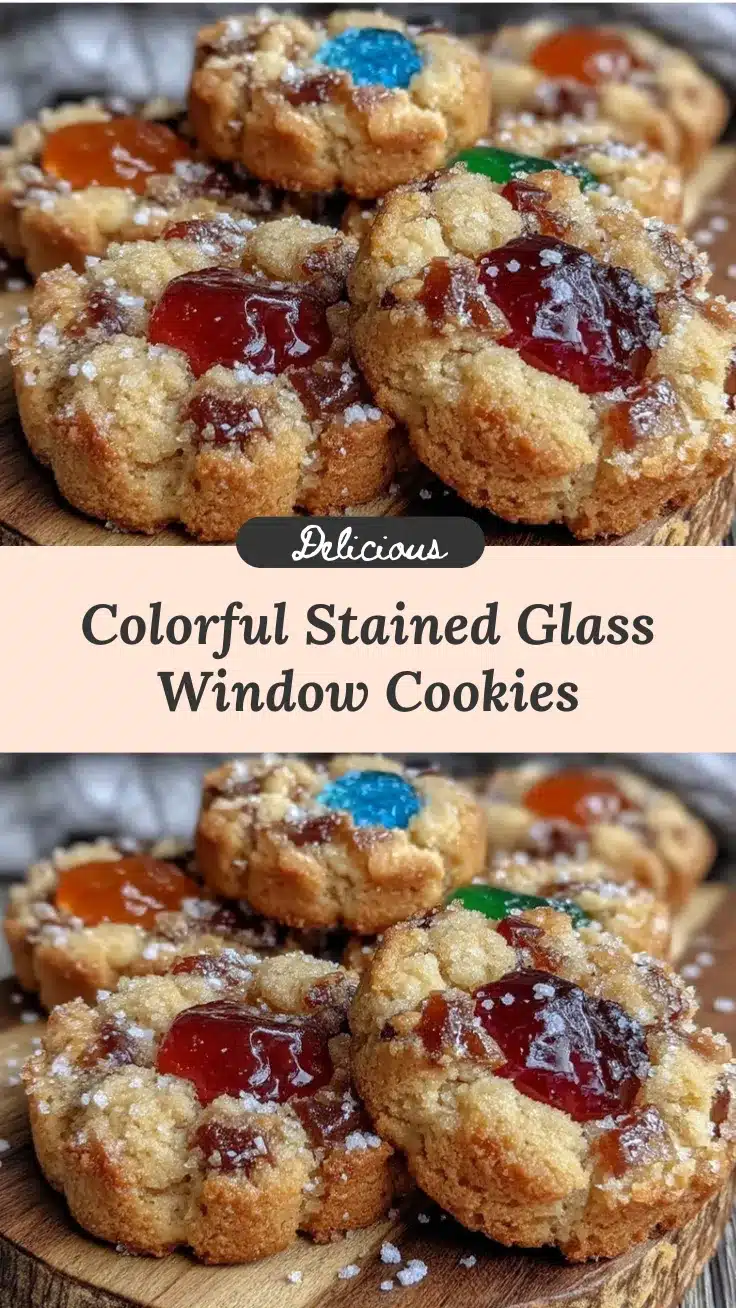
Irresistible Stained Glass Window Cookies

These stained glass window cookies feature colorful, translucent candy centers shining through a buttery, tender cookie base, perfect for festive occasions and year-round enjoyment.
- Prep Time: 15 minutes
- Cook Time: 12 minutes
- Total Time: 45 minutes
- Yield: 24 cookies 1x
- Category: Dessert
- Cuisine: American
Ingredients
- 1 cup (227g) unsalted butter, softened
- 3/4 cup (150g) granulated sugar
- 1 large egg, room temperature
- 1 teaspoon pure vanilla extract
- 2 1/2 cups (312g) all-purpose flour
- 1 teaspoon baking powder
- 1/4 teaspoon salt
- About 2 cups crushed hard candies (clear or brightly colored, e.g., Jolly Ranchers or Life Savers)
Instructions
- Preheat your oven to 350°F (175°C). Line two baking sheets with parchment paper.
- In a large bowl, beat softened unsalted butter and granulated sugar until light and fluffy, about 3 to 4 minutes.
- Add the large egg and pure vanilla extract; beat until fully combined.
- In another bowl, whisk together all-purpose flour, baking powder, and salt.
- Gradually add the dry ingredients to the butter mixture, mixing on low speed until a soft dough forms. Do not overmix.
- Divide the dough into two discs, wrap in plastic wrap, and refrigerate for at least 30 minutes.
- Crush about 2 cups of hard candies by placing them in a sealed plastic bag and gently tapping with a rolling pin until small chunks form. Set aside.
- Roll out one dough disc on a lightly floured surface to about 1/4-inch (6mm) thickness. Chill again if too soft.
- Use cookie cutters with interior cutouts to cut shapes and windows. Transfer cookies to baking sheets.
- Fill the cut-out windows with about a teaspoon of crushed candy each.
- Bake for 10-12 minutes until candy melts and cookie edges start to turn golden.
- Cool cookies on the baking sheet for 5 minutes, then transfer to a cooling rack to let candy harden.
- Repeat with the second dough disc.
Notes
Chill dough to prevent spreading and keep shapes sharp. Crush candies into small chunks, not powder, to avoid burning. Use cookie cutters with interior cutouts for best stained glass effect. Cool cookies fully on baking sheet before transferring to avoid candy cracking or sticking. Adjust baking time or temperature if candy starts to burn.
Nutrition
- Serving Size: 1 cookie
- Calories: 130
- Sugar: 12
- Sodium: 70
- Fat: 7
- Saturated Fat: 4
- Carbohydrates: 18
- Protein: 2
Keywords: stained glass window cookies, holiday cookies, hard candy cookies, colorful cookies, easy cookie recipe, festive cookies