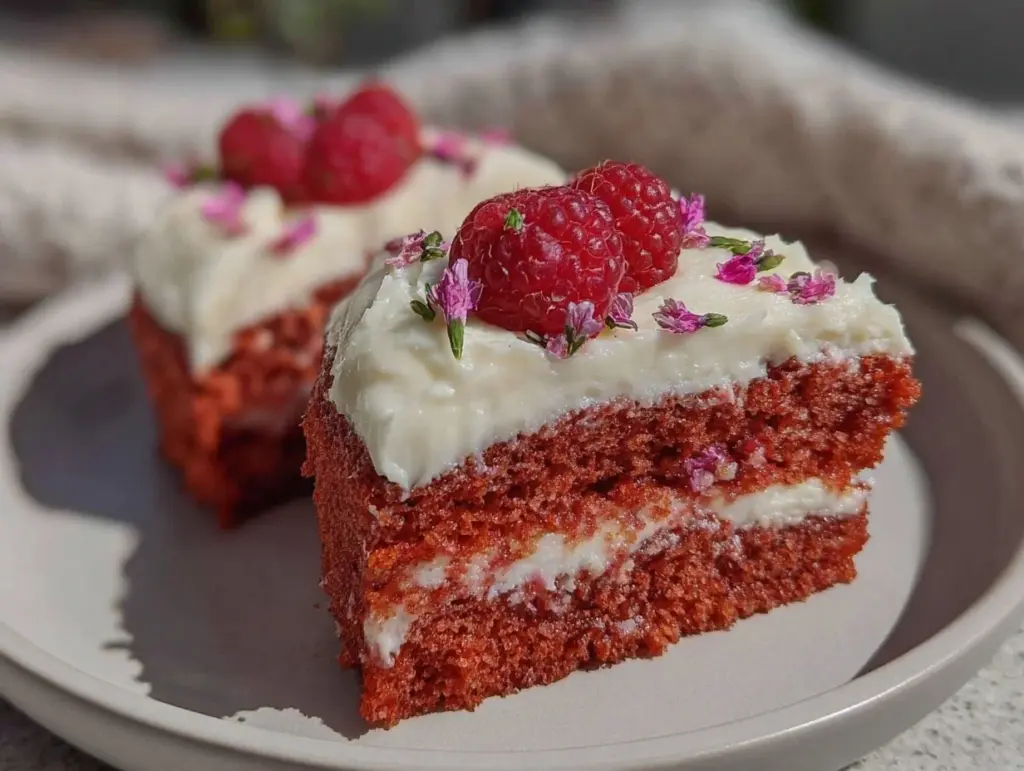
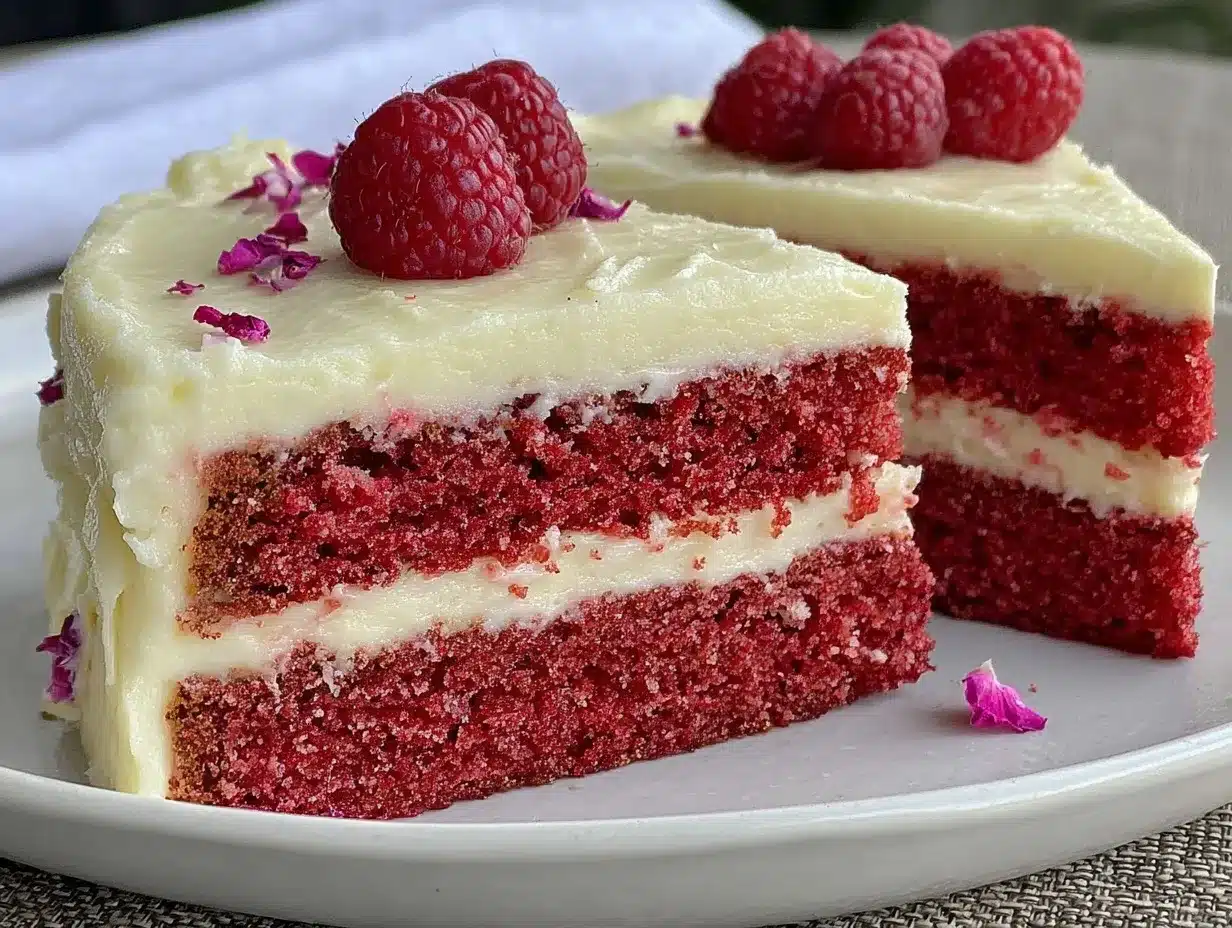
“You’re making a pink cake? Really?” That’s what my skeptical friend muttered the first time I brought out this Moist Pink Velvet Layered Cake with Cream Cheese Buttercream at a small gathering. Honestly, I didn’t expect much fanfare either—pink cake always felt like a novelty, maybe a bit too sweet or gimmicky. But the moment we sliced into its tender, velvety layers and tasted the tangy yet silky cream cheese buttercream, the room quieted down with surprise (and a few delighted “mmm” sounds).
It started on an ordinary afternoon when I had a craving for something soft and sweet but couldn’t decide between classic red velvet or a lighter, more playful dessert. A quick search led me to tweak a simple vanilla cake recipe with a splash of cocoa and a dash of pink food coloring. The result? A cake that’s unexpectedly moist, tender, and just the right hint of chocolate without overpowering the cream cheese frosting. The pink shade was more than just cute—it made the cake feel celebratory without the fuss of complicated layers or fillings.
I found myself baking this cake multiple times within a week, each time adjusting the frosting’s sweetness or the cake’s crumb to perfection. It became my go-to for birthdays, casual brunches, and those times when I just wanted to treat myself with a bit of color and comfort. Now, it sits quietly in my recipe box as the cake that proved pink isn’t just a color, but an experience worth savoring.
Why You’ll Love This Recipe
This Moist Pink Velvet Layered Cake with Cream Cheese Buttercream is honestly a little gem in my kitchen, and here’s why it might win a spot in yours too:
- Quick & Easy: The entire recipe comes together in under 90 minutes, which means you can whip it up for a last-minute celebration or a spontaneous sweet craving.
- Simple Ingredients: No need for fancy or hard-to-find items. Most of what you’ll need are pantry staples like all-purpose flour, buttermilk, and basic baking essentials. I usually rely on King Arthur flour for the best texture.
- Perfect for Any Occasion: Whether it’s a birthday, baby shower, or a cheerful weekend brunch, the pink layers add just the right pop of color and fun.
- Crowd-Pleaser: Kids and adults alike fall for this cake’s tender crumb and the luscious cream cheese buttercream that isn’t too sweet and always leaves people asking for the recipe.
- Unbelievably Delicious: The balance of flavors—from the subtle cocoa hint to the tangy frosting—makes this cake feel like comfort food with a twist.
What sets this recipe apart is the technique I use for the cream cheese buttercream: whipping the cream cheese and butter together at just the right temperature for a frosting that’s incredibly smooth and spreadable without being runny. Plus, the pink velvet layers are lighter than your typical red velvet, making it a more delicate treat that’s still deeply satisfying.
This cake isn’t just a pretty face—it’s the kind of dessert that makes you pause and really appreciate the simple joy of a well-made slice. I always find myself smiling quietly after the first bite, knowing I’ve hit on something special.
What Ingredients You Will Need
This recipe uses straightforward, wholesome ingredients that come together to create the perfect pink velvet cake with a rich cream cheese buttercream. Most are pantry staples, so you probably have many on hand already.
- For the Pink Velvet Cake:
- All-purpose flour (2 ½ cups / 320g) – Provides structure and tender crumb
- Granulated sugar (1 ¾ cups / 350g) – For sweetness and moisture retention
- Unsweetened cocoa powder (1 tbsp) – Adds that subtle cocoa flavor without overwhelming
- Baking soda (1 tsp) – Leavening agent for lightness
- Salt (½ tsp) – Balances sweetness
- Buttermilk (1 cup / 240ml), room temperature – Adds moisture and a slight tang
- Vegetable oil (¾ cup / 180ml) – Keeps the cake moist and tender (I prefer canola oil for its neutral flavor)
- Large eggs (3), room temperature – Binds the ingredients and adds richness
- Vanilla extract (2 tsp) – Boosts overall flavor
- White vinegar (1 tbsp) – Reacts with baking soda for lift and tenderness
- Pink gel food coloring (1 tsp) – For that vibrant, lasting pink color (I recommend AmeriColor for true hues)
- For the Cream Cheese Buttercream:
- Cream cheese (8 oz / 226g), softened – The tangy base, use full-fat for best flavor and texture
- Unsalted butter (½ cup / 115g), softened – Adds richness and makes the frosting fluffy
- Powdered sugar (4 cups / 480g), sifted – Sweetens and thickens the frosting
- Vanilla extract (1 ½ tsp) – Depth of flavor
- Pinch of salt – Balances sweetness
If you want to swap out buttermilk, plain yogurt mixed with a tablespoon of lemon juice works well, and for a dairy-free option, use coconut yogurt in the frosting. For a gluten-free version, almond flour can replace all-purpose flour, but expect a slightly different texture.
When selecting cream cheese, I like to stick with Philadelphia brand because it’s consistently smooth and tangy, which makes the frosting stand out. And if you’re baking this in the summer, fresh strawberries folded into the layers can add a seasonal twist.
Equipment Needed
To get this Moist Pink Velvet Layered Cake just right, here’s what you’ll want on hand:
- Two 8-inch (20cm) round cake pans – I find these sizes perfect for layering without the cake feeling too tall or too short. If you only have one pan, no worries—you can bake in batches.
- Electric mixer (stand or hand) – Essential for whipping the cream cheese buttercream to that silky smooth perfection. I often use my KitchenAid stand mixer but a handheld one works fine too.
- Mixing bowls – At least two; one for dry ingredients, one for wet.
- Measuring cups and spoons – Precise measurements make a big difference, especially in baking.
- Rubber spatula – For folding in ingredients gently and scraping the bowls clean.
- Cooling racks – Allow the cake layers to cool evenly and prevent sogginess.
- Offset spatula or butter knife – Helpful for spreading the frosting smoothly between layers and on top.
If you don’t have cake pans, you can use springform pans of a similar size but keep an eye on baking times. For budget-friendly options, non-stick cake pans from brands like Wilton are a solid choice and easy to clean. I recommend giving your pans a light greasing and flour dusting, or lining them with parchment paper for a clean release.
Preparation Method
- Preheat and prepare pans: Set your oven to 350°F (175°C). Grease two 8-inch round cake pans with butter or non-stick spray, then lightly dust with flour or line with parchment paper. This step helps the cakes release cleanly after baking. (Approx. 10 minutes prep)
- Mix dry ingredients: In a large bowl, sift together 2 ½ cups (320g) all-purpose flour, 1 ¾ cups (350g) granulated sugar, 1 tablespoon unsweetened cocoa powder, 1 teaspoon baking soda, and ½ teaspoon salt. Sifting ensures no lumps and a light crumb. (Approx. 5 minutes)
- Combine wet ingredients: In a separate bowl, whisk 1 cup (240ml) room temperature buttermilk, ¾ cup (180ml) vegetable oil, 3 large eggs, 2 teaspoons vanilla extract, 1 tablespoon white vinegar, and 1 teaspoon pink gel food coloring until smooth and uniform in color. The vinegar reacts with baking soda to give the cake lift and tenderness. (Approx. 5 minutes)
- Blend wet and dry: Slowly add the wet mixture into the dry ingredients, stirring gently with a rubber spatula or wooden spoon until just combined. Avoid overmixing; you want the batter smooth but not tough. (Approx. 2-3 minutes)
- Divide and bake: Pour the batter evenly into the two prepared pans. Tap the pans gently on the counter a couple of times to release air bubbles. Bake for 28-32 minutes, or until a toothpick inserted in the center comes out clean. (Keep an eye starting at 28 minutes to avoid overbaking.) (Approx. 30-35 minutes)
- Cool layers: Remove the cakes from the oven and let them cool in the pans for 10 minutes. Then turn them out onto wire racks to cool completely before frosting. This prevents the frosting from melting. (Approx. 1 hour)
- Make the cream cheese buttercream: Beat 8 oz (226g) softened cream cheese and ½ cup (115g) softened unsalted butter together on medium speed until smooth and creamy, about 2-3 minutes. Gradually add 4 cups (480g) sifted powdered sugar, mixing on low speed to avoid a sugar cloud, then increase speed until fluffy. Add 1 ½ teaspoons vanilla extract and a pinch of salt, beat until combined. (Approx. 10 minutes)
- Assemble the cake: Place one cake layer on your serving plate or cake stand. Spread about one-third of the frosting evenly on top. Place the second cake layer on top and frost the top and sides with the remaining buttercream. For a neat finish, chill the cake for 20 minutes and do a second thin “crumb coat” layer if desired. (Approx. 20-30 minutes)
Tip: If your batter feels too thick, a tablespoon of extra buttermilk helps loosen it without sacrificing texture. Also, don’t rush cooling the layers; warm cakes paired with frosting can get messy fast.
Cooking Tips & Techniques
Getting this Moist Pink Velvet Layered Cake just right means paying attention to a few key details:
- Room temperature ingredients: Eggs, buttermilk, butter, and cream cheese should be at room temp to blend smoothly and trap air for a light texture.
- Measuring flour correctly: Spoon the flour into your measuring cup and level it off with a knife rather than scooping directly from the bag, preventing a dense cake.
- Don’t skip sifting: Cocoa powder and powdered sugar tend to clump. Sifting helps keep the batter and frosting silky.
- Food coloring tips: Gel food coloring is best for vibrant color without adding extra liquid. Add gradually until you reach your desired hue.
- Whipping the frosting: Beat the cream cheese and butter first until smooth before adding sugar. This helps prevent graininess and keeps the frosting light.
- Layering finesse: Use an offset spatula for even frosting spread. If you want clean cake edges, chill the cake between crumb coating and final frosting.
I once ignored the room temperature rule and ended up with lumpy frosting that took forever to smooth out. Lesson learned: patience here pays off big time. Also, multitask by cooling your cake layers on racks while prepping the frosting to save time.
Variations & Adaptations
Here are some ways I’ve tweaked this cake to suit different tastes and occasions:
- Berry Infusion: Fold fresh or frozen raspberries into the batter for a fruity surprise that pairs beautifully with the cream cheese buttercream.
- Chocolate Twist: Swap the vegetable oil for melted butter and increase cocoa powder to 2 tablespoons for a deeper chocolate flavor (close to a classic red velvet).
- Dairy-Free Version: Use dairy-free cream cheese and coconut yogurt instead of buttermilk. The texture changes slightly but stays moist and delicious.
- Gluten-Free Option: Replace all-purpose flour with a gluten-free blend like Bob’s Red Mill 1:1. You might need to add an extra egg for structure.
- Layered Surprise: Try alternating layers with pumpkin spice swirl bread slices or add a thin layer of strawberry jam between the layers for extra flavor.
Personally, adding a hint of almond extract to the frosting once made a batch feel so special and nutty—it’s a subtle change but worth experimenting with!
Serving & Storage Suggestions
This Moist Pink Velvet Layered Cake is best served at room temperature to let the cream cheese buttercream shine. I like to slice it up for brunch or afternoon tea, paired with fresh berries or a cup of lightly brewed coffee.
For storage, wrap the cake loosely with plastic wrap or place it in an airtight container and refrigerate. It keeps well for up to 4 days, though bringing it back to room temperature before serving really helps the frosting regain its creamy texture.
If you want to freeze it, slice the cake first and wrap individual pieces tightly in plastic wrap, then foil. Frozen slices thaw best overnight in the fridge.
Flavors tend to deepen after a day, so leftovers are often tastier the next day—if they last that long! For a little extra indulgence, serve with a dollop of whipped cream or alongside a strawberry açaí refresher to brighten the palate.
Nutritional Information & Benefits
Per slice (assuming 12 slices): approximately 350 calories, 18g fat, 42g carbohydrates, 3g protein.
This cake combines the comfort of traditional baking with a touch of tang from cream cheese, which adds a bit of protein and calcium. Using buttermilk improves digestibility for some compared to regular milk. While indulgent, it’s a dessert that can fit into a balanced diet when enjoyed in moderation.
If you prefer a lighter frosting, try reducing the powdered sugar slightly or swapping half the butter for Greek yogurt, which adds creaminess and cuts calories.
Keep in mind, this recipe contains dairy, gluten, and eggs, so it’s not suitable for those with allergies to these ingredients.
Conclusion
This Moist Pink Velvet Layered Cake with Cream Cheese Buttercream has quietly become a favorite for good reasons: it’s simple, moist, and beautifully tender with a frosting that strikes just the right balance between sweet and tangy. It’s the kind of cake that suits celebrations and quiet moments alike—making any day feel a bit more special.
Feel free to make it your own by trying the variations, adjusting sweetness, or even pairing it with a different frosting for a personal twist. I love how this cake brings a little color and joy without too much fuss, and I hope it finds a spot in your baking repertoire too.
When you give this recipe a try, I’d love to hear how it turned out or what changes you made. Sharing those moments keeps the magic going—and who doesn’t want a reason to bake more cake?
FAQs
- Can I make this cake gluten-free?
Yes! Substitute all-purpose flour with a gluten-free blend like Bob’s Red Mill 1:1. You may want to add an extra egg for structure and monitor baking time closely. - How do I store leftover cake?
Keep it in an airtight container in the refrigerator for up to 4 days. Bring to room temperature before serving for the best texture. - Can I use red food coloring instead of pink?
Absolutely! This recipe can easily become a classic red velvet by using red gel food coloring instead of pink. - Is there a dairy-free version of the cream cheese frosting?
Yes. Use dairy-free cream cheese and a plant-based butter substitute. Coconut yogurt can replace buttermilk in the cake. - What if I don’t have buttermilk?
Mix 1 cup of milk with 1 tablespoon of lemon juice or white vinegar and let it sit for 5 minutes. This homemade buttermilk substitute works well in the recipe.
Pin This Recipe!
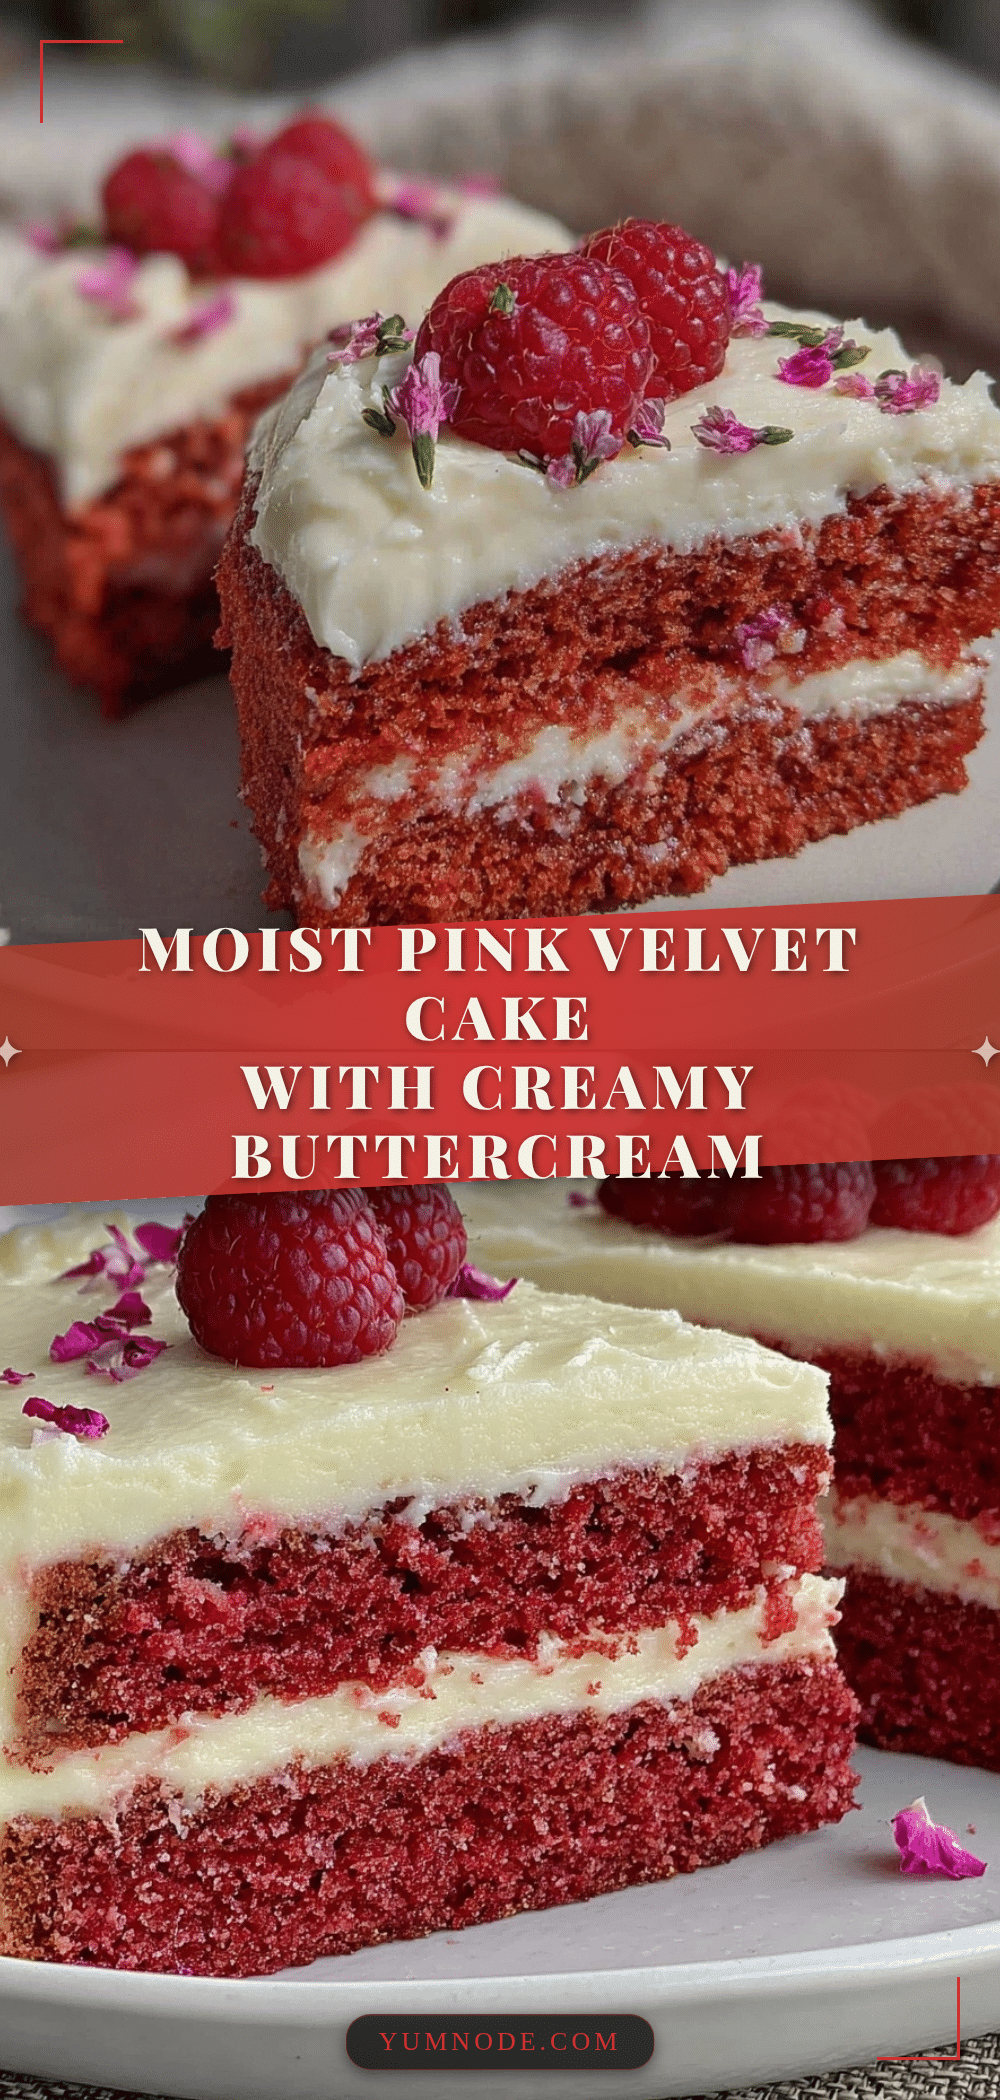
Moist Pink Velvet Layered Cake Recipe with Easy Cream Cheese Buttercream
A tender, moist pink velvet cake with a subtle cocoa hint, layered with smooth and tangy cream cheese buttercream. Perfect for celebrations or casual treats.
- Prep Time: 20 minutes
- Cook Time: 30 minutes
- Total Time: 1 hour 50 minutes
- Yield: 12 servings 1x
- Category: Dessert
- Cuisine: American
Ingredients
- 2 ½ cups (320g) all-purpose flour
- 1 ¾ cups (350g) granulated sugar
- 1 tablespoon unsweetened cocoa powder
- 1 teaspoon baking soda
- ½ teaspoon salt
- 1 cup (240ml) buttermilk, room temperature
- ¾ cup (180ml) vegetable oil (canola oil preferred)
- 3 large eggs, room temperature
- 2 teaspoons vanilla extract
- 1 tablespoon white vinegar
- 1 teaspoon pink gel food coloring
- 8 oz (226g) cream cheese, softened
- ½ cup (115g) unsalted butter, softened
- 4 cups (480g) powdered sugar, sifted
- 1 ½ teaspoons vanilla extract
- Pinch of salt
Instructions
- Preheat oven to 350°F (175°C). Grease two 8-inch round cake pans with butter or non-stick spray, then lightly dust with flour or line with parchment paper.
- In a large bowl, sift together flour, sugar, cocoa powder, baking soda, and salt.
- In a separate bowl, whisk together buttermilk, vegetable oil, eggs, vanilla extract, white vinegar, and pink gel food coloring until smooth.
- Slowly add the wet mixture into the dry ingredients, stirring gently until just combined. Avoid overmixing.
- Divide batter evenly between prepared pans. Tap pans gently to release air bubbles.
- Bake for 28-32 minutes or until a toothpick inserted in the center comes out clean.
- Cool cakes in pans for 10 minutes, then turn out onto wire racks to cool completely.
- Beat cream cheese and butter together on medium speed until smooth and creamy, about 2-3 minutes.
- Gradually add powdered sugar on low speed, then increase speed until fluffy. Add vanilla extract and salt, beat until combined.
- Place one cake layer on serving plate. Spread one-third of frosting evenly on top.
- Place second cake layer on top and frost top and sides with remaining buttercream.
- Chill cake for 20 minutes and optionally apply a second thin crumb coat layer for a neat finish.
Notes
Use room temperature ingredients for best texture. Sift dry ingredients to avoid lumps. Gel food coloring provides vibrant color without extra liquid. Chill cake between crumb coating and final frosting for clean edges. If batter is too thick, add a tablespoon of extra buttermilk.
Nutrition
- Serving Size: 1 slice (1/12 of cak
- Calories: 350
- Fat: 18
- Carbohydrates: 42
- Protein: 3
Keywords: pink velvet cake, cream cheese buttercream, layered cake, moist cake, easy cake recipe, birthday cake, pink cake