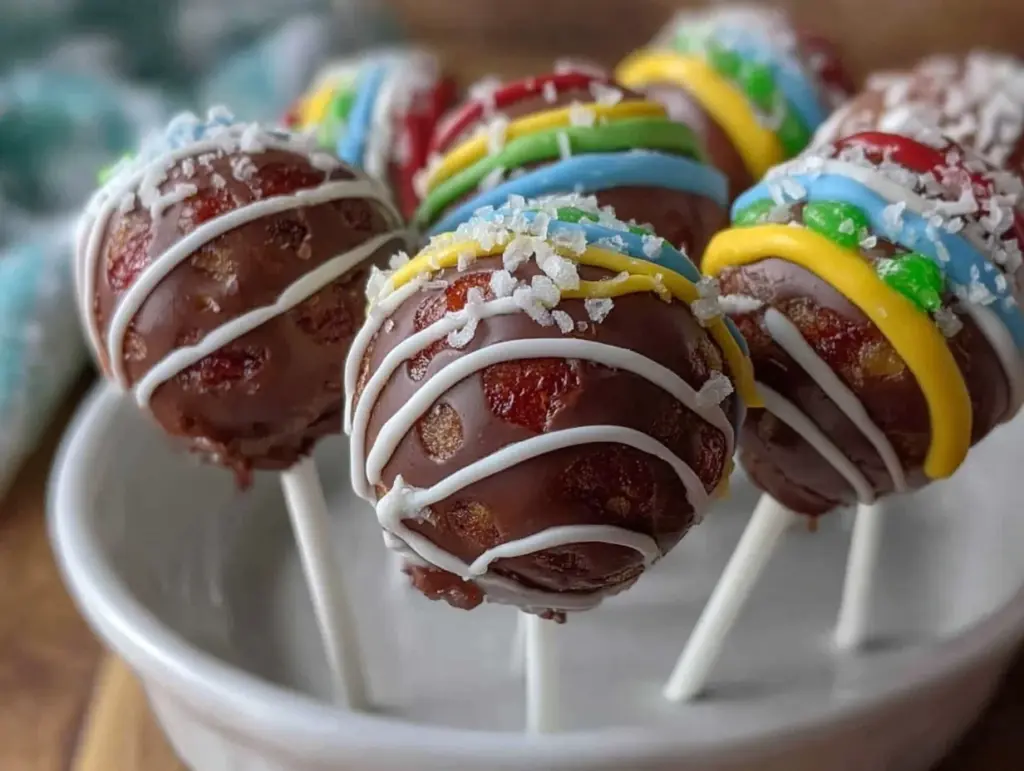
“You’ve got to see these cake pops—they look like little beach balls!” my friend exclaimed during our last summer get-together. Honestly, I was skeptical at first. Cake pops? In the shape of beach balls, with all those bright colors? It sounded like a lot of work for a simple party treat. But then I saw the vibrant spheres rolling around on the platter, each one a tiny masterpiece of colorful frosting and fun. The texture was moist, the flavor was sweet but balanced, and honestly, they brought a splash of joy to the whole table.
I first whipped up these Perfect Beach Ball Cake Pops during a last-minute backyard party. The heat was relentless, the kids were bouncing off the walls, and I needed something quick, cheerful, and mess-free. What started as a half-joke turned into an obsession for the whole week—I found myself making these little delights again and again. The way the colors blend, the crisp chocolate coating, the perfect bite-sized shape—it all just clicked.
What stuck with me was how these cake pops manage to be playful and elegant at the same time. They’re not just another dessert; they’re a conversation starter, a mood booster, a way to bring everyone together around something sweet and simple. That’s why I keep coming back to this recipe, even when I’m not throwing a party. It’s a little reminder that fun can be edible, and that the best treats are the ones that make you smile before you even take a bite.
Why You’ll Love This Recipe
After testing this recipe multiple times (really, I might have overdone it a little), I can confidently say these Perfect Beach Ball Cake Pops are a winner for so many reasons:
- Quick & Easy: You can get these ready in under 90 minutes, which is ideal when you’re juggling party prep or craving a colorful treat fast.
- Simple Ingredients: No need for obscure baking supplies—just basic pantry staples and a few food colorings, which you probably already have.
- Perfect for Summer Parties: Whether it’s a birthday bash, poolside hangout, or a casual cookout, these pops bring the festive beach vibe to any gathering.
- Crowd-Pleaser: Both kids and adults can’t get enough of them. The bite-sized fun and sweet flavors make them irresistible.
- Unbelievably Delicious: The moist cake center paired with the crisp candy coating creates a texture combo that’s just right—never dry, never too sweet.
This recipe stands apart because of the way the colors are applied—using a simple yet clever painting technique that gives each pop a perfect beach ball look without the need for fancy tools. Plus, the cake crumb is sturdy enough to hold up on sticks but tender enough to melt in your mouth. Honestly, it’s a balance I hadn’t nailed before trying this method.
More than just a treat, these cake pops are a little burst of sunshine on a stick, and they’ve become my go-to when I want to impress guests without the fuss of complicated decorating. They bring that “wow” factor but keep things fun and approachable. You know that feeling when you take a bite and your brain just does a little happy dance? Yeah, that.
What Ingredients You Will Need
This recipe uses simple, wholesome ingredients to deliver bold flavor and satisfying texture without the fuss. Most of these are pantry staples, and you can easily swap a few for dietary preferences or availability.
- For the Cake Base:
- 1 box yellow cake mix (about 15.25 oz / 432 g) – I recommend Betty Crocker for consistent moistness
- 3 large eggs, room temperature
- 1/2 cup vegetable oil (120 ml)
- 1 cup water (240 ml)
- For the Frosting Mix-In:
- 1/2 cup unsalted butter, softened (113 g) – adds richness
- 1 1/2 cups powdered sugar (180 g)
- 2 tablespoons milk (30 ml) – use dairy-free milk if needed
- 1 teaspoon vanilla extract
- For Decorating:
- White candy melts or white chocolate wafers (about 12 oz / 340 g)
- Food coloring gels in red, blue, yellow, and green – gel colors work best for vibrant hues
- Clear cake pop sticks (about 12 pieces)
- Optional: Edible shimmer dust for a subtle shine
If you want to try a gluten-free version, swap the cake mix for your favorite gluten-free yellow cake mix—just check the baking instructions. For a vegan twist, use flax eggs instead of regular eggs and dairy-free butter and milk options. I’ve done both with good success.
Equipment Needed
- Cake pop stand or Styrofoam block – to hold pops upright while drying
- Large mixing bowls – for mixing cake and frosting
- Electric mixer or stand mixer – makes frosting mixing a breeze
- Baking pan, preferably 9×13 inches (23×33 cm) – for baking the cake evenly
- Microwave-safe bowls – for melting candy melts
- Small paintbrushes or food-safe brushes – essential for painting the colors
- Measuring cups and spoons
- Spatula and spoon for mixing and folding
If you don’t have a cake pop stand, no worries! A sturdy piece of Styrofoam or even a deep bowl filled with rice or sugar works just fine to keep your pops upright while the coating sets. For melting candy melts, I prefer a microwave method with short bursts of 15 seconds to avoid burning. Also, investing in a couple of food-safe brushes is worth it—they make the decorating so much easier and precise.
Preparation Method
- Prepare the Cake: Preheat your oven to 350°F (175°C). Grease and flour a 9×13-inch (23×33 cm) baking pan. In a large bowl, combine the yellow cake mix, eggs, vegetable oil, and water. Mix with an electric mixer on medium speed for 2 minutes until smooth. Pour the batter into the pan and bake for 30-35 minutes, or until a toothpick inserted comes out clean. Let the cake cool completely (about 1 hour) before proceeding.
- Crumble the Cake: Once cooled, crumble the cake into a large bowl using your hands or a fork. The texture should be fine but not powdery—if there are large chunks, break them down gently.
- Make the Frosting: In a separate bowl, beat softened butter until creamy. Gradually add powdered sugar, milk, and vanilla extract, beating until smooth and fluffy. You want the frosting to be thick enough to hold the cake crumbs together but still easy to mix.
- Combine Cake and Frosting: Add the frosting to the crumbled cake gradually, mixing with a spatula or your hands. Start with about half the frosting, then add more as needed until the mixture is moist enough to hold its shape when rolled into a ball (like cookie dough). Avoid making it too wet.
- Shape the Cake Pops: Roll the mixture into 1 1/4-inch (3 cm) balls. Place them on a parchment-lined baking sheet and chill in the refrigerator for at least 1 hour (or 15 minutes in the freezer) to firm up.
- Insert Sticks and Coat: Melt white candy melts in a microwave-safe bowl in 15-second intervals, stirring in between, until smooth. Dip the tip of each cake pop stick into the melted candy, then insert it halfway into each cake ball. This acts as glue. Return to the fridge for 15 minutes to set.
- Coat the Cake Pops: Dip each cake pop into the melted candy, covering completely. Let excess drip off before standing them upright in your cake pop stand or Styrofoam. Allow to set completely at room temperature or in the fridge.
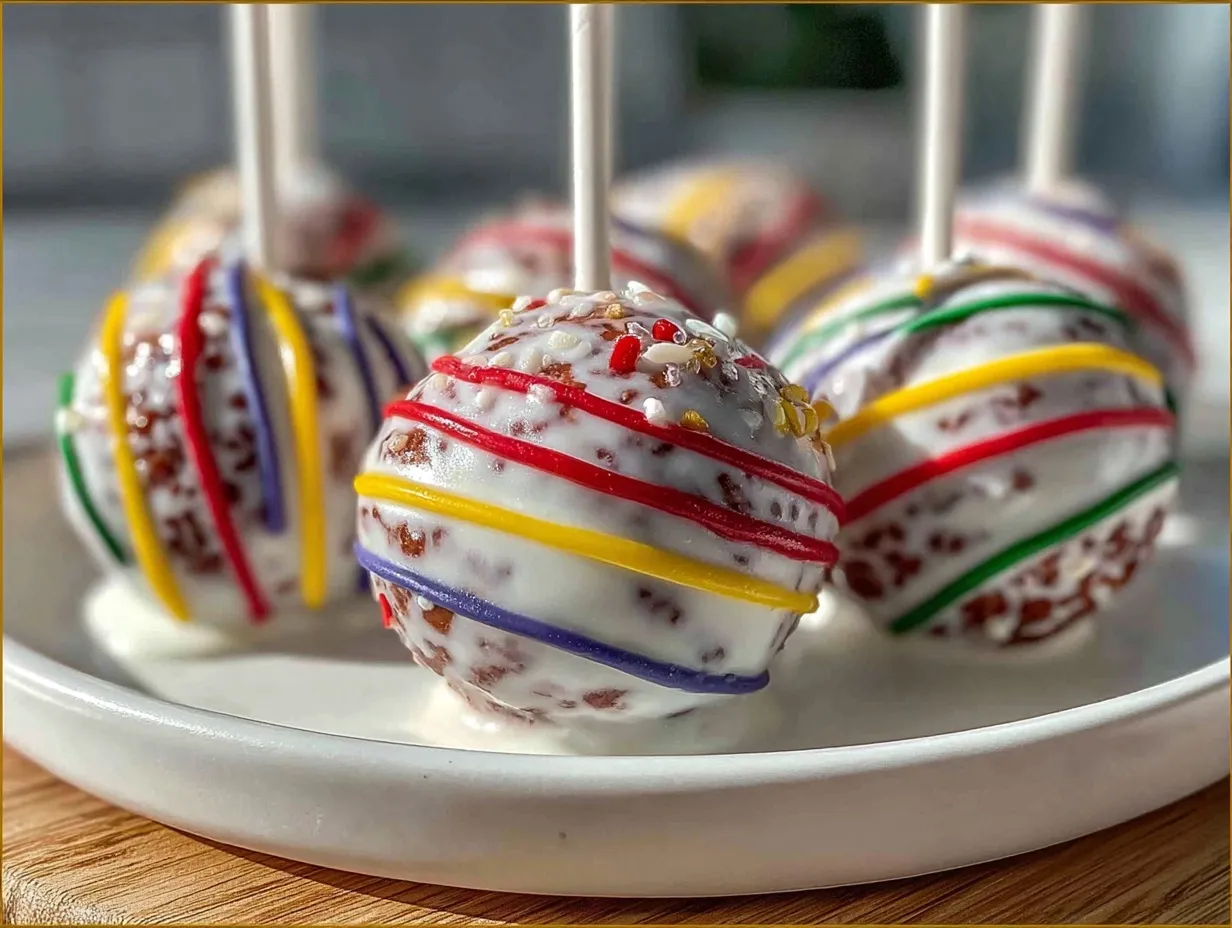
- Paint the Beach Ball Design: Divide remaining white candy melts into small bowls and tint each with food coloring gels to create bright red, blue, yellow, and green colors. Using small brushes, paint alternating colored panels on each cake pop to mimic a beach ball pattern. Let dry fully before serving.
Pro tip: When dipping, keep your candy melts warm but not hot, or they’ll crack when hardened. The painting step can be a little delicate—go slow and keep a damp cloth handy to clean brushes between colors. If a color doesn’t quite cover, add another thin layer once dry.
Cooking Tips & Techniques
Getting cake pops just right takes a bit of patience, but here’s what I’ve learned after making dozens:
- Don’t Overmix Cake and Frosting: It’s tempting to add all the frosting at once, but too much makes the pops mushy and prone to falling apart. Add gradually and test by rolling.
- Chill Thoroughly: Skipping the chilling step is a rookie mistake. Firm cake balls hold their shape better and dip smoothly into candy coating without crumbling.
- Use Gel Food Coloring: Liquid colors can thin your candy melts, causing streaks and uneven drying. Gel colors give bright, vibrant hues without altering consistency.
- Work in Small Batches: Especially when painting the beach ball panels, small batches let you keep candy melts at ideal temperature and prevent hardening mid-paint.
- Store Properly: These cake pops can be made a day ahead. Store in an airtight container in the fridge to keep them fresh and colorful.
One thing I learned the hard way: don’t skip the step of dipping the stick tip in candy before inserting it. Without that “glue,” the pops tend to slide off the sticks when dipped. Also, if you want to impress, try pairing these pops with a refreshing drink like the Starbucks Strawberry A.C.A.I Refresher—it’s a match made in summer party heaven.
Variations & Adaptations
Feel free to make these Perfect Beach Ball Cake Pops your own by trying out a few fun twists:
- Flavor Swaps: Use chocolate cake mix instead of yellow for a richer pop, or even spice cake for a warm flavor. I once made a batch with lemon cake and it was surprisingly refreshing!
- Color Themes: For a different party vibe, swap the beach ball colors for pastel shades for a baby shower or metallic hues for a more elegant event. White chocolate coating handles most food colorings well.
- Allergen-Friendly: Replace regular cake mix with gluten-free options, and use dairy-free butter and milk alternatives to cater to dietary needs. You can also swap candy melts for vegan chocolate coatings.
- Alternative Shapes: While beach balls are fun, these cake pops work beautifully in other shapes too—think watermelon slices for summer or pumpkin shapes in fall (similar to the soft funfetti cake batter cookies I baked last year).
- Decorative Extras: Add edible glitter or tiny sugar pearls for extra sparkle. I’ve found that a light dust of edible shimmer dust gives a subtle beachy glow that guests love.
Serving & Storage Suggestions
These cake pops are best served at room temperature to enjoy the candy coating’s crispness and the soft cake inside. Arrange them upright on a festive platter or in a decorative holder to showcase those colorful panels.
They pair wonderfully with light, fruity beverages or a rich iced coffee; in fact, they’re a sweet companion to the creamy Key Lime Pie Bars for a summery dessert spread.
Store leftovers in an airtight container in the refrigerator for up to 3 days. When ready to serve again, bring them to room temperature for about 30 minutes—this helps soften the cake and revives the candy shell’s crispness. For longer storage, freeze them in a single layer wrapped in plastic wrap for up to 2 weeks. Thaw overnight in the fridge before enjoying.
One of the nicest things is how the flavors mellow and blend a bit after a day, making the cake pops even more harmonious in taste. Just don’t forget to keep them covered so the candy coating doesn’t pick up fridge odors.
Nutritional Information & Benefits
Each Perfect Beach Ball Cake Pop contains approximately:
| Calories | Fat | Carbohydrates | Protein | Sugar |
|---|---|---|---|---|
| 150 kcal | 7 g | 22 g | 1.5 g | 18 g |
While these cake pops are definitely a treat, they bring a bit of joy and color that’s hard to measure in calories. The key is moderation and savoring each bite. Using real butter and quality ingredients gives a richer flavor without artificial aftertastes. For those mindful of allergens, this recipe is flexible for gluten-free and dairy-free substitutions.
From a wellness perspective, making treats like this at home means you control the ingredients—no mystery additives or preservatives. Plus, sharing these colorful bites adds a social and emotional boost, which is just as important for feeling good.
Conclusion
Perfect Beach Ball Cake Pops are more than just cute party treats—they’re a little celebration on a stick. Whether you’re feeding a crowd or just want a fun baking project, this recipe hits the sweet spot between ease, flavor, and visual wow.
Don’t hesitate to tweak the colors, flavors, or shapes to match your event or mood. I love these pops because they bring out the kid in me and the hostess in me all at once—bright, cheerful, and always ready for a smile.
Give this recipe a try and see which color combinations speak to you. And hey, if you try painting your own beach balls or experiment with flavors, drop a comment below—I’d love to hear how your colorful party treats turned out. Here’s to making every celebration a little sweeter and a lot more fun!
FAQs About Perfect Beach Ball Cake Pops
How long do cake pops stay fresh?
Stored in an airtight container in the fridge, cake pops stay fresh for up to 3 days. For longer storage, freeze them up to 2 weeks.
Can I make cake pops without candy melts?
Yes, you can use white chocolate or other melting chocolates, but candy melts are preferred for their smooth finish and easy coloring.
What’s the best way to prevent cake pops from falling off the sticks?
Dipping the stick tip in melted candy before inserting into the cake ball helps “glue” them together securely.
Can I use homemade cake instead of a box mix?
Absolutely! Just make sure your cake is moist but firm enough to crumble and hold with frosting.
How do I get the vibrant colors on the cake pops?
Use gel food colorings mixed into white candy melts, and paint with small food-safe brushes for crisp, bright panels.
Pin This Recipe!
Perfect Beach Ball Cake Pops

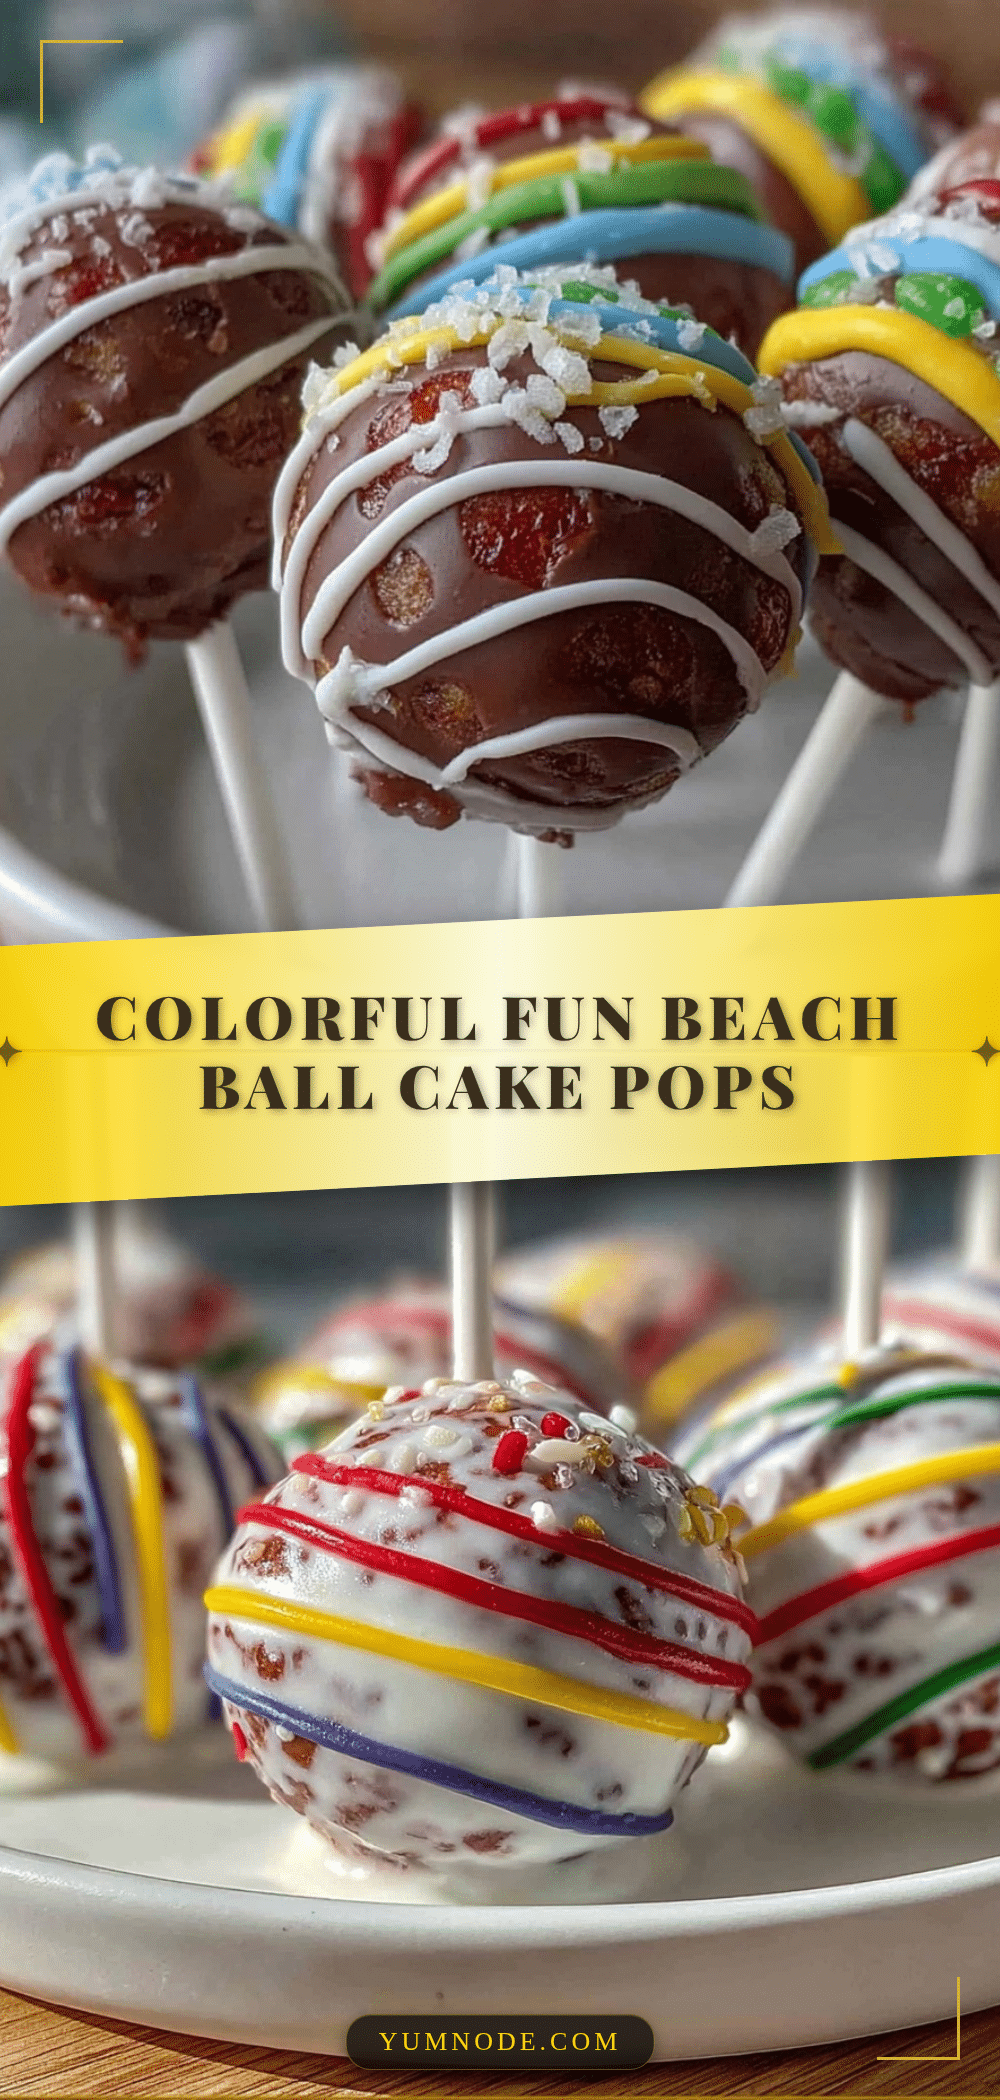
These colorful and playful cake pops look like little beach balls, perfect for summer parties and quick treats. They feature a moist cake center with a crisp candy coating and vibrant painted designs.
- Prep Time: 20 minutes
- Cook Time: 35 minutes
- Total Time: 1 hour 55 minutes
- Yield: 12 cake pops 1x
- Category: Dessert
- Cuisine: American
Ingredients
- 1 box yellow cake mix (about 15.25 oz / 432 g)
- 3 large eggs, room temperature
- 1/2 cup vegetable oil (120 ml)
- 1 cup water (240 ml)
- 1/2 cup unsalted butter, softened (113 g)
- 1 1/2 cups powdered sugar (180 g)
- 2 tablespoons milk (30 ml)
- 1 teaspoon vanilla extract
- White candy melts or white chocolate wafers (about 12 oz / 340 g)
- Food coloring gels in red, blue, yellow, and green
- Clear cake pop sticks (about 12 pieces)
- Optional: Edible shimmer dust
Instructions
- Preheat oven to 350°F (175°C). Grease and flour a 9×13-inch baking pan.
- In a large bowl, combine yellow cake mix, eggs, vegetable oil, and water. Mix on medium speed for 2 minutes until smooth.
- Pour batter into pan and bake for 30-35 minutes or until a toothpick inserted comes out clean. Let cake cool completely (about 1 hour).
- Crumble cooled cake into a large bowl, breaking down large chunks gently.
- In a separate bowl, beat softened butter until creamy. Gradually add powdered sugar, milk, and vanilla extract, beating until smooth and fluffy.
- Add frosting gradually to crumbled cake, mixing until moist enough to hold shape when rolled into balls.
- Roll mixture into 1 1/4-inch (3 cm) balls. Place on parchment-lined baking sheet and chill for at least 1 hour or 15 minutes in freezer.
- Melt white candy melts in microwave-safe bowl in 15-second intervals, stirring between.
- Dip tip of each cake pop stick into melted candy, then insert halfway into each cake ball. Chill for 15 minutes to set.
- Dip each cake pop into melted candy coating, cover completely, and let excess drip off. Stand upright in cake pop stand or Styrofoam to set.
- Divide remaining white candy melts into small bowls and tint with food coloring gels.
- Using small food-safe brushes, paint alternating colored panels on each cake pop to mimic a beach ball pattern. Let dry fully before serving.
Notes
Use gel food coloring for vibrant colors without thinning candy melts. Chill cake balls thoroughly before dipping to prevent crumbling. Dip stick tips in melted candy before inserting to secure cake pops. Work in small batches when painting to keep candy melts warm. Store in airtight container in fridge up to 3 days or freeze up to 2 weeks.
Nutrition
- Serving Size: 1 cake pop
- Calories: 150
- Sugar: 18
- Fat: 7
- Carbohydrates: 22
- Protein: 1.5
Keywords: cake pops, beach ball cake pops, colorful cake pops, party treats, summer desserts, easy cake pops, candy coating, painted cake pops



