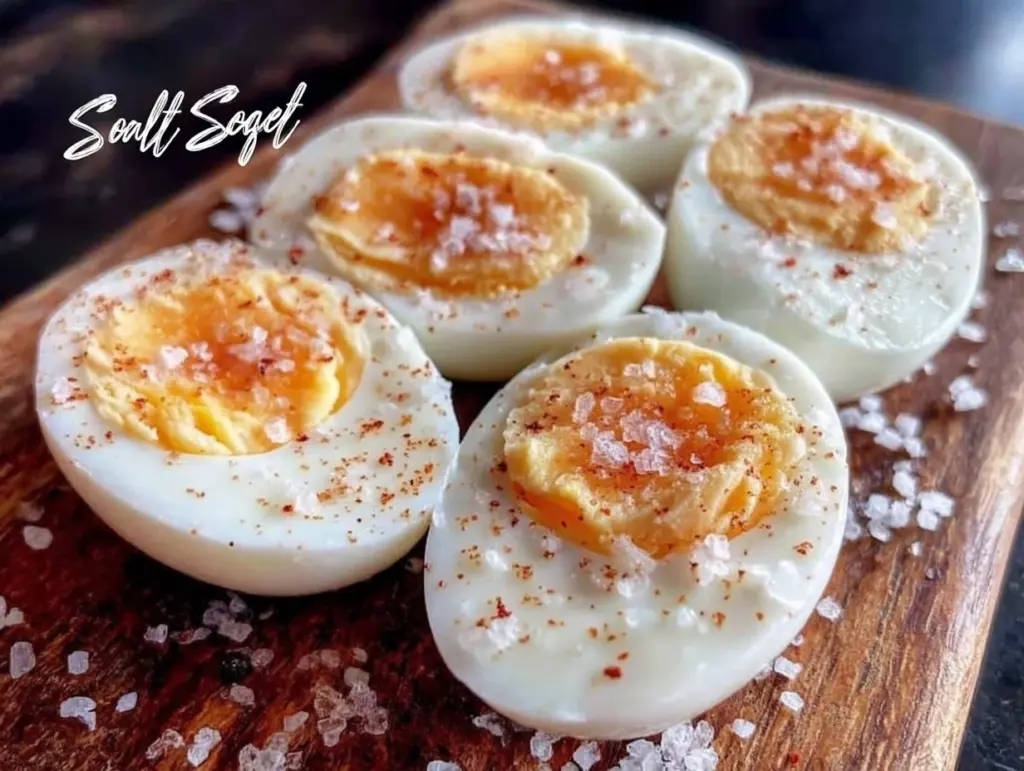
“You really can’t mess this up,” my friend said, waving her phone with a timer app open as I eyed my Ninja Foodi skeptically. Honestly, I wasn’t convinced. Boiling eggs always felt like this weird balancing act—too long and you get that sulfur smell, too short and the yolks are runny in an unappealing way. But one tired evening, juggling dinner prep and a hungry toddler, I gave in and tried the Ninja Foodi hard boiled eggs method she swore by.
The kitchen smelled faintly of steam and something reassuringly familiar as the lid hissed shut. I peeked after the recommended time, half expecting to find disaster. Instead? Perfectly cooked eggs with shells that practically slid off in one smooth motion. I was surprised, honestly. The timing was so precise, the texture just right, and cleanup? A breeze compared to my usual pot-on-the-stove chaos.
Since then, I’ve made these eggs a handful of times in a week (no exaggeration), tweaking and perfecting the process until it felt like second nature. It’s become my go-to hack for quick breakfasts, salad toppings, and even a protein-packed snack on busy days. What really sold me was how the Ninja Foodi took the guesswork out—just set it, forget it, and come back to flawless eggs. No more fiddling with water levels or timers.
There’s a quiet comfort in knowing this little trick is there, ready to make mornings simpler and meals just a bit better. If you’ve got a Ninja Foodi sitting on your counter, this recipe might just become your new best friend, too.
Why You’ll Love This Recipe
Having tested countless egg-cooking methods, this Ninja Foodi hard boiled eggs recipe stands out for a few solid reasons. Here’s why it’s earned a permanent spot in my kitchen routine:
- Quick & Easy: You can have perfectly cooked eggs in about 12 minutes total—ideal when mornings are hectic or you need a last-minute protein boost.
- Simple Ingredients: Just eggs and water—no fancy additions, no special seasoning needed.
- Perfect for Meal Prep: Great for prepping ahead of the week, whether for breakfasts, salads, or snacks.
- Crowd-Pleaser: The texture is just right, never rubbery or chalky, which means kids and adults alike keep asking for more.
- Consistent Results: The Ninja Foodi’s pressure cooking ensures uniform cooking every time—no more cracked shells or uneven yolks.
This isn’t just another hard boiled eggs recipe floating around. The pressure cooking method gently cooks the eggs, locking in moisture and flavor while making peeling a total breeze. Plus, it frees up your stove for other dishes—like when I’m whipping up a batch of cozy pumpkin spice bread with cream cheese swirl for a breakfast gathering.
Honestly, this recipe feels like the perfect blend of efficiency and comfort. It’s the kind of thing that quietly makes your kitchen life better without any fuss.
What Ingredients You Will Need
This recipe relies on simple, everyday ingredients that most kitchens already have. The beauty is in the simplicity—just quality eggs and a bit of water to create the perfect steaming environment inside your Ninja Foodi.
- Large eggs (preferably fresh but not too fresh—eggs about a week old peel easier)
- Water (1 cup/240 ml; used to create steam inside the Ninja Foodi)
That’s really it. No salt, no vinegar, nothing extra needed for perfect results. If you want to experiment, you might try organic or free-range eggs for a slightly different flavor profile, but any large eggs will do just fine.
For peeling ease, I recommend using eggs that aren’t super fresh. I learned this the hard way when my first batch was a nightmare to peel. After a few tries, I realized that eggs around a week old tend to slide out of their shells much more cleanly.
If you want to add a little twist, you can prepare a simple seasoning mix for serving—everything seasoning, smoked paprika, or a dash of black pepper works wonders. But the recipe itself keeps things straightforward so you can focus on that perfect boil every time.
Equipment Needed
- Ninja Foodi: This is the star of the show, combining pressure cooking and steaming functions that make hard boiled eggs foolproof.
- Steamer rack or basket: To keep the eggs above the water level inside the Foodi. Most Ninja Foodi models come with a rack, but if not, any heatproof steamer basket that fits will work.
- Measuring cup: For precise water measurement, since the amount of water affects the steam pressure.
- Bowl with ice water: For shocking the eggs after cooking to stop the cooking process and make peeling easier.
Personally, I’ve tried using different racks and baskets. The Ninja Foodi’s original rack fits perfectly and makes life easier, but I’ve also used a silicone steamer basket when I didn’t have the rack handy. Just make sure whatever you use keeps the eggs off the water.
Cleaning the Ninja Foodi is a breeze, especially compared to pots boiling on the stove. Just a quick wipe-down and the rack rinsed off, and you’re good to go.
Preparation Method
- Prepare your Ninja Foodi: Place the steamer rack inside the pot.
- Add water: Pour 1 cup (240 ml) of water into the bottom of the pot. This will create the steam needed to cook the eggs evenly.
- Arrange the eggs: Place your eggs (6-12 large eggs) on the rack in a single layer. Avoid stacking to ensure even cooking.
- Seal the lid: Close the Ninja Foodi lid and set the valve to the “Seal” position.
- Pressure cook: Select the Pressure Cook/Manual setting on high pressure and set the timer for 5 minutes.
- Natural release: When the timer goes off, let the pressure release naturally for 5 minutes. This gentle finish helps avoid overcooked yolks.
- Quick release and ice bath: Carefully switch the valve to “Vent” to release remaining pressure. Open the lid and immediately transfer eggs to a bowl of ice water to stop cooking. Let them chill for at least 5 minutes.
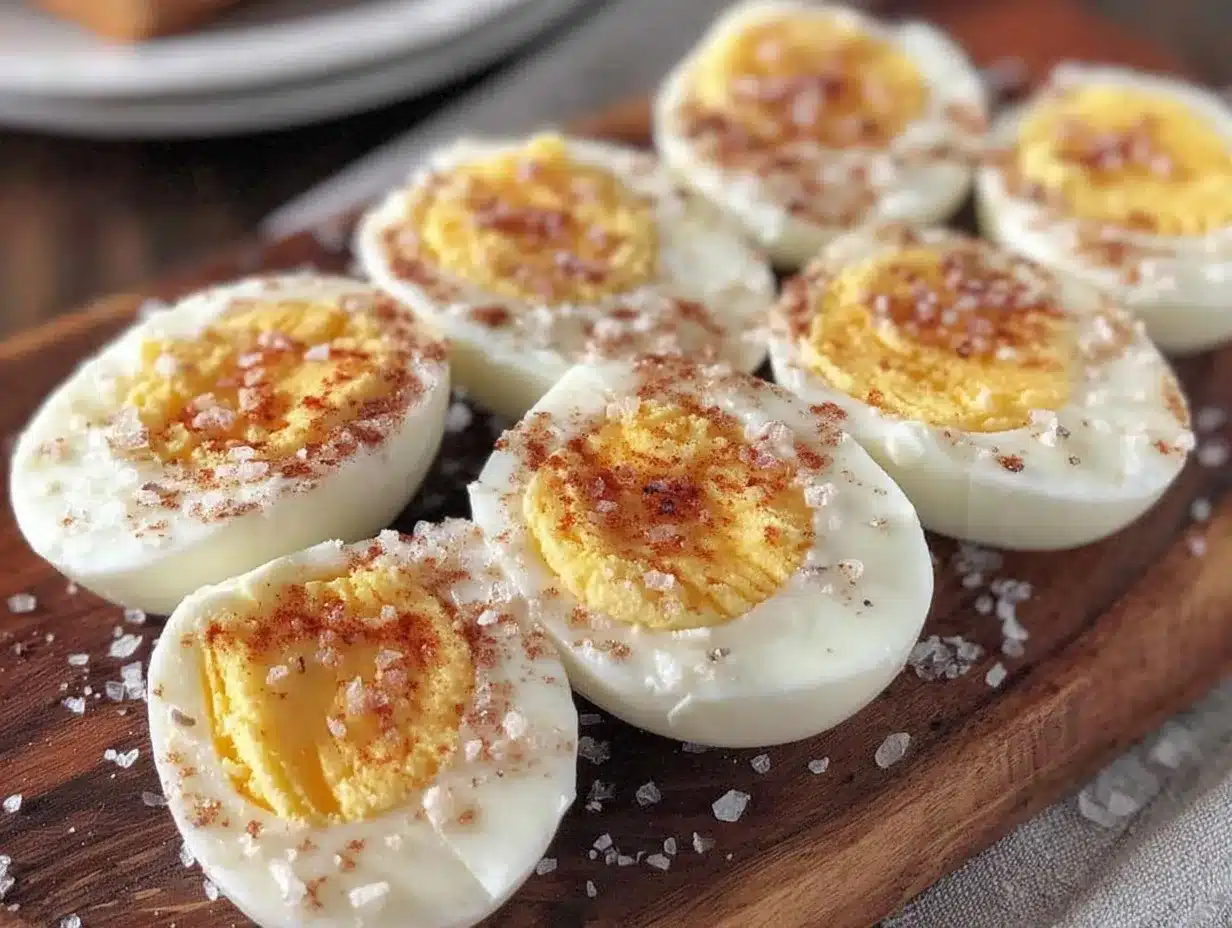
- Peel and enjoy: Gently tap eggs on a hard surface and roll to crack the shell, then peel. The shells should come off easily.
Tips: If you find the yolks are just a tad too soft or a little too firm, adjust cooking time by 30 seconds increments next time. Also, if you’re cooking fewer eggs, keep the water amount the same for steady steam pressure.
This process takes about 12-15 minutes total, including chilling. It’s perfect for making ahead or whipping up a quick snack.
Cooking Tips & Techniques
One thing I learned the hard way: not all eggs are created equal when it comes to peeling. Fresh eggs can be a pain to peel because the membrane clings tightly to the shell. Letting eggs sit in the fridge for a few days before cooking helps tremendously.
Using the Ninja Foodi’s pressure cook function is a game changer. The steam environment cooks the eggs evenly, so you avoid those weird gray rings around yolks that happen with boiling.
Don’t skip the ice bath. It shocks the eggs and makes peeling smooth like butter. I’ve burned my fingers on hot eggs when I tried skipping this step—lesson learned!
Keep the eggs in a single layer on the rack to make sure each one cooks uniformly. Overcrowding can lead to uneven results.
When releasing pressure, natural release is your friend here. It prevents sudden temperature drops that can crack shells prematurely.
If you want to multitask, start your eggs first, then prep veggies or sauces while they cook and chill. It’s a surprisingly efficient way to maximize kitchen time.
Variations & Adaptations
Though this recipe is all about simplicity, you can tweak it a bit depending on your needs:
- Soft boiled eggs: Reduce pressure cooking time to 3-4 minutes, followed by a 5-minute natural release. Perfect for runny yolks.
- Seasoned eggs: After peeling, sprinkle with smoked paprika, everything bagel seasoning, or a pinch of chili powder for a flavor boost.
- Allergen-friendly variations: This recipe is naturally free from common allergens like gluten and dairy, making it a safe choice for many diets.
- Using alternative pressure cookers: While this guide is Ninja Foodi-specific, similar Instant Pot models work too. Just adjust the rack and water accordingly.
- Meal prep combos: Pair with a quick salad or some crispy bacon wrapped dates stuffed with goat cheese for a savory snack or light meal.
I once made a batch and tossed them into a fresh strawberry spinach salad with creamy poppyseed dressing—a surprisingly fresh and satisfying combo that balanced richness and brightness perfectly.
Serving & Storage Suggestions
Perfectly cooked Ninja Foodi hard boiled eggs shine when served slightly chilled or at room temperature. They’re great sliced over greens, halved with a sprinkle of sea salt, or chopped up for a quick egg salad.
For storage, keep peeled or unpeeled eggs in an airtight container in the refrigerator for up to one week. I like to peel just what I need to keep the rest fresh longer.
Reheating? Honestly, cold or room-temp eggs are best, but if you want warm eggs, immerse peeled eggs in hot (not boiling) water for a couple of minutes—just enough to take the chill off.
Flavors develop subtly after chilling, especially if you season the eggs post-peel. This makes them great for make-ahead snack trays or packed lunches.
Nutritional Information & Benefits
Hard boiled eggs are a powerhouse of nutrition, offering:
- About 70 calories per large egg
- 6 grams of high-quality protein, essential for muscle repair and satiety
- Rich in vitamins B12, D, and minerals like selenium and choline, supporting brain and immune health
- Low in carbs, suitable for low-carb or keto diets
Eggs are naturally gluten-free and dairy-free, making this recipe friendly for many dietary restrictions. I appreciate that they provide sustained energy without added sugars or fillers.
Conclusion
Making perfect hard boiled eggs with the Ninja Foodi is honestly one of those kitchen wins that feels small but makes a big difference day-to-day. The ease, consistency, and texture keep me coming back, whether it’s for a quick breakfast, a hearty salad topping, or a protein snack on the go.
Feel free to adjust cooking times to match your texture preference or experiment with seasoning to make these eggs your own. I love how this recipe turns a basic ingredient into something reliable and satisfying without any fuss.
If you’ve enjoyed recipes like my cozy pumpkin spice bread with cream cheese swirl or crave simple kitchen hacks, this one’s going to fit right in. Give it a try and share your favorite ways to enjoy your Ninja Foodi hard boiled eggs—I’d love to hear your adaptations!
FAQs About Ninja Foodi Hard Boiled Eggs
How many eggs can I cook at once in the Ninja Foodi?
You can cook up to 12 large eggs in a single batch, as long as they fit in a single layer on the rack without touching the water.
Can I use brown eggs for this recipe?
Absolutely! Brown or white eggs cook the same way in the Ninja Foodi, so use whichever you prefer.
What if my eggs crack during cooking?
Cracks can happen if eggs bump into each other or the sides. Place eggs gently and avoid overcrowding. Also, using room temperature eggs can help reduce cracking.
How do I store leftover hard boiled eggs?
Keep peeled or unpeeled eggs in an airtight container in the fridge for up to one week to maintain freshness.
Can I make deviled eggs using these Ninja Foodi hard boiled eggs?
Yes! These eggs peel easily and have a perfect texture for deviled eggs. You might also enjoy the crispy deviled eggs with bacon recipe for a tasty twist.
Pin This Recipe!
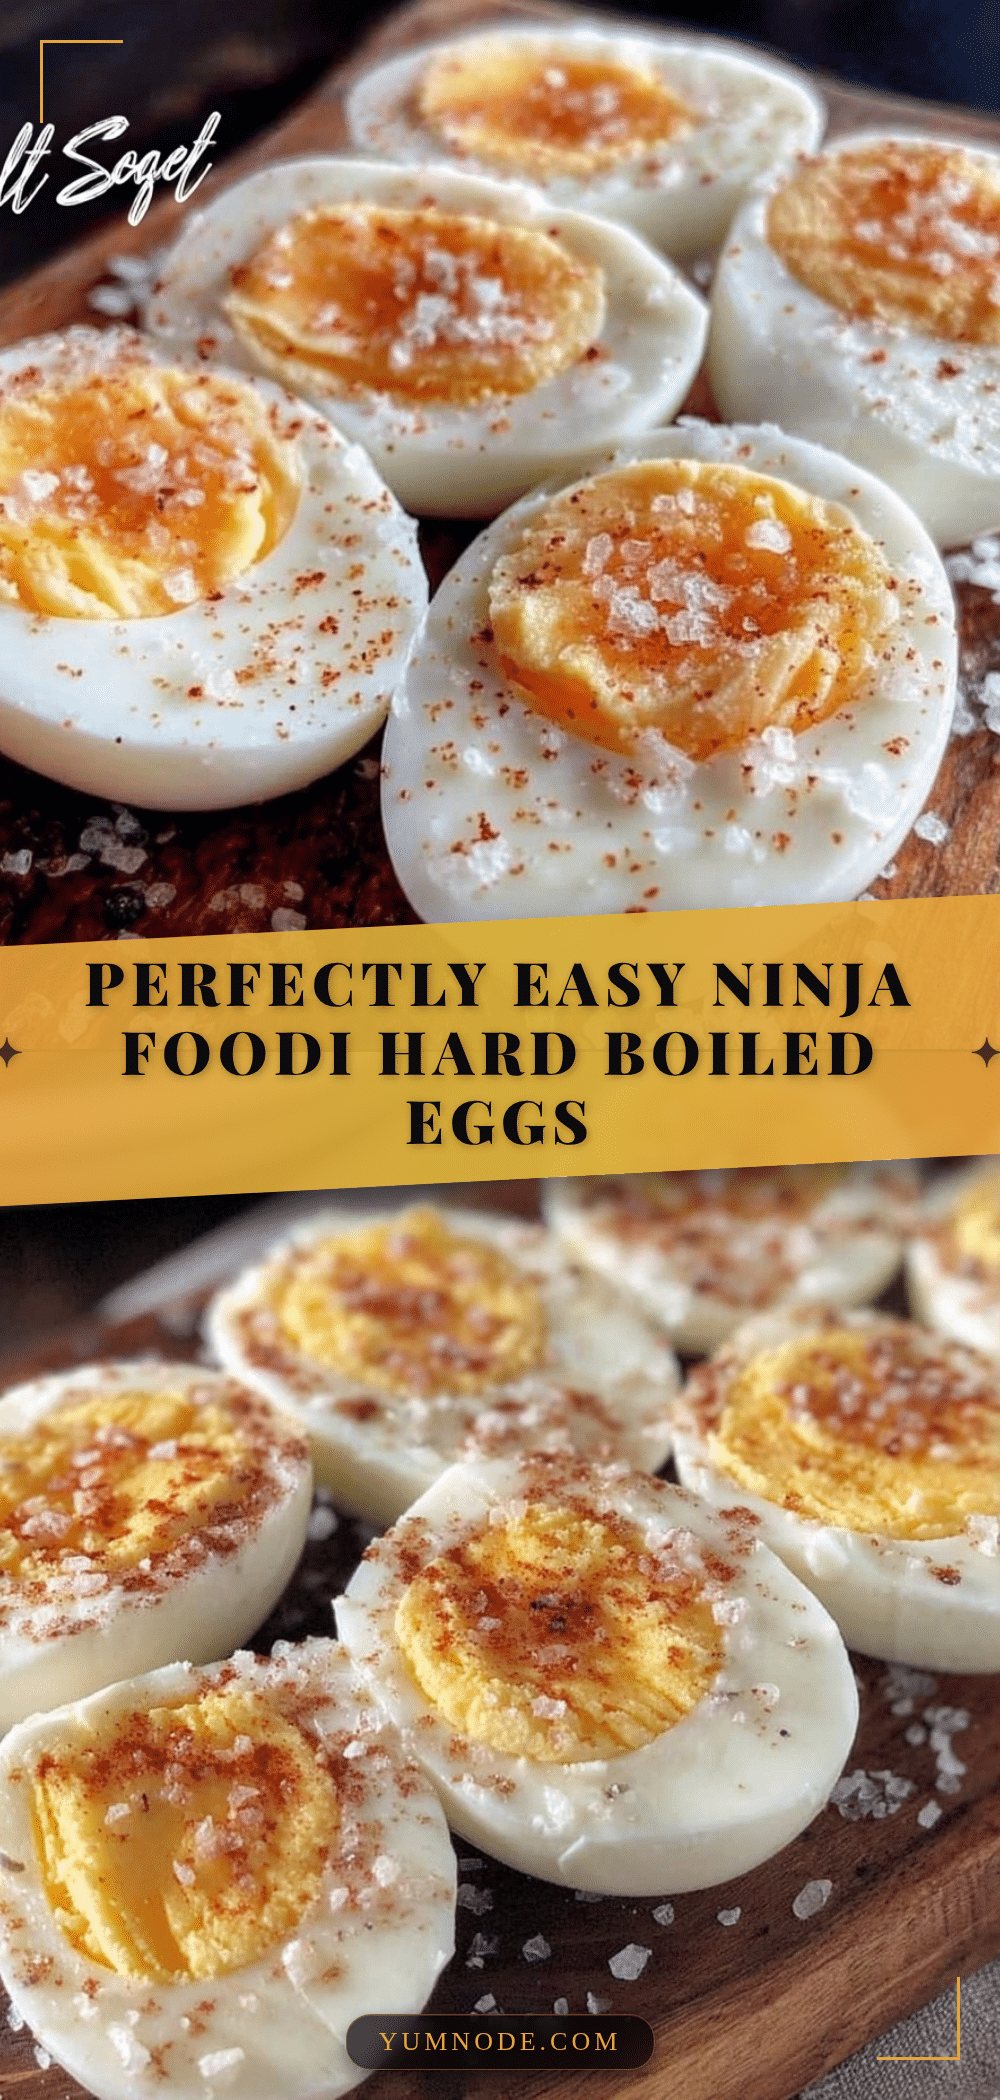
Perfect Ninja Foodi Hard Boiled Eggs Recipe 5 Easy Steps for Flawless Results

This recipe uses the Ninja Foodi pressure cooker to make perfectly cooked hard boiled eggs with easy peeling and consistent results in about 12 minutes total.
- Prep Time: 2 minutes
- Cook Time: 10 minutes
- Total Time: 12-15 minutes
- Yield: 6-12 servings 1x
- Category: Breakfast, Snack
- Cuisine: American
Ingredients
- 6–12 large eggs (preferably about a week old for easier peeling)
- 1 cup (240 ml) water
Instructions
- Place the steamer rack inside the Ninja Foodi pot.
- Pour 1 cup (240 ml) of water into the bottom of the pot to create steam.
- Arrange 6-12 large eggs on the rack in a single layer, avoiding stacking.
- Close the Ninja Foodi lid and set the valve to the ‘Seal’ position.
- Select the Pressure Cook/Manual setting on high pressure and set the timer for 5 minutes.
- When the timer goes off, let the pressure release naturally for 5 minutes.
- Carefully switch the valve to ‘Vent’ to release remaining pressure, open the lid, and immediately transfer eggs to a bowl of ice water to stop cooking. Chill for at least 5 minutes.
- Gently tap eggs on a hard surface, roll to crack the shell, then peel and enjoy.
Notes
Use eggs about a week old for easier peeling. Do not overcrowd eggs on the rack. Use natural pressure release to avoid cracking. Always shock eggs in ice water immediately after cooking to stop cooking and ease peeling. Adjust cooking time by 30-second increments for yolk texture preference.
Nutrition
- Serving Size: 1 large egg
- Calories: 70
- Sugar: 1
- Sodium: 70
- Fat: 5
- Saturated Fat: 1.5
- Carbohydrates: 1
- Protein: 6
Keywords: Ninja Foodi, hard boiled eggs, pressure cooker eggs, easy eggs, meal prep, protein snack, quick breakfast



