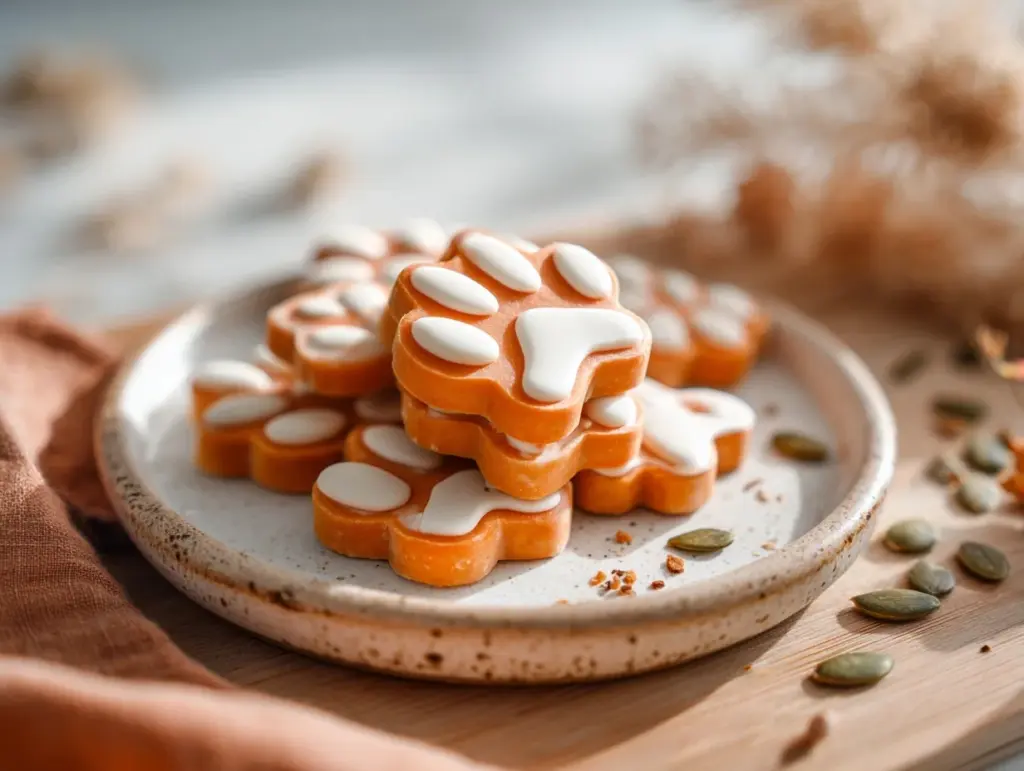
The moment I started making these pumpkin yogurt dog treats, my dog went wild with excitement. The sweet aroma of pumpkin combined with the creamy tang of yogurt is absolutely irresistible—for dogs, of course! These treats are not only a fun way to show your furry friend some love but also packed with wholesome ingredients that are good for them. Trust me, your pup will adore these homemade goodies, and you’ll feel great knowing exactly what’s in them.
I first developed this recipe when my dog had food sensitivities and I struggled to find store-bought treats without questionable additives. After a little experimenting, I created these easy, healthy treats that are budget-friendly and use ingredients I always have on hand. Plus, they’re freezer-friendly, so you can prepare a big batch and have treats ready anytime your pup deserves a little reward (which is all the time, let’s be real).
Whether you’re training your dog, celebrating their birthday, or just treating them “just because,” these pumpkin yogurt dog treats are the perfect way to make their tail wag. Let’s dive in!
Why You’ll Love This Recipe
- Simple Ingredients: All you need are pumpkin, yogurt, and a few extras you probably already have in your pantry.
- Dog-Approved: The flavor combination is a hit with even the pickiest pups.
- Healthy and Wholesome: Packed with fiber, probiotics, and vitamins, these treats are as nutritious as they are delicious.
- Easy to Make: No fancy cooking skills or equipment required—you’ll have these ready in no time.
- Customizable: Tailor the recipe to suit your dog’s dietary needs or preferences.
- Freezer-Friendly: Make a batch, store them in the freezer, and you’ll always have a treat on hand.
What makes this recipe extra special is the combo of pumpkin and yogurt. Pumpkin is a fantastic source of fiber, which supports healthy digestion, and yogurt provides probiotics that are great for your dog’s gut health. Together, these ingredients create a treat that’s not only tasty but also great for your pup’s overall well-being.
What Ingredients You Will Need
This recipe uses simple, dog-safe ingredients that are as nutritious as they are delicious. Here’s what you’ll need:
- Pumpkin puree: Make sure to use pure pumpkin puree, not pumpkin pie filling (which contains spices and sugar that aren’t safe for dogs).
- Plain yogurt: Opt for unsweetened, plain yogurt. Greek yogurt works great, as it’s thick and creamy. (For dogs with dairy sensitivities, you can use a non-dairy alternative like coconut yogurt.)
- Oats: Rolled oats or oat flour work perfectly to add a bit of texture and bind the treats.
- Egg: Acts as a natural binder and adds a little protein.
- Honey (optional): A touch of honey adds sweetness. Skip this if your dog is on a sugar-free diet.
- Cinnamon (optional): Just a pinch for flavor. Ensure it’s pure cinnamon and not a blend with nutmeg, as nutmeg is toxic to dogs.
And that’s it! Just a handful of natural ingredients that you can feel good about giving your pup.
Equipment Needed
- Mixing bowls: One for wet ingredients and one for dry ingredients.
- Silicone molds: Fun-shaped molds make these treats extra special, but a standard ice cube tray works just as well.
- Spoon or spatula: For mixing and scooping the batter.
- Blender or food processor: If you need to turn rolled oats into oat flour.
- Baking sheet: If you’re baking the treats instead of freezing them.
If you’re just getting started with dog treat recipes, don’t worry—you don’t need anything fancy. I’ve even made these with a simple mixing spoon and a muffin tin!
Preparation Method
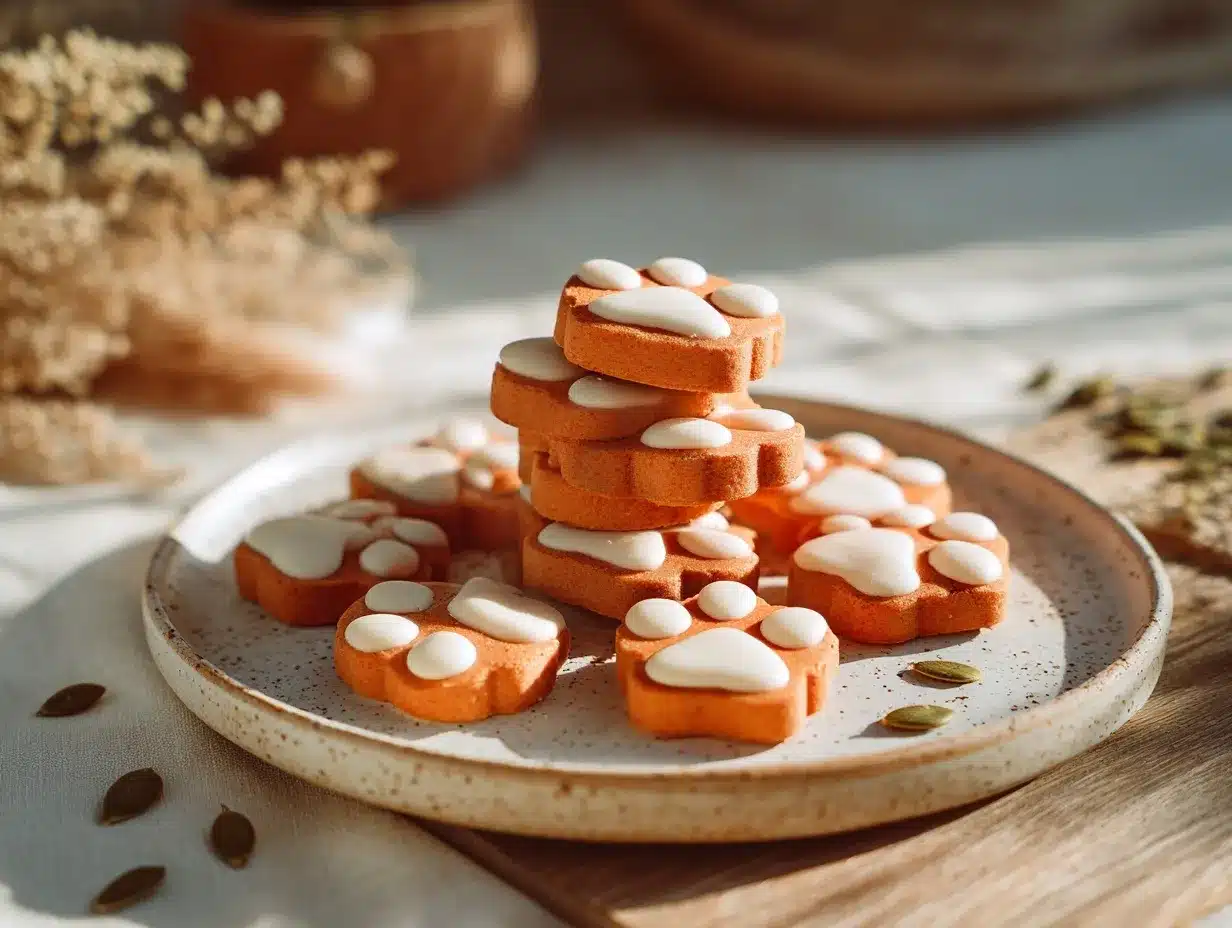
- Prepare your ingredients: Preheat your oven to 350°F (175°C) if baking. If freezing, set out your silicone molds or ice cube trays.
- Mix the wet ingredients: In a bowl, combine 1 cup pumpkin puree, 1/4 cup plain yogurt, 1 egg, and 1 tablespoon honey (if using). Stir until smooth.
- Add the dry ingredients: Gradually mix in 1 cup of oat flour and a pinch of cinnamon (optional). Stir until everything is well combined and forms a thick batter.
- Shape the treats: Spoon the mixture into silicone molds, filling each cavity about 3/4 full. Smooth the tops with the back of a spoon.
- Chill or bake: If freezing, place the molds in the freezer for 2-3 hours or until firm. If baking, place the molds on a baking sheet and bake for 15-20 minutes, or until the treats are firm and slightly golden.
- Cool and store: Allow the treats to cool completely before removing them from the molds. Store in an airtight container in the fridge for up to a week, or freeze for up to 3 months.
That’s it—super simple and totally worth it when you see your pup’s excitement!
Cooking Tips & Techniques
- Use silicone molds: These make it easy to pop out the treats without any sticking.
- Test the batter: If it feels too dry, add a splash of water or more yogurt. If too wet, add a little extra oat flour.
- For picky eaters: You can mix in peanut butter (make sure it’s xylitol-free) to make the treats even more enticing.
- Don’t overbake: If baking, keep an eye on the treats. You want them to be firm but not overly hard.
- Freeze leftovers: These are great as frozen treats on hot days!
Variations & Adaptations
Every dog is different, so here are a few ways to tweak this recipe:
- Grain-Free Option: Swap the oat flour for coconut flour or almond flour.
- Dairy-Free Option: Use coconut yogurt or another non-dairy alternative.
- Add-ins: Mix in a handful of finely shredded carrots or unsweetened applesauce for extra flavor and nutrition.
- Seasonal Twist: During the holidays, add a touch of pureed sweet potato instead of pumpkin.
I once added a sprinkle of flaxseed for extra omega-3s, and my dog gobbled them up without hesitation!
Serving & Storage Suggestions
These treats are best served cold or at room temperature. They make a great snack between meals or a reward during training sessions. Pair them with a bowl of fresh water to keep your pup hydrated.
To store, keep the treats in an airtight container in the fridge for up to 7 days. For longer storage, freeze them in a zip-top bag or container for up to 3 months. When you’re ready to treat your pup, simply thaw a few in the fridge or serve them frozen for a refreshing snack.
Nutritional Information & Benefits
Each treat is packed with wholesome ingredients that benefit your dog’s health:
- Pumpkin: High in fiber, which aids digestion and supports a healthy gut.
- Yogurt: A great source of probiotics for gut health and calcium for strong bones.
- Oats: A gluten-free grain that’s gentle on sensitive stomachs.
These treats are free from artificial additives, making them a safe and healthy choice for your furry friend.
Conclusion
If you’re looking for a way to spoil your dog with treats that are both delicious and nutritious, these pumpkin yogurt dog treats are the way to go. They’re easy to make, customizable, and filled with ingredients you can feel good about. My dog’s wagging tail is all the proof I need!
Try this recipe and let me know how your pup likes them! If you made any fun variations, share them in the comments below—I’d love to hear your ideas. And don’t forget to snap a pic of your happy pup enjoying their treat. Happy baking!
FAQs
Can I use canned pumpkin for this recipe?
Yes, just make sure it’s pure pumpkin puree without added sugars or spices.
Is yogurt safe for dogs?
Plain, unsweetened yogurt is safe for most dogs. If your dog is lactose intolerant, use a dairy-free alternative like coconut yogurt.
How long do these treats last?
They’ll stay fresh in the fridge for up to 7 days or in the freezer for up to 3 months.
Can I make these treats without an oven?
Absolutely! Simply freeze the mixture in molds instead of baking.
What size should the treats be?
Choose a size appropriate for your dog’s breed. Smaller treats work well for training, while larger ones are great for a snack.
Pin This Recipe!
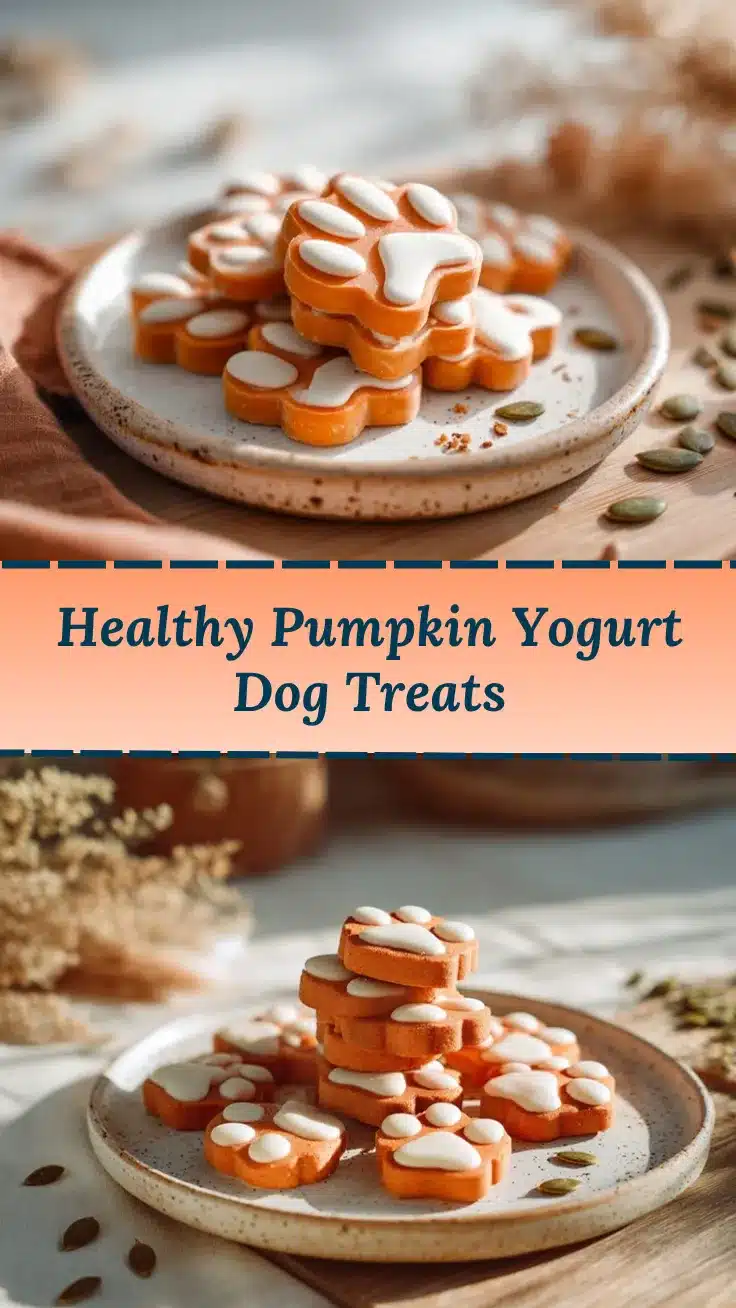
Pumpkin Yogurt Dog Treats
These pumpkin yogurt dog treats are a healthy and delicious way to spoil your furry friend. Packed with fiber, probiotics, and vitamins, they’re easy to make and freezer-friendly.
- Prep Time: 10 minutes
- Cook Time: 20 minutes
- Total Time: 30 minutes
- Yield: 24 small treats 1x
- Category: Pet Treats
- Cuisine: American
Ingredients
- 1 cup pumpkin puree
- 1/4 cup plain yogurt
- 1 egg
- 1 tablespoon honey (optional)
- 1 cup oat flour
- Pinch of cinnamon (optional)
Instructions
- Preheat your oven to 350°F (175°C) if baking. If freezing, set out your silicone molds or ice cube trays.
- In a bowl, combine 1 cup pumpkin puree, 1/4 cup plain yogurt, 1 egg, and 1 tablespoon honey (if using). Stir until smooth.
- Gradually mix in 1 cup of oat flour and a pinch of cinnamon (optional). Stir until everything is well combined and forms a thick batter.
- Spoon the mixture into silicone molds, filling each cavity about 3/4 full. Smooth the tops with the back of a spoon.
- If freezing, place the molds in the freezer for 2-3 hours or until firm. If baking, place the molds on a baking sheet and bake for 15-20 minutes, or until the treats are firm and slightly golden.
- Allow the treats to cool completely before removing them from the molds. Store in an airtight container in the fridge for up to a week, or freeze for up to 3 months.
Notes
Use silicone molds for easy removal. Adjust the batter consistency as needed by adding more yogurt or oat flour. Freeze leftovers for a refreshing treat on hot days.
Nutrition
- Serving Size: 1 treat
- Calories: 25
- Sugar: 1
- Sodium: 5
- Fat: 0.5
- Saturated Fat: 0.2
- Carbohydrates: 4
- Fiber: 1
- Protein: 1
Keywords: dog treats, pumpkin, yogurt, healthy, homemade, pet-friendly, freezer-friendly



