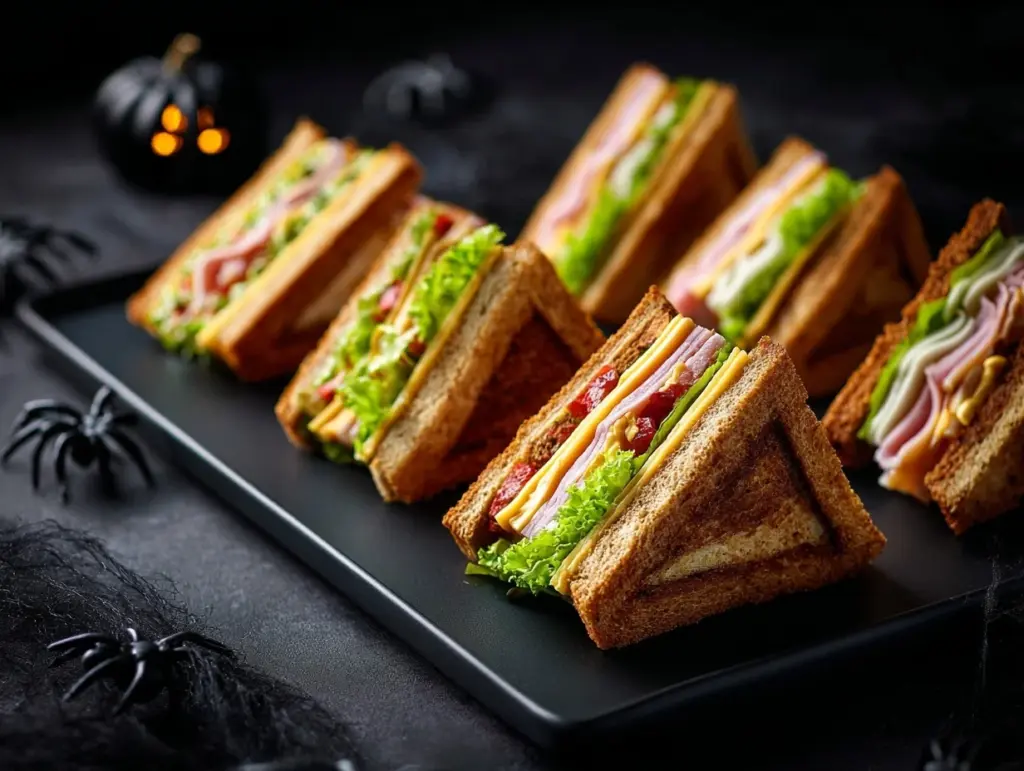
The crunch of a toasted sandwich, the eerie shape of a coffin, and the savory fillings that make everyone go back for seconds—these spooky coffin sandwiches are the ultimate Halloween party appetizer. I first made these for a neighborhood Halloween bash, and let me tell you, they were gone before I could even blink! Whether you’re hosting a spooky soirée or just want to impress the kids, this recipe will have your guests talking long after the cobwebs are swept away.
Halloween is the perfect time to get creative with food, and these coffin sandwiches let you combine creepy vibes with delicious bites. Plus, they’re surprisingly easy to make—you don’t need fancy tools or tons of time. Trust me, once you try them, they’ll become an annual tradition!
Why You’ll Love This Recipe
- Festive Fun: These sandwiches bring Halloween spirit to your table without being overly complicated.
- Easy to Make: You don’t need advanced cooking skills or special kitchen equipment—you’ll shape bread, assemble fillings, and toast!
- Customizable: From savory fillings like turkey and cheese to vegetarian options, you can tailor these sandwiches to suit everyone’s tastes.
- Kid-Friendly: Perfect for little hands and picky eaters, these spooky bites will be a hit with kids.
- Great for Parties: Whether it’s a Halloween potluck or a themed dinner, they’re ideal finger foods for any gathering.
- Impressive Presentation: The coffin shape and spooky garnish make these sandwiches Instagram-worthy party snacks.
What makes these coffin sandwiches stand out is their simplicity combined with creativity. They’re not just good—they’re the kind of recipe that makes people smile and snap a picture before eating. And let’s face it, anything that’s both delicious and photo-ready is a win!
What Ingredients You’ll Need
This recipe uses everyday ingredients that you likely already have in your kitchen, with a few spooky touches to make them Halloween-worthy.
- Bread: Choose your favorite sandwich bread, preferably a sturdy variety like sourdough or whole wheat. (White bread works great for kids!)
- Butter: Softened for spreading, giving the sandwiches a golden, toasty finish.
- Fillings: Options include sliced turkey, ham, cheddar cheese, cream cheese, or roasted veggies—pick your favorites!
- Mayonnaise or Mustard: For added flavor inside the sandwiches.
- Spinach Leaves: Optional, but they add a pop of green and extra nutrition.
- Olives: Black olives for spooky garnish—slice them for “eyes” or chop them finely for decoration.
- Dried Cranberries: Great for adding a hint of sweetness and a “bloody” touch.
Feel free to mix and match fillings based on your guests’ preferences. You can also make some vegetarian versions to keep everyone happy!
Equipment Needed
- Kitchen Knife: Sharp enough to cut precise coffin shapes from your bread.
- Cutting Board: A sturdy surface for slicing and assembling sandwiches.
- Butter Knife: For spreading butter and condiments.
- Skillet or Griddle: For toasting the sandwiches to golden perfection.
- Cookie Cutter: Optional, but if you have a coffin-shaped cutter, it’s a huge time-saver!
If you don’t have a coffin-shaped cutter, don’t worry! A simple knife and a steady hand will do the trick. I’ve done it both ways, and the results are equally spooky.
Preparation Method
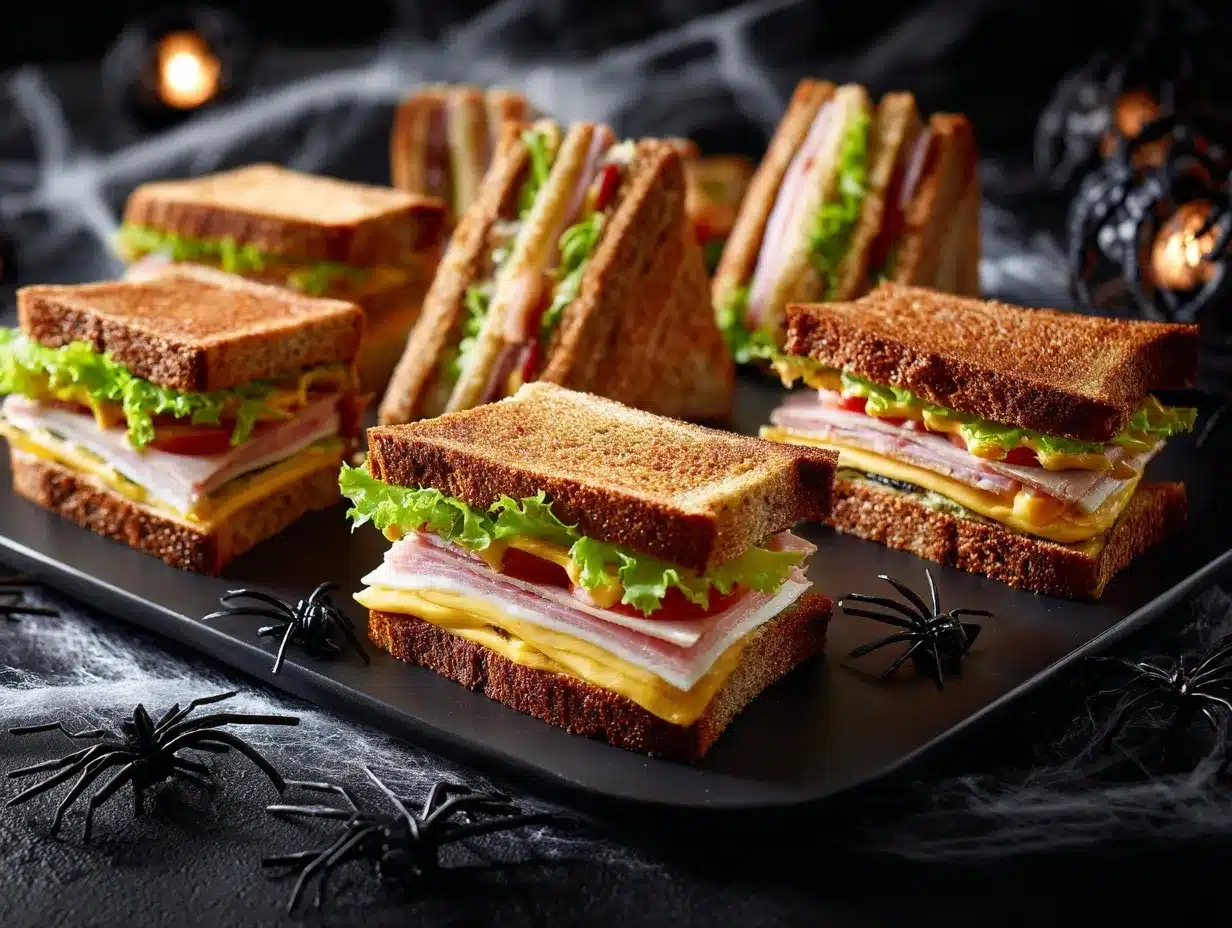
Follow these easy steps to make your spooky coffin sandwiches:
- Prepare the Bread: Lay out your slices of bread on a cutting board. Use a knife or cookie cutter to carefully cut each slice into a coffin shape. (Tip: Save the scraps for breadcrumbs or croutons!)
- Spread Butter: Spread softened butter on one side of each bread slice. This will help them toast beautifully.
- Add Fillings: On the unbuttered side, layer your chosen fillings—sliced turkey, cheese, spinach leaves, or whatever you prefer. Add a little mayonnaise or mustard for extra flavor.
- Assemble the Sandwiches: Place another slice of bread on top, buttered side facing outward.
- Toast the Sandwiches: Heat a skillet or griddle over medium heat. Toast each sandwich for 2-3 minutes per side, or until golden brown and crispy.
- Decorate: Use sliced olives to create spooky “eyes” and sprinkle dried cranberries for a blood-like effect. Get creative with your garnishes!
- Serve: Arrange the sandwiches on a platter and watch them disappear as your guests dig in!
These sandwiches are best served warm, but they’re still delicious at room temperature, making them ideal for party tables.
Cooking Tips & Techniques
- Shape Accuracy: If cutting the bread by hand, use a stencil or draw the shape lightly with a knife before cutting.
- Keep It Crisp: Don’t crowd the skillet or griddle—toast a few sandwiches at a time to maintain even heat and crispness.
- Prevent Soggy Sandwiches: Avoid overloading with wet ingredients like tomatoes; stick to drier fillings for better texture.
- Speed Up Prep: Cut all bread shapes in advance and store them in a sealed bag until ready to assemble.
- Creative Garnishes: Use ketchup or sriracha for drizzles that resemble blood, or add edible Halloween-themed toppers.
If you accidentally burn a sandwich, don’t stress—just scrape off the charred bits and give it another try. Halloween food doesn’t need to be perfect!
Variations & Adaptations
- Vegetarian Option: Skip the meat and use roasted veggies, hummus, and cheese as your fillings.
- Gluten-Free Version: Use gluten-free bread to accommodate dietary needs.
- Spicy Twist: Add jalapeños or a spicy spread for a kick of heat.
- Kid-Friendly Fillings: Stick to peanut butter and jelly or grilled cheese for younger guests.
- Seasonal Touch: Add pumpkin puree or cranberry sauce for a fall-inspired flavor.
Last year, I tried swapping out the turkey for smoked salmon, and it was a huge hit! Experiment with flavors to find your favorite combination.
Serving & Storage Suggestions
Serving: Arrange the sandwiches on a spooky-themed platter or tray. Add Halloween decorations like fake spiders or cobwebs around the tray for extra fun. Serve warm or at room temperature with dips like ranch dressing or marinara sauce.
Storage: If you have leftovers (unlikely!), store the sandwiches in an airtight container in the refrigerator for up to two days. Reheat on a skillet or in the oven to regain crispness.
Freezing: You can freeze the un-toasted sandwiches for up to a month. Wrap them tightly in plastic wrap and store in a freezer-safe bag. Toast them straight from frozen for a quick snack!
Nutritional Information & Benefits
While these spooky coffin sandwiches are all about fun, they can also pack in some nutritional value depending on your fillings:
- Protein: Turkey, ham, and cheese provide a good source of protein to keep guests satisfied.
- Veggies: Spinach leaves and roasted vegetables add vitamins and fiber.
- Customizable Healthiness: Use whole-grain bread and lean fillings for a healthier spin.
Keep in mind that the exact nutritional values will depend on your ingredient choices—feel free to adjust based on your dietary preferences.
Conclusion
These spooky DIY coffin sandwiches are not just appetizers—they’re the centerpiece of any Halloween party spread. From the creepy coffin shape to the delicious fillings, they’re guaranteed to impress guests of all ages. Plus, they’re so easy to customize that you can make them fit any dietary need or flavor preference.
Personally, I love how these sandwiches combine creativity with comfort food. It’s a recipe that brings people together, and honestly, there’s nothing better than watching someone’s face light up when they see a plate full of edible coffins!
So, grab your ingredients, channel your inner Halloween chef, and give this recipe a try. Don’t forget to share your spooky creations in the comments below—I’d love to hear how you make them your own!
FAQs
Can I make these sandwiches ahead of time?
Yes! You can assemble the sandwiches a few hours ahead and toast them right before serving for maximum freshness.
What if I don’t have a coffin-shaped cutter?
No problem! Use a knife to carefully cut the coffin shape—it’s easier than you think.
Can I use different types of bread?
Absolutely! Whole wheat, rye, sourdough, or gluten-free options work just as well as white bread.
How do I keep them warm at a party?
Place the toasted sandwiches on a warming tray or cover them with foil to retain heat.
What’s the best way to serve these sandwiches?
Arrange them on a spooky platter with Halloween decorations, and pair them with dips or sauces for extra flavor!
Pin This Recipe!
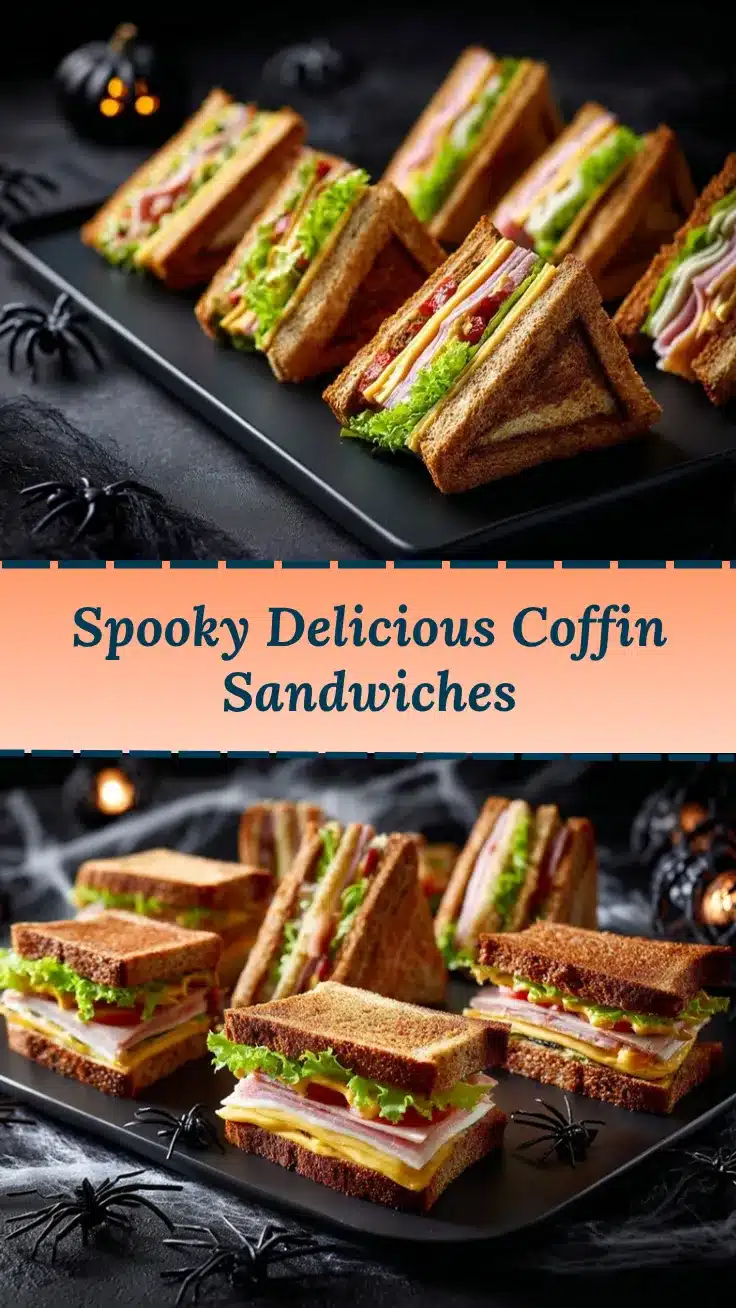
Spooky Coffin Sandwiches

These spooky coffin sandwiches are the ultimate Halloween party appetizer, combining eerie shapes with delicious fillings that guests will love.
- Prep Time: 15 minutes
- Cook Time: 10 minutes
- Total Time: 25 minutes
- Yield: 4 servings
- Category: Appetizer
- Cuisine: American
Ingredients
- Bread (sourdough, whole wheat, or white bread)
- Butter, softened
- Fillings (sliced turkey, ham, cheddar cheese, cream cheese, roasted veggies)
- Mayonnaise or mustard
- Spinach leaves (optional)
- Black olives (for garnish)
- Dried cranberries (for garnish)
Instructions
- Lay out slices of bread on a cutting board and cut each slice into a coffin shape using a knife or cookie cutter.
- Spread softened butter on one side of each bread slice.
- On the unbuttered side, layer chosen fillings such as turkey, cheese, spinach leaves, and condiments.
- Place another slice of bread on top, buttered side facing outward.
- Heat a skillet or griddle over medium heat and toast each sandwich for 2-3 minutes per side until golden brown.
- Decorate with sliced olives for spooky ‘eyes’ and sprinkle dried cranberries for a blood-like effect.
- Arrange sandwiches on a platter and serve warm or at room temperature.
Notes
Use a stencil or draw the coffin shape lightly with a knife for accuracy. Avoid overloading with wet ingredients to prevent soggy sandwiches. Cut bread shapes in advance for quicker assembly.
Nutrition
- Serving Size: 1 sandwich
- Calories: 250
- Sugar: 3
- Sodium: 450
- Fat: 12
- Saturated Fat: 6
- Carbohydrates: 22
- Fiber: 2
- Protein: 12
Keywords: Halloween, spooky sandwiches, party food, appetizers, kid-friendly, festive snacks



