Introduction
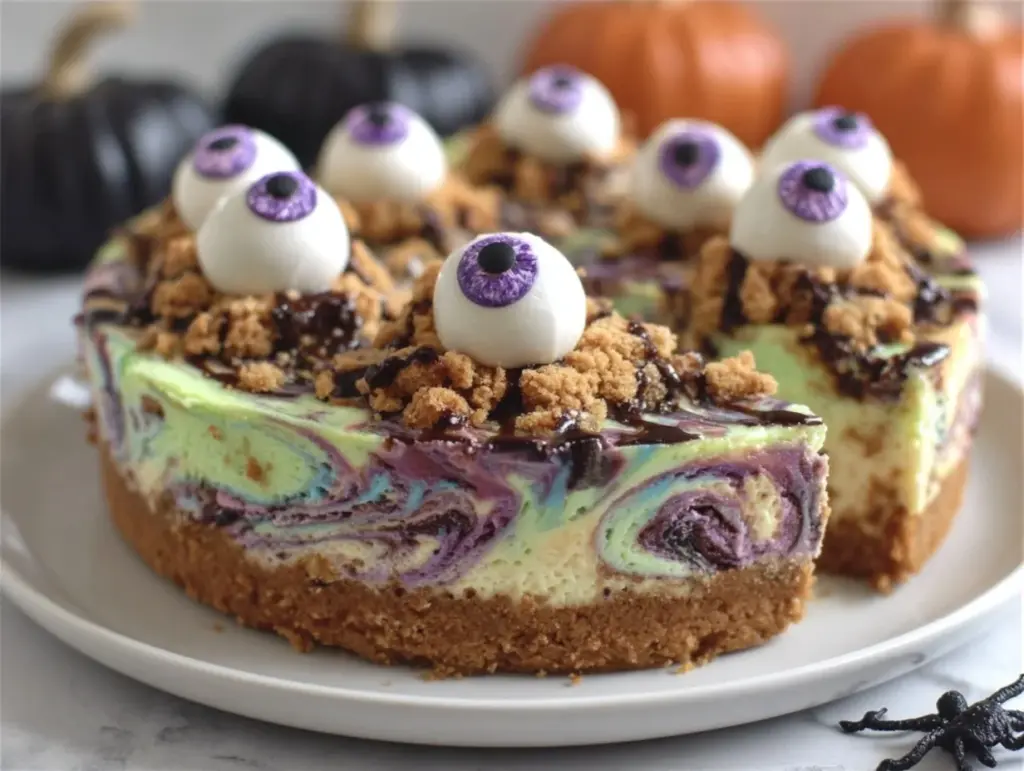
The crackle of autumn leaves, the chill in the air, and the thrill of Halloween festivities are finally here! If you’re looking for the perfect centerpiece for your party table, this Spooky Halloween Cheesecake recipe will steal the show. With its rich and creamy texture, creepy decorations, and a flavor that screams indulgence, it’s the ultimate sweet treat for the season.
I came up with this recipe last year when my kids begged for something extra spooky for Halloween. After experimenting with a few ideas, this cheesecake recipe became an instant hit. It’s festive without being overly complicated, and let’s be honest—who doesn’t love cheesecake? Whether you’re hosting a kid-friendly gathering or an adults-only Halloween bash, this dessert will have your guests coming back for seconds (and thirds!).
What makes this recipe so special is not just the eerie look, but the surprising ease of preparation. Even if you’re not a seasoned baker, this step-by-step guide will ensure you nail it every time. Trust me, this Spooky Halloween Cheesecake is worth every bite—and every gasp from your guests!
Why You’ll Love This Recipe
- Easy to Make: You don’t need fancy baking skills to whip up this showstopper.
- Perfect for Halloween: Its spooky design is guaranteed to impress kids and adults alike.
- Rich and Creamy: The velvety cheesecake paired with the chocolate crust is pure decadence.
- Customizable Decorations: From spiderwebs to candy toppings, you can make it as creepy or cute as you like.
- Make-Ahead Friendly: Prepare it a day ahead so you can focus on the other party details.
Unlike other Halloween desserts, this cheesecake is a true crowd-pleaser. The balance of sweetness and creaminess makes it universally loved, while the spooky decorations add that festive flair. Whether you’re hosting a costume party or a casual family gathering, this recipe will be the highlight of the evening.
What Ingredients You Will Need
This Spooky Halloween Cheesecake recipe relies on simple ingredients that come together beautifully. Here’s what you’ll need:
- For the crust:
- 1 ½ cups (150g) chocolate cookie crumbs
- ¼ cup (60g) unsalted butter, melted
- For the cheesecake filling:
- 24 oz (680g) cream cheese, softened
- 1 cup (200g) granulated sugar
- ¾ cup (180ml) sour cream
- 3 large eggs, room temperature
- 1 tsp vanilla extract
- ¼ cup (30g) unsweetened cocoa powder
- Black food coloring (optional, for extra spookiness)
- For the decorations:
- White chocolate, melted (for spiderweb design)
- Candy eyeballs, gummy worms, or Halloween sprinkles
- 9-inch (23cm) springform pan
- Mixing bowls
- Electric mixer or stand mixer
- Rubber spatula
- Baking sheet
- Aluminum foil (for wrapping the pan)
- Piping bag or zip-top bag (for decorations)
- Prepare the crust: Preheat your oven to 325°F (163°C). Mix the chocolate cookie crumbs with melted butter until combined. Press the mixture evenly into the bottom of your springform pan. Bake for 10 minutes, then set aside to cool.
- Make the cheesecake filling: In a large bowl, beat the cream cheese and sugar together until smooth. Add the sour cream and vanilla extract, mixing until combined. Gradually beat in the eggs one at a time, ensuring everything is fully incorporated. Finally, add the cocoa powder and black food coloring, if desired.
- Bake the cheesecake: Pour the filling over the cooled crust. Wrap the outside of the springform pan tightly with aluminum foil to prevent water from seeping in. Place the pan in a deep baking dish and fill the dish with hot water until it reaches halfway up the sides of the pan. Bake for 55–65 minutes, or until the center is just set.
- Cool and chill: Remove the cheesecake from the oven and let it cool to room temperature. Once cooled, refrigerate for at least 4 hours or overnight.
- Add spooky decorations: Use melted white chocolate to pipe a spiderweb design on the surface. Add candy eyeballs, gummy worms, or Halloween sprinkles to make it extra festive.
- Room temperature ingredients: Make sure your cream cheese and eggs are at room temperature for a smooth filling.
- Use a water bath: Wrapping the pan with foil and placing it in a water bath prevents cracks and ensures even baking.
- Don’t overmix: Overmixing can add too much air to the batter, which might cause the cheesecake to collapse.
- Chill thoroughly: Refrigerating overnight helps the flavors meld and gives the cheesecake its firm, creamy texture.
- Make it your own: Experiment with different toppings, like crushed Oreos or candy bats.
- Gluten-Free: Use gluten-free cookie crumbs for the crust.
- Dairy-Free: Substitute cream cheese and sour cream with dairy-free alternatives like cashew cream.
- Seasonal Twist: Add pumpkin puree and pumpkin spice for a Halloween-meets-autumn vibe.
- Kid-Friendly: Skip the food coloring and let kids decorate with their favorite Halloween candies.
- Flavor Boost: Incorporate orange zest for a citrusy punch.
- Storage: Refrigerate leftovers in an airtight container for up to 5 days.
- Freezing: Wrap the cheesecake tightly in plastic wrap and freeze for up to 3 months. Thaw overnight in the refrigerator before serving.
- Reheating: Serve cold—this cheesecake doesn’t require reheating!
- Calories: 350
- Protein: 6g
- Fat: 25g
- Carbohydrates: 28g
- Sodium: 200mg
These ingredients are easy to find at any grocery store, and you can always substitute based on your preferences. For example, swap out sour cream for Greek yogurt or use a gluten-free cookie crumb for the crust.
Equipment Needed
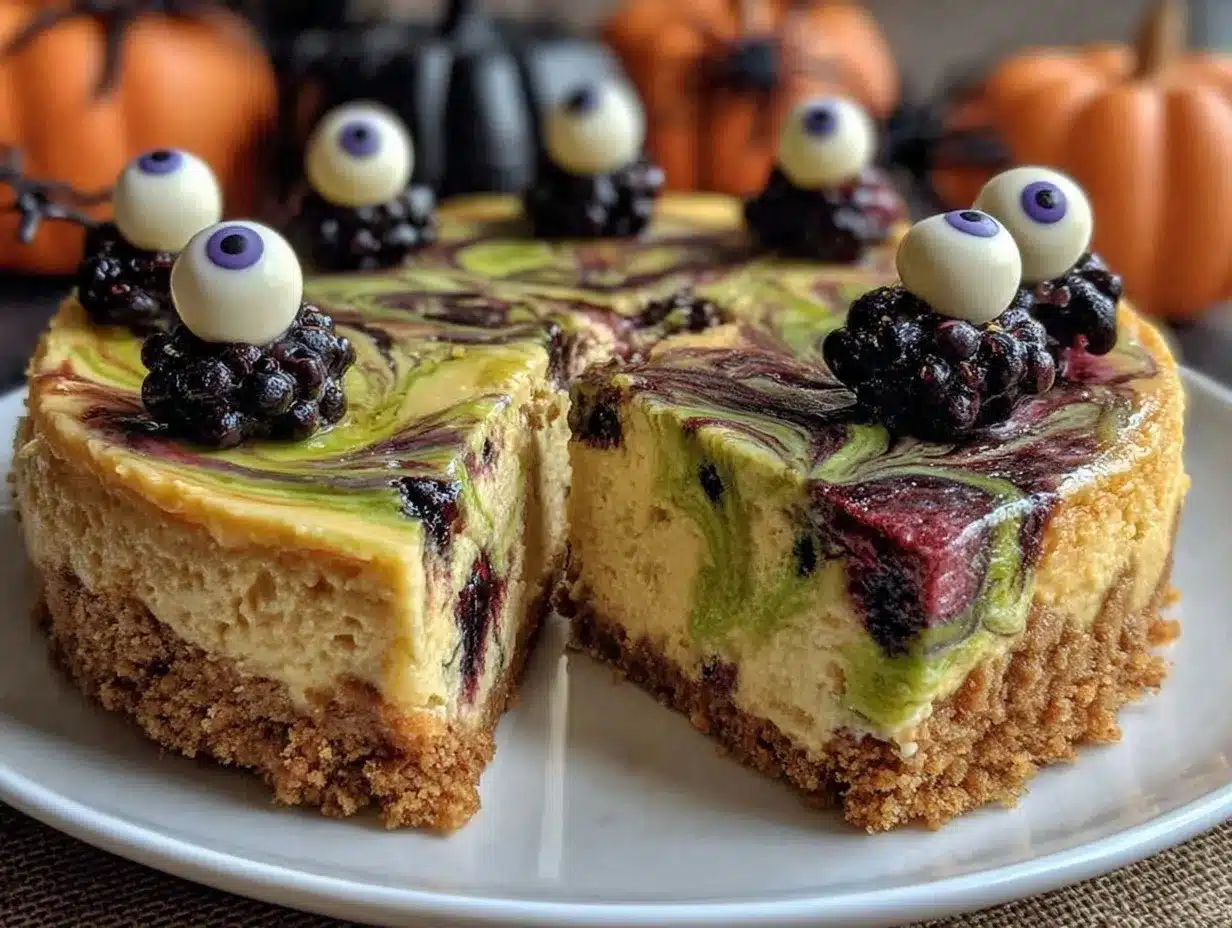
To make this cheesecake, you’ll need a few kitchen essentials:
If you don’t have a springform pan, a deep pie dish can work as an alternative, though you might have a harder time releasing the cheesecake cleanly. Be sure to line your pan properly for easy removal!
Preparation Method
Take your time with the decorations—this is where the magic happens. Don’t worry if your spiderweb isn’t perfect; it’s Halloween, so the creepier, the better!
Cooking Tips & Techniques
These tips come from years of trial and error in my kitchen. Trust me—follow these, and your cheesecake will be a spooky masterpiece every time!
Variations & Adaptations
Last year, I tried a pumpkin-flavored version, and it was a hit! Feel free to mix and match these ideas to make the recipe your own.
Serving & Storage Suggestions
This cheesecake is best served chilled, straight from the fridge. Slice it into wedges and serve on a platter decorated with more Halloween goodies like candy spiders or mini pumpkins.
Pro tip: The flavors deepen after a day in the fridge, so making it ahead is actually a bonus!
Nutritional Information & Benefits
Here’s a rough estimate of the nutritional values per slice (based on 12 servings):
While it’s not exactly a low-calorie dessert, the cream cheese provides calcium and protein. Plus, making it yourself means you can control the sugar and toppings!
Conclusion
This Spooky Halloween Cheesecake recipe is the ultimate addition to your party menu. It’s easy to make, undeniably delicious, and perfect for setting the mood on Halloween night. Whether you’re looking to wow your guests or make a fun dessert with the kids, this recipe has got you covered.
So grab your apron, put on your favorite Halloween playlist, and let’s get baking! Don’t forget to share your spooky creations in the comments below—I’d love to see how you’ve customized your cheesecake. Happy Halloween, and may your night be delightfully creepy!
FAQs
Can I make this cheesecake without a water bath?
Yes, but a water bath helps prevent cracks and ensures even cooking. If you skip it, keep an eye on the cheesecake to avoid overbaking.
What’s the best way to color the cheesecake black?
Gel food coloring works best for vibrant black. Add it gradually until you reach the desired shade.
Can I use a store-bought crust?
Absolutely! Pre-made chocolate crusts can save time, but homemade crusts offer better flavor and texture.
How far in advance can I make this cheesecake?
You can prepare it up to 2 days ahead of time. Just store it in the fridge and decorate right before serving.
What if I don’t have a springform pan?
A deep pie dish works as a substitute, but you might find it trickier to slice and serve the cheesecake neatly.
Pin This Recipe!
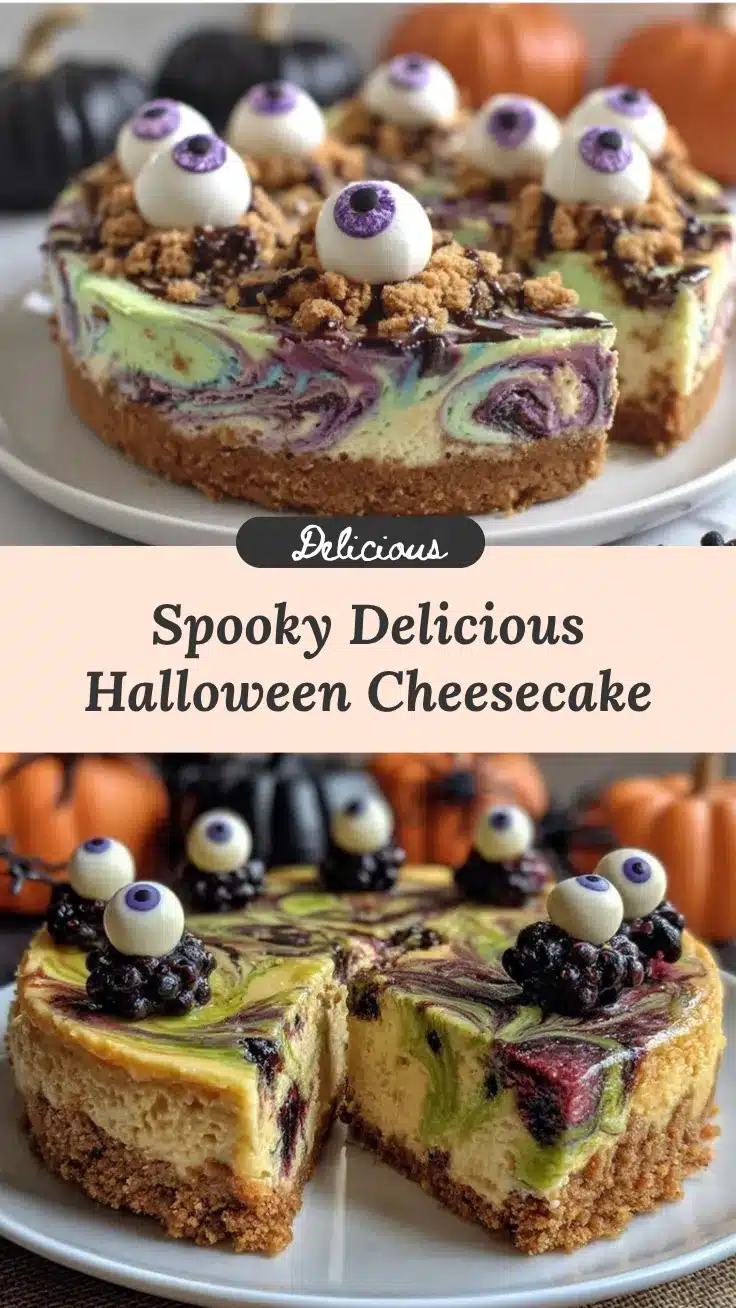
Spooky Halloween Cheesecake Recipe for Easy Party Success

A rich and creamy cheesecake with spooky decorations, perfect for Halloween parties and gatherings.
- Prep Time: 20 minutes
- Cook Time: 65 minutes
- Total Time: 5 hours
- Yield: 12 servings 1x
- Category: Dessert
- Cuisine: American
Ingredients
- 1 ½ cups (150g) chocolate cookie crumbs
- ¼ cup (60g) unsalted butter, melted
- 24 oz (680g) cream cheese, softened
- 1 cup (200g) granulated sugar
- ¾ cup (180ml) sour cream
- 3 large eggs, room temperature
- 1 tsp vanilla extract
- ¼ cup (30g) unsweetened cocoa powder
- Black food coloring (optional)
- White chocolate, melted (for spiderweb design)
- Candy eyeballs
- Gummy worms
- Halloween sprinkles
Instructions
- Preheat your oven to 325°F (163°C). Mix the chocolate cookie crumbs with melted butter until combined. Press the mixture evenly into the bottom of your springform pan. Bake for 10 minutes, then set aside to cool.
- In a large bowl, beat the cream cheese and sugar together until smooth. Add the sour cream and vanilla extract, mixing until combined. Gradually beat in the eggs one at a time, ensuring everything is fully incorporated. Finally, add the cocoa powder and black food coloring, if desired.
- Pour the filling over the cooled crust. Wrap the outside of the springform pan tightly with aluminum foil to prevent water from seeping in. Place the pan in a deep baking dish and fill the dish with hot water until it reaches halfway up the sides of the pan. Bake for 55–65 minutes, or until the center is just set.
- Remove the cheesecake from the oven and let it cool to room temperature. Once cooled, refrigerate for at least 4 hours or overnight.
- Use melted white chocolate to pipe a spiderweb design on the surface. Add candy eyeballs, gummy worms, or Halloween sprinkles to make it extra festive.
Notes
[‘Make sure your cream cheese and eggs are at room temperature for a smooth filling.’, ‘Wrapping the pan with foil and placing it in a water bath prevents cracks and ensures even baking.’, ‘Overmixing can add too much air to the batter, which might cause the cheesecake to collapse.’, ‘Refrigerating overnight helps the flavors meld and gives the cheesecake its firm, creamy texture.’, ‘Experiment with different toppings, like crushed Oreos or candy bats.’]
Nutrition
- Serving Size: 1 slice
- Calories: 350
- Sodium: 200
- Fat: 25
- Carbohydrates: 28
- Protein: 6
Keywords: Halloween, Cheesecake, Dessert, Spooky, Party, Easy Recipe, Chocolate, Cream Cheese



