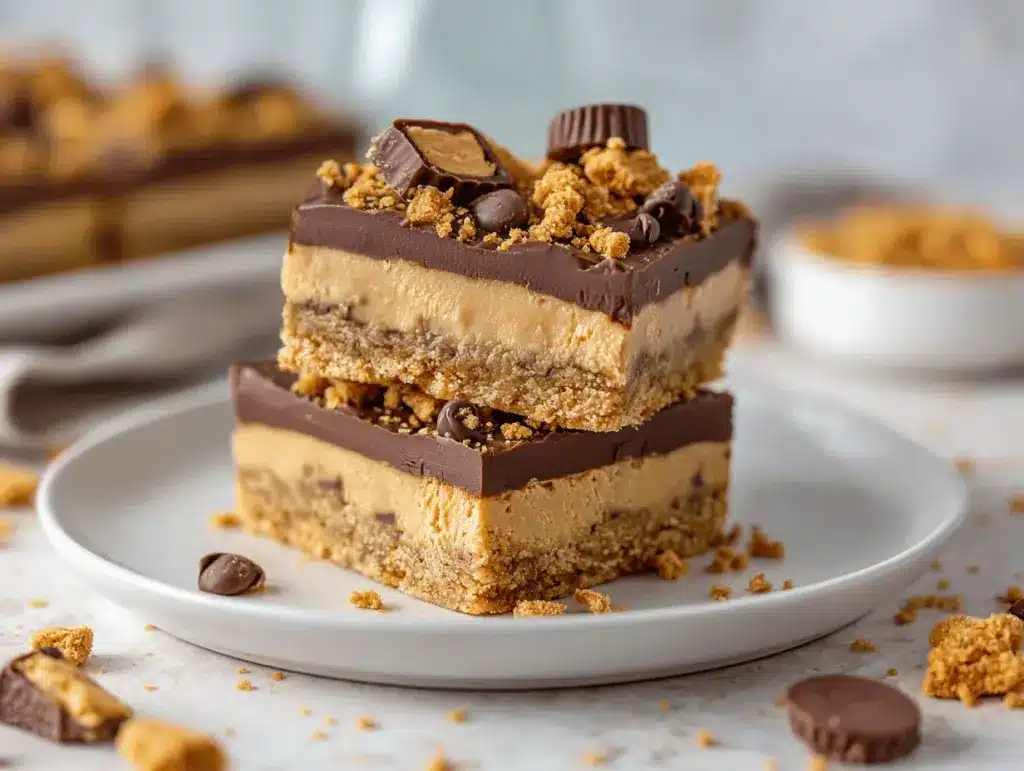
Picture this: creamy peanut butter layered with rich, velvety chocolate, nestled between a buttery graham cracker base and topped with a sprinkle of flaky sea salt. It’s sweet, salty, and indulgent—everything you want in a dessert without turning on your oven. These Ultimate Chocolate Peanut Butter Dream Bars are my go-to treat for lazy weekend afternoons or when I need a last-minute dessert fix. Trust me, once you make them, you’ll want to stash a batch in your fridge at all times.
I first discovered this recipe during a family game night when I needed something quick, easy, and guaranteed to please a crowd. The no-bake factor was a lifesaver, and the combination of chocolate and peanut butter? Pure magic. Over the years, I’ve tweaked and perfected it to make sure every bite is as dreamy as the name suggests. Whether you’re a peanut butter fanatic or a chocolate lover (or both!), this recipe is bound to become a favorite.
Why You’ll Love This Recipe
- No Bake: Say goodbye to preheating your oven! Perfect for hot days or quick dessert emergencies.
- Easy to Make: Minimal effort with maximum flavor. You can whip this up in less than 20 minutes, plus chilling time!
- Simple Ingredients: Most of the ingredients are pantry staples, and nothing fancy or hard to find.
- Perfect for Any Occasion: From potlucks to birthdays, these bars steal the show every time.
- Customizable: You can tweak the layers to suit your taste—more chocolate, less peanut butter, add nuts, or even swap out the graham cracker base.
- Irresistible Flavor: The combination of creamy peanut butter and rich chocolate is a match made in heaven.
What makes these bars stand out is their layered texture—each bite starts with a buttery crunch, followed by creamy peanut butter and a smooth chocolate finish. You don’t just eat these bars; you savor them. They’re the kind of dessert that makes you pause and say, “Wow.”
What Ingredients You Will Need
This recipe uses simple, wholesome ingredients that come together to create a dessert masterpiece. Here’s what you’ll need:
- For the base:
- 2 cups graham cracker crumbs (finely crushed)
- 1/2 cup unsalted butter, melted
- 1/4 cup granulated sugar (optional, for extra sweetness)
- For the peanut butter layer:
- 1 cup creamy peanut butter (I recommend a natural brand for the best flavor)
- 1/2 cup powdered sugar (sifted for smoothness)
- For the chocolate layer:
- 1 cup semi-sweet chocolate chips
- 1/4 cup heavy cream (or whole milk)
- 1 teaspoon vanilla extract (optional, for extra depth)
- Optional topping:
- Flaky sea salt
- Chopped peanuts or mini chocolate chips
If you’re missing anything, don’t worry! This recipe is forgiving, and I’ll share substitution ideas later on.
Equipment Needed
Making these bars doesn’t require fancy tools, which is one of the reasons I love this recipe. Here’s what you’ll need:
- Mixing bowls (medium and large)
- Rubber spatula or wooden spoon
- 8×8-inch square baking pan (or something similar)
- Parchment paper (for easy removal)
- Microwave-safe bowl (or a double boiler)
- Measuring cups and spoons
If you don’t have parchment paper, you can lightly grease the pan with butter or cooking spray. And if an 8×8 pan isn’t available, a 9×9 pan works too—just expect slightly thinner layers.
Preparation Method
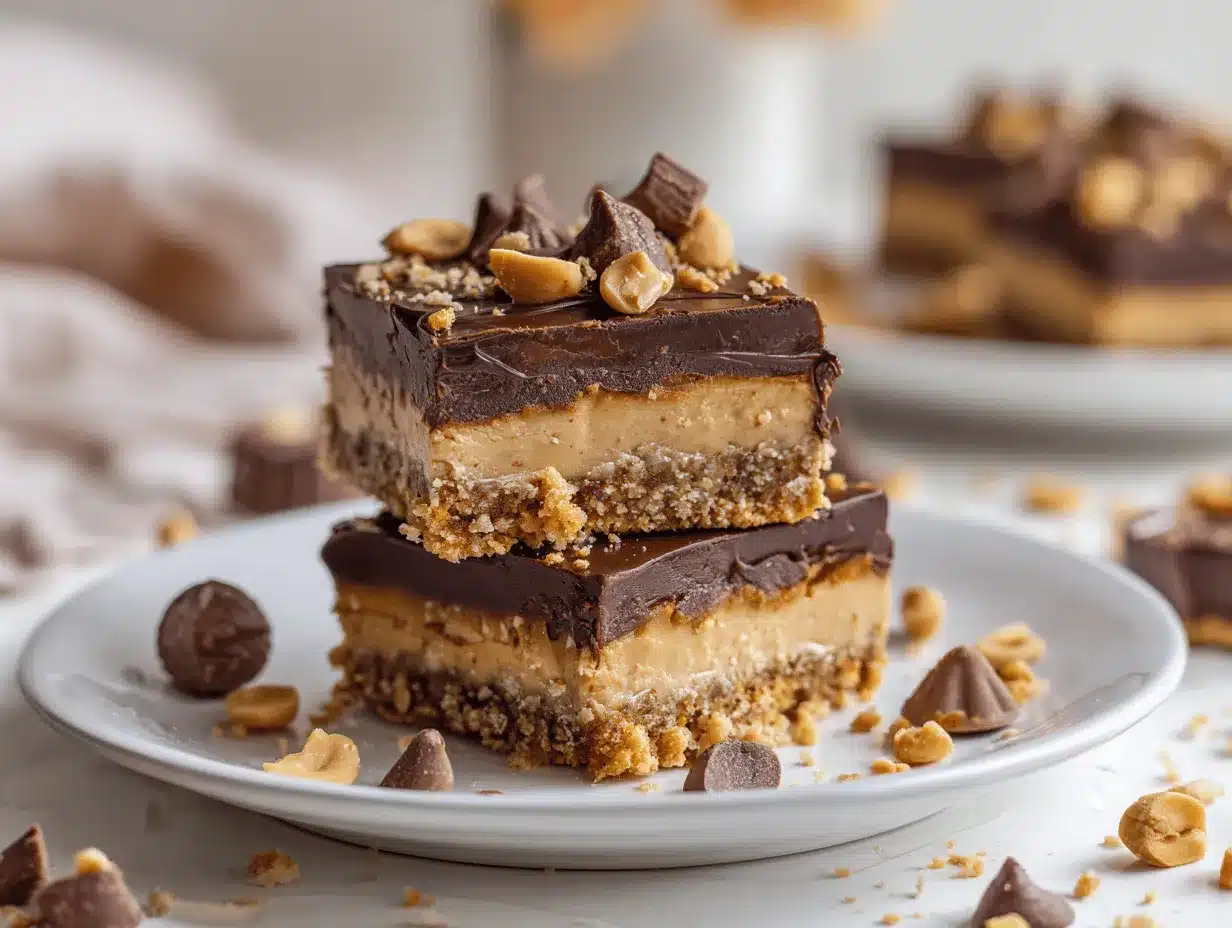
- Prepare the pan: Line your 8×8-inch baking pan with parchment paper, leaving some overhang for easy lifting later.
- Make the base: In a large mixing bowl, combine the graham cracker crumbs, melted butter, and granulated sugar (if using). Stir until everything is evenly mixed and resembles wet sand. Press the mixture firmly into the bottom of the prepared pan, creating an even layer. Set aside.
- Create the peanut butter layer: In another bowl, mix the creamy peanut butter and powdered sugar until smooth and well-combined. Spread this mixture evenly over the graham cracker base using a spatula. Refrigerate the pan while you prepare the chocolate layer.
- Make the chocolate topping: Melt the chocolate chips and heavy cream together in a microwave-safe bowl, heating in 20-second intervals and stirring in between until smooth. Add vanilla extract if desired. Let the mixture cool slightly before pouring over the peanut butter layer.
- Finish and chill: Spread the melted chocolate evenly over the peanut butter layer. Optionally, sprinkle flaky sea salt or toppings like chopped peanuts. Refrigerate for at least 2 hours, or until the chocolate is firm.
- Slice and serve: Once chilled, use the parchment paper overhang to lift the bars out of the pan. Slice into squares or rectangles and enjoy!
These bars are best served chilled, but they’ll hold up at room temperature for a couple of hours—perfect for parties and gatherings.
Cooking Tips & Techniques
Here are a few tips to ensure your Ultimate Chocolate Peanut Butter Dream Bars turn out perfectly:
- Press the base firmly: Use the back of a spoon or a flat-bottomed glass to press down the graham cracker mixture. A tightly packed base prevents crumbling.
- Room temperature peanut butter: If your peanut butter is too cold, it won’t mix smoothly. Let it sit at room temp or microwave for 10 seconds.
- Don’t overheat the chocolate: Chocolate burns easily, so stick to short intervals in the microwave and stir frequently.
- Let the layers chill: Give each layer time to firm up before adding the next one—this keeps them distinct and beautiful.
- Use parchment paper: This makes removing and slicing the bars a breeze. No sticking or messy cleanup!
And if you accidentally make a mistake (like uneven layers), don’t stress—these bars are forgiving and still delicious no matter what.
Variations & Adaptations
Want to switch things up? Here are some ideas:
- Gluten-Free: Use gluten-free graham crackers for the base.
- Dairy-Free: Swap heavy cream for coconut cream, and use dairy-free chocolate chips.
- Nut-Free: Substitute sunflower seed butter for peanut butter.
- Seasonal Twist: Add a layer of caramel or sprinkle crushed candy canes on top for holiday flair.
- Extra crunch: Mix chopped peanuts or pretzel pieces into the peanut butter layer.
I once tried adding a layer of marshmallow fluff between the peanut butter and chocolate—it was gooey perfection!
Serving & Storage Suggestions
These bars are versatile when it comes to serving and storing:
- Serving: Serve chilled for the best texture. Pair with a cold glass of milk, coffee, or even a scoop of vanilla ice cream.
- Storage: Store in an airtight container in the fridge for up to 7 days.
- Freezing: Freeze the bars for up to 3 months. Slice before freezing and separate layers with parchment paper.
- Reheating: No reheating needed—just thaw frozen bars in the fridge for a couple of hours before serving.
The flavors deepen over time, so don’t be surprised if they taste even better the next day!
Nutritional Information & Benefits
Here’s an estimate per serving (based on 16 bars):
- Calories: ~250
- Fat: ~15g
- Carbs: ~22g
- Protein: ~6g
The peanut butter adds healthy fats and a good dose of protein, while the dark chocolate brings antioxidants. If you’re looking for a balanced dessert, these bars check all the boxes!
Conclusion
These Ultimate Chocolate Peanut Butter Dream Bars are everything you want in a dessert—easy, indulgent, and completely irresistible. Whether you’re hosting a party, treating yourself, or sharing with family, this recipe is guaranteed to impress. The best part? It’s endlessly customizable, so you can make it your own.
I love this recipe because it reminds me of cozy family nights and effortless indulgence. It’s proof that the simplest desserts can bring the biggest smiles. So grab your ingredients, give it a try, and let me know how it turns out!
If you loved this recipe, share it with a friend or tag me on social media—I’d love to see your creations!
FAQs
Can I use crunchy peanut butter instead of creamy?
Absolutely! Crunchy peanut butter adds great texture to the peanut butter layer.
How long do these bars need to chill?
They need at least 2 hours in the fridge, but overnight chilling works best for firmer layers.
Can I make these bars ahead of time?
Yes, they’re perfect for prepping ahead. Make them up to 3 days in advance and store in the fridge.
What’s the best way to cut these bars neatly?
Use a sharp knife and wipe it clean between cuts for smooth, even slices.
Can I double the recipe for a larger crowd?
Definitely! Use a 9×13-inch pan and double all the ingredients for thicker bars.
Pin This Recipe!