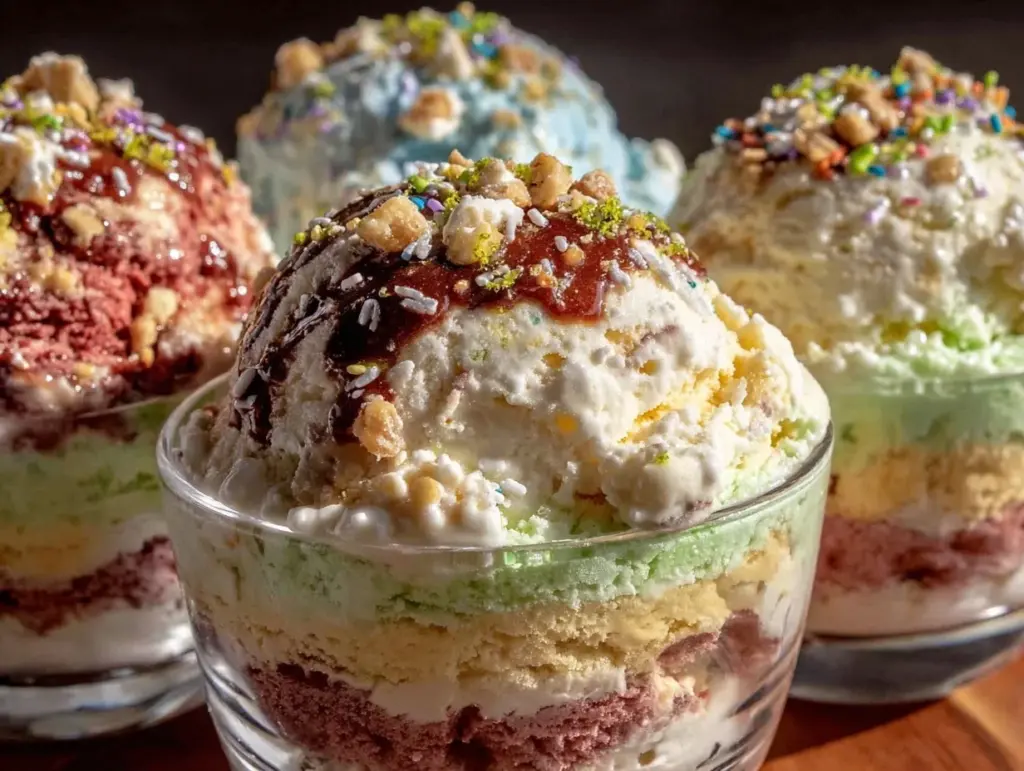
The first time I made these Vibrant Dr. Seuss Rainbow Ice Cream Layer Cups, I was honestly blown away by how a simple idea could bring so much joy. The colors just pop, and the layers remind me of the whimsical worlds in Dr. Seuss books—bright, playful, and full of wonder. You know that moment when kids’ faces light up at a party? Yeah, that. This recipe isn’t just for kids, though; it’s a fun, colorful treat that anyone craving a sweet, cool, and visually stunning dessert will love.
I stumbled upon the idea while prepping for a kid’s birthday party, wanting something easy but special. Mixing vibrant ice cream layers sounded like a perfect match for the playful theme. After testing it a few times (because, well, quality control!), I perfected the layering method to keep each color bright and distinct. These rainbow ice cream cups are not only a feast for the eyes but also a delightful mix of creamy textures and flavors. Plus, they’re so easy to customize, which makes them my go-to for summer treats or whimsical gatherings.
Whether you’re planning a kids’ party, looking for a colorful dessert to brighten any day, or just want to impress with minimal effort, these Vibrant Dr. Seuss Rainbow Ice Cream Layer Cups are exactly the kind of recipe that brings smiles and happy bellies. And, honestly, who can resist rainbow ice cream layers that are as fun to eat as they are to look at?
Why You’ll Love This Recipe
- Quick & Easy: Comes together in under 20 minutes, making it perfect for last-minute party prep or a spontaneous treat.
- Simple Ingredients: Uses basic ice cream flavors and colorful toppings you can find at any grocery store—no fancy shopping needed.
- Perfect for Parties: Great for kids’ birthdays, themed events, or just turning an ordinary day into something special.
- Crowd-Pleaser: Kids and adults alike rave about the bright colors and creamy, cool taste.
- Unbelievably Delicious: Each layer melts smoothly on your tongue, with just enough sweetness and a burst of fun colors.
What sets this recipe apart is the playful layering technique—each scoop carefully placed to keep the colors vibrant and distinct. Honestly, it’s like crafting a little edible rainbow in a cup. I’ve tested various ice cream brands, and I swear by those that hold their shape best to keep the layers separate rather than blending into a pastel mush. Plus, the recipe’s flexibility means you can swap flavors or add mix-ins without losing the wow factor. It’s that rare treat that’s both visually stunning and super simple to make.
This isn’t your run-of-the-mill ice cream cup; it’s a cheerful celebration you can make in minutes, guaranteed to get those “oohs” and “ahhs” at any gathering.
What Ingredients You Will Need
This recipe relies on straightforward, fun ingredients that bring out the best in the rainbow ice cream cups. You don’t have to hunt down anything exotic, and most of these are probably in your freezer or pantry right now.
- Vanilla Ice Cream (about 2 cups / 480 ml) – acts as the creamy, neutral base layer. I like using a premium brand like Häagen-Dazs for smooth texture.
- Strawberry Ice Cream (2 cups / 480 ml) – adds a sweet, pink layer that’s fruity and fun.
- Blueberry Ice Cream (2 cups / 480 ml) – gives a cool blue tone and gentle berry flavor.
- Mango or Lemon Sorbet (2 cups / 480 ml) – for a bright yellow-orange zing and a dairy-free option.
- Green Mint or Pistachio Ice Cream (2 cups / 480 ml) – brings a fresh, light green layer to the rainbow.
- Rainbow Sprinkles (1/2 cup / 120 ml) – for topping and adding that extra pop of color and crunch.
- Mini Marshmallows (optional, 1/4 cup / 60 ml) – adds a chewy texture contrast to the creamy ice cream.
- Waffle Cones or Crumbled Cookies (optional, 1/2 cup / 120 ml) – for a crunchy base or garnish.
If you want to keep things simple, just pick your favorite colorful ice cream flavors from the store. I’ve found that using firm, well-chilled ice cream makes layering easier and prevents the colors from blending. For a dairy-free twist, sorbets and coconut milk ice creams work great too.
Pro tip: If you can’t find specific flavors, try swapping with raspberry, pistachio, or even lime sherbet—the key is choosing vibrant colors that visually “pop” when layered. And, honestly, mixing flavors is part of the fun! Experiment and see what rainbow you create.
Equipment Needed
- Clear Plastic or Glass Cups (8-10 oz / 240-300 ml) – to showcase those beautiful layers. I personally prefer small glass tumblers for a classy touch.
- Ice Cream Scoop or Spoon – a sturdy scoop helps keep the layers neat and uniform.
- Spatula or Butter Knife – for gently pressing down each layer without mixing colors.
- Mixing Bowls – to soften and portion the ice cream before layering.
- Freezer-safe Container – if you plan to prepare ahead and store before serving.
If you don’t have fancy scoops, no worries! A couple of spoons and a steady hand work just fine. I’ve used plastic cups for parties on a budget, and they do the job perfectly. Just make sure your tools are cold—cold tools help keep the ice cream firm and the layers sharp.
Detailed Preparation Method
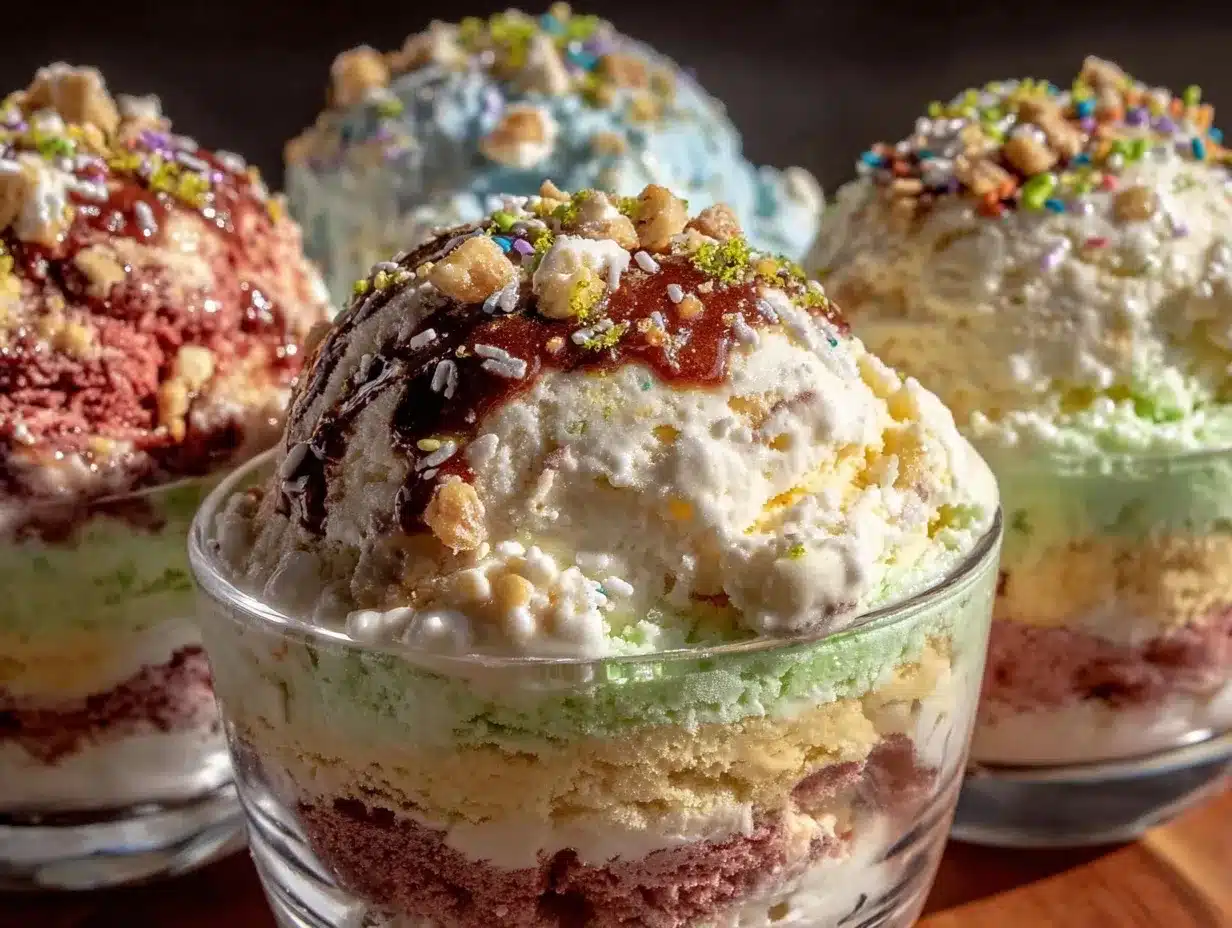
- Soften the Ice Cream: About 10-15 minutes before you start, take the ice cream out of the freezer so it softens just enough to scoop easily but isn’t melted (think thick, spreadable consistency).
- Prepare Your Cups: Place your clear cups on a tray or baking sheet for stability. This helps when you’re layering and moving them around.
- First Layer – Vanilla: Using your ice cream scoop, place about 1/4 cup (60 ml) of vanilla ice cream into the bottom of each cup. Use the spatula or back of the scoop to gently press it flat, creating an even base. Freeze for 5 minutes to firm up.
- Second Layer – Strawberry: Scoop 1/4 cup (60 ml) of strawberry ice cream on top of the vanilla layer. Press gently again to create a neat layer. Freeze for another 5 minutes.
- Third Layer – Blueberry: Repeat the process with blueberry ice cream, again scooping 1/4 cup (60 ml), pressing gently, and freezing for 5 minutes.
- Fourth Layer – Mango Sorbet: Add the mango or lemon sorbet layer, spreading evenly with the spatula. Freeze for 5 more minutes.
- Fifth Layer – Mint or Pistachio: Finish with the green ice cream layer, pressing it down gently. Freeze the cups for 15-20 minutes to set completely.
- Add Toppings: Just before serving, sprinkle rainbow sprinkles, mini marshmallows, or crumbled cookies on top for extra texture and fun.
- Serve Immediately: These cups are best enjoyed soon after adding toppings for the freshest texture and brightest colors.
Quick tip: If you notice the layers starting to blend, pop the cups back in the freezer for a few minutes before continuing the next layer. Patience is key for those crisp rainbow lines!
Cooking Tips & Techniques
One of the trickiest parts is getting those perfect, distinct layers without colors bleeding into each other. I learned that working with slightly softened ice cream and freezing between layers is a game changer. Honestly, rushing through will turn your rainbow into a pastel mess.
Using a cold spatula or butter knife to gently press down each layer prevents mixing and keeps the surface smooth. You’ll want to avoid over-scooping—too much ice cream at once makes it harder to layer neatly.
Also, keep your workspace cool! If it’s a hot day, your ice cream might melt faster, so work quickly and keep the layers freezing between steps.
Another tip I swear by is using complementary flavors that pair well together, so every spoonful tastes balanced, not just colorful. Don’t hesitate to taste-test as you go (I definitely did!).
Lastly, for the best presentation, chill your serving cups in the freezer before layering. This helps prevent the ice cream from melting on contact and keeps everything crisp.
Variations & Adaptations
- Dairy-Free Version: Swap all ice cream for coconut milk or almond milk-based sorbets and ice creams. The layering works just as well, and it’s a great option for those avoiding dairy.
- Healthier Spin: Use frozen yogurt or low-fat ice cream for lighter layers. You can also add fresh fruit chunks between layers for natural sweetness and texture.
- Adult Version: Add a splash of fruit liqueur or mix small amounts of jam into the layers for a grown-up twist. Just a word of caution—keep it kid-safe if serving to little ones.
- Seasonal Flavors: Try pumpkin spice ice cream in fall or peppermint in winter to keep the rainbow theme but add seasonal flair.
- Personal Favorite: I once swapped the mango sorbet for a tangy passion fruit sorbet, which added a zesty kick that balanced the sweet berry layers perfectly. Totally recommend trying that!
Serving & Storage Suggestions
Serve these rainbow ice cream cups straight from the freezer for the best texture and vivid colors. If you like, garnish with a sprig of mint or a colorful straw for a party-ready look. They pair wonderfully with light fruit salads or crunchy cookies on the side.
To store, cover each cup tightly with plastic wrap and keep them in the freezer. They’ll hold up well for up to 3 days, but honestly, they’re so tempting you might not have leftovers. When you want to enjoy them again, let the cups sit at room temperature for 5-7 minutes to soften slightly before digging in.
Over time, flavors meld gently, so if you prepare them a day ahead, the taste will be even more harmonious—just be sure to add sprinkles or marshmallows fresh before serving to keep the crunch.
Nutritional Information & Benefits
Each vibrant cup provides a fun treat that’s roughly 250-300 calories per serving, depending on your ice cream choices. Using fruit-based sorbets adds a touch of vitamin C and antioxidants, while opting for yogurt-based ice creams can boost protein content.
Keep in mind this recipe contains dairy and possible allergens like nuts if you choose pistachio or certain sprinkles. For gluten-free options, stick with gluten-free cookies or skip the crunchy toppings.
I love this recipe because it balances indulgence with simple ingredients, letting you enjoy a colorful dessert without complicated prep or guilty feelings. Plus, it’s a fantastic way to sneak in some fruit flavors alongside the fun.
Conclusion
So, if you want a dessert that’s as joyful to make as it is to eat, these Vibrant Dr. Seuss Rainbow Ice Cream Layer Cups are your new best friend. They bring a splash of color, a burst of flavor, and a whole lot of smiles to any occasion. Whether you stick to the classic layers or play around with flavors and toppings, you’ll find this recipe totally adaptable to your taste and mood.
I can’t tell you how many times I’ve made these for friends and family, and every single time, they disappear in a flash. It’s that kind of recipe that feels magical but is surprisingly simple. Give it a try, and don’t forget to share your own colorful creations with me—I love seeing your twists!
Ready to bring a little rainbow magic to your next party? Go ahead, scoop those layers, and let the fun begin!
FAQs About Vibrant Dr. Seuss Rainbow Ice Cream Layer Cups
Can I prepare these ice cream cups ahead of time?
Absolutely! You can assemble them a few hours or even a day before your event. Just cover them tightly with plastic wrap and keep them frozen. Add toppings like sprinkles or marshmallows right before serving for the best texture.
What if I don’t have all the ice cream flavors listed?
No worries! Use any colorful ice cream flavors you have on hand. The key is to pick bright, contrasting colors for that rainbow effect. Mixing and matching is half the fun.
How do I prevent the layers from mixing together?
Work with slightly softened ice cream and freeze each layer for about 5 minutes before adding the next. Gently press down each layer with a cold spatula to keep the lines clean.
Can I make these cups vegan?
Yes! Use dairy-free ice creams or sorbets made from coconut, almond, or soy milk. Just double-check that your toppings are vegan-friendly too.
What are some fun toppings to add besides sprinkles?
Mini marshmallows, crushed waffle cones, colorful candy pieces, or even fresh fruit bits like blueberries or sliced strawberries all work wonderfully to add texture and extra color.
Pin This Recipe!
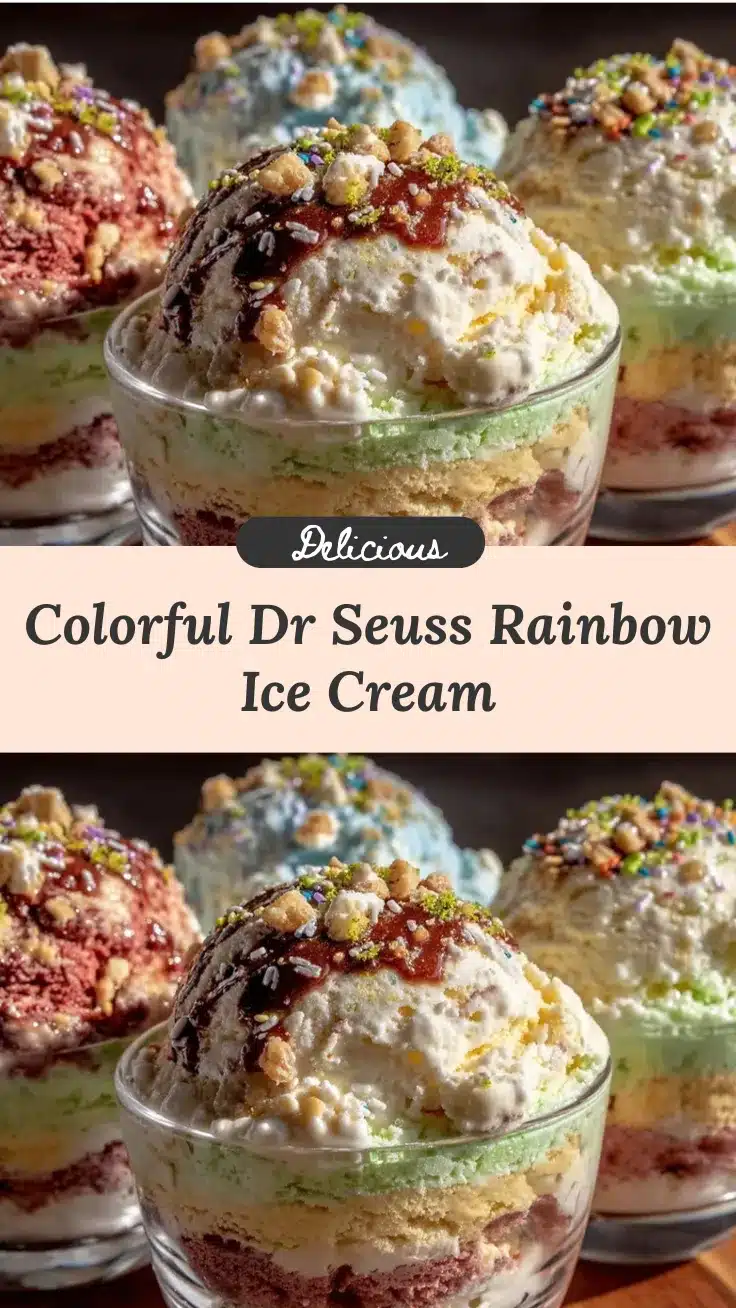
Vibrant Dr. Seuss Rainbow Ice Cream Layer Cups

A fun, colorful layered ice cream dessert perfect for kids’ parties or any whimsical gathering. Easy to make with simple ingredients and visually stunning rainbow layers.
- Prep Time: 15 minutes
- Cook Time: 0 minutes
- Total Time: 20 minutes
- Yield: 6-8 servings 1x
- Category: Dessert
- Cuisine: American
Ingredients
- 2 cups (480 ml) Vanilla Ice Cream
- 2 cups (480 ml) Strawberry Ice Cream
- 2 cups (480 ml) Blueberry Ice Cream
- 2 cups (480 ml) Mango or Lemon Sorbet
- 2 cups (480 ml) Green Mint or Pistachio Ice Cream
- 1/2 cup (120 ml) Rainbow Sprinkles
- 1/4 cup (60 ml) Mini Marshmallows (optional)
- 1/2 cup (120 ml) Waffle Cones or Crumbled Cookies (optional)
Instructions
- Soften the ice cream about 10-15 minutes before starting until it is thick and spreadable but not melted.
- Place clear plastic or glass cups (8-10 oz / 240-300 ml) on a tray for stability.
- Scoop 1/4 cup (60 ml) vanilla ice cream into the bottom of each cup, press flat gently with a spatula or back of the scoop, then freeze for 5 minutes.
- Add 1/4 cup (60 ml) strawberry ice cream on top of the vanilla layer, press gently, and freeze for 5 minutes.
- Repeat with 1/4 cup (60 ml) blueberry ice cream, press gently, and freeze for 5 minutes.
- Add 1/4 cup (60 ml) mango or lemon sorbet layer, spread evenly with spatula, and freeze for 5 minutes.
- Finish with 1/4 cup (60 ml) green mint or pistachio ice cream, press gently, and freeze for 15-20 minutes to set completely.
- Just before serving, sprinkle rainbow sprinkles, mini marshmallows, or crumbled cookies on top.
- Serve immediately for best texture and color.
Notes
Use firm, well-chilled ice cream to keep layers distinct. Freeze each layer for 5 minutes before adding the next to prevent blending. Use a cold spatula to press layers gently. For dairy-free, substitute with coconut or almond milk-based sorbets or ice creams. Prepare ahead and store covered in freezer; add toppings fresh before serving.
Nutrition
- Serving Size: One cup (about 8-10
- Calories: 250300
- Sugar: 2530
- Sodium: 50100
- Fat: 1215
- Saturated Fat: 79
- Carbohydrates: 3035
- Fiber: 12
- Protein: 35
Keywords: rainbow ice cream, layered ice cream cups, kids party dessert, colorful dessert, easy ice cream recipe, summer treat