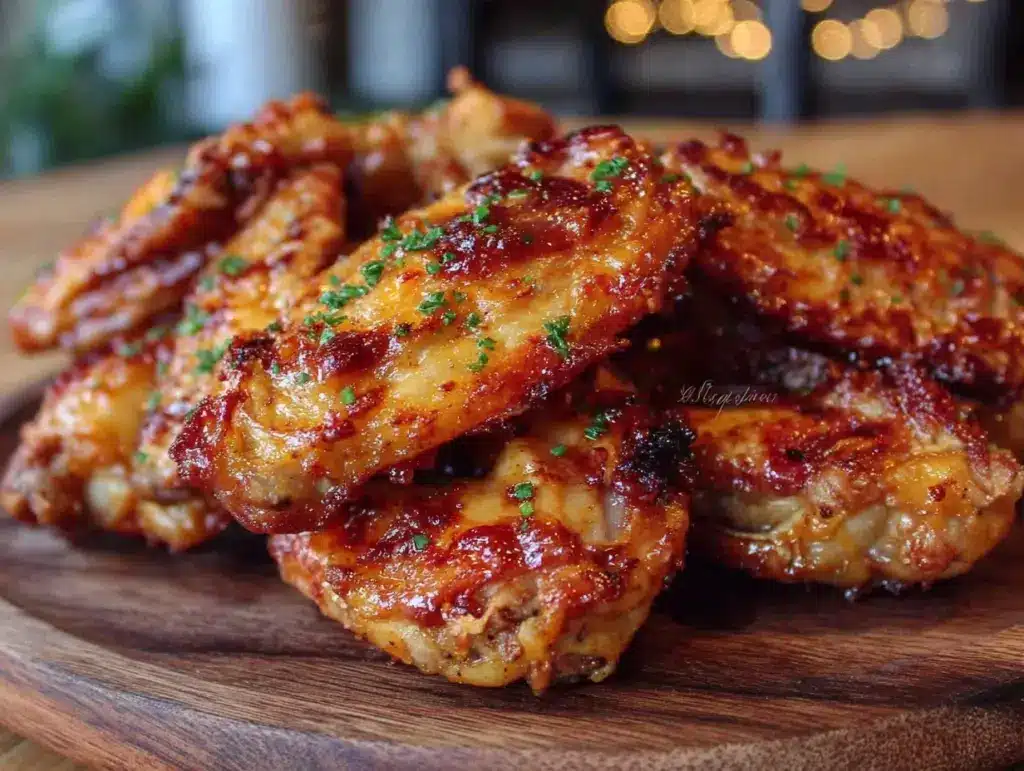
“Are you sure these wings are done?” my partner asked, peering skeptically into the Ninja Foodi basket as the timer beeped. Honestly, I was half expecting soggy, limp wings because pressure-cooked chicken usually leans toward tender and juicy—not crispy and golden. But as I lifted the lid, a burst of hot, seasoned aroma hit me, and there they were: wings with that unmistakable crunch and a skin so golden it practically glowed. That moment, right there, changed my whole perspective about making wings at home.
Before discovering this recipe, I’d always been wary of air-frying wings, figuring I’d get either dry meat or uneven cooking. But the Ninja Foodi, with its unique pressure and air crisp combo, proved me wrong time and again. I found myself making these wings more than just once a week (okay, maybe almost every weekend). The crispy Ninja Foodi chicken wings with perfectly golden skin quickly became my go-to when friends popped over or when I just wanted to treat myself without the hassle of deep-frying or waiting hours on slow roasting.
The magic is in the balance—pressure cooking locks in the juiciness, and then the air crisp function gives you that satisfying crunch. It’s like the wings get the best of both worlds. No greasy mess, no endless watchful eyes over the stove, just reliably delicious wings that look and taste like they came from a restaurant. And honestly, the best part is the skin. That golden, crackly skin that snaps with every bite is the kind of texture that makes you close your eyes for a second and just savor the moment.
These wings have stuck with me because they feel effortless yet impressive, perfect for those times when you want comfort food without the fuss. Plus, they pair incredibly well with some of my favorite sides, like the crispy baked Parmesan chicken tenders I posted about recently. That combo? Absolute winner.
Why You’ll Love This Recipe
After testing countless wing recipes, I’ve settled on this one because it hits every mark without making me sweat in the kitchen. Here’s why this crispy Ninja Foodi chicken wings recipe is a keeper:
- Quick & Easy: From start to finish, it takes under 45 minutes—perfect for busy nights or spontaneous cravings.
- Simple Ingredients: No need for fancy spices or hard-to-find sauces. Most of what you need is probably already in your pantry.
- Perfect for Game Day or Parties: These wings bring the right crunch and flavor that everyone loves—no endless dipping sauces required.
- Crowd-Pleaser: Both kids and adults ask for seconds. They’re great finger food that’s not messy or greasy.
- Unbelievably Delicious: The combination of pressure cooking for juicy meat and air crisping for golden skin makes these wings stand out.
What sets this recipe apart is the method. I use the Ninja Foodi’s pressure cooker function first to get the chicken tender and juicy, then switch to air crisp mode for that signature crispy skin. It’s a technique I perfected after some trial and error, and it’s now my secret weapon for restaurant-quality wings at home. No sogginess, no drying out—just perfectly cooked wings every single time.
Plus, the seasoning blend is simple but packs a punch: a mix of garlic powder, smoked paprika, and a hint of cayenne that brings just enough heat without overpowering the chicken. This isn’t just another wing recipe; it’s the one I reach for when I want to impress without stress. It’s comfort food that satisfies deeply and makes you feel good about what you’re eating.
What Ingredients You Will Need
This recipe uses simple, wholesome ingredients to deliver bold flavor and satisfying texture without the fuss. Most are pantry staples, and substitutions are easy if you want to tweak things up.
- Chicken Wings: About 2 pounds (900 grams), wings separated into drumettes and flats. Fresh or fully thawed works best.
- Baking Powder (not baking soda): 1 tablespoon. This is key for that crispy, golden skin by helping dry out the surface.
- Salt: 1 teaspoon, or to taste. Enhances the natural flavors.
- Garlic Powder: 1 teaspoon. Adds savory depth.
- Smoked Paprika: 1 teaspoon. For a subtle smoky aroma and color.
- Cayenne Pepper: ¼ teaspoon (optional). Adds a gentle kick without overwhelming heat.
- Black Pepper: ½ teaspoon, freshly ground preferred.
- Olive Oil or Avocado Oil: 1 tablespoon. Helps with browning and crispiness; avocado oil has a higher smoke point if you prefer.
Ingredient notes: I recommend using a trusted brand like Bob’s Red Mill for the baking powder for consistent crispiness. If you’re aiming for gluten-free wings, double-check the baking powder label to avoid hidden gluten. When I’m cooking during summer, sometimes I toss in a pinch of dried herbs like thyme or oregano for a fresh twist.
Substitutions: If you want to skip the cayenne, feel free—your wings will still be delicious without the heat. For a dairy-free and paleo-friendly option, this recipe already fits the bill.
Equipment Needed
- Ninja Foodi or Similar Pressure Cooker with Air Crisp Function: This dual-function appliance is the star here. If you don’t have one, an Instant Pot with an air fryer lid can work too.
- Mixing Bowl: For coating the wings evenly with seasoning and baking powder.
- Tongs: Helpful for flipping wings and transferring them without making a mess.
- Wire Rack (Optional): If you want to rest wings on a rack after cooking to maintain crispiness, this can be handy.
- Meat Thermometer (Recommended): To ensure the internal temperature reaches a safe 165°F (74°C), especially if you want to double-check doneness.
I used to try air-frying wings in a basket fryer, but the Ninja Foodi’s larger capacity and pressure function make a big difference. Plus, the crisping basket is easy to clean, and I keep a silicone brush nearby for applying sauces after cooking without losing that golden skin. For budget-conscious cooks, the Ninja Foodi Duo is a great option that won’t break the bank but still delivers the crispiness and convenience.
Preparation Method
- Prep the Wings (10 minutes): Pat the chicken wings dry with paper towels. This step is crucial—wet wings won’t crisp up properly. Once dry, place them in a large mixing bowl.
- Season and Coat (5 minutes): Add 1 tablespoon baking powder, 1 teaspoon salt, 1 teaspoon garlic powder, 1 teaspoon smoked paprika, ¼ teaspoon cayenne pepper (if using), and ½ teaspoon black pepper to the wings. Drizzle 1 tablespoon of olive or avocado oil over the wings. Toss everything thoroughly with your hands or tongs until each wing is evenly coated in the seasoning and baking powder mixture.
- Arrange in Ninja Foodi Basket (2 minutes): Place the wings in a single layer inside the Ninja Foodi’s air crisp basket. Avoid overcrowding to allow air circulation. You may need to cook in batches depending on your model size.
- Pressure Cook (12 minutes): Close the lid (ensure the pressure valve is sealed). Set the Ninja Foodi to pressure cook on high for 12 minutes. This step locks in juiciness and cooks the wings through without drying.
- Release Pressure (5 minutes): When the timer goes off, carefully perform a quick release by turning the valve to venting. Wait until the pressure indicator drops before opening the lid.
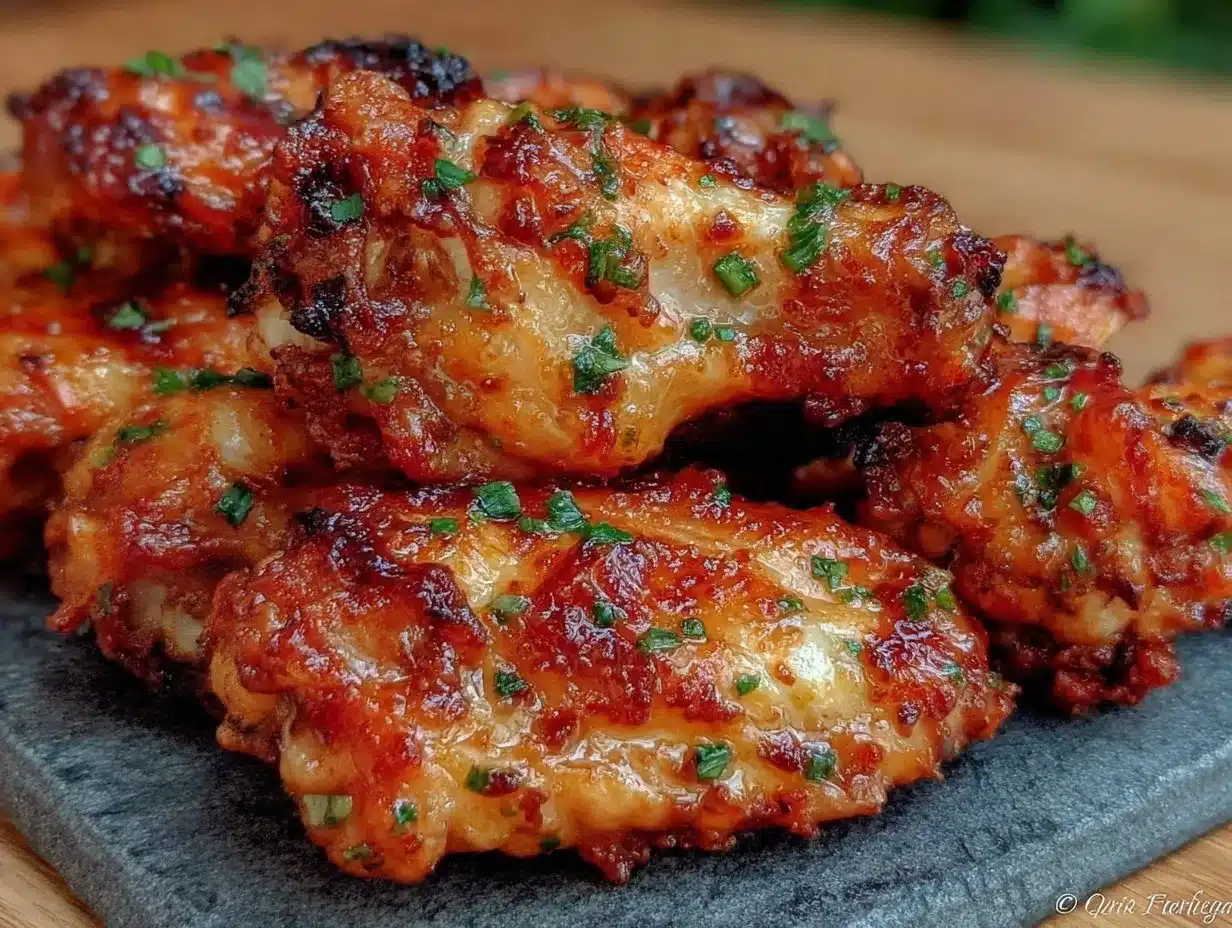
- Air Crisp for Crunch (15 minutes): Switch to the air crisp function, set the temperature to 400°F (200°C), and air crisp the wings for 15 minutes, flipping halfway through at 7-8 minutes. This crisps the skin to that coveted golden perfection.
- Check for Doneness: The wings should be deep golden brown, crispy, and have an internal temperature of at least 165°F (74°C). If they need extra crisping, add 2-3 more minutes as needed.
- Serve: Remove wings carefully with tongs. Let them rest for a few minutes before serving to lock in juiciness.
Pro tip: If you want sauced wings, toss them immediately after the air crisp step to preserve that crisp texture. I like a simple buffalo sauce or honey garlic glaze. For a no-mess option, serve sauces on the side.
Cooking Tips & Techniques
Getting crispy skin on chicken wings can be tricky, but a few tricks make all the difference. First off, drying the wings thoroughly before seasoning is non-negotiable. Even a little moisture on the skin will steam the wings instead of crisping them.
Baking powder—not baking soda—is your secret weapon. It raises the pH level on the chicken skin, helping it brown better and crisp up without a deep fryer. Just don’t overdo it; too much baking powder can cause an off taste.
Pressure cooking before air crisping is a game-changer here. It speeds up the cooking process and keeps the meat juicy. I learned this the hard way by air-frying raw wings for too long and ended up with dry results. The two-step method ensures the best texture contrast.
Flipping the wings halfway through air crisping ensures even browning. The Ninja Foodi’s basket allows hot air circulation on all sides, so don’t crowd the basket; otherwise, you risk soggy spots.
Finally, resist the urge to sauce the wings before air crisping. Adding sauce too early softens the skin. Instead, sauce them right after cooking or offer dips alongside. I often pair these wings with a creamy ranch or homemade blue cheese dip, and they’re a hit every time.
Variations & Adaptations
One of the best things about this crispy Ninja Foodi chicken wings recipe is how easy it is to customize:
- Spicy Buffalo Wings: Toss the wings in classic buffalo sauce made from hot sauce and melted butter right after air crisping.
- Honey Garlic Glaze: For a sweeter touch, mix honey, minced garlic, and soy sauce, then brush onto wings post-crisping.
- Dry Rub Variations: Swap smoked paprika for chili powder or Cajun seasoning for a different flavor profile. I’ve even tried a lemon pepper dry rub with great results.
- Gluten-Free Option: This recipe is naturally gluten-free if you use gluten-free baking powder and spice blends.
- Oven Method: If you don’t have a Ninja Foodi, you can pressure cook wings in an Instant Pot, then transfer them to a hot oven (425°F/220°C) on a wire rack for 15-20 minutes to crisp.
Personally, I once made these wings with a twist by adding a sprinkle of za’atar before air crisping—such a fresh and herby addition that impressed my friends at a casual dinner party.
Serving & Storage Suggestions
Serve these crispy Ninja Foodi chicken wings hot, straight from the basket, for the best crunch. They pair beautifully with crunchy celery sticks and a creamy blue cheese or ranch dip. For a full meal, I like to serve wings alongside a fresh salad or something comforting like creamy scalloped potatoes.
Leftovers keep well in the refrigerator for up to 3 days. To reheat, place wings on a baking sheet and pop them in a preheated oven at 375°F (190°C) for about 10 minutes to restore crispiness. Avoid microwaving, which tends to turn the skin rubbery.
Flavors often deepen after a day in the fridge, so these wings can taste even better the next day if you’re patient. Just remember to re-crisp them properly so you don’t lose that golden skin charm.
Nutritional Information & Benefits
Estimated per serving (for about 4 wings): 220 calories, 15g fat, 0g carbs, 19g protein.
Chicken wings provide a good source of protein and essential nutrients like zinc and B vitamins. Using the air crisp method cuts down on extra fat compared to deep frying, and the simple seasoning keeps things clean without unnecessary additives.
This recipe fits well into gluten-free and low-carb diets and can be part of a balanced meal when paired with veggies or salads. I personally appreciate how it satisfies my comfort food cravings without feeling heavy or greasy.
Conclusion
If you’re after wings that are crispy on the outside, juicy on the inside, and perfectly golden every time, this crispy Ninja Foodi chicken wings recipe is a winner. It brings together simple ingredients and a clever cooking method to deliver big flavor without the fuss. I love how versatile it is—you can dress these wings up or keep them straightforward and still impress.
Don’t be afraid to make this recipe your own, adding your favorite spices or sauces. I’d love to hear how you customize it or what dipping sauces you pair with your wings!
Thanks for stopping by to share in my wing obsession. Here’s to crispy, golden skin and many delicious meals ahead.
FAQs About Crispy Ninja Foodi Chicken Wings
Can I use frozen wings for this recipe?
It’s best to fully thaw wings before cooking to ensure even cooking and proper crisping. Use the defrost setting on your microwave or thaw overnight in the fridge.
Do I need to flip the wings during air crisping?
Yes, flipping halfway through helps achieve even golden skin on all sides.
Can I make these wings spicy?
Absolutely! Add cayenne pepper to the seasoning or toss cooked wings in buffalo sauce for a spicy kick.
What if I don’t have a Ninja Foodi?
You can pressure cook wings in an Instant Pot, then crisp them in a hot oven or air fryer basket.
How do I keep the wings crispy after saucing?
Apply sauces right after air crisping and serve immediately. For wet sauces, consider serving on the side to keep the skin crisp longer.
Pin This Recipe!
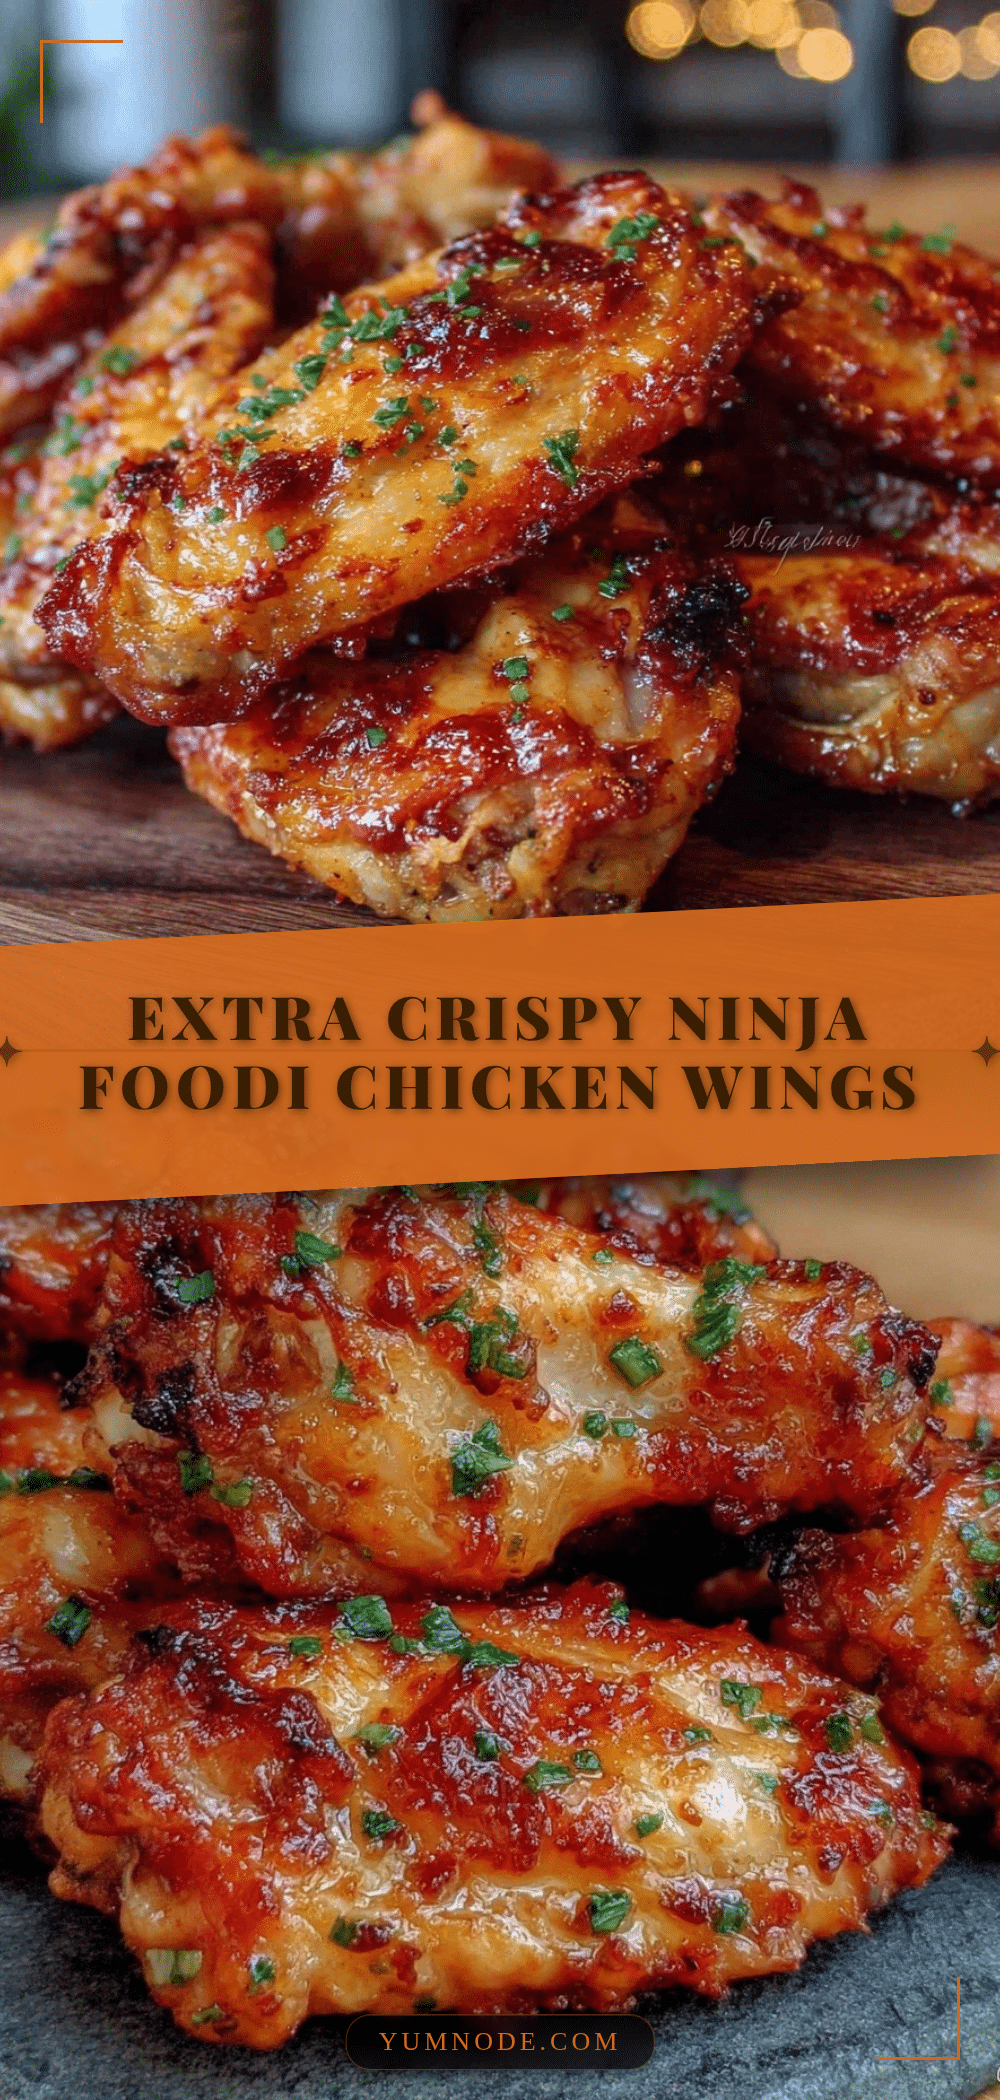
Crispy Ninja Foodi Chicken Wings Recipe Easy Perfectly Golden Skin

This recipe delivers perfectly crispy and juicy chicken wings using the Ninja Foodi’s pressure cook and air crisp functions, resulting in golden, crackly skin and tender meat.
- Prep Time: 17 minutes
- Cook Time: 32 minutes
- Total Time: 49 minutes
- Yield: 4 servings 1x
- Category: Main Course
- Cuisine: American
Ingredients
- 2 pounds chicken wings, separated into drumettes and flats, fresh or fully thawed
- 1 tablespoon baking powder (not baking soda)
- 1 teaspoon salt, or to taste
- 1 teaspoon garlic powder
- 1 teaspoon smoked paprika
- 1/4 teaspoon cayenne pepper (optional)
- 1/2 teaspoon freshly ground black pepper
- 1 tablespoon olive oil or avocado oil
Instructions
- Pat the chicken wings dry with paper towels to ensure crispiness.
- Place wings in a large mixing bowl.
- Add baking powder, salt, garlic powder, smoked paprika, cayenne pepper (if using), and black pepper to the wings.
- Drizzle olive or avocado oil over the wings and toss thoroughly until evenly coated.
- Arrange wings in a single layer inside the Ninja Foodi air crisp basket, avoiding overcrowding.
- Close the lid and seal the pressure valve.
- Pressure cook on high for 12 minutes.
- Perform a quick release by turning the valve to venting and wait until the pressure indicator drops before opening the lid.
- Switch to air crisp function, set temperature to 400°F (200°C), and air crisp wings for 15 minutes, flipping halfway through at 7-8 minutes.
- Check wings for deep golden brown color, crispiness, and internal temperature of at least 165°F (74°C). Add 2-3 more minutes of air crisping if needed.
- Remove wings with tongs and let rest for a few minutes before serving.
Notes
Pat wings dry thoroughly before seasoning to ensure crispiness. Use baking powder (not baking soda) to help achieve golden skin. Flip wings halfway through air crisping for even browning. Sauce wings immediately after air crisping to preserve crisp texture or serve sauces on the side. Leftovers can be reheated in a 375°F oven for 10 minutes to restore crispiness; avoid microwaving.
Nutrition
- Serving Size: About 4 wings
- Calories: 220
- Fat: 15
- Protein: 19
Keywords: chicken wings, Ninja Foodi, crispy wings, air crisp, pressure cook, game day recipe, easy chicken wings, golden skin, party food



