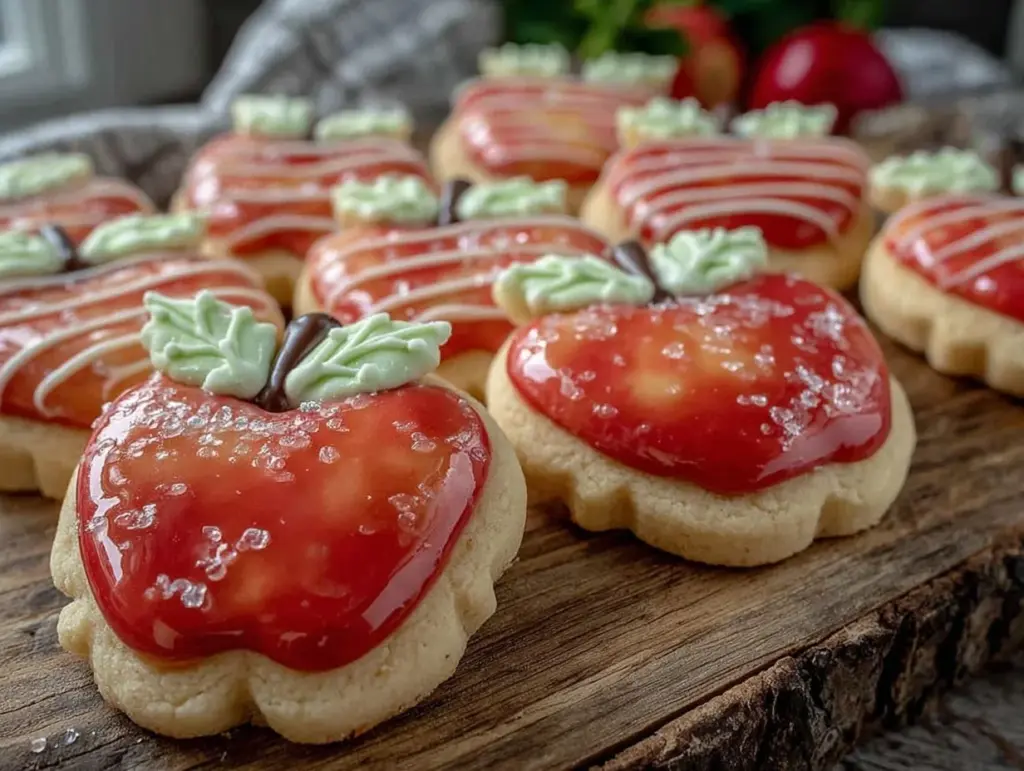
“You nailed the apple cookies again?” my neighbor called out as I handed over a fresh batch through the fence. Honestly, I wasn’t expecting much when I first tried making these perfect apple shaped sugar cookies with royal icing. It started as a quick weekend experiment when I found a neglected apple-shaped cookie cutter buried under a pile of baking tools. I figured, why not? I was craving something sweet but also a little festive for the fall season. The first batch came out a bit rough around the edges (literally), and I was skeptical if all that royal icing fuss was worth it.
Fast forward to a few weeks and several tweaks later, and these cookies have become a small obsession. I found the balance between a tender, buttery sugar cookie and smooth, glossy royal icing that dries just right—no cracking or sticky mess. There’s something oddly satisfying about piping that crisp apple shape and adding a little green leaf detail. It’s like a tiny celebration of the season on a cookie sheet. Plus, they’re sturdy enough to package as gifts or bring to a teacher’s party without falling apart.
So yeah, these apple shaped sugar cookies with royal icing quickly went from a casual baking whim to a recipe I reach for whenever I want a sweet treat that’s pretty enough to share but easy enough to whip up on a lazy afternoon. The thing that keeps me coming back? That quiet moment when you bite into the cookie—crisp edge giving way to a soft crumb, with just the right touch of sweetness and that delicate icing snap. It’s simple, comforting, and somehow feels like a tiny art project every time.
Why You’ll Love This Recipe
After baking this recipe multiple times, I can say it’s a keeper for sure. Here’s why you’ll want to have this one in your arsenal:
- Quick & Easy: These cookies come together in about 30 minutes of active prep time, perfect for those last-minute baking urges or casual get-togethers.
- Simple Ingredients: No fancy or hard-to-find items here—just pantry staples like flour, sugar, eggs, and a few basics for the royal icing.
- Perfect for Seasonal Celebrations: Whether it’s back-to-school treats, fall parties, or just a cozy afternoon snack, these apple cookies fit the bill.
- Crowd-Pleaser: Kids love the fun shapes and colors, and adults appreciate the buttery, not-too-sweet flavor.
- Unbelievably Delicious: The cookie texture is tender yet holds its shape beautifully, and the royal icing adds an elegant, professional touch without complicated steps.
This isn’t just another sugar cookie recipe. The secret lies in the dough’s slight chill before baking, which keeps the edges neat, and the royal icing’s consistency—thick enough to hold detail but smooth enough to flood the cookie without pooling. I’ve even swapped out the usual butter for browned butter once, adding a subtle nutty depth that wowed everyone at my last fall brunch (reminded me a bit of the coziness in my pumpkin spice bread with cream cheese swirl). Honestly, these cookies make you pause and appreciate the little things—like the satisfying ‘snap’ of dry icing or the way they look lined up on a plate, ready to brighten any afternoon.
What Ingredients You Will Need
This recipe uses simple, wholesome ingredients to deliver a bold flavor and satisfying texture without fuss. Most are pantry staples, so you probably have what you need on hand already.
- For the Sugar Cookies:
- All-purpose flour – 3 cups (375 g), sifted for a tender crumb
- Unsalted butter – 1 cup (227 g), softened (I prefer Land O’Lakes for consistent creaminess)
- Granulated sugar – 1 cup (200 g)
- Large eggs – 2, room temperature (helps with smooth dough)
- Pure vanilla extract – 2 tsp (adds warm aroma)
- Baking powder – 1 tsp (gives a gentle rise)
- Salt – ½ tsp (balances sweetness)
- For the Royal Icing:
- Powdered sugar – 4 cups (480 g), sifted for smooth icing
- Pasteurized egg whites – 3 tbsp (or use meringue powder as an alternative)
- Fresh lemon juice – 1 tbsp (helps drying and adds slight tang)
- Food coloring gels – red and green for apple and leaf details
- Water – a few teaspoons to adjust consistency
Substitution tips: Use almond flour for a gluten-free twist, but expect a softer cookie. For a dairy-free version, swap butter with vegan margarine or coconut oil, but the flavor will shift subtly. When picking food coloring, gel types give the brightest colors without watering down the icing.
Equipment Needed
- Mixing bowls – for dough and icing preparation
- Stand mixer or hand mixer – to cream butter and sugar smoothly
- Rolling pin – for even dough thickness (a non-stick or silicone one works great)
- Apple-shaped cookie cutter – essential for the perfect shape
- Baking sheets lined with parchment paper or silicone mats – to prevent sticking
- Squeeze bottles or piping bags with fine tips – for precise royal icing decoration
- Cooling rack – to let cookies set and icing dry evenly
If you don’t have a stand mixer, a sturdy hand mixer will do just fine. For piping, if you’re new to royal icing, small zip-top bags with a tiny cut in the corner can be less intimidating than fancy tips. I find silicone mats worth the investment for even baking and easy cleanup. Also, keeping your rolling pin and cookie cutter lightly floured helps prevent sticking and keeps shapes crisp.
Preparation Method
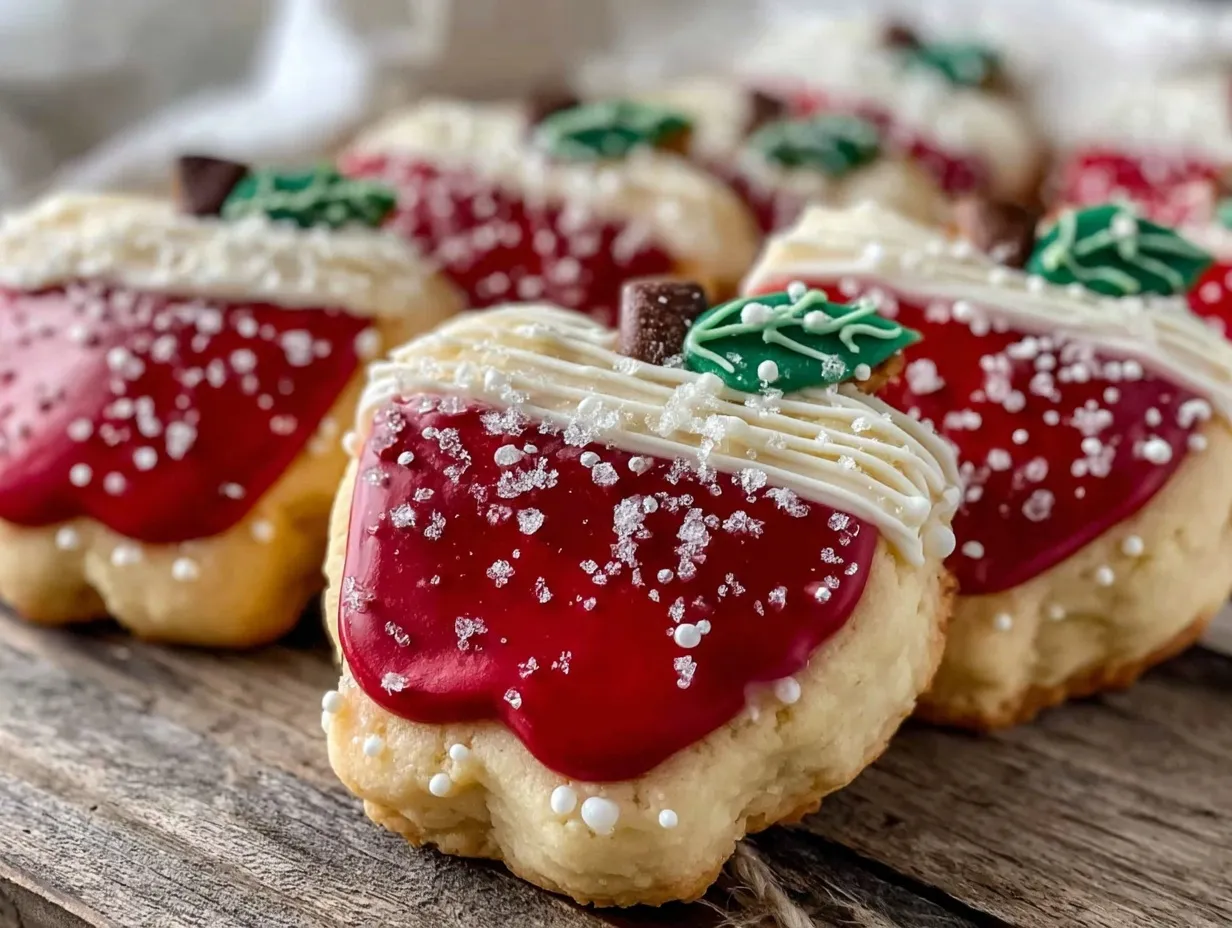
- Make the Cookie Dough (15 mins prep, plus chilling): In a large bowl, cream together 1 cup softened butter and 1 cup granulated sugar until light and fluffy—about 3 to 5 minutes with a mixer on medium speed. Add 2 large eggs, one at a time, mixing well after each. Stir in 2 tsp vanilla extract.
- Combine dry ingredients: In a separate bowl, whisk together 3 cups sifted all-purpose flour, 1 tsp baking powder, and ½ tsp salt.
- Mix dry into wet: Gradually add the flour mixture to the butter mixture, mixing on low speed until the dough just comes together. Avoid overmixing to keep cookies tender.
- Chill the dough: Divide dough into two discs, wrap in plastic wrap, and refrigerate for at least 1 hour. This step is crucial—it prevents spreading and helps maintain those crisp apple shapes.
- Preheat oven and roll dough: Preheat your oven to 350°F (175°C). On a lightly floured surface, roll out one dough disc to ¼ inch (6 mm) thickness. Use the apple-shaped cookie cutter to cut shapes, placing them on parchment-lined baking sheets about 1 inch apart.
- Bake: Bake cookies for 8-10 minutes until edges are just starting to turn golden. Avoid overbaking to keep them soft inside with crisp edges.
- Cool: Transfer cookies to a cooling rack and let cool completely before decorating. Warm cookies will cause royal icing to melt or run.
- Prepare royal icing: In a clean bowl, beat 4 cups sifted powdered sugar with 3 tbsp pasteurized egg whites and 1 tbsp fresh lemon juice until glossy. Add a few teaspoons of water progressively to reach piping consistency (thick but smooth). Divide into small bowls for coloring.
- Decorate: Use red icing to flood the apple shapes, leaving a small border. Let dry for about 10-15 minutes, then pipe green leaves and brown stems with thicker icing. For detail, a toothpick helps smooth edges or add veins to leaves.
- Dry completely: Let the cookies sit at room temperature for several hours or overnight to harden the icing fully.
Pro tip: If your royal icing seems too runny, add more powdered sugar to thicken it. Too thick? A drop of water will loosen it up. Also, when piping the leaf details, keep your hand steady and use slow, deliberate strokes—you’ll get better results with patience than speed.
Cooking Tips & Techniques
Royal icing can feel intimidating, but a few tricks make it manageable. First, always sift your powdered sugar—no one likes gritty icing. Use pasteurized egg whites or meringue powder; raw egg whites are risky and don’t whip up as reliably.
Don’t rush the drying process. I’ve learned the hard way that icing that isn’t fully dry can smudge or stick to packaging. A fan nearby speeds up drying if you’re impatient, but natural air drying is best for that flawless finish.
When rolling out dough, keep your surface lightly floured, but not too much—it can dry out your cookies. Chill the dough if it gets warm while working; soft dough makes misshapen cookies. Also, try to roll dough evenly to avoid some cookies baking faster than others.
One mistake I made early on was overcrowding the baking sheet. Cookies need space to bake evenly and develop those neat edges. Leaving at least one inch between cookies prevents merging and keeps the shapes clear.
For icing, consistency is everything. I like to make a thicker outline icing and a thinner flood icing. Start by piping a border that acts as a dam, then fill inside with the thinner icing. It’s a little technique I picked up while working on my green shamrock sugar cookies.
Variations & Adaptations
These apple shaped sugar cookies are a great base for customization. Here are a few ideas I’ve tried or thought would be fun:
- Flavor twists: Add a teaspoon of cinnamon or apple pie spice to the dough for a warm, spiced note that pairs perfectly with the apple shape.
- Dietary swaps: Use gluten-free flour blends to make these cookies gluten-free. Just be mindful the texture may be slightly more crumbly.
- Icing colors: Instead of classic red and green, try gold or white icing with edible glitter for a more elegant look—great for holiday gifting.
- Alternative shapes: Use the same dough recipe for other seasonal shapes like leaves or pumpkins, matching the icing colors accordingly.
- Personal twist: Once, I added finely chopped candied ginger to the dough, which gave a surprising zing that everyone loved at a fall potluck.
You can also skip royal icing for a simpler version by dusting the baked cookies with cinnamon sugar or glazing with a simple powdered sugar glaze tinted with a bit of apple juice.
Serving & Storage Suggestions
These cookies are best served at room temperature when the royal icing has fully set. They make a charming addition to a fall brunch spread or a thoughtful homemade gift box.
Pair them with warm apple cider, chai tea, or even a creamy latte for a cozy treat. Their crisp edges and sweet icing balance nicely with spiced drinks.
To store, place cookies in an airtight container with parchment paper layers between to prevent sticking. They keep well at room temperature for up to 5 days. For longer storage, freeze undecorated cookies wrapped tightly, then thaw and decorate when ready.
Reheating isn’t usually necessary, but if you want a fresh-baked feel, pop undecorated cookies in a 300°F (150°C) oven for 3-4 minutes. Avoid heating decorated cookies, as the icing can melt.
Flavors actually mellow and meld after a day or two—sometimes I make them ahead for a party to let the flavors deepen. If you’re a fan of layered flavors, you might enjoy pairing these with desserts like the key lime pie bars for a bright, fresh contrast.
Nutritional Information & Benefits
Each apple shaped sugar cookie with royal icing contains approximately 150-180 calories, depending on size and icing amount. They provide a quick source of energy from carbohydrates and a small amount of fat from butter.
While these cookies are a treat, using simple, wholesome ingredients like real butter and fresh lemon juice in the icing adds a subtle richness without artificial additives. You can tailor the sugar quantity slightly to reduce sweetness if preferred.
This recipe is naturally free from nuts and soy, but be mindful of cross-contamination if you have allergies. For gluten-free adaptations, using certified gluten-free flour mixes helps make them safe for sensitive diets.
From a wellness perspective, baking at home means you control the ingredients, avoiding preservatives and additives common in store-bought cookies. Plus, the joy of decorating and sharing these cookies adds a mental health boost that’s hard to measure but definitely real.
Conclusion
Perfect apple shaped sugar cookies with royal icing are more than just a sweet snack—they’re a little homemade celebration of flavor, texture, and creativity. Whether you’re baking for a fall gathering, a school event, or just to treat yourself, this recipe delivers consistent, delightful results without a mountain of fuss.
Feel free to experiment with flavors and colors to make these cookies your own. I love how easy it is to tweak the dough or icing to suit different occasions or tastes—and how satisfying it is to see those crisp apple shapes lined up, ready to enjoy.
If you try this recipe, I’d love to hear how your cookies turned out or what personal touches you added. Sharing baking stories makes the kitchen feel a little cozier, don’t you think? So grab your rolling pin, and let’s make some magic happen—one apple cookie at a time.
FAQs
- Can I use regular egg whites instead of pasteurized for the royal icing?
It’s best to use pasteurized egg whites or meringue powder to avoid any risk of salmonella and to get a stable, smooth icing. - How long does royal icing take to dry completely?
Typically, royal icing needs at least 4 hours to fully harden, but overnight drying is ideal for the best results. - Can I make the dough ahead of time?
Yes! The dough can be wrapped and refrigerated for up to 3 days or frozen for up to 3 months before rolling and cutting. - What’s the best way to store decorated cookies?
Store in an airtight container at room temperature with parchment paper between layers to prevent sticking for up to 5 days. - How do I fix runny royal icing?
Add more powdered sugar gradually to thicken it, or if it’s too thick, add a drop or two of water until you get the right consistency for piping.
Pin This Recipe!
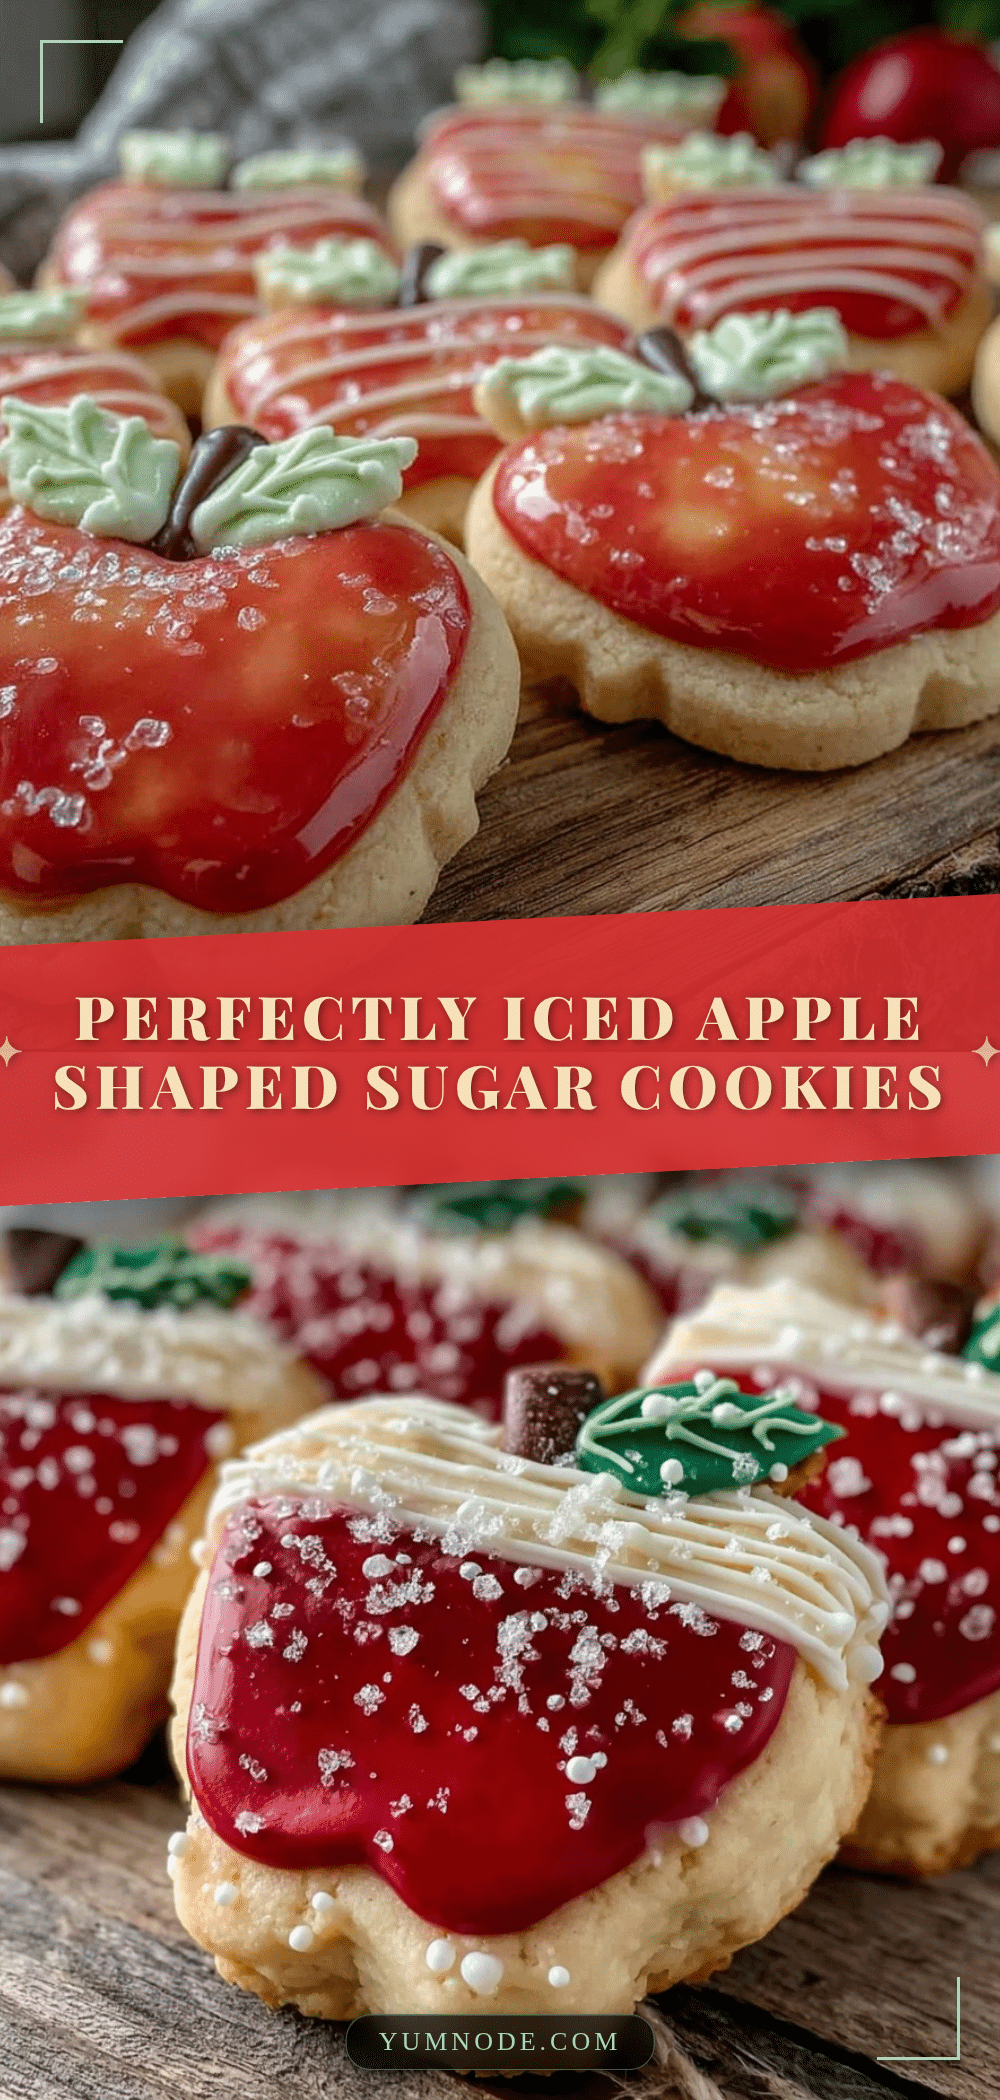
Perfect Apple Shaped Sugar Cookies Easy Royal Icing Tutorial

These apple shaped sugar cookies feature a tender, buttery texture topped with smooth, glossy royal icing that dries perfectly. Ideal for fall celebrations, they are easy to make and decorate with simple pantry ingredients.
- Prep Time: 30 minutes
- Cook Time: 10 minutes
- Total Time: 1 hour 40 minutes
- Yield: 24 cookies 1x
- Category: Dessert
- Cuisine: American
Ingredients
- 3 cups all-purpose flour (375 g), sifted
- 1 cup unsalted butter (227 g), softened
- 1 cup granulated sugar (200 g)
- 2 large eggs, room temperature
- 2 tsp pure vanilla extract
- 1 tsp baking powder
- ½ tsp salt
- 4 cups powdered sugar (480 g), sifted
- 3 tbsp pasteurized egg whites (or meringue powder as alternative)
- 1 tbsp fresh lemon juice
- Red and green food coloring gels
- A few teaspoons water to adjust icing consistency
Instructions
- In a large bowl, cream together 1 cup softened butter and 1 cup granulated sugar until light and fluffy, about 3 to 5 minutes with a mixer on medium speed.
- Add 2 large eggs one at a time, mixing well after each addition.
- Stir in 2 tsp vanilla extract.
- In a separate bowl, whisk together 3 cups sifted all-purpose flour, 1 tsp baking powder, and ½ tsp salt.
- Gradually add the flour mixture to the butter mixture, mixing on low speed until the dough just comes together. Avoid overmixing.
- Divide dough into two discs, wrap in plastic wrap, and refrigerate for at least 1 hour.
- Preheat oven to 350°F (175°C). On a lightly floured surface, roll out one dough disc to ¼ inch (6 mm) thickness.
- Use an apple-shaped cookie cutter to cut shapes and place them on parchment-lined baking sheets about 1 inch apart.
- Bake cookies for 8-10 minutes until edges start to turn golden. Avoid overbaking.
- Transfer cookies to a cooling rack and let cool completely before decorating.
- Prepare royal icing by beating 4 cups sifted powdered sugar with 3 tbsp pasteurized egg whites and 1 tbsp fresh lemon juice until glossy.
- Add a few teaspoons of water gradually to reach a thick but smooth piping consistency.
- Divide icing into small bowls and color with red and green food coloring gels.
- Use red icing to flood apple shapes leaving a small border; let dry 10-15 minutes.
- Pipe green leaves and brown stems with thicker icing; use a toothpick to smooth edges or add leaf veins.
- Let decorated cookies dry at room temperature for several hours or overnight to harden icing fully.
Notes
Chill dough for at least 1 hour to prevent spreading and maintain crisp apple shapes. Use pasteurized egg whites or meringue powder for safe and stable royal icing. Let icing dry overnight for best results. Adjust icing consistency by adding powdered sugar to thicken or water to thin. Keep rolling pin and cookie cutter lightly floured to prevent sticking.
Nutrition
- Serving Size: 1 cookie
- Calories: 165
- Sugar: 15
- Sodium: 90
- Fat: 7
- Saturated Fat: 4
- Carbohydrates: 25
- Fiber: 0.5
- Protein: 2
Keywords: apple shaped sugar cookies, royal icing, fall cookies, easy sugar cookies, holiday baking, apple cookies, decorated cookies